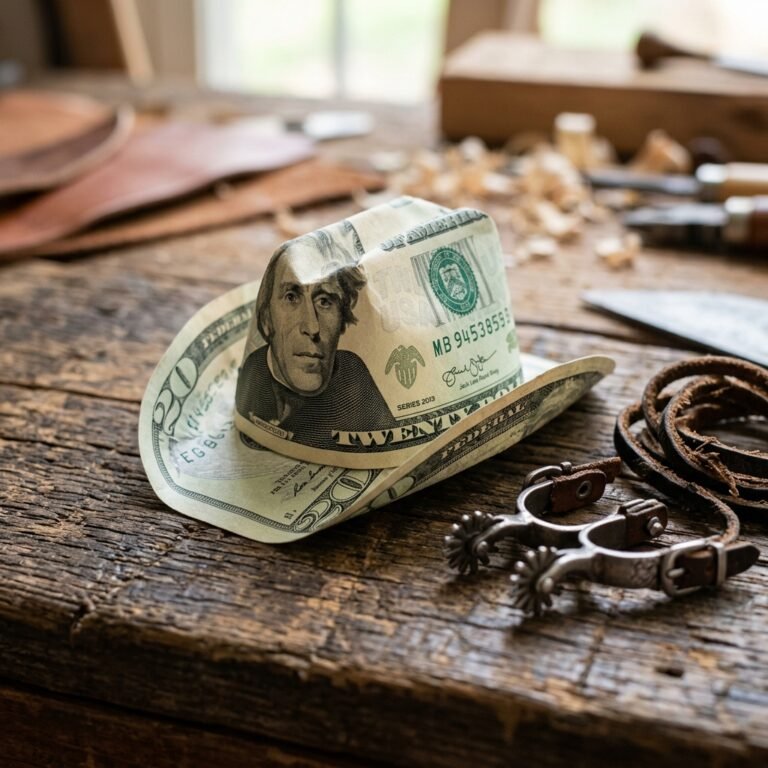

When it comes to baby showers, the ‘rainy day’ theme is a timeless classic. It symbolizes the refreshing start of a new life and the ‘showering’ of love and resources upon a growing family. While registry items like diapers and wipes are practical, nothing beats the versatility of a cash gift. However, handing over a plain white envelope can feel a bit uninspired for a creative DIYer. That is where the Money Origami Umbrella comes into play. This isn’t just a gift; it is a miniature engineering marvel that showcases your effort, precision, and cleverness. By transforming flat currency into a three-dimensional canopy, you are providing the parents-to-be with a ‘rainy day fund’ that is as beautiful as it is useful. In this guide, we will walk through the tactical steps to create a crisp, professional-looking umbrella using nothing but a few bills and some basic household supplies. Whether you are a handy dad looking to impress or a budget-savvy crafter aiming for that high-end look, this project is your ticket to being the most memorable gift-giver at the party.
Strategic Currency Selection: Choosing Your Denominations

Before we make our first fold, we must consider the ‘material’ of our craft. Not all bills are created equal when it comes to origami. For the best results, you want crisp, uncirculated bills. If you have ever tried to fold a wrinkled, soft bill, you know it lacks the structural integrity needed to hold a sharp pleat. A quick trip to the bank to request ‘new’ bills is a pro-tip that will save you hours of frustration. Furthermore, the denomination you choose dictates the total value of the gift and the visual contrast of the final piece. A mix of denominations can create a stunning color-block effect, while a uniform set of bills offers a sophisticated, monochromatic look.
| Bill Denomination | Visual Impact | Best Use Case |
|---|---|---|
| $1 Bills | High Contrast (Green/White) | Practice or Large Multi-Umbrella Displays |
| $5 Bills | Subtle Purple Hues | Adding a hint of color to a ‘Baby Boy’ theme |
| $10 Bills | Warm Tones | Sophisticated, neutral-themed showers |
| $20 Bills | Classic Professional Look | The ‘Standard’ for a generous individual gift |
| $50/$100 Bills | High Prestige | Main centerpiece or ‘Grandparent’ level gifts |
The secret to a stunning money origami piece isn’t the amount of money; it is the crispness of the crease. A well-folded single dollar bill looks more expensive than a crumpled twenty.
The Origami Arsenal: Essential Tools for Precision
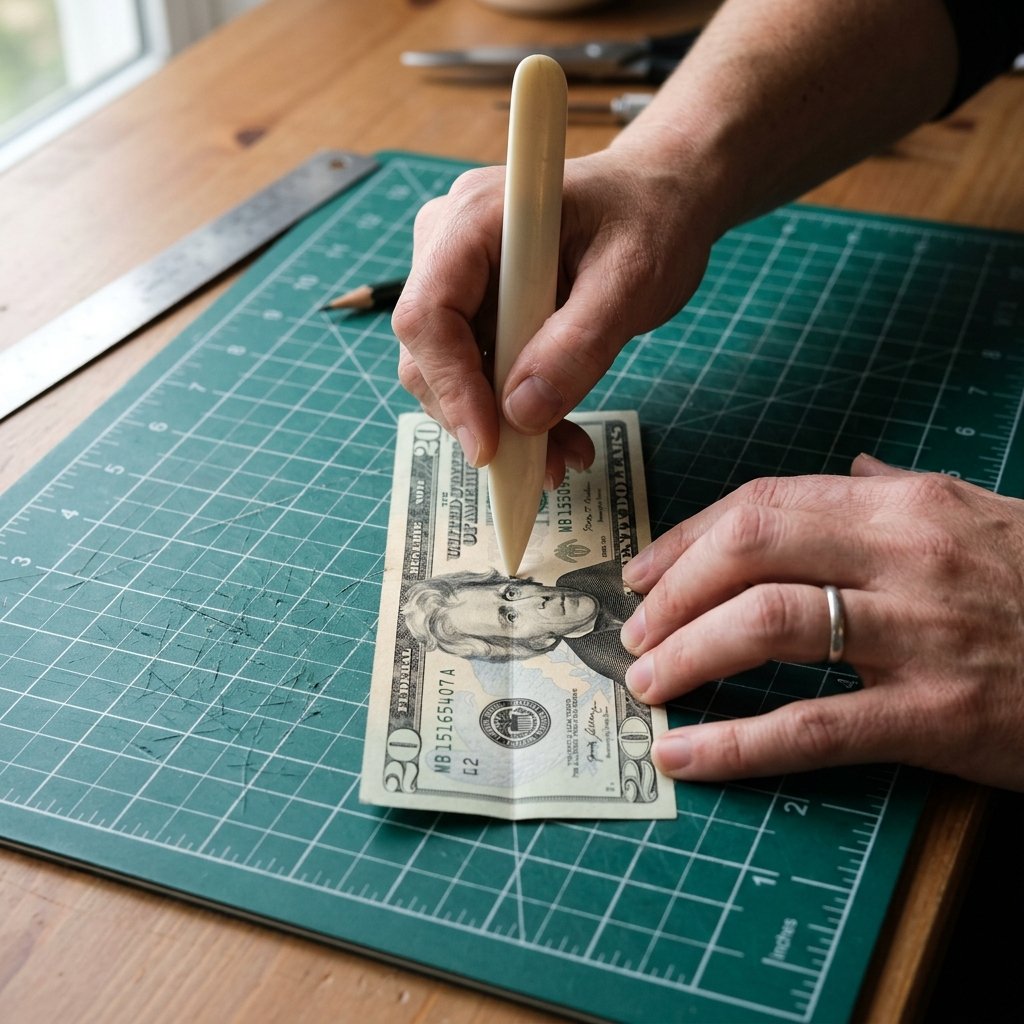
While you can technically fold money with just your hands, a truly rugged and refined crafter knows that the right tools make the difference between a ‘DIY project’ and a ‘Masterpiece.’ To achieve those razor-sharp edges that define high-end origami, you should assemble a small kit. These tools ensure that your umbrella canopy doesn’t just look like folded paper, but like a structural work of art.
- Bone Folder: This is the gold standard for creasing. It allows you to apply even pressure without tearing the delicate fibers of the currency.
- Miniature Paper Clips or Tweezers: Essential for holding small folds in place while you work on the next section.
- Thin Gauge Wire or Pipe Cleaners: This will serve as the ‘shaft’ and ‘handle’ of your umbrella.
- Small Elastic Bands: To secure the bills at the top of the umbrella handle.
| Tool | Purpose | DIY Alternative |
|---|---|---|
| Bone Folder | Crisp Creases | Back of a butter knife or a credit card |
| Precision Tweezers | Detailed Folds | Clean eyebrow tweezers |
| Thin Wire | Umbrella Handle | Straightened large paperclip |
Step-By-Step: Engineering the Money Umbrella Canopy

The canopy is the most technical part of this build. We will be using a ‘pleated’ method that allows the bills to fan out into a circular shape. For a standard-sized umbrella, you will need three to four bills. Each bill will represent a segment of the umbrella’s dome.
- The Initial Pleat: Lay the bill flat horizontally. Fold the bill in half lengthwise to create a center guide, then unfold. Begin making ‘accordion’ folds (back and forth) every 1/4 inch along the entire length of the bill.
- The Center Lock: Once the bill is fully pleated into a thin strip, fold the entire strip in half. This creates a ‘V’ shape.
- Repeating the Process: Repeat these steps for the remaining two or three bills. Ensure your pleats are consistent in width across all bills to maintain symmetry.
- Joining the Segments: Align the ‘V’ shapes side-by-side. Use a tiny piece of clear tape or a small dab of low-tack adhesive on the inner edges to join the bills together. When you pull the outer edges around, they should form a full circle.
- The Tension Peak: Gather the center points of the ‘V’ shapes. This will be the top of your umbrella where the handle will pass through.
Precision is the hallmark of the master crafter. Take your time with the accordion folds; if the first fold is crooked, the entire umbrella will lean.
The Structural Support: Crafting the Handle and Final Assembly
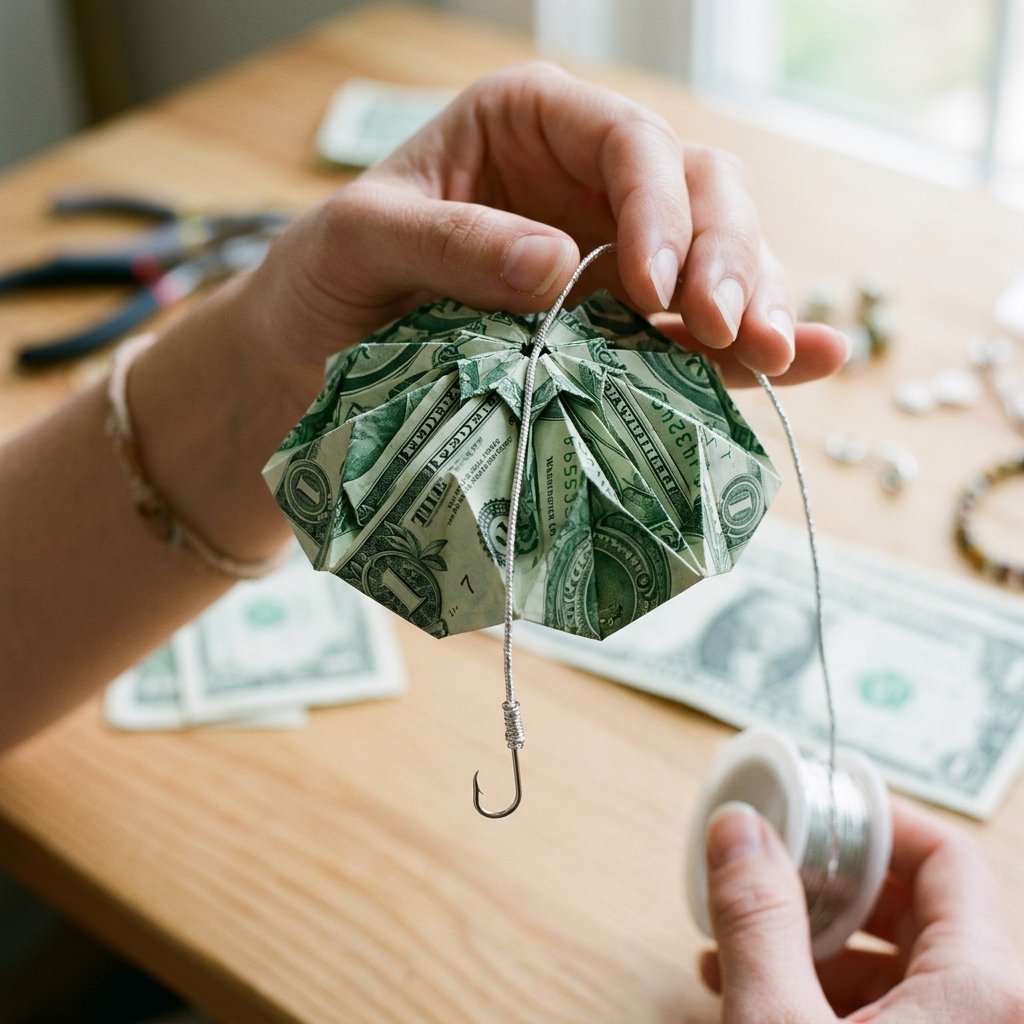
An umbrella is nothing without its handle. This is where we add a touch of masculine-elegant engineering. We want a handle that is sturdy enough to support the weight of the bills but thin enough to look delicate. Using a metallic-colored pipe cleaner or a wrapped wire gives the gift a finished, professional look.
- Creating the Hook: Take a 6-inch piece of wire or pipe cleaner. At one end, bend it into a ‘J’ shape to mimic a classic umbrella handle.
- Threading the Canopy: Carefully slide the straight end of the wire through the center hole of your joined money segments.
- Securing the Top: To prevent the canopy from sliding down, you can create a ‘stopper’ by wrapping a small piece of tape or another bit of wire just below the bills on the shaft.
- The Finial: For an extra touch of class, add a small bead or a decorative knot at the very top of the wire where it pokes through the canopy. This represents the ‘ferrule’ of the umbrella.
By using a silver or gold wire, you elevate the aesthetic from a simple craft to a high-end gift. It provides a rugged internal structure that ensures the umbrella keeps its shape even after being handled at the shower.
Showcasing the Masterpiece: Presentation Ideas
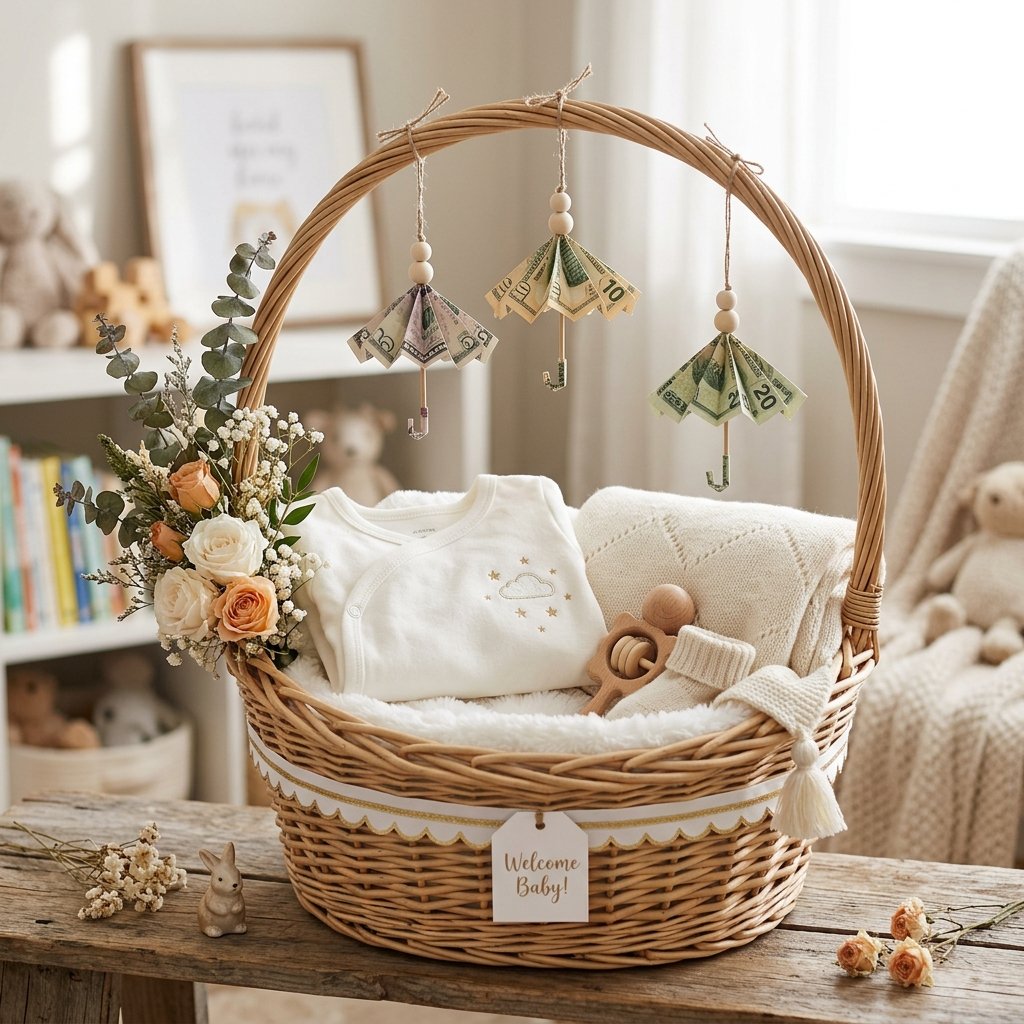
You have folded the perfect money umbrella; now you need a stage. Presentation is 50% of the gift-giving experience. Since this is for a baby shower, we want to lean into the ‘showering’ theme. You can integrate these umbrellas into larger gifts or let them stand alone as a sophisticated statement.
- The Diaper Cake Topper: Place the money umbrella at the very top of a tiered diaper cake. It looks like it is protecting the ‘cake’ from the rain.
- The Gift Basket Rain Cloud: Attach the umbrellas to strings hanging from a fluffy white cotton ‘cloud’ inside a gift basket filled with baby essentials.
- The Shadow Box: For a truly premium feel, mount the money umbrella inside a deep shadow box frame with a background of blue watercolor ‘raindrops.’ This turns the gift into temporary nursery decor.
| Presentation Style | Difficulty Level | Estimated Cost (Supplies) |
|---|---|---|
| Diaper Cake Topper | Medium | $15 – $30 |
| Gift Basket Cloud | Easy | $5 – $10 |
| Shadow Box Frame | Hard | $12 – $25 |
Conclusion
Mastering the Money Origami Umbrella is a skill that serves the resourceful gift-giver well beyond the baby shower. It is a testament to the idea that with a bit of patience and a few crisp bills, you can create something far more valuable than the sum of its parts. You have taken a standard cash gift and transformed it into a conversation piece that honors the parents-to-be and their new adventure. Remember, the best gifts are those that show you gave not just your money, but your time and your talent. So, the next time a ‘Rainy Day’ invitation hits your mailbox, don’t reach for a card—reach for your bone folder and start folding. You are now equipped to make it rain in the most stylish way possible.

Makenzie is the founder and lead writer at MoneyHackTips.com — a personal finance blog dedicated to delivering street-smart financial wisdom for real people on real budgets. With 300+ published articles covering everything from debt management to investing fundamentals, Makenzie’s mission is to make every dollar work harder. When not writing about money hacks, Makenzie is testing frugal living strategies, optimizing side hustles, and helping readers build financial freedom from scratch.