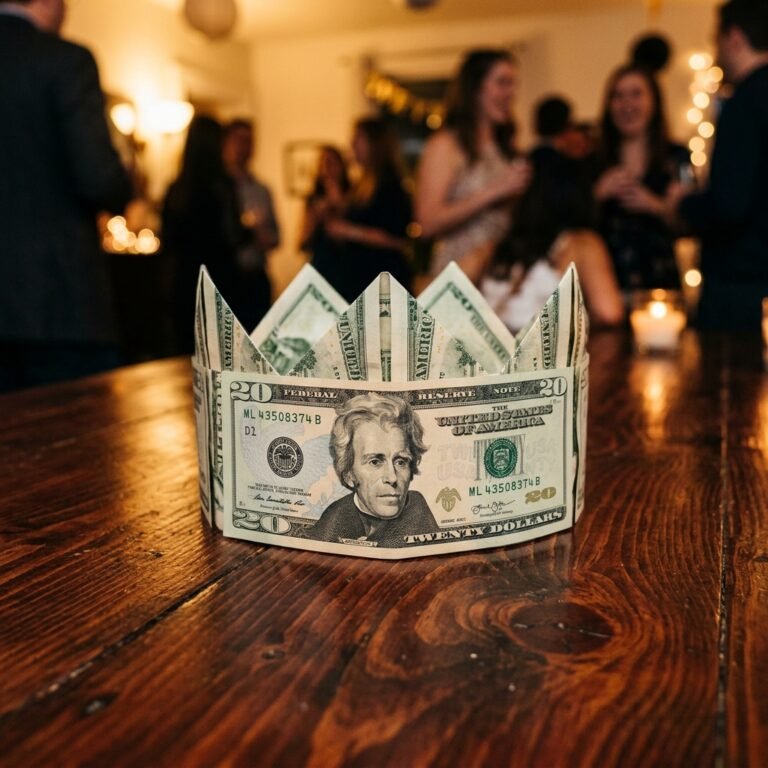

Elevate Your Gifting Game Beyond the Envelope
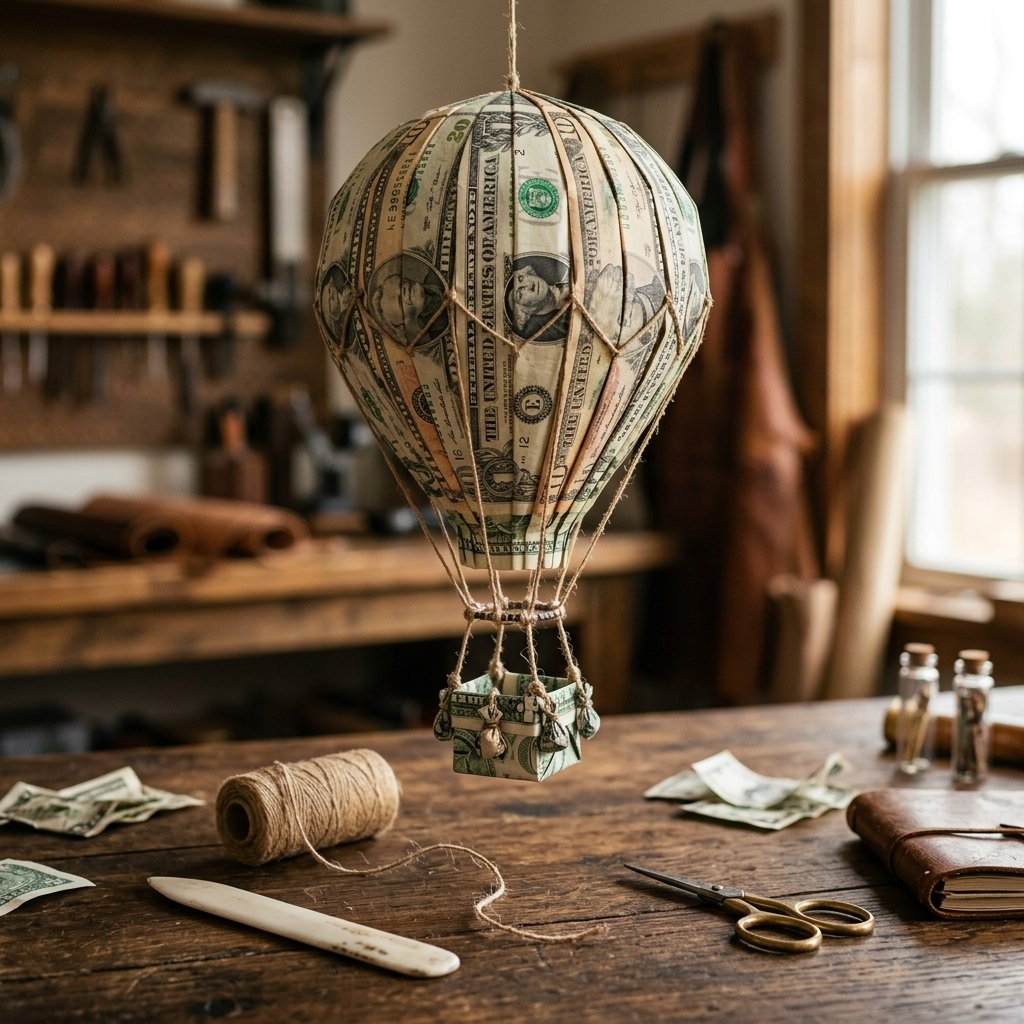
Let’s be honest: sliding a few twenty-dollar bills into a generic store-bought card is the ultimate ‘low-effort’ move. While the recipient certainly appreciates the liquidity, the presentation lacks the clever, resourceful spirit that defines a truly great gift-giver. If you want to be the person whose gift is talked about long after the party ends, you need to master the art of money origami. Specifically, the 3D Hot Air Balloon. This isn’t just a fold; it’s an architectural feat of frugality. It signals that you value the recipient enough to invest your time, precision, and craft into their present. Whether it’s for a graduate ready to ‘soar’ to new heights or a couple embarking on a new journey, this project is the gold standard of budget-savvy elegance. In this guide, we will break down the rugged mechanics of the fold, the materials you’ll need to keep it sturdy, and the tactical secrets to making your cash look like a million bucks.
Strategic Planning: Choosing Your Currency & Tools

Before we make the first crease, we need to talk strategy. Not all bills are created equal. For a structure as complex as a hot air balloon, the crispness of the currency is your best friend. Limp, circulated bills won’t hold the tension required for the balloon’s envelope. Visit your bank and request crisp, uncirculated bills. The visual impact depends heavily on the denomination and the color palette of the bill itself. Use the table below to plan your ‘flight’ based on your budget and desired aesthetic.
| Denomination | Visual Impact | Best Occasion |
|---|---|---|
| $1 Bills | High Volume, Low Cost | Kids’ Birthdays / Practice |
| $2 Bills | Unique & Rare Aesthetic | Good Luck / Graduation |
| $10 Bills | Striking Gold/Yellow Tones | Golden Anniversaries |
| $20 Bills | Classic Green/Sophisticated | Weddings / Major Milestones |
| $50/$100 Bills | Premium / High Stakes | Luxury Gifting / Retirement |
The Maker’s Toolkit
While origami technically requires only paper, a resourceful crafter knows that a few tactical tools make the job infinitely easier. You’ll want a bone folder (or the edge of a clean credit card) for those razor-sharp creases, a set of small wooden skewers or toothpicks for the ‘rigging,’ and perhaps some removable glue dots if you’re worried about structural integrity during transport. Safety Note: Never use permanent adhesives or staples on currency; it’s illegal to deface money, and your recipient will eventually want to spend it!
Phase One: Folding the Basket (The Foundation)
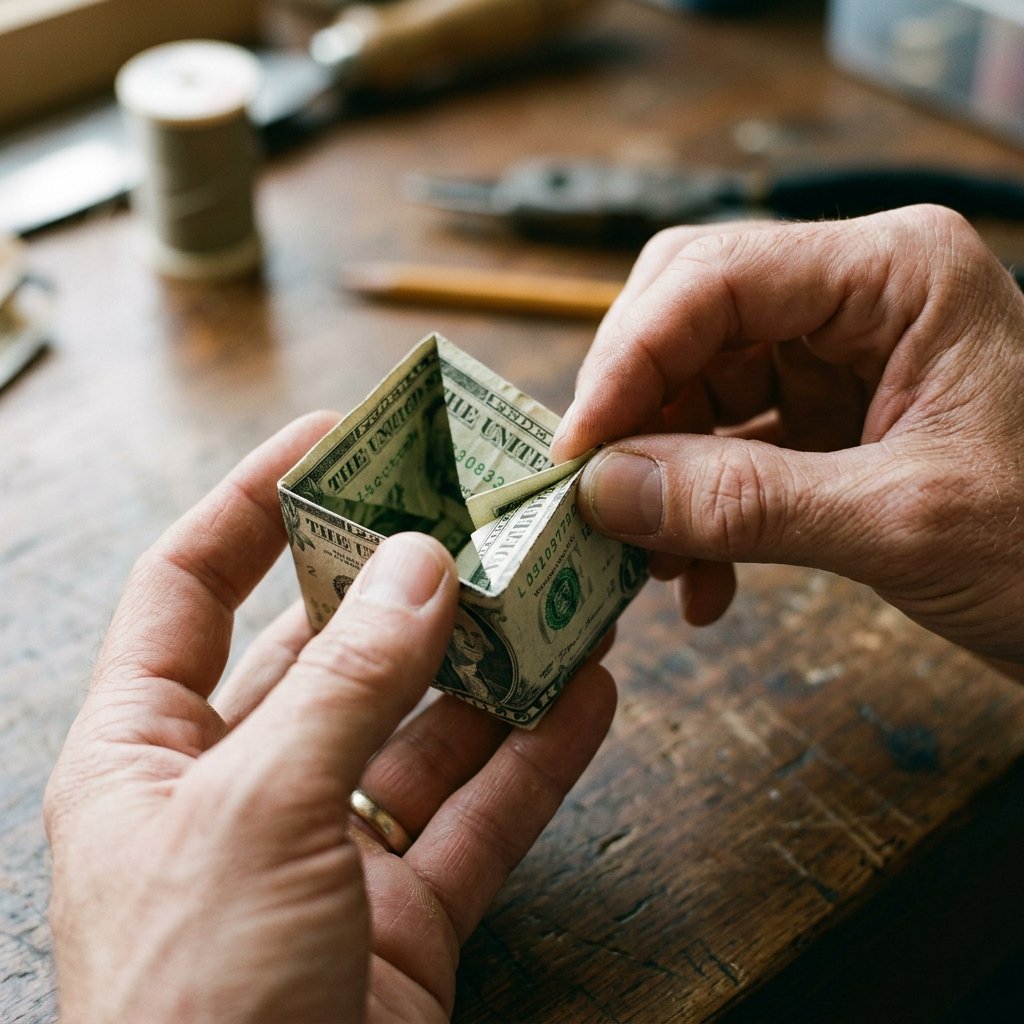
The basket is the anchor of your craft. We will use a modified Masu Box fold for this. This creates a sturdy, square base that can even hold a small ‘passenger’ like a chocolate truffle or a tiny handwritten note. Follow these steps with precision:
- Place one bill horizontally on a flat surface. Fold it in half lengthwise to find the center, then unfold.
- Fold the left and right edges inward to meet at the center crease, creating a square-ish shape.
- Fold all four corners inward toward the center, forming a diamond shape.
- Fold the top and bottom edges toward the center line.
- Carefully reach into the center and pull the sides upward while tucking the corners to form a 3D box. Pro Tip: Use your bone folder to sharpen the bottom edges so it sits perfectly flat.
“A gift’s value isn’t just in the denomination, but in the tension of the crease and the intention of the maker.”
Phase Two: Constructing the Balloon Envelope

This is where the magic happens. To create a 3D ‘balloon’ effect, we use a modular origami technique. For a standard balloon, I recommend using 4 bills. This creates a full, rounded appearance that looks expensive and complex. We will create four ‘petals’ and join them together.
The Petal Fold (Repeat 4 Times)
- Fold a bill in half widthwise, then unfold.
- Fold the top two corners down to the center line (like a paper airplane).
- Fold the bottom two corners up to the center line. You should now have a hexagon shape.
- Fold the entire unit in half.
- Repeat this for all four bills.
Once you have your four petals, you will slide the flaps of one bill into the pockets of the next. This creates a spherical lantern shape. It requires a bit of patience and rugged persistence, but the friction of the crisp paper will eventually lock them into place. If you’re struggling, a single removable glue dot at the top junction can act as your ‘silent partner’ in construction.
Phase Three: Rigging and Final Assembly

Now, we must connect the basket to the balloon. This is where your crafty-expert skills shine. We want the balloon to appear as if it’s floating. Traditionalists use thin wire, but for a more natural, masculine-elegant look, use bamboo skewers and twine.
| Assembly Component | Material Recommendation | Function |
|---|---|---|
| Support Struts | 4 Bamboo Toothpicks | Connects Basket to Envelope |
| Rigging | Baker’s Twine or Hemp Cord | Visual Detail & Stability |
| Ballast | Small Pebbles or Candy | Weights the Basket |
The Assembly Process
- Insert the four toothpicks into the inside corners of the basket. Use a tiny bit of museum wax or a glue dot at the base of each toothpick to keep them vertical.
- Gently rest the balloon envelope on top of the four toothpicks. The toothpicks should slide into the folds of the modular balloon.
- Wrap a small piece of twine around the struts to mimic the look of a real hot air balloon’s suspension system.
The Presentation: From Craft to Keepsake
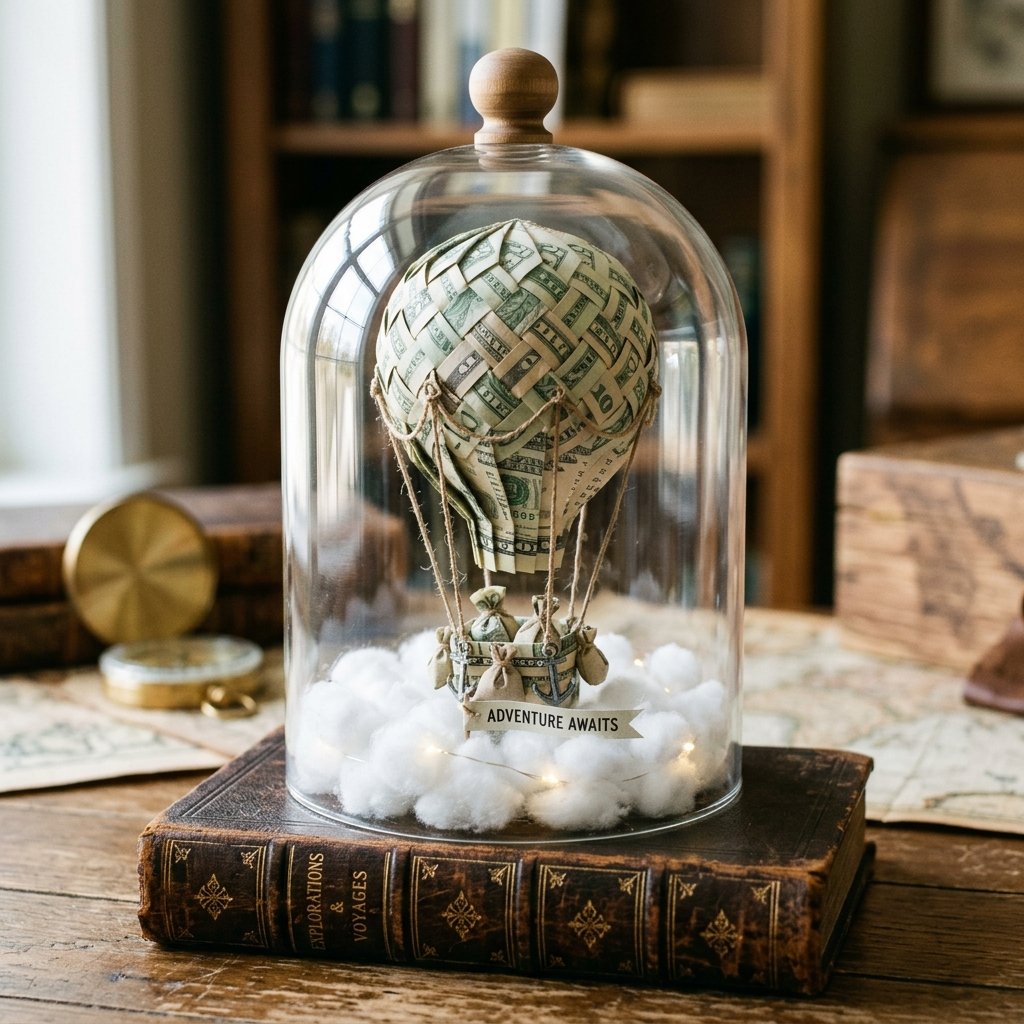
Don’t just hand this over as-is. A clever gift-giver knows that the environment is everything. To protect your hard work and enhance the ‘wow’ factor, consider these budget-savvy display ideas:
- The Shadow Box: Mount the balloon inside a deep frame with a map of the world as the background. This is perfect for a ‘travel fund’ or a graduation gift.
- The Glass Jar: Place the balloon inside a large, clean mason jar or a glass cloche. Add some cotton ball ‘clouds’ at the bottom for a whimsical, high-end look.
- The Floating Gift: Tie the entire assembly to a helium balloon. When the recipient opens the box, the money balloon ‘takes flight’ (just make sure it’s tethered so they don’t lose their cash to the sky!).
By choosing one of these methods, you transform a few minutes of folding into a permanent memory. It shows you didn’t just give money; you gave an experience.
Conclusion
The Sky is the Limit for Your Creativity
Mastering the money origami hot air balloon is more than just a party trick; it’s a testament to your resourcefulness and craft. You’ve taken standard legal tender and elevated it into a work of art that captures the imagination. Total cost for the ‘wrapping’? Nearly $0. Total impact? Priceless. The next time you find yourself reaching for a boring envelope, remember that with a few crisp bills and a bit of rugged precision, you can create a gift that truly soars. Now, go forth and fold—your next unforgettable gift is just a few creases away!

Makenzie is the founder and lead writer at MoneyHackTips.com — a personal finance blog dedicated to delivering street-smart financial wisdom for real people on real budgets. With 300+ published articles covering everything from debt management to investing fundamentals, Makenzie’s mission is to make every dollar work harder. When not writing about money hacks, Makenzie is testing frugal living strategies, optimizing side hustles, and helping readers build financial freedom from scratch.