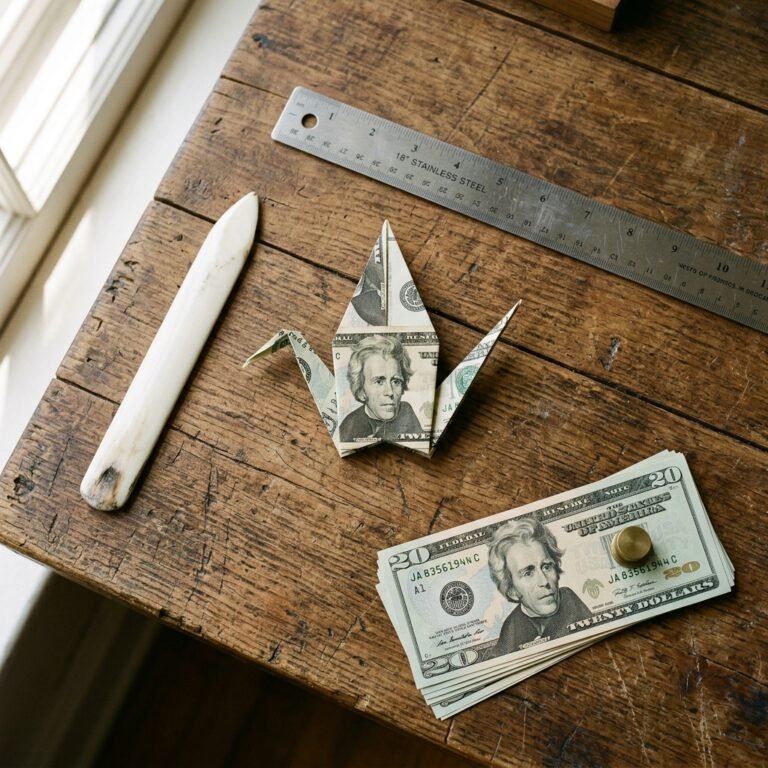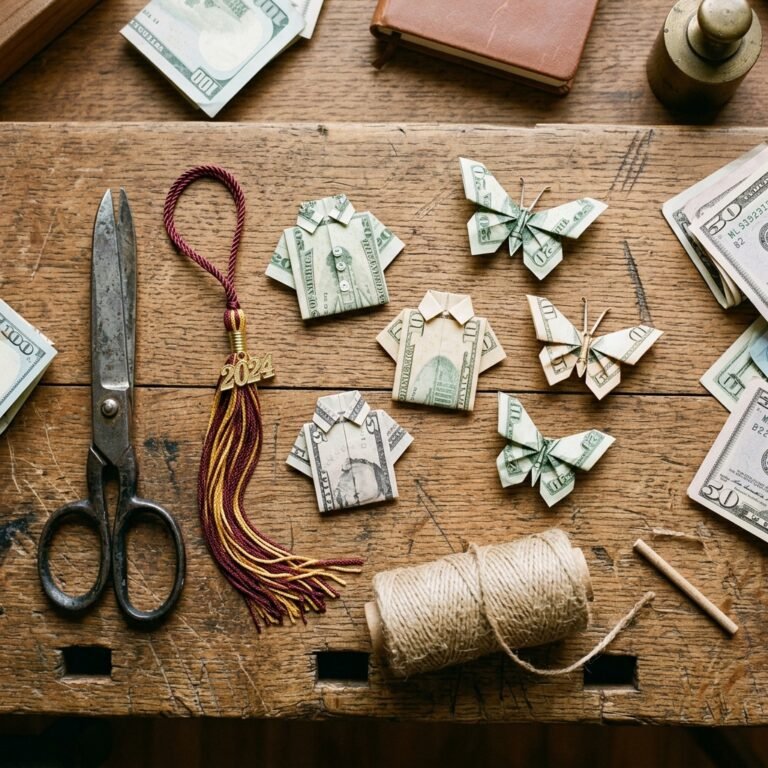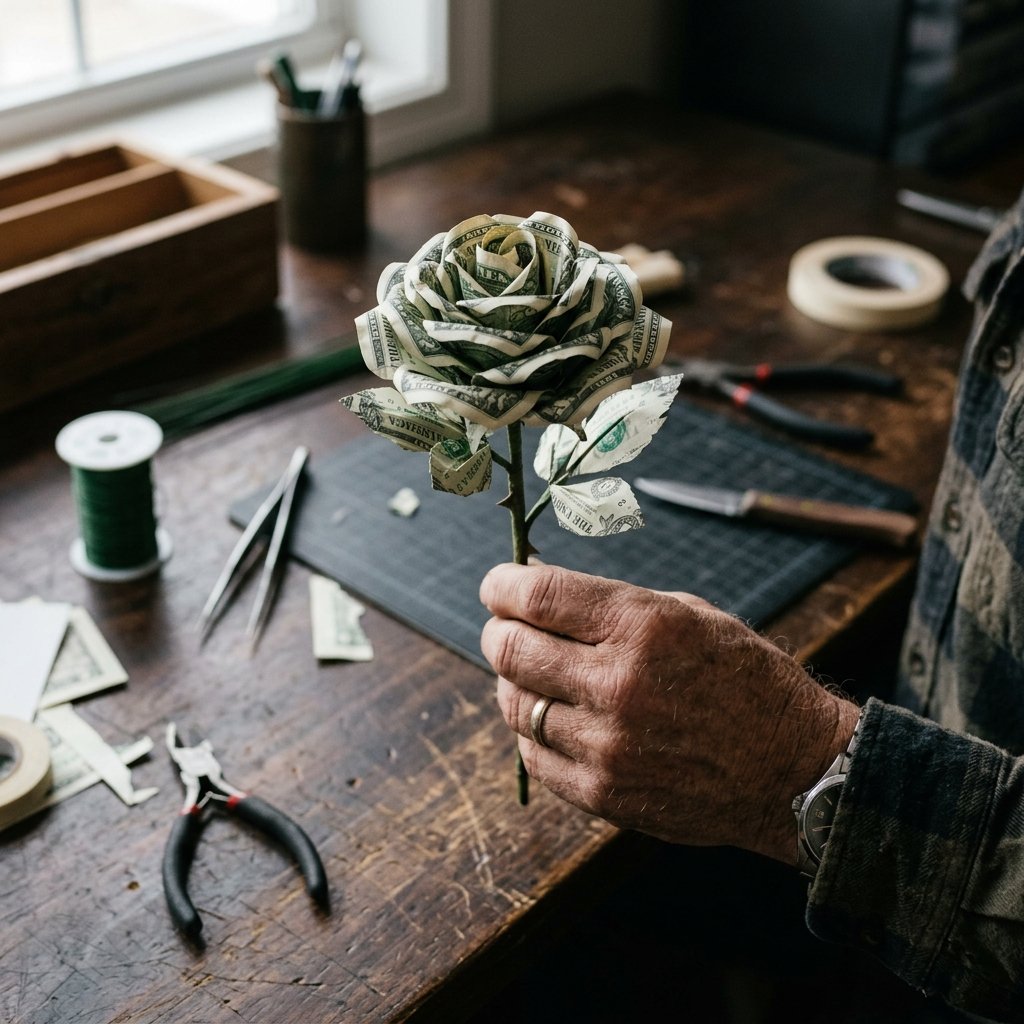

Let’s be honest: handing someone a plain white envelope with a few twenties tucked inside feels a bit… transactional. It lacks the soul of a handmade gift. But what if you could take that same amount of currency and transform it into a stunning, sculptural masterpiece that looks like it belongs in a high-end boutique? Enter the Money Origami Rose. This isn’t just a craft; it’s a clever way to elevate a practical gift into a luxurious experience without spending a single extra dime on the gift itself.
As a frugal DIYer, you know that the best gifts aren’t defined by their price tag, but by the resourcefulness and effort behind them. Whether you are prepping for a wedding, a graduation, or a milestone birthday, this project combines the rugged precision of paper engineering with the elegant aesthetics of a florist. We are going to take crisp bills and turn them into petals that will never wither. Grab your tweezers and let’s get folding.
The Currency Matrix: Choosing Your Petal Power
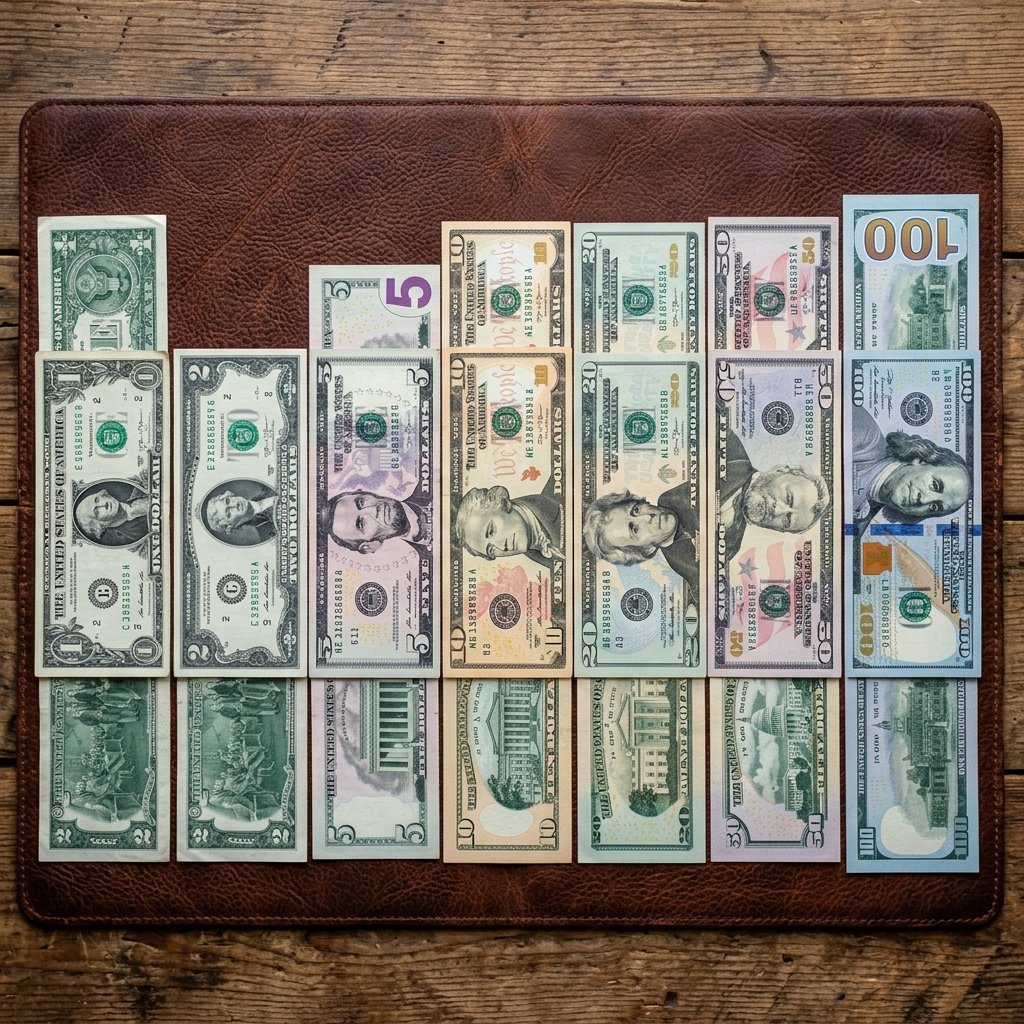
Before we make our first crease, we need to talk strategy. Not all bills are created equal when it comes to the structural integrity of a rose. While a $1 bill is perfect for practicing your technique without stress, a $2 bill adds a touch of rare whimsy, and a $100 bill creates a bouquet that is literally worth its weight in gold. You want bills that are as crisp as possible—straight from the bank is best—because limp, circulated cash won’t hold the necessary tension for a tight bloom.
| Bill Denomination | Visual Impact | Best Occasion | Complexity Level |
|---|---|---|---|
| $1 Bill | Classic & Simple | Casual Birthdays | Beginner |
| $2 Bill | Unique & Rare | Good Luck / Graduation | Intermediate |
| $5 or $10 Bill | Colorful Depth | Anniversaries | Intermediate |
| $20 Bill | Rich & Saturated | Weddings | Advanced |
| $100 Bill | The Ultimate Luxury | Milestone Celebrations | Master Class |
Pro-tip from the budget-savvy expert: If your cash is looking a bit wrinkled, you can actually iron your bills on a low, dry heat setting. Just be careful not to scorch them! A crisp bill is the secret to those razor-sharp edges that make the rose look professional rather than crumpled.
The Toolkit: Essential Gear for the Crafty Expert
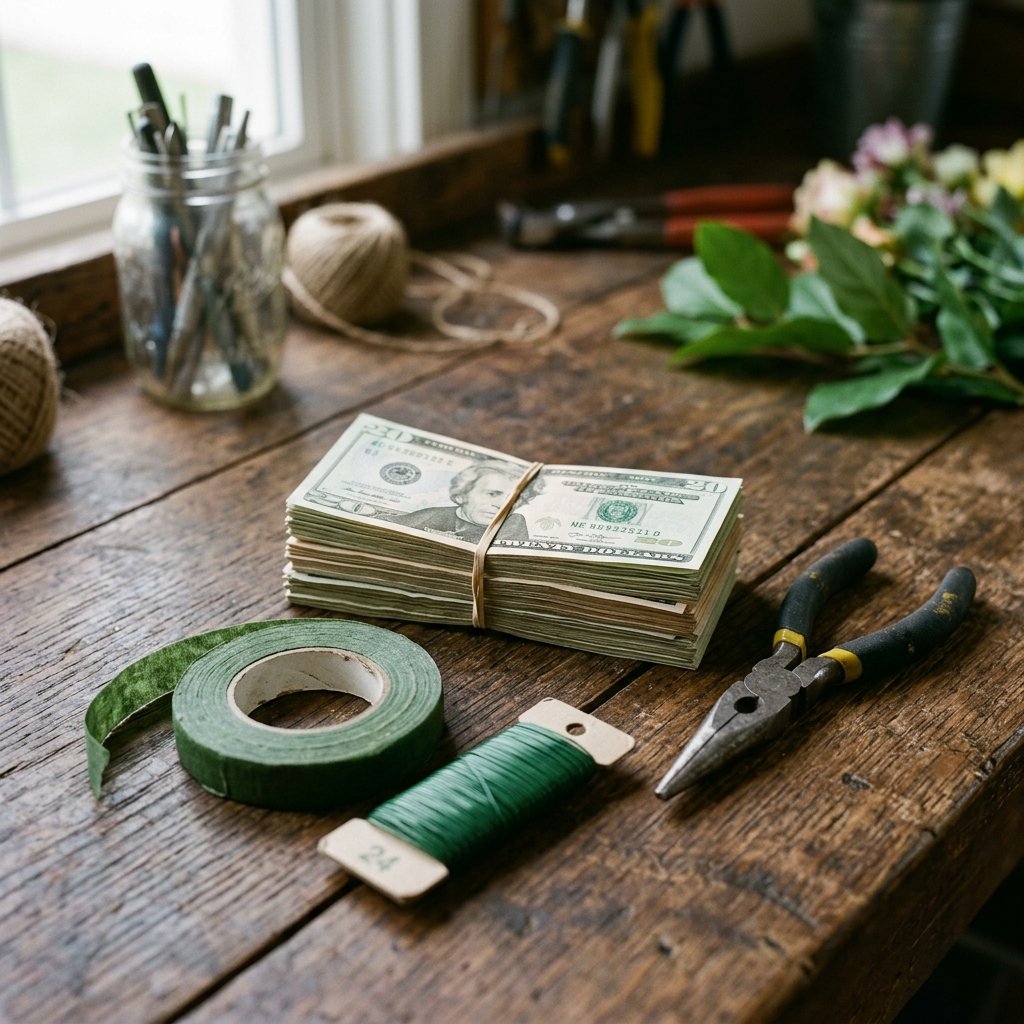
You don’t need a professional studio to pull this off, but a few rugged tools will make the process significantly smoother. This is where your inner handy-parent comes out. We aren’t just folding; we are engineering a botanical replica.
- 5 to 7 Crisp Bills: For a full, lush rose, you’ll want at least five bills.
- Floral Wire (20-22 gauge): This acts as the ‘spine’ of your rose.
- Needle-Nose Pliers: Essential for curling the edges of the petals.
- Green Floral Tape: To wrap the wire and create a realistic stem.
- A Thin Skewer or Toothpick: For those tight, internal curls.
“Precision is the difference between a wad of cash and a work of art. Treat every fold like a structural weld.”
Step-by-Step: Forging the Petals
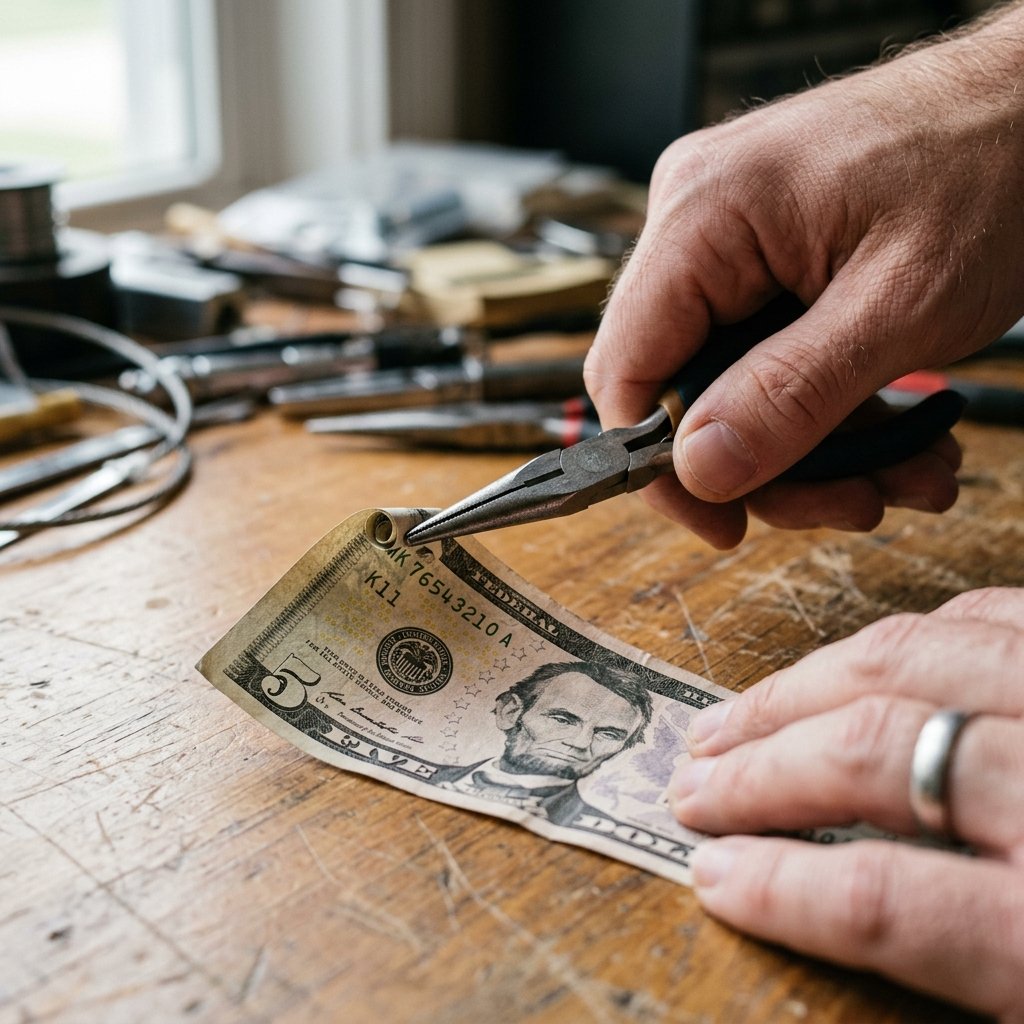
Phase 1: The Core and Inner Petals
We will start by creating the center of the rose and working our way outward. Each bill will represent two petals once folded and attached to the wire.
- The Initial Fold: Lay the bill flat. Fold it in half crosswise so the short ends meet, then crease it firmly.
- The Corner Curls: Using your toothpick or needle-nose pliers, curl all four corners of the bill inward toward the center crease. You want a tight, uniform roll on each corner.
- The Pinch: Open the bill slightly. Using your thumb and forefinger, pinch the center of the bill along the crease line. This creates a ‘butterfly’ shape.
- The Wire Anchor: Take a 12-inch piece of floral wire. Fold it in half over the pinched center of the bill. Twist the wire tightly at the base of the bill to secure it. This is your first petal pair.
- Repeat: Repeat this process for the remaining 4-6 bills. For the very center bill (the bud), make the curls tighter and the pinch more condensed.
Remember, the tension of your twist is vital. If the wire is loose, the rose will wobble. We want a rugged, sturdy construction that can survive being handled.
Assembly: Constructing the Bloom
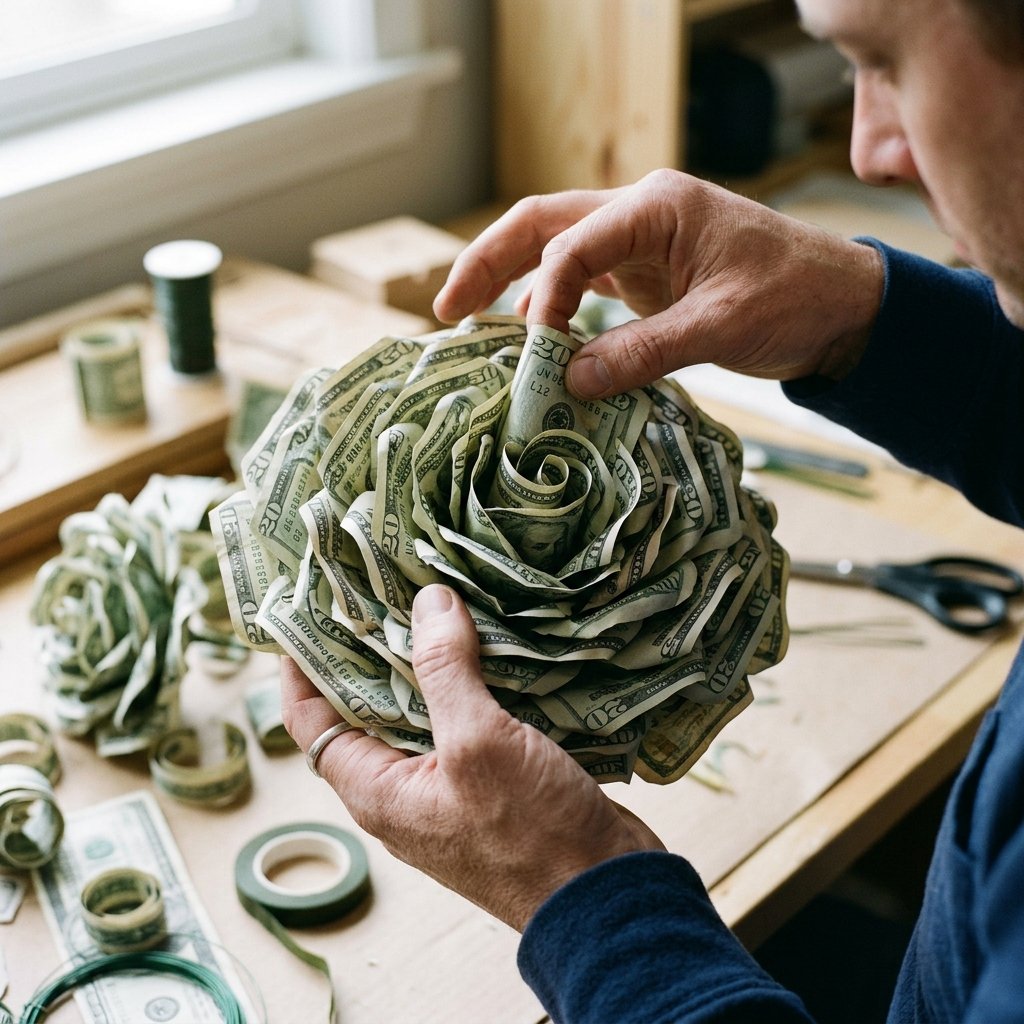
Now that you have your individual petal pairs wired and ready, it’s time to assemble them into a cohesive flower. This is where the magic happens and the ‘trash-to-treasure’ transformation truly takes shape.
Layering for Realism
Start with your tightest-folded bill. This is the heart of the rose. Hold it vertically. Take your second petal pair and place it perpendicular to the first, sliding the wires together. Continue adding petals, rotating the flower 90 degrees each time. This ensures the petals overlap naturally, just like a real organic rose.
Securing the Stem
Once all petals are positioned, grasp all the wires together at the base of the flower. Use your pliers to twist them into one thick, solid stem. This provides the weight and balance needed for the gift to feel substantial in the hand.
| Assembly Phase | Action | Goal |
|---|---|---|
| The Bud | Tightest curls, central placement | Create a focal point |
| The Mid-Layers | Staggered 90-degree rotation | Build volume and width |
| The Outer Petals | Looser curls, flared edges | Simulate a full bloom |
The Finishing Touches: From Craft to Luxury
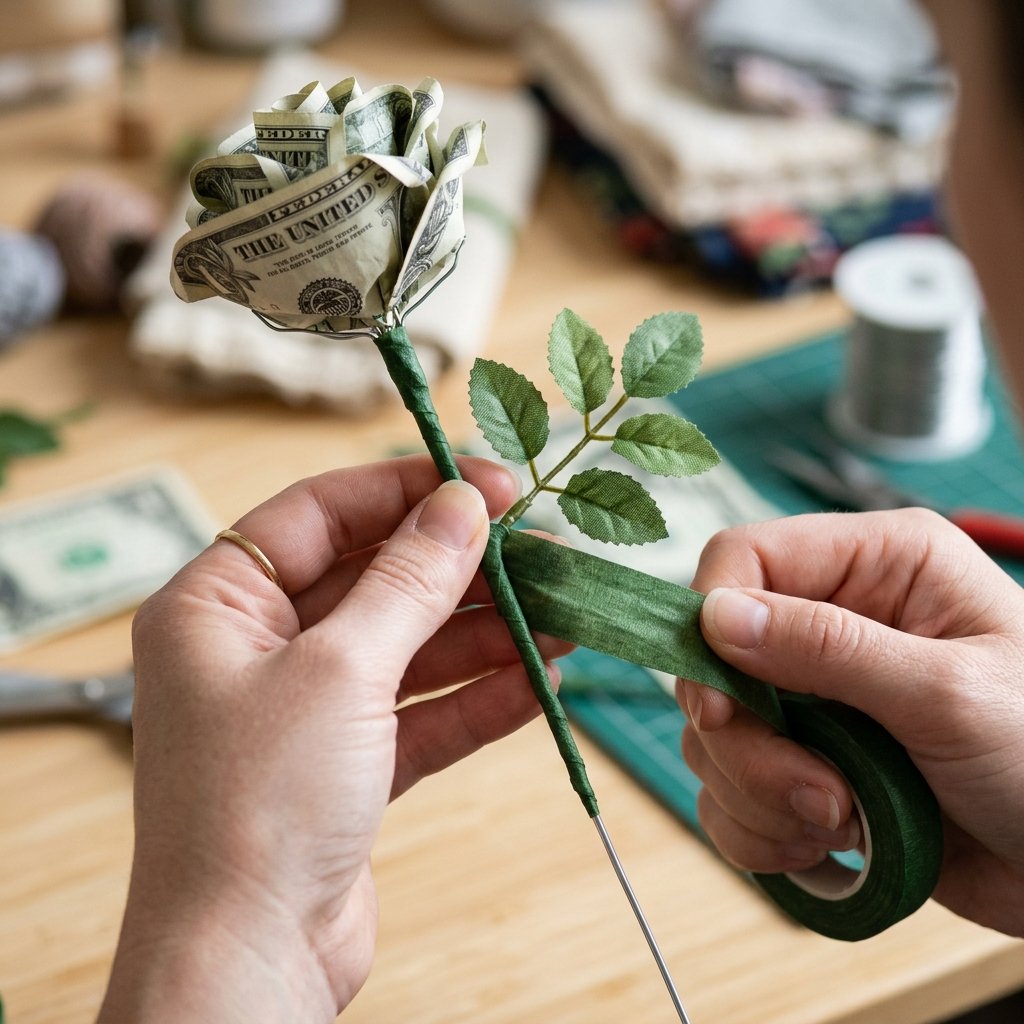
A raw wire stem looks unfinished. To achieve that masculine-elegant aesthetic, we need to dress it up. This is where your event stylist skills come into play.
- Wrapping the Stem: Start at the very base of the petals with your green floral tape. Stretch the tape slightly as you wrap—this activates the adhesive. Wrap tightly down the length of the wire stem.
- Adding Foliage: If you want to be extra resourceful, you can cut leaf shapes out of green construction paper or use faux leaves from a dismantled Dollar Tree bouquet. Wire these into the stem as you wrap.
- The Calyx: The small green bits at the base of a rose are called the calyx. You can simulate this by wrapping extra floral tape in a bulbous shape right where the petals meet the stem.
“The luxury is in the details. A well-wrapped stem tells the recipient that this wasn’t a last-minute thought, but a deliberate act of creation.”
Presentation: The Most Luxurious Delivery
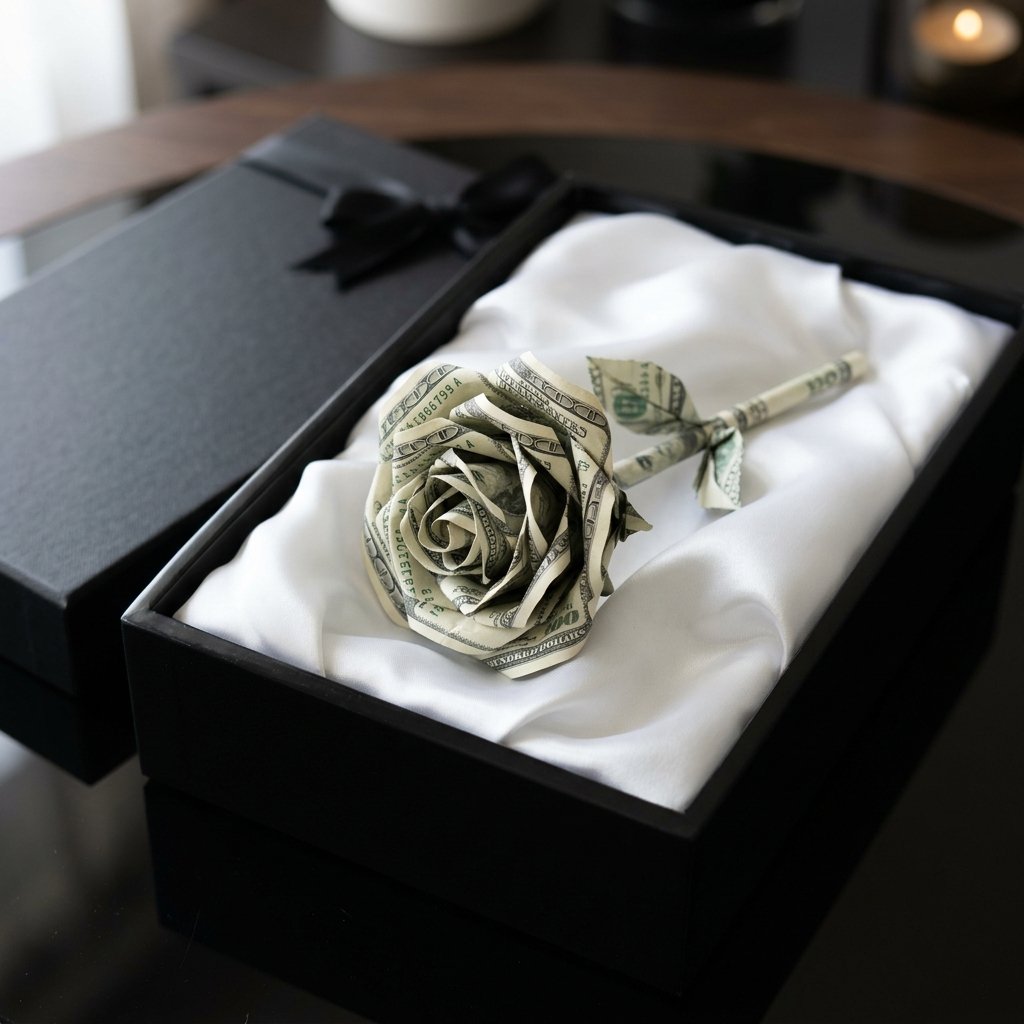
Don’t just hand the rose over bare. To truly blow their minds, the presentation must match the craftsmanship of the origami. You have several budget-savvy options that look incredibly expensive:
1. The Single Stem Box
Find a long, slender jewelry box (or upcycle a chocolate box). Line it with black tissue paper or velvet scrap. Lay the single money rose inside. This mimics the look of a high-end ‘forever rose’ that retails for over $100.
2. The Full Financial Bouquet
If you’re feeling ambitious, create a dozen roses. Mix in some real baby’s breath or dried eucalyptus. Wrap the entire bundle in brown butcher paper and twine for a rugged, artisanal look. This is a show-stopper for weddings.
3. The Shadow Box
For a graduation gift, place the rose inside a deep shadow box frame with a background of the school colors. This turns the cash gift into a piece of commemorative art that they can keep on their shelf until they actually need to spend the money.
Conclusion
Folding a money origami rose is more than just a clever way to give cash; it is a testament to your resourcefulness and your eye for beauty in the everyday. You’ve taken a standard medium of exchange and forged it into a symbol of growth and celebration. By following these steps, you’ve saved money on expensive store-bought cards and plastic-wrapped flowers, while providing a gift that is infinitely more memorable.
Remember, the first one might take you 20 minutes, but by the third, you’ll be a master of the fold. Keep your creases sharp, your wires tight, and your presentation elegant. You’ve just mastered the art of the mind-blowing gift. Now, go forth and make someone’s day with a bloom that’s as valuable as it is beautiful!

Makenzie is the founder and lead writer at MoneyHackTips.com — a personal finance blog dedicated to delivering street-smart financial wisdom for real people on real budgets. With 300+ published articles covering everything from debt management to investing fundamentals, Makenzie’s mission is to make every dollar work harder. When not writing about money hacks, Makenzie is testing frugal living strategies, optimizing side hustles, and helping readers build financial freedom from scratch.