
The Art of the High-Altitude Cash Gift
Let’s be honest: sliding a twenty-dollar bill into a generic, store-bought card is the gifting equivalent of a ‘participation trophy.’ It’s functional, sure, but it lacks that wow factor that makes a recipient feel truly special. As a resourceful DIYer, you know that the best gifts aren’t about how much you spend, but how much creativity and effort you invest. Enter the Money Origami Rocket. This isn’t just a folding project; it’s a piece of kinetic art that transforms a boring piece of legal tender into a symbol of ambition, exploration, and ‘out-of-this-world’ potential.
Whether you are celebrating a graduation (helping them ‘blast off’ into the real world), a birthday for a space-obsessed kid, or even a clever wedding gift for a couple starting their ‘new mission’ together, this rocket is the ultimate solution. In this guide, we are going to channel our inner engineers and master the precise folds required to turn a flat bill into a 3D spacecraft. We’ll use budget-savvy techniques, upcycled presentation materials, and a bit of ‘Grandma’s secret’ precision to ensure your gift stands head and shoulders above the rest. Best of all? It costs you exactly $0 in extra materials if you have a bill and a little patience. Let’s prepare for countdown.
The Flight Deck: Choosing Your Denomination and Tools
Selecting the Right Fuel
Not all bills are created equal when it comes to origami. While you can fold any denomination, the ‘crispness’ of the paper is your most important factor. A limp, wrinkled bill will result in a rocket that looks like it’s survived a crash landing rather than one ready for orbit. If you’re at the bank, ask the teller for ‘uncirculated’ bills. These have the structural integrity needed to hold sharp creases and stand upright.
| Bill Denomination | Visual Impact | Best Occasion |
|---|---|---|
| $1 Bill | Great for practice or ‘fleet’ gifts | Kids’ birthdays / Small rewards |
| $5 Bill | Nice contrast with the Lincoln imagery | Science fair prizes |
| $20 Bill | The ‘Gold Standard’ for gifts | Graduations / Significant milestones |
| $50 / $100 Bill | Maximum ‘Wow’ factor | Weddings / Major career launches |
The Minimalist Tool Kit
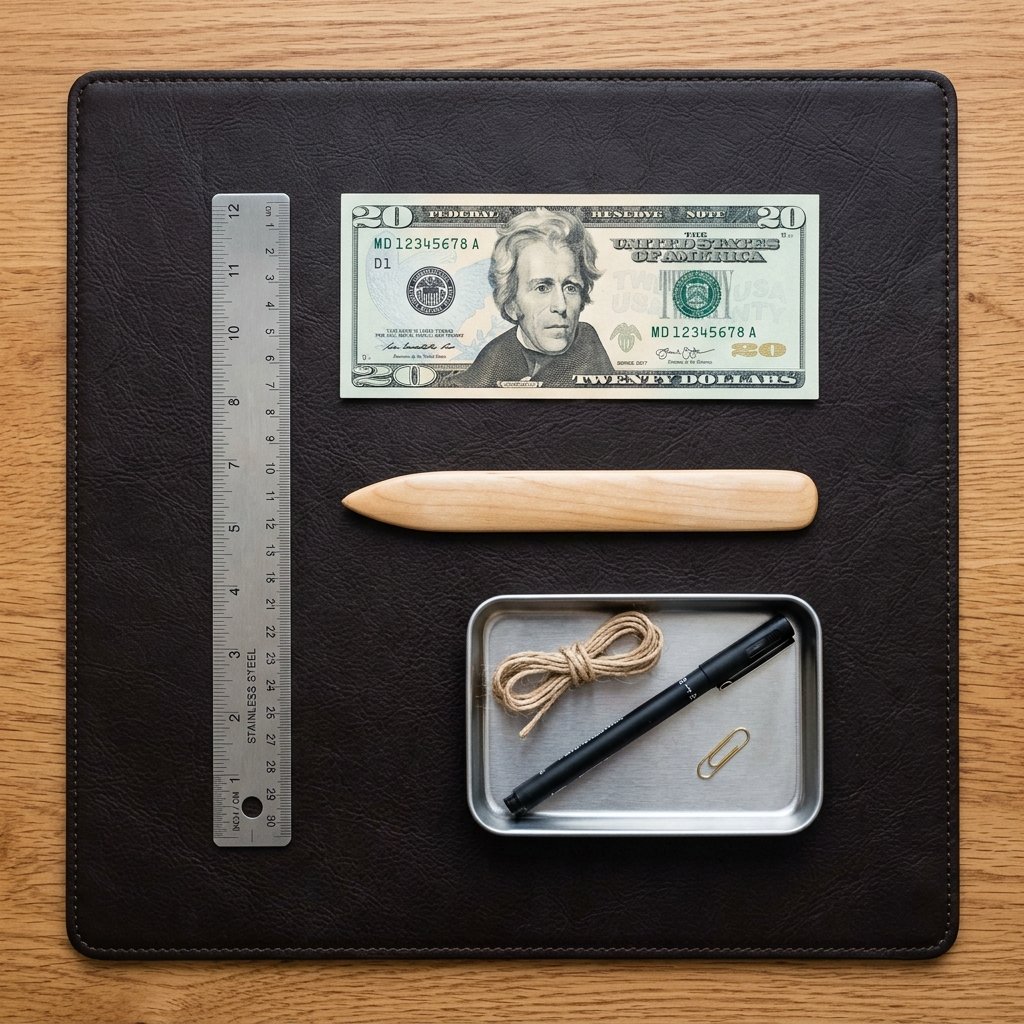
While your hands are your primary tools, a few household items can elevate your rocket from ‘good’ to ‘professional grade.’ You don’t need to buy a fancy origami kit; just look in your junk drawer or kitchen. A bone folder is ideal, but the edge of a plastic credit card or a clean butter knife works perfectly for sharpening those folds. Remember, in the world of money origami, precision is king.
- A Flat Surface: Avoid folding on your lap. Use a hard desk or table.
- Clean Hands: Oils and dirt can smudge the ink on the bill, especially on higher denominations.
- A Ruler: Useful for finding the exact center of the bill before the first fold.
The Launch Sequence: Step-by-Step Folding Instructions

Folding Your Masterpiece
Follow these steps closely. Origami is a game of millimeters. If your first fold is off, the final fins won’t align. Take your time and enjoy the process of engineering something from nothing.
Maintain a ‘measure twice, fold once’ mentality. If a fold feels forced, back up and realign the edges. A sharp crease is the difference between a rocket and a crumpled wad of cash.
- The Initial Vertical Crease: Lay the bill flat (horizontally). Fold it in half lengthwise (hot dog style) to create a center crease, then unfold it. This is your ‘guideline.’
- The Nose Cone Foundation: Fold the top two corners down to meet the center crease, forming a triangle shape at the top. This looks like the start of a paper airplane.
- The Secondary Taper: Fold those same top edges inward to the center crease one more time. This creates a much sharper, thinner point for your rocket’s nose cone.
- The Fuselage Fold: Take the bottom edge of the bill and fold it up about 1/3 of the way. This will eventually become the base where the fins attach.
- The Side Wings: Fold the left and right sides of the bill inward so they meet at the center. You should now see a very narrow, vertical shape with a sharp point at the top.
- The Fin Flare: This is the tricky part. At the bottom of the bill, pull the inner corners outward and ‘squash’ them down to create two triangular fins that stick out from the sides.
- The Final Lock: Flip the bill over and tuck any loose flaps into the folds on the back to ensure the rocket stays together without the need for tape or glue.
Expert Tip for Stability
If you want your rocket to stand vertically on a table, gently pull the back folds slightly open at the base to create a ‘tripod’ effect with the fins. This makes it a functional piece of decor rather than just a flat object.
The Command Center: Upcycled Presentation Ideas
Presenting Your Gift Like a Pro
A rocket shouldn’t just be handed over; it needs a launch pad. This is where your ‘Trash-to-Treasure’ skills shine. Instead of buying a plastic display case, look around your home for high-end ‘dupe’ materials.
The ‘Galaxy Jar’ Display
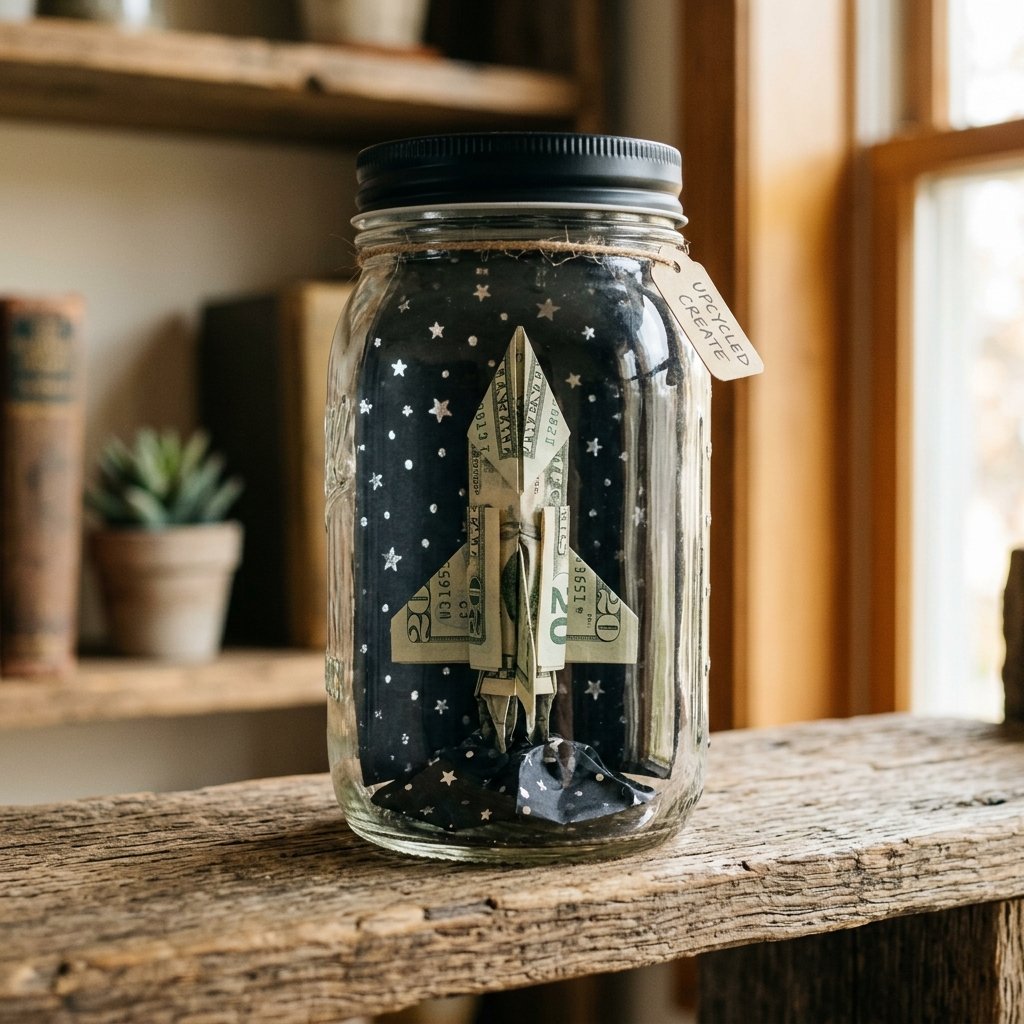
Take an old jelly jar or mason jar and clean it thoroughly. Remove the label using a bit of cooking oil and baking soda (a classic frugal hack). Spray paint the lid a matte black or metallic silver. Inside the jar, place a small piece of black cardstock rolled into a cylinder. Use a silver metallic Sharpie to dot ‘stars’ onto the black paper. Place your money rocket inside so it looks like it’s soaring through deep space.
| Material | Upcycled Source | Cost |
|---|---|---|
| Display Vessel | Empty Pickle or Jam Jar | $0.00 |
| Space Backdrop | Black Construction Paper / Cereal Box painted black | $0.00 |
| Star Dust | Old Glitter or White Paint Splatter | $0.00 |
| The ‘Fuel’ | The Money Origami Rocket | Face Value |
The Shadow Box Trick
If you have an old deep-set picture frame, you can create a 3D shadow box. Glue a few cotton balls at the bottom of the frame to simulate launch smoke and mount the rocket just above them using a tiny piece of removable double-sided tape. It’s a rugged, elegant look that the recipient can actually display on a shelf before they decide to spend the ‘fuel.’
Mission Control: Troubleshooting and Savings Analysis
Why DIY Beats the Store Every Time
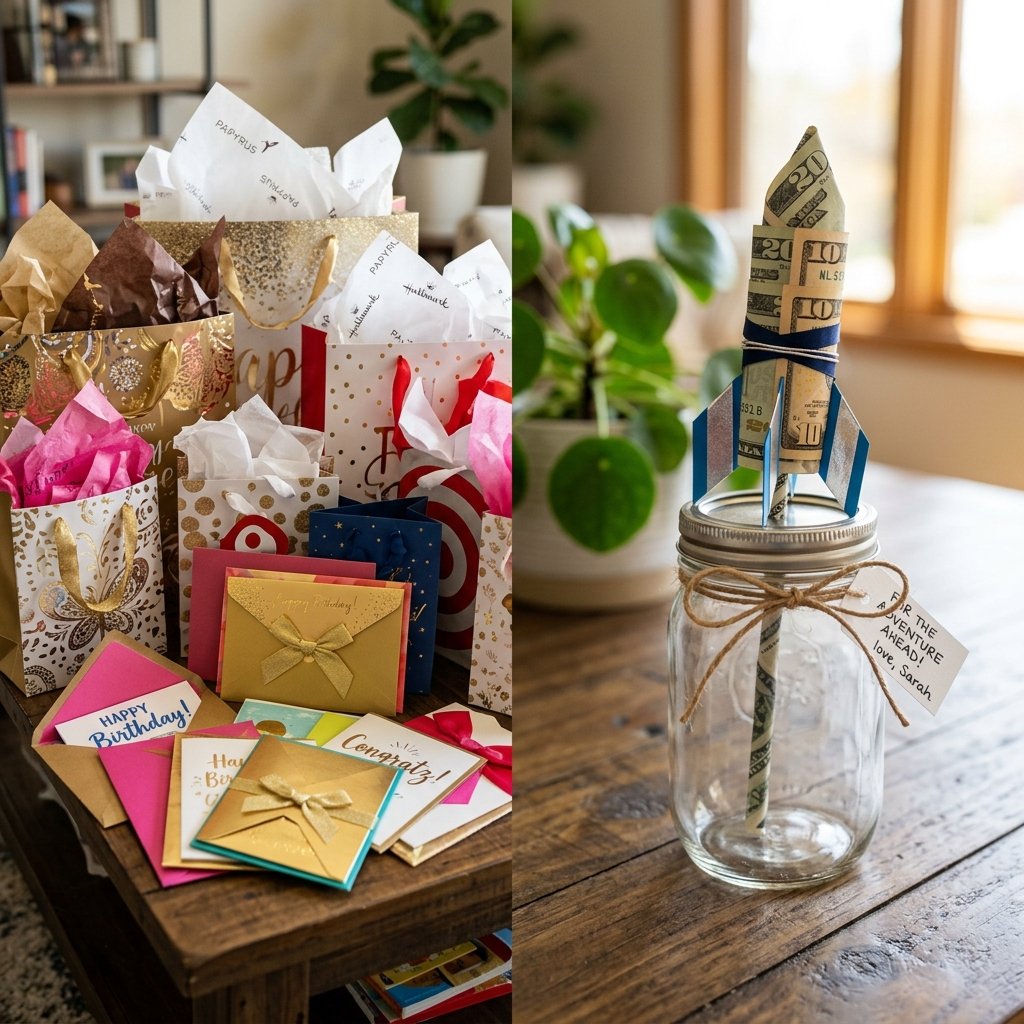
In a world of digital transfers and Venmo, a physical, hand-folded gift is a tactile reminder of connection. But beyond the sentiment, let’s look at the practical, budget-savvy side of this project. When you choose to make a money origami rocket, you are bypassing the ‘Greeting Card Tax.’
The Cost Comparison
| Expense Item | Store-Bought Gift Set | DIY Money Rocket |
|---|---|---|
| Card/Packaging | $5.00 – $8.00 | $0.00 (Upcycled) |
| Gift Bag/Tissue | $4.00 | $0.00 |
| Added Value | None (Standard) | High (Handmade Art) |
| Total Extra Cost | $9.00 – $12.00 | $0.00 |
The most valuable thing you can give someone is your time. Folding money into art proves you didn’t just stop at the ATM on the way to the party; you sat down and crafted something specifically for them.
Common Pitfalls to Avoid
- The ‘Soggy’ Rocket: If your bill is too old, the fins will droop. Use a tiny bit of hairspray (lightly misted) to stiffen the bill if you’re in a pinch with an old note.
- The Misaligned Nose: If the point of your rocket isn’t sharp, your initial center fold was likely off-center. Always fold the bill in half to find the true center before starting your corner folds.
- Safety Note: Never use glue or staples on currency. It is technically legal to fold money, but defacing it or making it unusable for machines can be a headache for the recipient later. Stick to friction-based folds only.
Conclusion
Final Countdown: You’re Ready for Liftoff
Creating a Money Origami Rocket is more than just a clever way to give cash; it’s a testament to the power of resourceful creativity. You’ve taken a standard object—a piece of paper worth a fixed amount—and added intangible value through the art of the fold. You’ve saved nearly $15 in unnecessary packaging costs and created a gift that will be remembered long after the money is spent.
As you hand over your masterpiece, remember that the best gifts reflect the personality of both the giver and the receiver. This rocket says you are clever, practical, and detail-oriented, and it tells the recipient that their future is bright and boundless. So, grab a crisp bill, find a flat surface, and start folding. Your next gift-giving occasion is about to reach escape velocity. Happy crafting!

Makenzie is the founder and lead writer at MoneyHackTips.com — a personal finance blog dedicated to delivering street-smart financial wisdom for real people on real budgets. With 300+ published articles covering everything from debt management to investing fundamentals, Makenzie’s mission is to make every dollar work harder. When not writing about money hacks, Makenzie is testing frugal living strategies, optimizing side hustles, and helping readers build financial freedom from scratch.