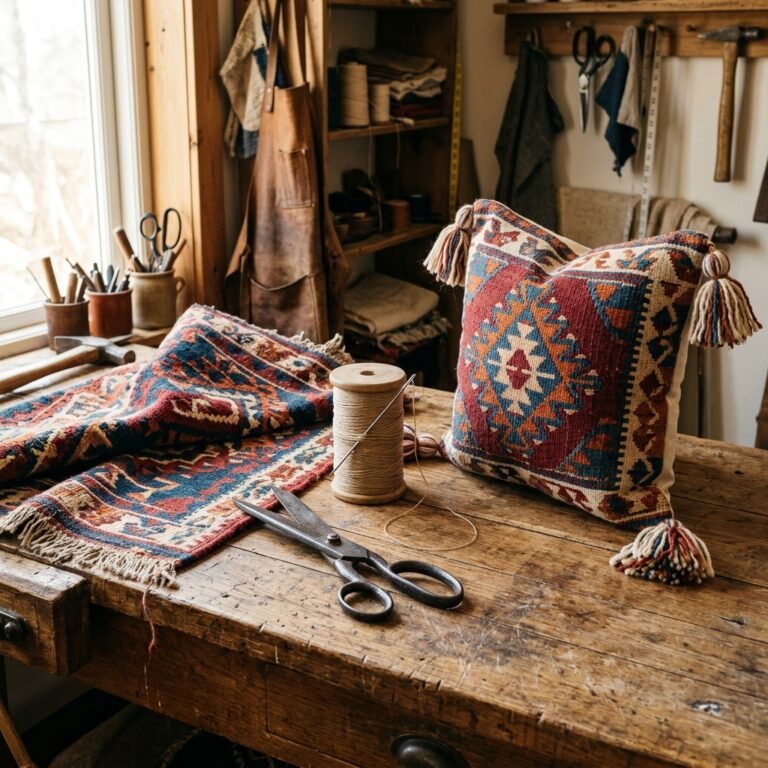

When the air turns crisp and the leaves begin their fiery descent, there is an undeniable, primal urge to cocoon our homes in warmth. We crave the rugged, comforting embrace of autumn—the scent of woodsmoke, the crunch of fallen leaves, and the visual hug of classic plaid. But let us be brilliantly honest: walking into a high-end home decor store during the fall season can be an absolute assault on a frugal DIYer’s wallet. You will easily find mass-produced, faux-rustic garlands sporting price tags of $35, $50, or even $75. As crafty experts, handy parents, and budget-savvy upcyclers, we know a profound truth: the most soulful, beautiful home decor isn’t bought; it is resourcefully forged from the things we already have.
Welcome to the ultimate trash-to-treasure masterclass. Today, we are going to dive deep into the art of upcycling by transforming that torn, paint-stained, or outgrown flannel shirt sitting in the back of the closet into a stunning, masculine-elegant DIY Flannel Shirt Garland. This isn’t just a craft; it is a testament to resourceful living. By marrying the rugged charm of worn flannel with the organic texture of jute twine, we are going to create a piece of high-end-looking seasonal decor for absolutely pennies.
Whether you are a handy dad looking to repurpose your old work shirts, a budget-savvy mom styling a porch makeover on a dime, or a creative gift-giver crafting custom autumn presents, this project is your golden ticket. It requires zero sewing machine skills, takes less than 60 minutes from start to finish, and offers an incredibly satisfying, tactile crafting experience. We are going to cover everything from sourcing your materials on a zero-budget, to cutting the perfect pennants, to achieving that highly sought-after, perfectly frayed lumberjack edge. Roll up your sleeves, grab your fabric scissors, and let’s cozy up your home with some serious handmade, rustic charm.
The Lumberjack’s Legacy: Sourcing Your Plaid on a Zero-Budget
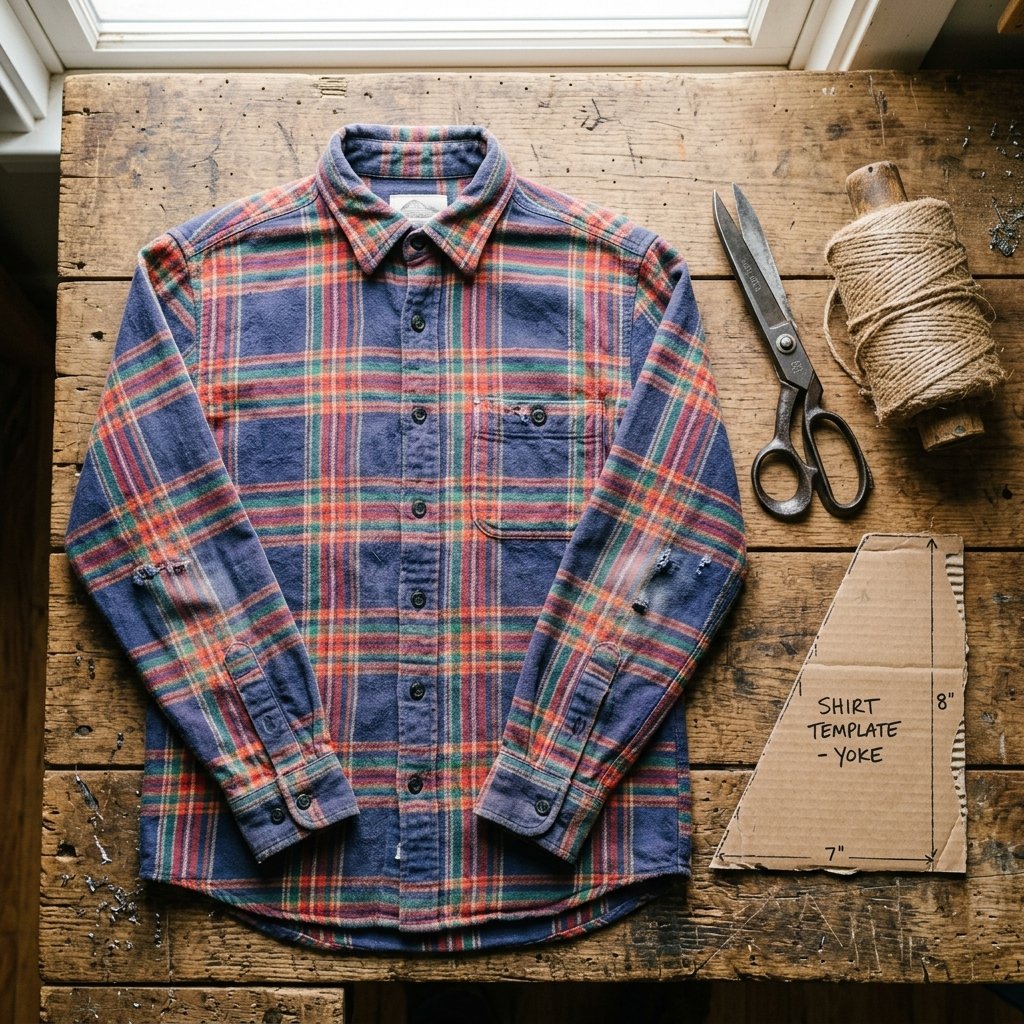
The foundation of this resourceful project lies in the hunt. The beauty of a rustic flannel garland is that it thrives on imperfection. A brand-new, stiff yard of fabric from the craft store lacks the history, the softness, and the rugged, lived-in drape of an old, well-loved shirt. Your first mission is to source your raw materials without breaking a $5 bill.
Start by raiding your own home. Look for men’s work shirts that have frayed collars, un-mendable tears in the sleeves, or stubborn grease stains. These “ruined” garments are an absolute goldmine for the frugal crafter. If your closets are bare, head to your local thrift store, Goodwill bins, or neighborhood yard sales. You can often score XXL men’s flannel shirts for $1 to $2. The larger the shirt, the higher your fabric yield! You can also check out the Dollar Tree during the fall and winter months; they often stock surprisingly decent plaid scarves that can easily be cut down for this exact project.
Store-Bought Decor vs. Zero-Budget DIY
To truly appreciate the value of this crafty endeavor, let us break down the economics of upcycling. Here is a stark comparison of what you would pay at a premium boutique versus what we will spend in our resourceful DIY workshop:
| Decor Element | High-End Boutique Cost | Our Zero-Budget DIY Cost |
|---|---|---|
| Plaid Fabric / Pennants | $25.00 (Pre-cut synthetic blend) | $0.00 – $2.00 (Upcycled old shirt) |
| String / Binding | $8.00 (Pre-strung ribbon) | $1.25 (Dollar Tree Jute Twine) |
| Rustic Embellishments | $12.00 (Plastic beads/accents) | $0.00 (Foraged pinecones/twigs) |
| Total Investment | $45.00+ | Under $4.00 |
By choosing to upcycle, you are not only saving upwards of $40, but you are also keeping textiles out of landfills. It is a triumphant win for your wallet and the environment.
Gathering the Arsenal: Tools and Materials for the Frugal Crafter
Every master crafter knows that preparation is the key to a flawless execution. Fortunately, this project relies on basic, heavy-duty tools that most handy parents and DIYers already have stashed in their workshops or craft bins. We are keeping things practical, straightforward, and budget-friendly.
The Essential Toolkit:
- Upcycled Flannel Shirts: At least 1-2 shirts in complementary autumn colors (think deep mustard yellows, forest greens, burnt oranges, and classic lumberjack reds).
- Heavy-Duty Fabric Scissors: A sharp pair of shears is non-negotiable for clean cuts. Do not use your kitchen paper scissors!
- Jute Twine or Heavy Rope: For stringing the garland. Jute adds that essential masculine-elegant, rustic texture.
- Cardboard Scrap: An old Amazon box works perfectly for creating your pennant template.
- Hot Glue Gun & Extra Sticks: The budget crafter’s best friend for quick, durable assembly without a sewing machine.
- A Ruler or Measuring Tape: For establishing the perfect proportions.
Crafty Safety & Pro-Tip: If you are using a rotary cutter instead of fabric scissors to speed up the process, always use a self-healing cutting mat to protect your kitchen table, and ensure the safety guard is engaged the moment the tool leaves your hand. Rotary blades are unforgivingly sharp!
Once your materials are gathered, clear a large workspace. Put on a pot of coffee or pour a mug of hot apple cider—crafting should be a sensory, enjoyable experience, not a chore.
The Master Blueprint: Prepping, Measuring, and Cutting with Precision
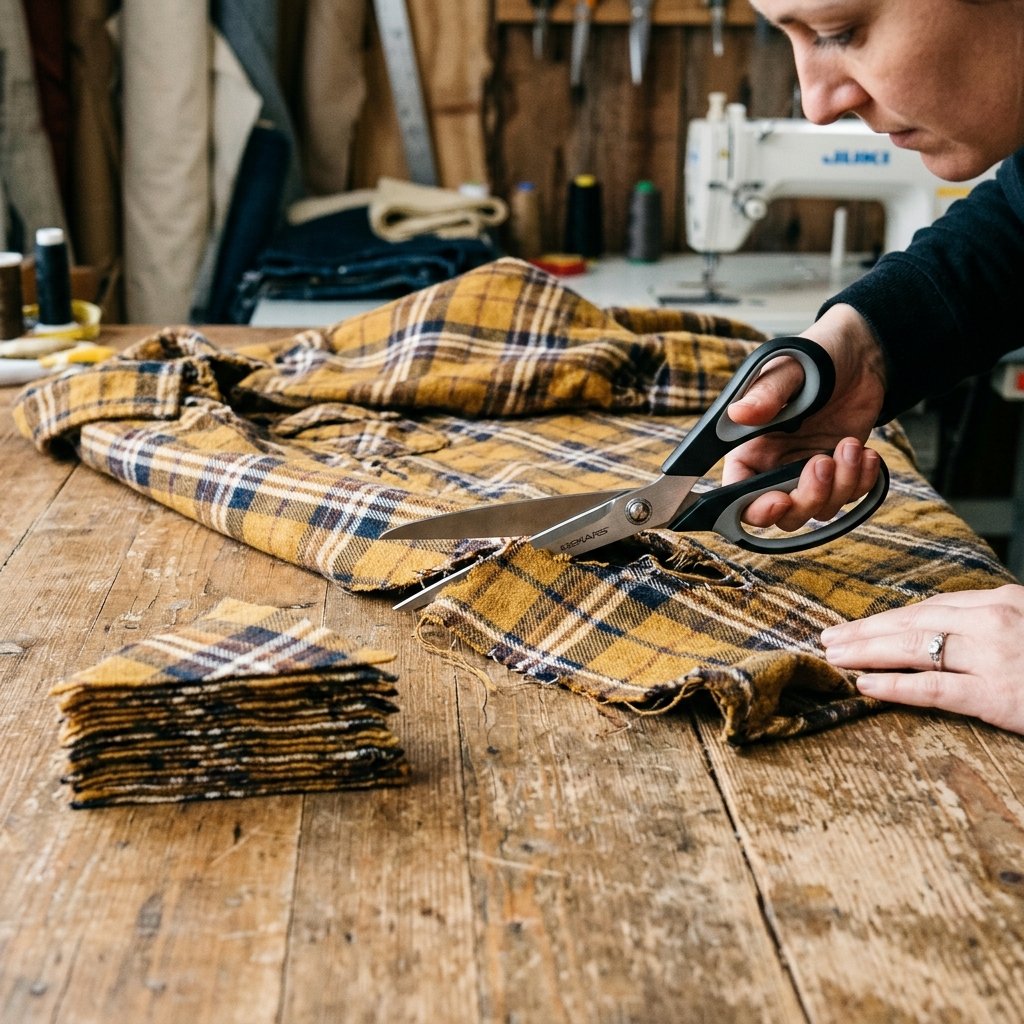
Now we enter the architectural phase of our garland. To achieve a high-end look, consistency in your pennant shapes is crucial, even if we are going for a rugged, distressed finish. We achieve this consistency through a simple, zero-cost cardboard template.
Step 1: Creating the Ultimate Template
Grab your scrap cardboard and a ruler. For a classic, well-proportioned mantle garland, draw a triangle with a base of 5 inches and a length (height) of 7 inches. Cut this triangle out. This is your master blueprint. If you want a more dramatic, oversized porch garland, scale up to an 8-inch base and a 10-inch length.
Step 2: Harvesting the Flannel
Lay your upcycled shirt flat on your work surface. Button it up completely to keep the fabric aligned. Begin by cutting off the sleeves, the collar, and the thick button plackets. Do not throw these away! (We will discuss how to use these scraps in our zero-waste section later). You want to be left with the large, flat panels of the front and back of the shirt.
Step 3: Tracing and Cutting
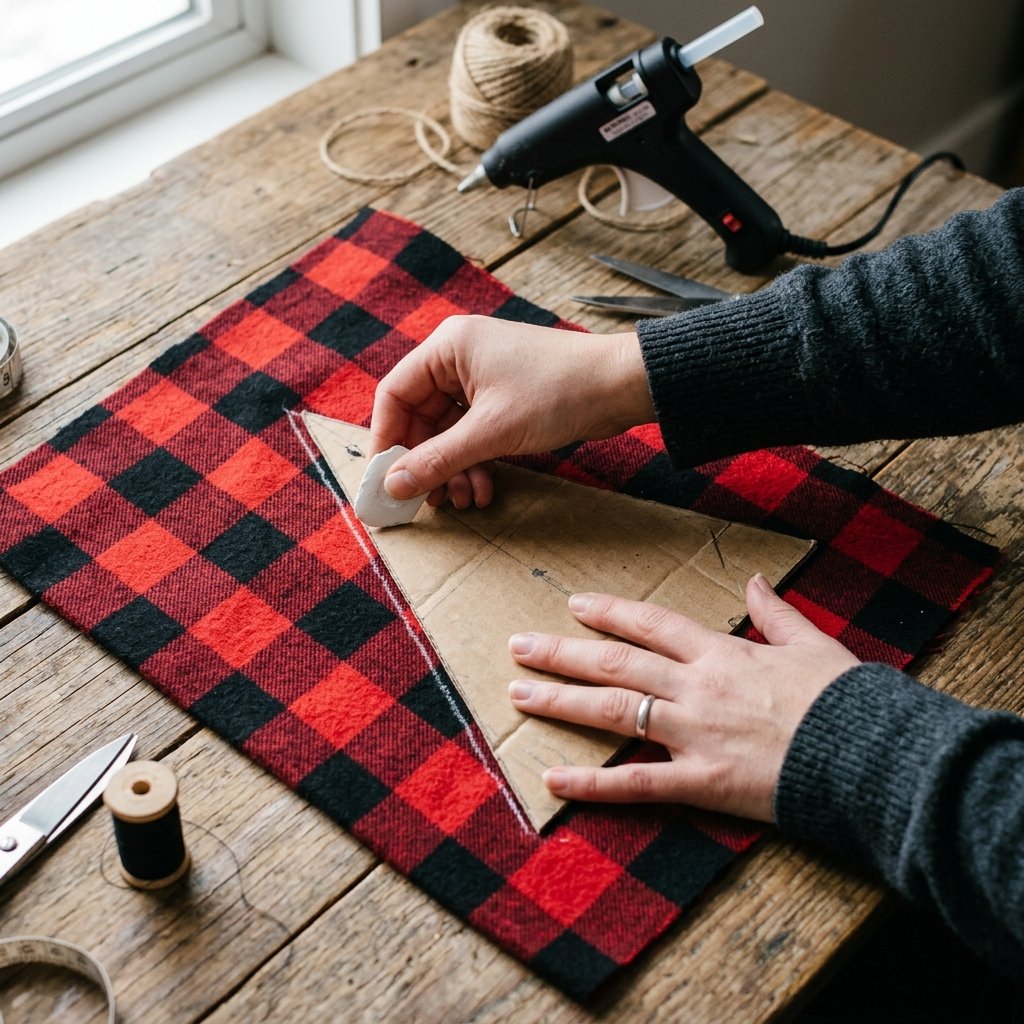
Lay your cardboard template onto the flannel. To maximize your fabric yield, trace the triangles in an alternating, tessellating pattern (one pointing up, the next pointing down). Use tailor’s chalk or a simple sharpie (since the edges will be hidden or frayed anyway). Once traced, take your heavy-duty fabric scissors and carefully cut out your pennants. For a standard 6-foot mantle garland, you will need approximately 12 to 15 flannel triangles.
The Frugal Expert’s Mantra: “Measure twice, cut once, and save every scrap.” Even the odd-shaped end pieces of your flannel can be utilized for smaller rustic crafts, ensuring absolutely zero waste.
Distressing for Success: Achieving the Perfect Rugged Frayed Edge
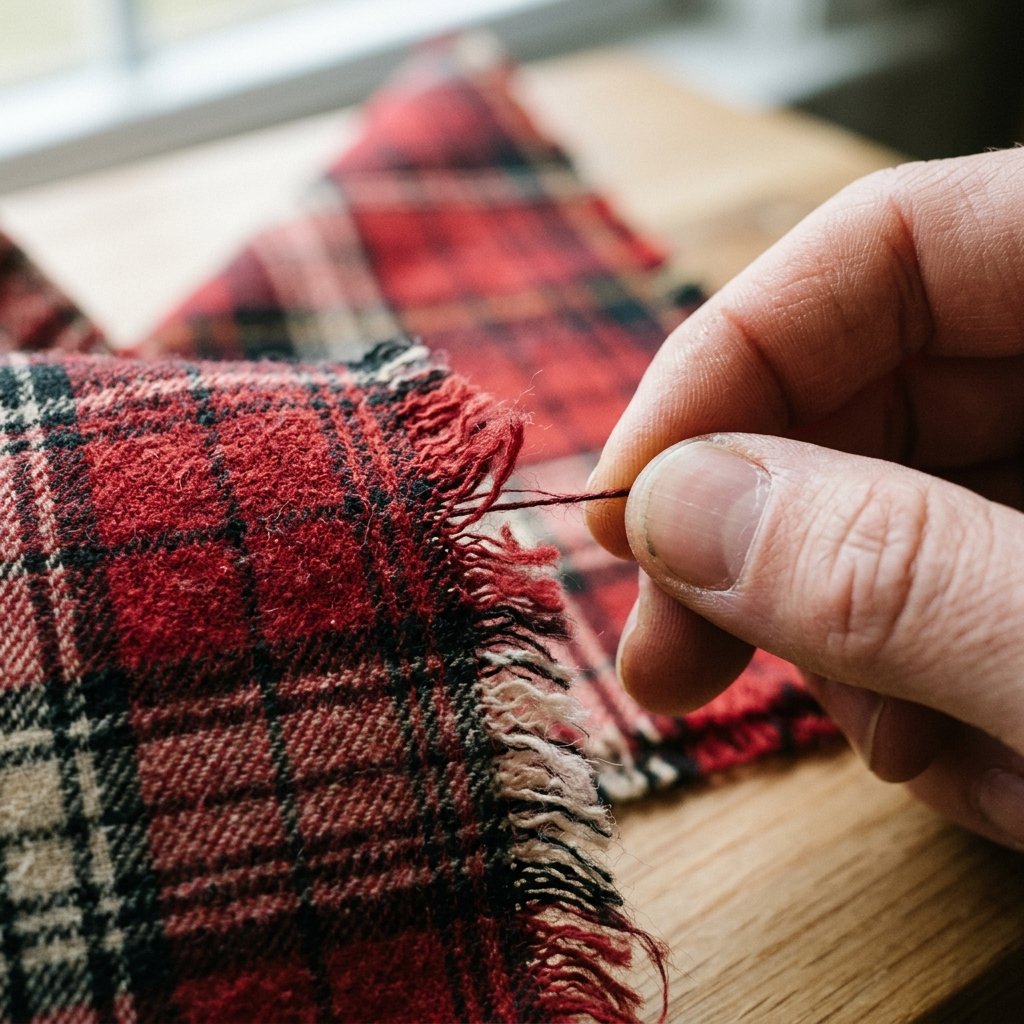
A clean, sharp edge on a flannel pennant looks too modern and sterile. To truly capture that cozy, lumberjack-chic aesthetic, we need to distress the edges. Fraying flannel is incredibly satisfying and gives the garland a beautifully weathered, masculine-elegant texture that looks like it has been passed down through generations of cabin dwellers.
The Art of the Fray
- Identify the Grain: Look closely at your cut triangles. Flannel is a woven fabric made of intersecting horizontal and vertical threads.
- Pinch and Pull: Starting at the longest edge of your triangle, use your thumb and index finger to pinch a single thread running parallel to the edge. Gently pull it away from the fabric.
- Work the Perimeter: Continue pulling threads one by one along the two downward-pointing sides of the triangle. Leave the top base edge intact, as this will be folded over the twine.
- Control the Distress: Stop fraying once you have a fringe of about 1/4 inch to 1/2 inch. If the threads resist, use a thick darning needle or an awl to coax them loose from the weave.
This step takes a bit of patience, taking roughly 1 to 2 minutes per pennant, but it is the defining detail that elevates your project from a “cheap craft” to “artisanal rustic decor.” The soft, fuzzy fringe catches the warm light of autumn candles beautifully, adding immense depth and coziness to your home.
Stringing It Together: Assembly Techniques for a Durable Garland

With our perfectly distressed pennants ready, it is time to assemble the garland. We are going to use the “Fold and Glue” method. It is rugged, highly durable, and requires absolutely no sewing, making it perfect for the practical, time-strapped DIYer.
Step-by-Step Assembly:
- Measure the Twine: Determine where you will hang the garland (e.g., your fireplace mantle). Measure that length and add an extra 2 feet on each end for creating hanging loops and allowing for a natural, relaxed drape. Cut your jute twine.
- Layout the Pattern: Lay your twine out straight on the floor or a long table. Arrange your flannel triangles below the twine, spacing them about 1 to 2 inches apart. If you are using multiple shirt colors, alternate them thoughtfully to create a balanced visual rhythm.
- The Glue and Fold: Take your first triangle. Run a generous, straight line of hot glue along the top edge (the un-frayed base), about 1/2 inch down from the top.
- Set the Twine: Quickly lay the jute twine directly onto the line of hot glue.
- Seal the Deal: Fold the top 1/2 inch of the fabric over the twine and press firmly. Safety Note: Use a silicone finger protector, a popsicle stick, or a thimble to press the hot fabric down to avoid burning your fingers!
- Repeat: Continue this process down the line until all your pennants are securely attached to the rustic twine.
This method creates a clean, seamless look from the front, while the sturdy fold over the thick jute ensures the pennants won’t slide around or curl at the top when hung.
Masculine-Elegant Upgrades: Leather, Wood, and Nature’s Bounty
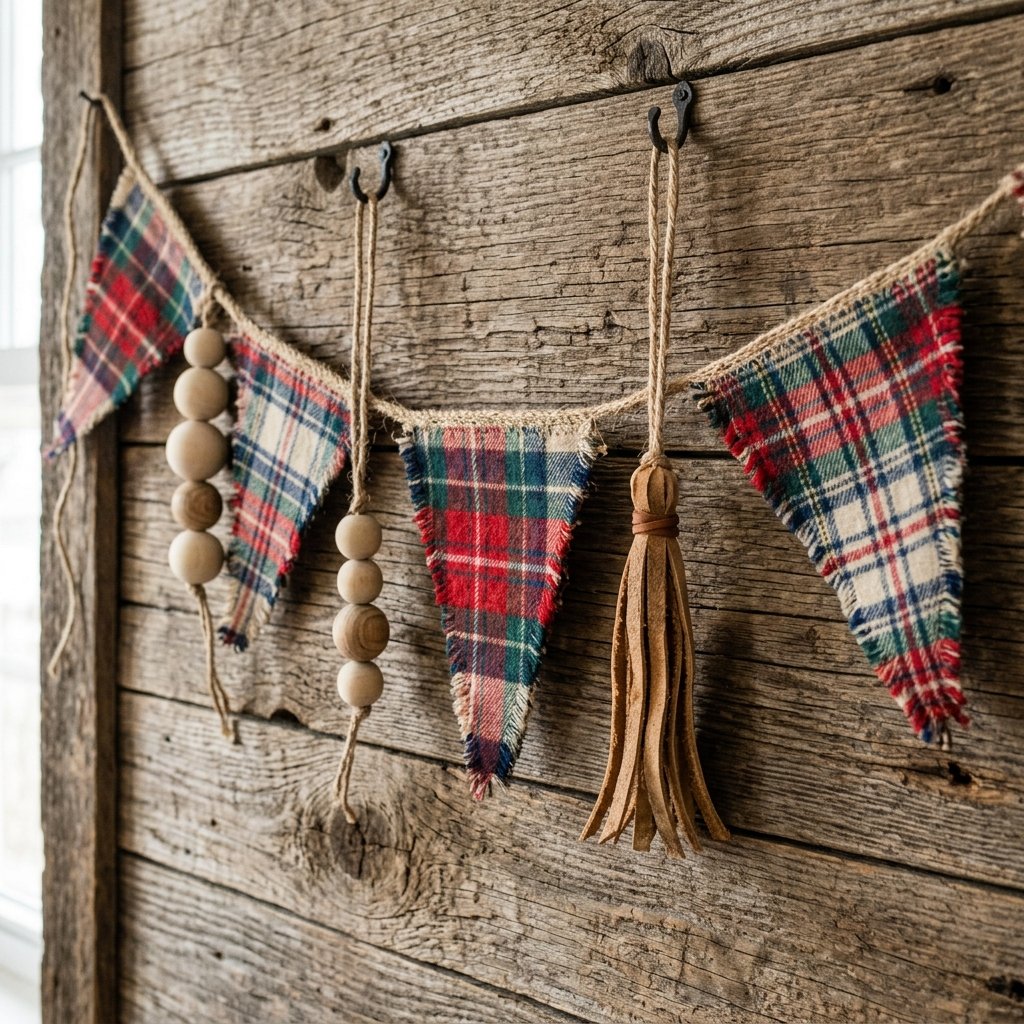
Your basic flannel garland is now complete, but as resourceful creatives, we never stop at “basic.” To truly infuse that masculine-elegant, Dollar Tree high-end dupe energy into your decor, we are going to add budget-savvy embellishments. This is where you can raid your craft stash or forage in your backyard.
Creative Embellishment Ideas:
- Raw Leather Tassels: Have an old, worn-out leather belt or a scrap of upholstery leather? Cut them into thin strips, tie them into simple tassels, and knot them onto the jute twine between every flannel pennant. The combination of soft plaid and rugged leather is the pinnacle of cabin-chic styling.
- Wooden Beads: String large, unfinished wooden beads onto the twine between the fabric triangles. For a cost-saving hack, check the Dollar Tree craft aisle for wooden bead garlands that you can dismantle and repurpose.
- Foraged Pinecones & Twigs: Take a walk outside! Collect small, clean pinecones or interesting twigs. Use a dab of hot glue and a small loop of twine to attach them between the pennants. This brings an authentic, organic element to your home for exactly $0.00.
- Burlap Strips: Cut leftover burlap from gardening projects into 1-inch wide strips. Tie them in simple, rustic knots along the exposed twine for added volume and texture.
| Embellishment Type | Visual Vibe | Estimated Cost / Source |
|---|---|---|
| Leather Scraps | Rugged, Masculine, High-End | $0.00 (Upcycled old belts/purses) |
| Unfinished Wood Beads | Boho-Rustic, Bright, Textural | $1.25 (Dollar Tree craft aisle) |
| Foraged Pinecones | Earthy, Organic, Traditional Fall | $0.00 (Your own backyard) |
| Burlap Knots | Farmhouse, Voluminous, Cozy | $0.00 (Scrap bins / old sacks) |
By thoughtfully layering these inexpensive or free elements, you elevate a simple fabric craft into a bespoke, custom piece of home decor that tells a story of resourcefulness and creativity.
Zero-Waste Crafting: What to Do with the Leftover Flannel Scraps
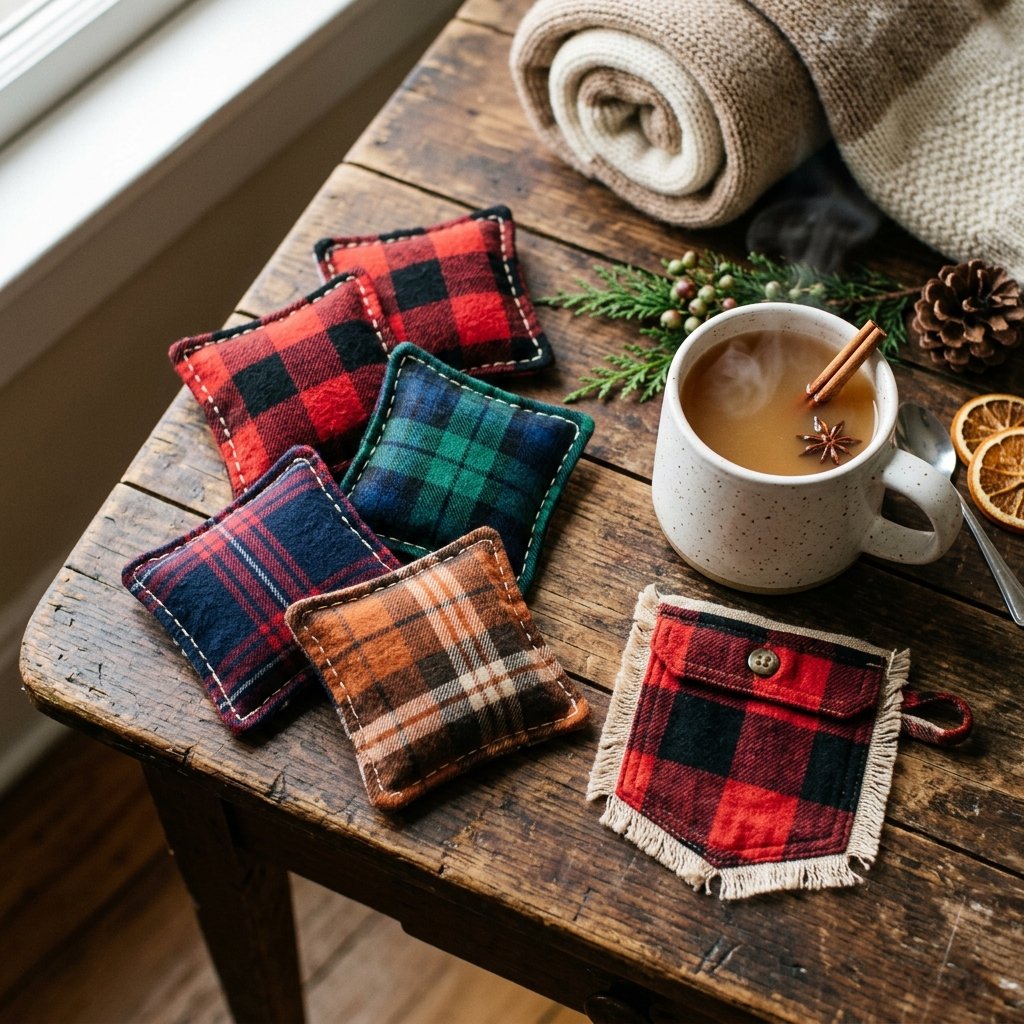
As frugal DIYers and upcyclers, our golden rule is that nothing goes to waste. After cutting out your large pennants, you will be left with the shirt sleeves, collars, button plackets, and oddly shaped scraps. Do not toss them! Flannel is an incredibly versatile, insulating material.
Scrap-Busting Mini Projects:
- DIY Reusable Hand Warmers: Cut the sleeves into small 4×4 inch squares. Place two squares right-sides together, sew or tightly hot-glue three edges, fill with inexpensive dry white rice, and seal the final edge. Pop them in the microwave for 30 seconds before slipping them into your coat pockets on a chilly autumn hike.
- Rustic Pocket Coasters: Did your upcycled shirt have a breast pocket? Cut it out carefully, leaving a half-inch border. Fray the edges just like you did the garland. It makes an incredibly clever, highly durable coaster for your morning coffee or evening hot toddy.
- Scented Drawer Sachets: Take the smallest, unusable scraps and chop them up finely. Mix them with dried lavender or cedar shavings, and tie them up in a small scrap of fabric using twine. Toss them in your dresser drawers to keep clothes smelling fresh and to naturally repel moths.
By maximizing every square inch of the upcycled garment, you stretch your zero-budget crafting even further, creating multiple functional household items from a single piece of “trash.”
Conclusion
And there you have it—a masterclass in transforming the overlooked and worn-out into something breathtakingly cozy and beautiful. By combining the rugged, tactile warmth of old flannel with a few pennies’ worth of jute twine and the clever application of hot glue, you have crafted a piece of high-end rustic fall decor that rivals anything in a luxury boutique catalog.
This DIY Flannel Shirt Garland is more than just a mantle decoration; it is a celebration of the frugal, resourceful spirit. It proves that creating a warm, inviting, lumberjack-chic home doesn’t require a massive budget—it simply requires a bit of imagination, a willingness to upcycle, and the joy of working with your hands. As you hang your beautiful, frayed masterpiece across your fireplace or porch railing, take pride in the fact that you saved money, reduced waste, and poured your own creative energy into your space.
So, the next time you are cleaning out a closet and find a shirt with a torn sleeve, don’t reach for the trash bag. Reach for your fabric scissors. Embrace the magic of trash-to-treasure crafting, keep your home cozy, and never stop creating. Happy crafting, and happy fall!

Makenzie is the founder and lead writer at MoneyHackTips.com — a personal finance blog dedicated to delivering street-smart financial wisdom for real people on real budgets. With 300+ published articles covering everything from debt management to investing fundamentals, Makenzie’s mission is to make every dollar work harder. When not writing about money hacks, Makenzie is testing frugal living strategies, optimizing side hustles, and helping readers build financial freedom from scratch.