
The Art of the High-End Hustle: Designer Lighting on a Dime
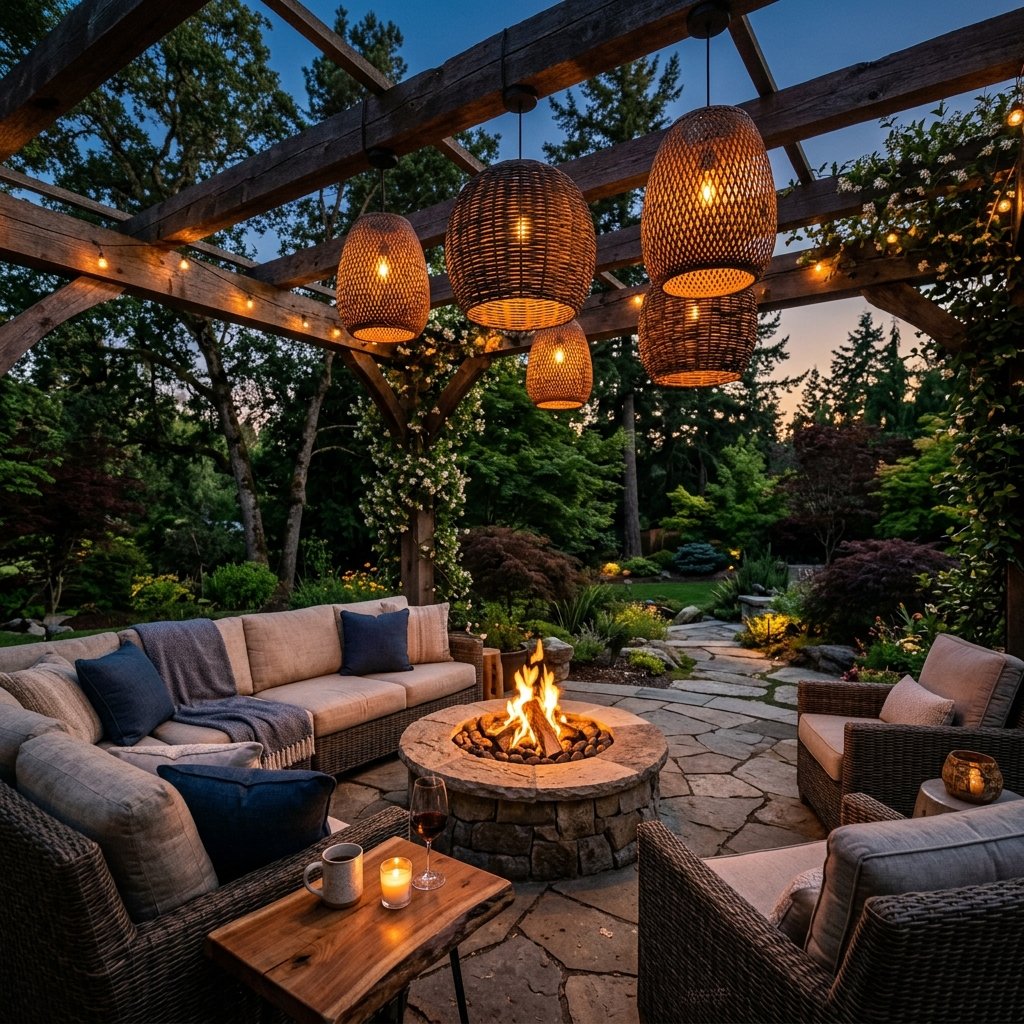
There is a profound satisfaction that comes from looking at a mundane, plastic-wrapped item on a discount shelf and seeing a vision of architectural elegance. For the frugal DIYer, the Dollar Tree isn’t just a store; it is a raw materials warehouse. Today, we are tackling one of the most transformative projects in the upcycling playbook: turning the humble, $1.25 bamboo fruit basket into sophisticated, weather-resistant patio string lights. If you have ever walked through a high-end home goods store and seen woven pendant lights retailing for $80 to $150 a piece, you know the aesthetic we are chasing. We aren’t just making ‘crafts’; we are engineering a rugged, masculine-elegant atmosphere for your outdoor sanctuary. This project is about more than just saving money—it is about the clever application of resourcefulness to create a space that looks like it was curated by a professional designer. By the end of this guide, you will have mastered the techniques of wood staining, structural modification, and outdoor electrical safety, all while keeping your budget firmly intact.
The Strategic Blueprint: Materials and Cost Comparison
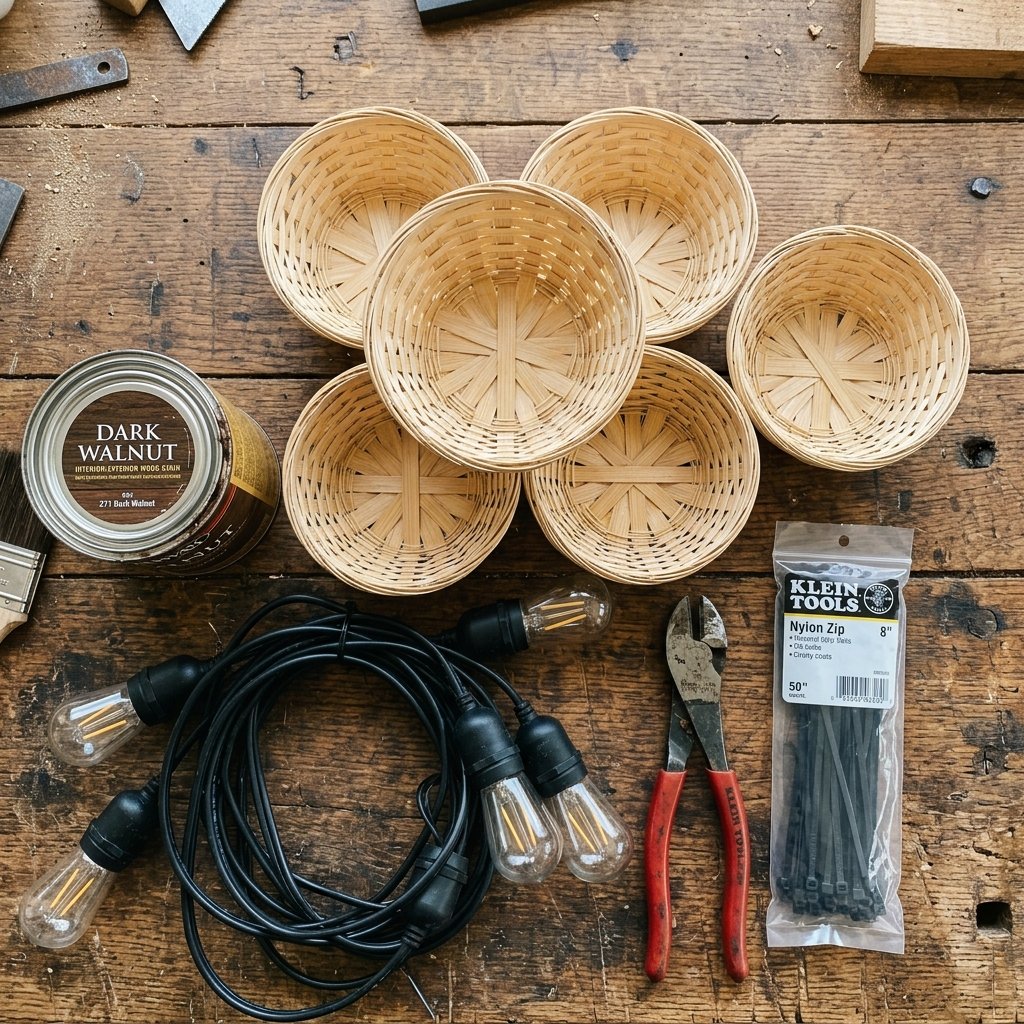
Success in any DIY endeavor begins with a thorough inventory and a clear understanding of the value you are creating. For this project, we are looking for the circular or slightly tapered bamboo baskets typically found in the kitchen or organization aisles. These baskets provide a natural, organic texture that, when treated correctly, mimics expensive rattan or seagrass. Below is a breakdown of what you will need and how much you will save by choosing the crafty route.
| Item | Sourcing | Estimated Cost |
|---|---|---|
| Bamboo Baskets (Set of 6) | Dollar Tree | $7.50 |
| Outdoor Edison String Lights | Hardware Store/Amazon | $25.00 |
| Exterior Wood Stain (Dark Walnut) | Pantry/Hardware Store | $8.00 |
| Clear Spar Urethane Spray | Hardware Store | $10.00 |
| Zip Ties or Floral Wire | Dollar Tree | $1.25 |
| Total Project Cost | DIY | $51.75 |
| Retail Equivalent | High-End Store | $450.00+ |
Budget Savvy Mantra: ‘A dollar spent on creativity is ten dollars saved on retail markup.’
As you can see, the savings are staggering. We are aiming for a 90% reduction in cost compared to buying pre-made designer outdoor pendants. When selecting your baskets, look for ones with a consistent weave and no broken bamboo splinters. The beauty of the bamboo is its flexibility and strength, making it the perfect candidate for a rugged outdoor environment.
Phase One: Surface Preparation and Weatherproofing
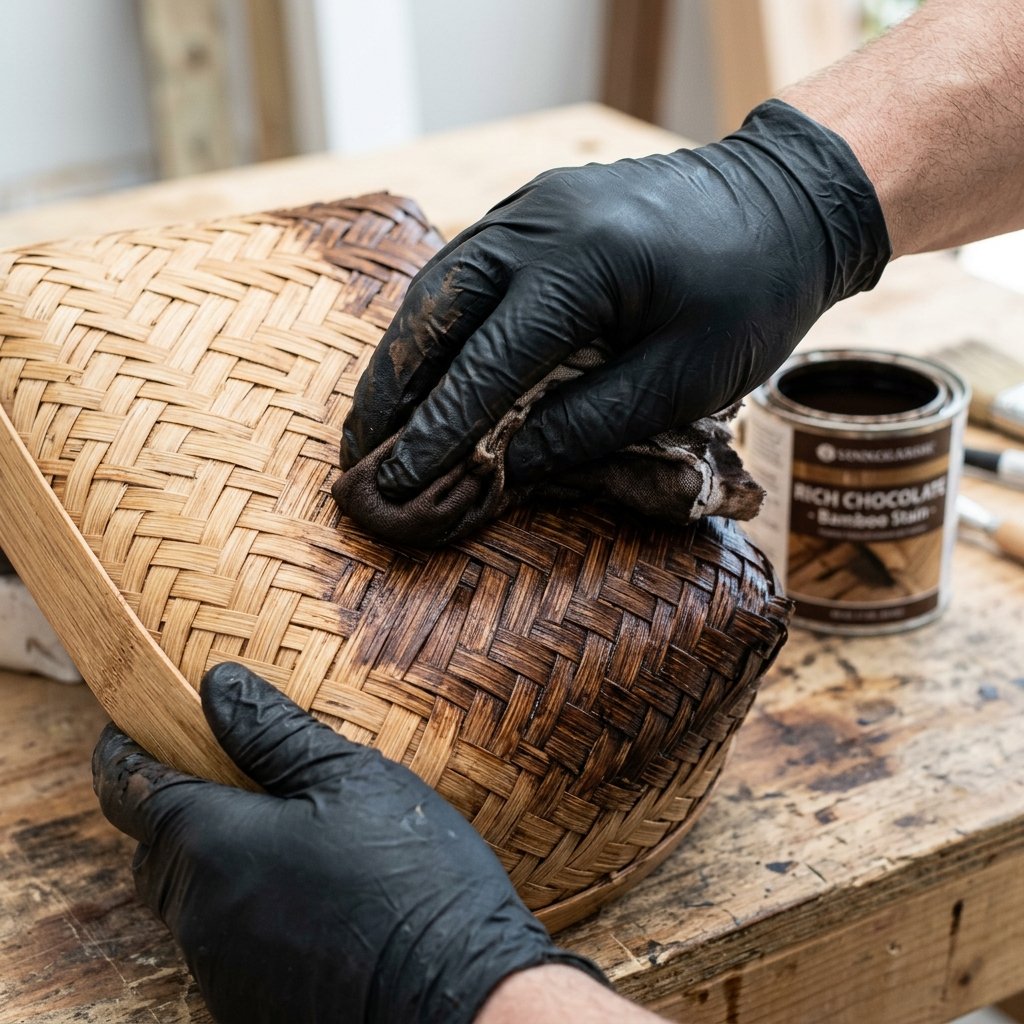
Prepping the Canvas
The secret to making cheap items look expensive lies in the finish. Straight off the shelf, Dollar Tree bamboo has a pale, almost yellow tint that screams ‘discount.’ To achieve a masculine-elegant look, we need to add depth and character. Start by lightly sanding any rough edges with 220-grit sandpaper. This ensures the stain penetrates evenly and prevents splinters during assembly.
Staining for Depth
Apply a Dark Walnut or Ebony wood stain using a lint-free rag or a foam brush. The goal is to get the stain into the crevices of the weave. Bamboo is remarkably porous, so it will drink up the pigment quickly. Let the baskets sit for 15 minutes, then wipe away the excess. This process highlights the natural variations in the wood, giving it a weathered, artisanal appearance that looks like it has survived a few seasons in a Mediterranean villa.
The Shield: Weatherproofing
Since these lights will live outdoors, they must be protected from humidity, rain, and UV rays. Once the stain is completely dry (usually 24 hours), apply two thin coats of Clear Spar Urethane. Unlike regular polyurethane, Spar Urethane contains UV blockers and is designed to expand and contract with the wood as temperatures change. This step is non-negotiable for longevity.
Pro-Tip: ‘Always spray your sealant in a well-ventilated area, and use short, even bursts to avoid drips on the woven texture.’
Phase Two: Structural Modification and Wire Integration
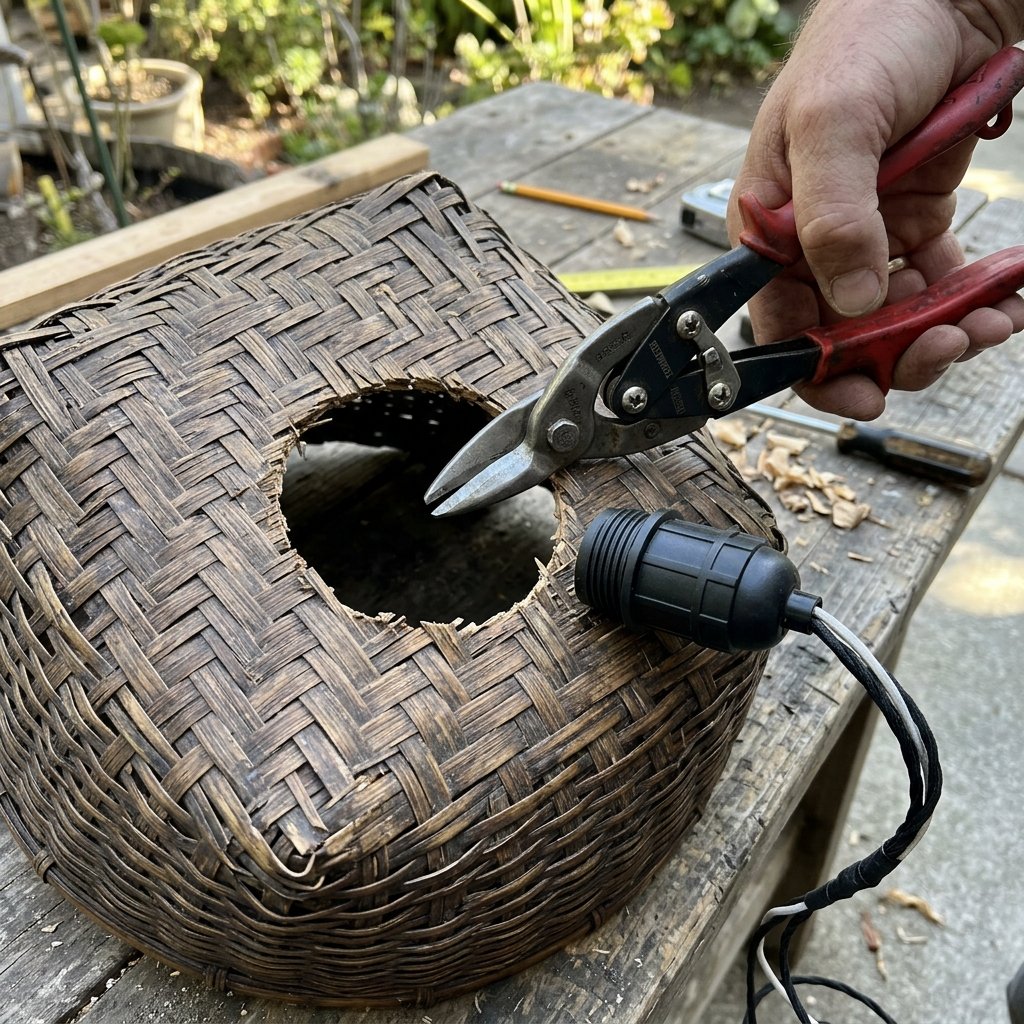
Engineering the Light Entry
Now that our baskets look the part, we need to make them functional. The goal is to mount the basket upside down over each individual bulb on your string light strand. This requires a precise opening at the base of the basket.
- Locate the Center: Flip the basket over. Find the exact center of the bottom weave.
- The Cut: Using heavy-duty wire cutters or a pair of sharp tin snips, carefully snip a hole just large enough for the light socket to pass through, but not the bulb itself. Typically, a 1.5-inch diameter hole is sufficient.
- Reinforcement: If the weave feels loose after cutting, apply a small bead of hot glue or E6000 adhesive around the cut edges to prevent further unraveling.
Securing the Socket
This is where the ‘handy’ part of the DIY comes in. We want the basket to hang straight and secure, even in a light breeze. Place the socket of the string light through the hole from the inside of the basket. To hold it in place, use black zip ties. Loop the zip tie through the bamboo weave and around the neck of the light socket. Tighten it firmly. Because we are using black zip ties on a dark-stained basket, the attachment will be virtually invisible from the ground.
Safety Note: ‘Ensure that the light bulb does not directly touch the bamboo sides. There should be at least an inch of clearance to allow for heat dissipation, even with low-heat LED bulbs.’
Phase Three: Electrification and Bulb Selection
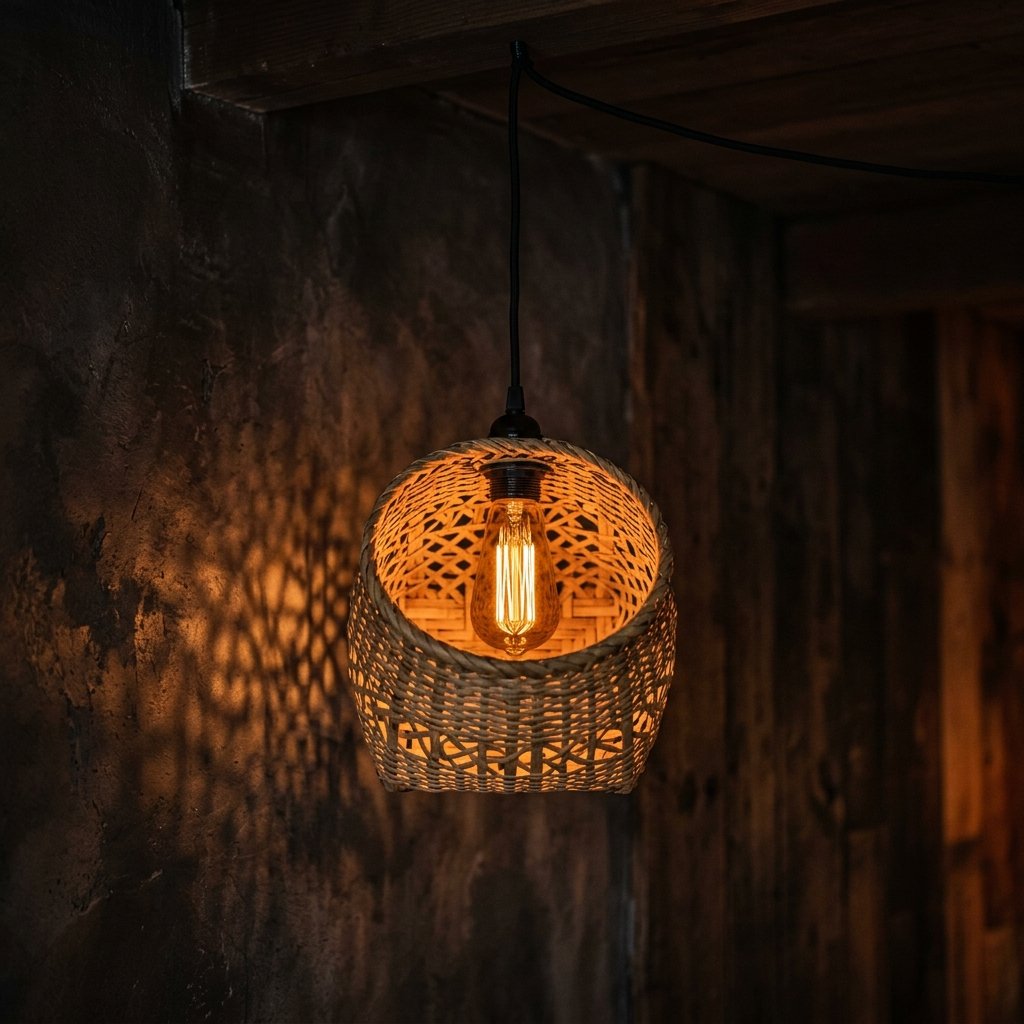
Choosing the Right Glow
The quality of light is just as important as the vessel holding it. For a sophisticated, rugged look, avoid cool white LEDs. Instead, opt for Warm White (2200K – 2700K) Edison-style LED bulbs. These bulbs feature visible filaments that add to the vintage, industrial aesthetic we are creating.
Installation Steps
- Test the Strand: Before mounting anything, plug in your string lights to ensure every socket is functional.
- Screw in the Bulbs: Once the baskets are secured to the sockets with zip ties, carefully screw the bulbs back in from the open end of the basket.
- Check the Balance: Hang the strand temporarily to see if any baskets are tilting. Adjust the zip ties as needed to ensure every ‘pendant’ hangs perfectly vertical.
| Bulb Type | Pros | Cons |
|---|---|---|
| Incandescent Edison | Very warm, beautiful glow | High energy use, gets hot |
| LED Edison (Recommended) | Energy efficient, cool to touch | Slightly higher upfront cost |
| Solar Powered | No outlet needed, zero energy cost | Dimmer, depends on weather |
For the best results, I recommend shatterproof LED Edison bulbs. They are durable, safe for use with wood/bamboo, and will save you a fortune on your electric bill while providing that high-end amber ambiance.
Phase Four: Mounting and Styling Your Outdoor Oasis
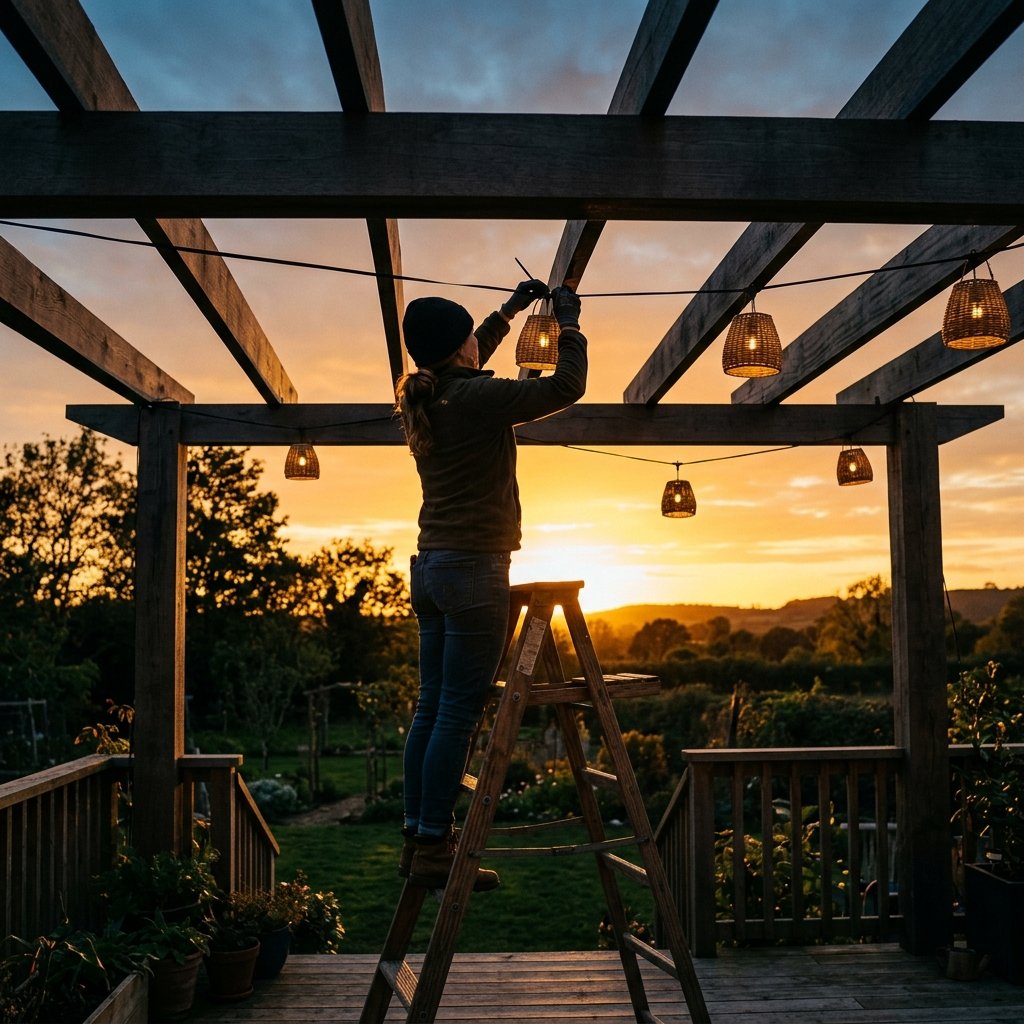
The Professional Finish
How you hang your lights determines whether they look like a DIY project or a professional installation. For a rugged, masculine look, use black steel guide wire (also known as aircraft cable) to support the weight of the lights. This prevents the electrical cord from sagging over time and allows you to create perfectly straight lines or elegant swags.
Styling Tips for Maximum Impact
- The Zig-Zag Pattern: If you have a square patio, criss-cross the lights in a ‘Z’ or ‘X’ pattern for full coverage.
- The Perimeter Glow: Follow the line of your fence or pergola for a more architectural, structured feel.
- Varying Heights: For a more ‘boho-chic’ or artistic look, use different sizes of baskets (Dollar Tree often has small and medium versions) and hang them at slightly staggered heights.
To secure the guide wire, use heavy-duty screw eye hooks anchored into your house siding or pergola posts. Use a turnbuckle on one end to tension the wire until it is taut. Then, attach your light strand to the wire using more black zip ties. This creates a ‘floating’ effect that is incredibly clean and high-end.
Long-Term Maintenance and Care
Protecting Your Investment
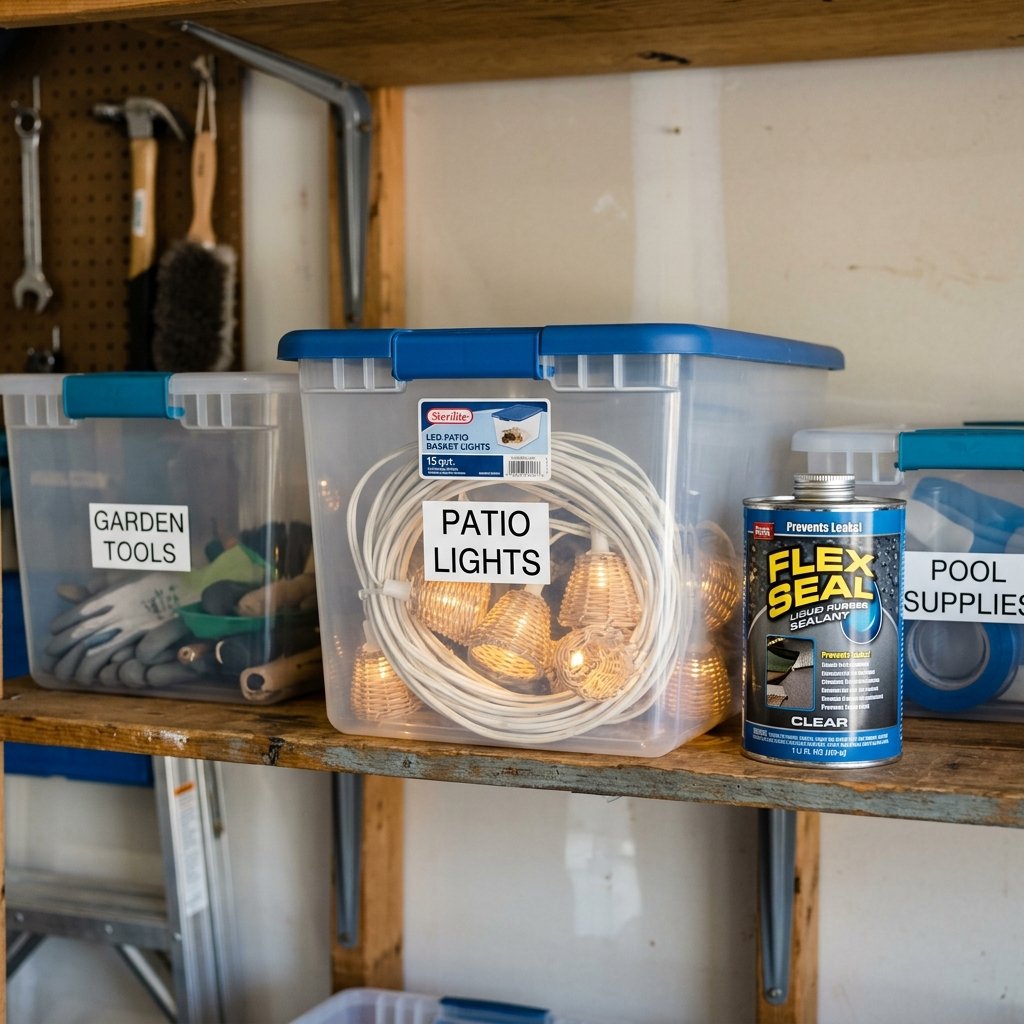
Even though we only spent about $50, we want these lights to last for years. Bamboo is a natural grass and, while hardy, it does require a little TLC. At the end of the summer season, if you live in a climate with harsh winters or heavy snow, it is best to take the strand down. Store them in a dry plastic bin to prevent the bamboo from becoming brittle or developing mold.
Every two years, consider giving the baskets a quick ‘refresh’ with a single coat of spray-on Spar Urethane. This will keep the color vibrant and the water resistance high. If a basket does happen to break (they are only $1.25, after all!), the beauty of this system is that you can easily snip the zip tie and swap in a new, pre-stained basket in under 5 minutes.
Resourceful Pro Tip: ‘Keep one extra stained and sealed basket in your garage. If a storm damages one, you have an instant replacement ready to go.’
Conclusion
The Transformation is Complete
You have successfully navigated the journey from a budget-store aisle to a high-end outdoor retreat. By combining Dollar Tree finds with a bit of ‘handy’ elbow grease and clever styling, you have created a lighting feature that rivals expensive outdoor furniture boutiques. This project proves that you don’t need a massive bank account to have a home that feels luxurious; you just need a sharp eye for potential and the willingness to get your hands a little dirty. Now, pour yourself a drink, head out to your patio, and bask in the warm, sophisticated glow of your custom-built bamboo pendant lights. You earned it. Stay crafty, stay savvy, and keep upcycling.

Makenzie is the founder and lead writer at MoneyHackTips.com — a personal finance blog dedicated to delivering street-smart financial wisdom for real people on real budgets. With 300+ published articles covering everything from debt management to investing fundamentals, Makenzie’s mission is to make every dollar work harder. When not writing about money hacks, Makenzie is testing frugal living strategies, optimizing side hustles, and helping readers build financial freedom from scratch.