
The $10 Secret to Museum-Quality Decor
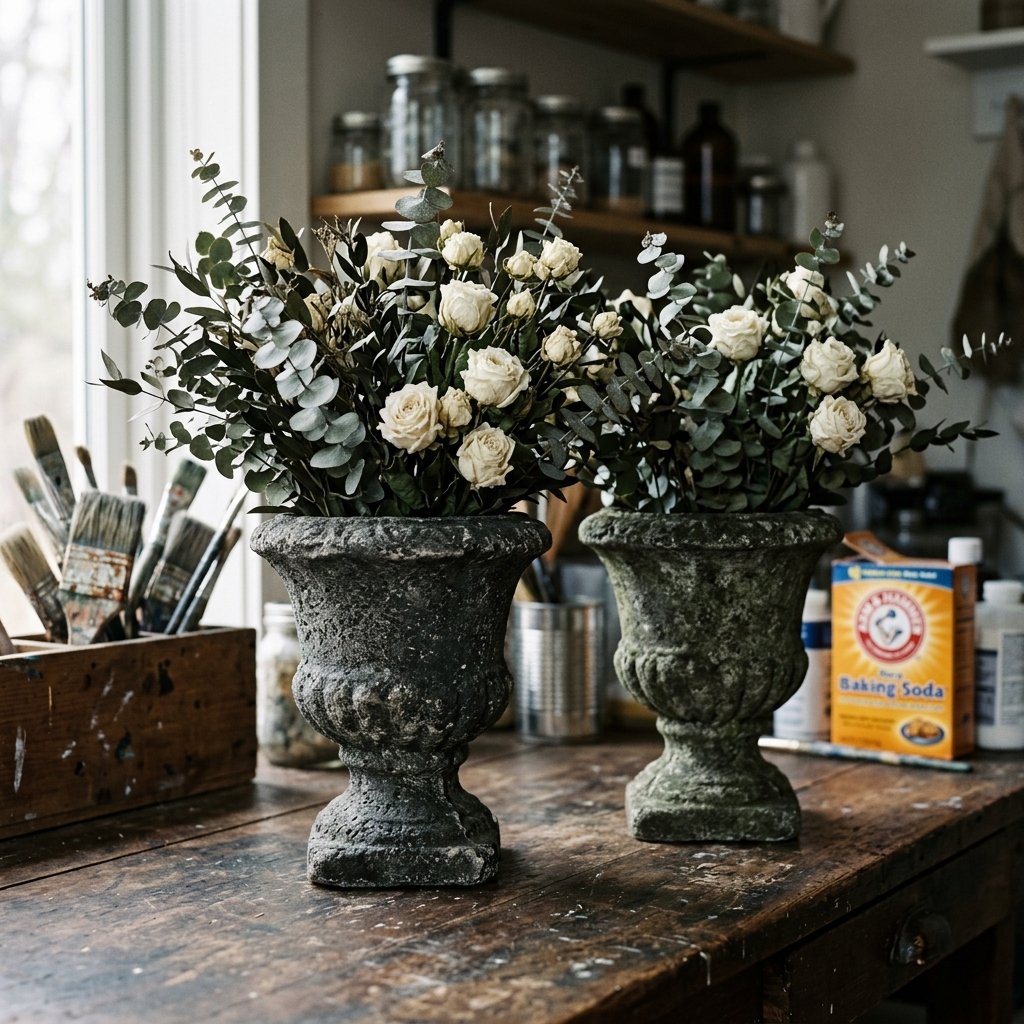
We have all been there: walking through a high-end home goods store, eyes widening at the $150 price tag on a weathered stone urn that looks like it was plucked from a Tuscan villa. As a resourceful DIYer, your first instinct shouldn’t be to reach for your wallet, but to reach for a plastic tub and a bag of baking soda. Today, we are diving deep into the art of the ‘Trash-to-Treasure’ transformation. We are going to take basic, flimsy plastic vessels—the kind you find at the Dollar Tree or in the clearance aisle of a craft store—and turn them into heavy, textured, ancient-looking stone centerpieces. This isn’t just a craft; it is a masterclass in budget-savvy elegance. By the time we are done, no one will believe these masterpieces cost less than $10 to produce. Whether you are a budget bride looking for sophisticated table settings or a handy homeowner wanting to elevate your mantle, this guide is your rugged, practical roadmap to high-end style on a dime.
Scavenging for the ‘Bones’: Selecting Your Base Vessel
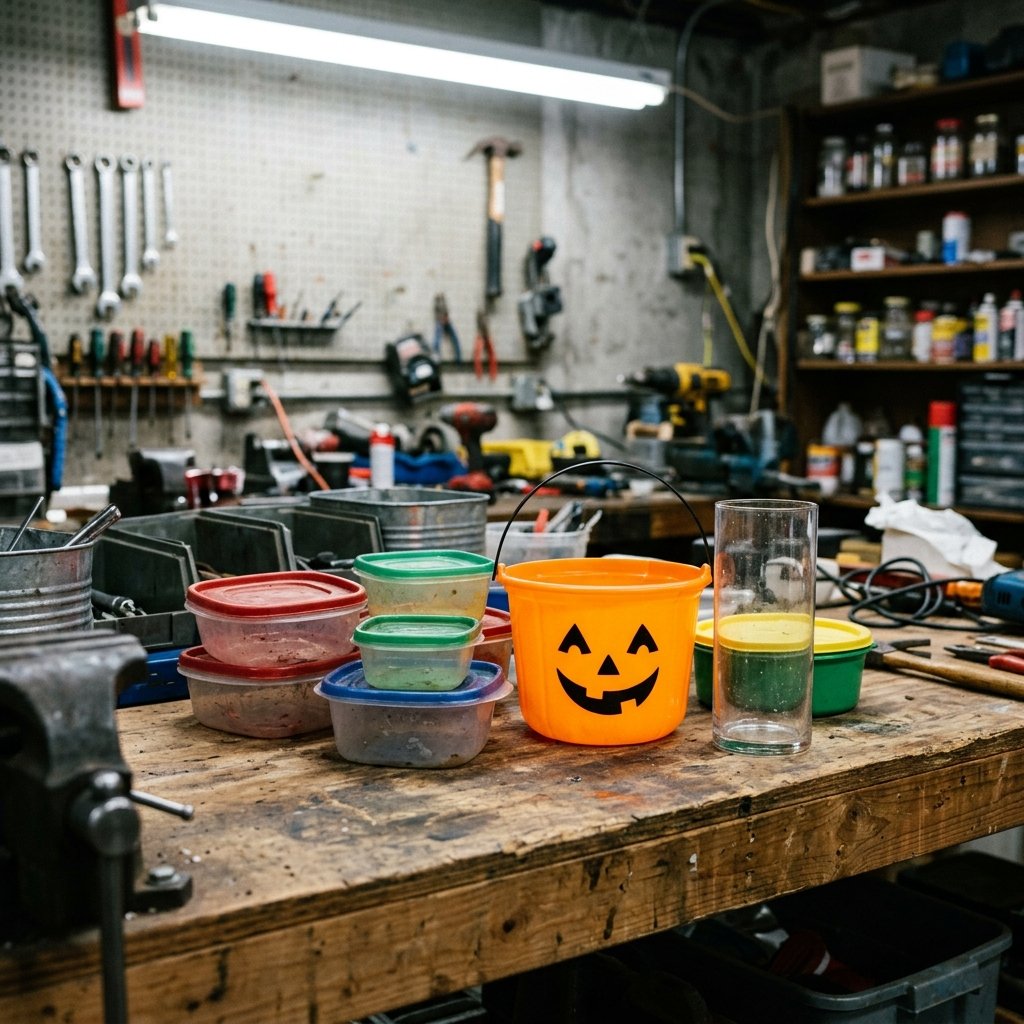
The foundation of a great faux stone piece is the silhouette. When you are scavenging for materials, look past the bright orange plastic or the shiny, cheap ceramic glaze. You are looking for architectural lines. The most successful ‘stone’ urns often start as plastic Halloween candy buckets, thrifted glass vases with interesting curves, or even $1.25 plastic planters from the dollar store. The key is to find a shape that mimics traditional masonry.
What to Look For:
- Classic Urn Shapes: Pedestal bases and flared lips provide that ‘old world’ feel.
- Texture-Ready Surfaces: Smooth plastic or glass is actually perfect because it allows our ‘stone’ mixture to create its own organic texture.
- Structural Integrity: Ensure the base is stable. If it is too light, we will weight it down with $1 worth of sand or gravel later.
Remember, we are looking for the ‘bones’ of the project. A $2 plastic goldfish bowl can become a heavy concrete-look planter with the right technique. Don’t be afraid of garish colors; they will soon be buried under layers of sophisticated ‘stone’ patina.
The Alchemist’s Recipe: Mixing the Faux Stone Paste
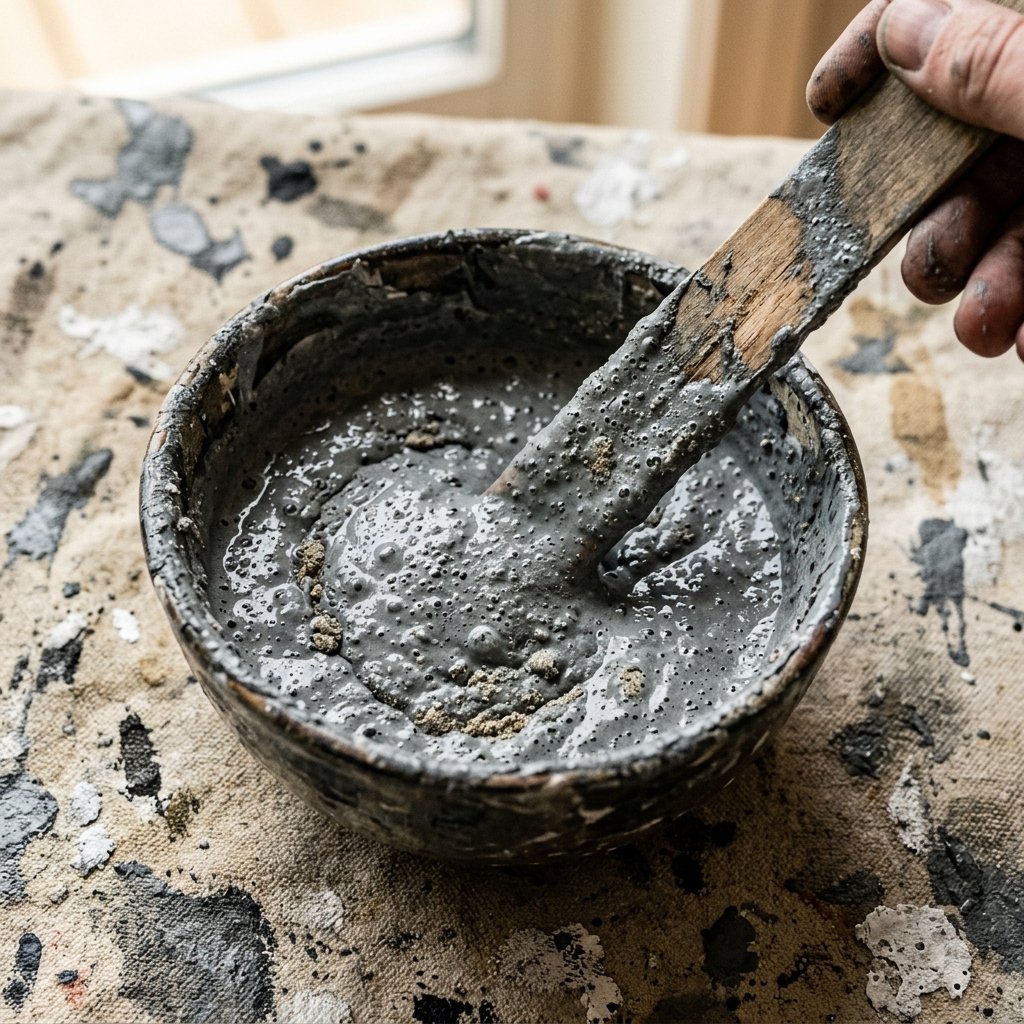
The secret to that gritty, porous look of real limestone or tufa is a simple chemical-physical reaction between matte acrylic paint and baking soda. This is where the magic happens. This mixture creates a thick, volcanic-like paste that dries with a hard, mineral-like finish. It’s not just paint; it’s a structural coating.
The Golden Ratio: Mix 1 cup of matte latex or acrylic paint with 1/4 cup of baking soda. Stir slowly until the mixture starts to puff up like a thick mousse.
For a truly rugged, masculine-elegant look, choose colors that mimic natural minerals. Avoid ‘flat’ greys. Instead, look for ‘Greige,’ ‘Charcoal,’ or ‘Warm Sand.’ These tones provide a neutral base that accepts aging techniques beautifully.
| Material | Purpose | Estimated Cost |
|---|---|---|
| Plastic Vessel | The Base Structure | $1.25 |
| Matte Acrylic Paint | Color & Binder | $4.00 |
| Baking Soda | Texturizing Agent | $0.50 |
| Sandpaper (80 grit) | Distressing | $0.25 |
| TOTAL | Professional Result | $6.00 |
The Application: Building Layers of History
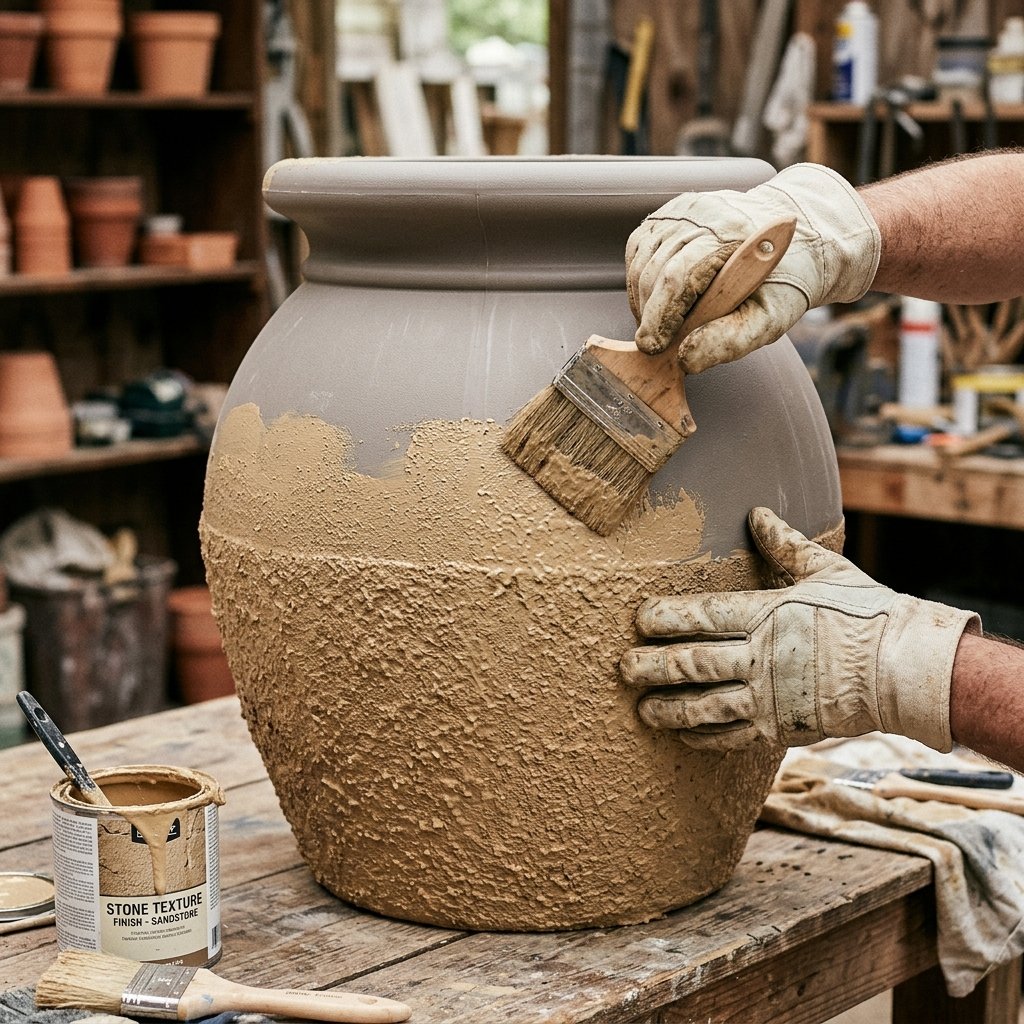
To achieve a high-end look, you cannot simply slap on one coat of paint. Real stone has depth, shadows, and mineral deposits. We are going to apply our mixture in ‘stippling’ motions rather than long strokes. This creates the ‘pockmarked’ look of aged concrete.
The Three-Layer Technique:
- The Base Coat: Apply your thickest mixture of paint and baking soda. Use a cheap ‘chip brush’ to dab the mixture on. Let this dry for 2 hours.
- The Texture Layer: Apply a second coat, but this time, sprinkle a little extra dry baking soda or even fine playground sand onto the wet paint in specific areas where moss or dirt would naturally collect (like the base or under the rim).
- The Highlight: Once dry, take a slightly lighter shade of grey or tan and ‘dry brush’ the raised edges. This makes the texture pop and gives the urn a 3D quality that looks like hand-carved stone.
Safety Tip: When sanding your dried ‘stone’ finish to smooth out any sharp peaks, wear a simple dust mask to avoid inhaling the fine baking soda and paint particles.
Creating the ‘Antique Patina’ with Household Items
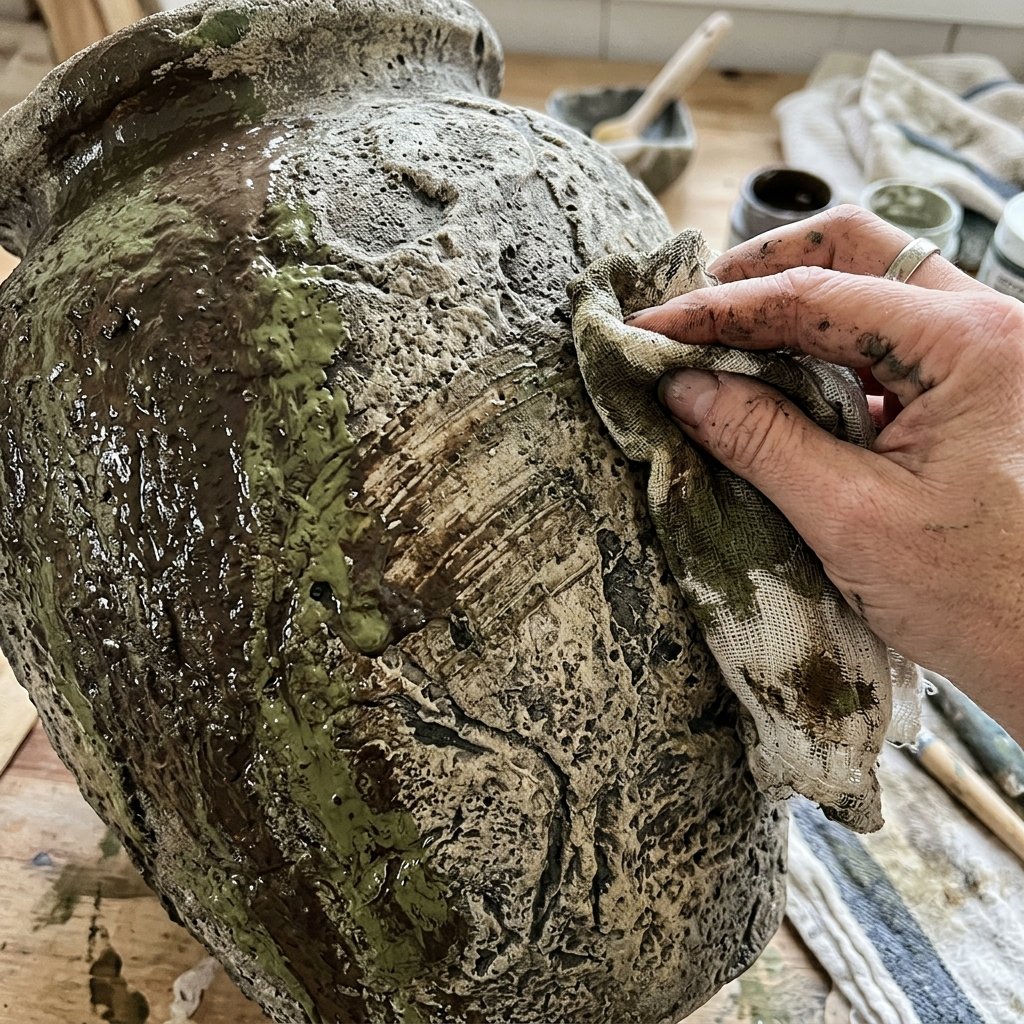
An urn that looks like it has been sitting in a garden for fifty years needs a patina. We achieve this using ‘washes.’ A wash is simply paint diluted with 70% water. It flows into the cracks and crevices, mimicking years of weathering.
Patina Color Guide:
- The ‘Dirt’ Wash: Mix a tiny drop of dark brown paint with water. Brush it over the entire piece and immediately wipe the surface with a rag. The brown stays in the ‘pores,’ making it look authentically dirty.
- The ‘Lichen’ Effect: Take a sponge and lightly dab a muted sage green in random spots. This mimics the growth of moss.
- The ‘Salt’ Deposit: Use a very watered-down white paint to create ‘efflorescence’ streaks, which are the white mineral deposits often seen on old masonry.
By layering these washes, you move from a ‘painted craft’ to a high-end replica. The goal is imperfection. Real stone is never a solid color; it is a chaotic mix of environmental staining.
Styling and Weighting: The Final Touches
One of the biggest ‘tells’ of a cheap DIY is that it is too light. If a guest bumps your ‘stone’ urn and it slides across the table like a feather, the illusion is broken. To fix this, we use a rugged, practical hack: fill the bottom third with pea gravel or dry sand before adding your floral foam or greenery.
| Feature | Store-Bought (Pottery Barn/West Elm) | DIY Faux Stone Urn |
|---|---|---|
| Price | $85 – $220 | $6 – $9 |
| Customization | None (Standard Sizes) | Infinite (Your choice of color/size) |
| Weight | Heavy (Hard to ship/move) | Adjustable (Add sand as needed) |
| Time to Acquire | Shipping time (3-7 days) | 2 Hours + Drying |
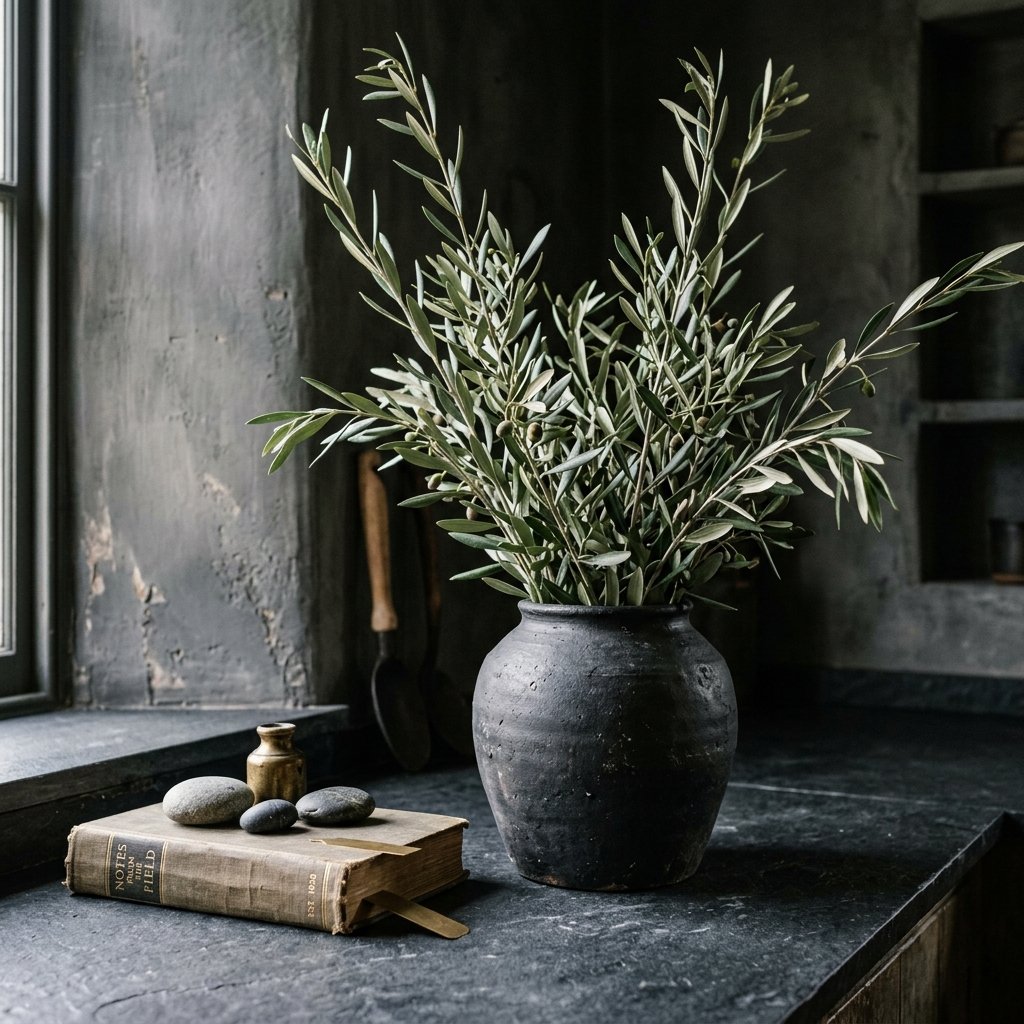
For styling, these urns look best with organic, unstructured greenery. Think olive branches, dried eucalyptus, or even ‘moody’ dark florals. The contrast between the rugged, masculine stone texture and the delicate leaves creates a masculine-elegant aesthetic that works in any room.
Conclusion
Luxury is a Mindset, Not a Price Tag
You have just successfully turned $10 worth of ‘trash’ into a centerpiece that could easily anchor a high-end wedding or a luxury home office. This project proves that with a little resourcefulness and the right ‘secret sauce’—in this case, the humble baking soda—anyone can achieve a high-end aesthetic on a shoestring budget. You’ve mastered the art of the faux finish, the science of the patina, and the clever trick of weighting your work for authenticity. Now, go forth and scour those thrift store shelves. Every plastic bucket is just a ‘stone’ masterpiece waiting to happen. Happy crafting, and keep saving!

Makenzie is the founder and lead writer at MoneyHackTips.com — a personal finance blog dedicated to delivering street-smart financial wisdom for real people on real budgets. With 300+ published articles covering everything from debt management to investing fundamentals, Makenzie’s mission is to make every dollar work harder. When not writing about money hacks, Makenzie is testing frugal living strategies, optimizing side hustles, and helping readers build financial freedom from scratch.