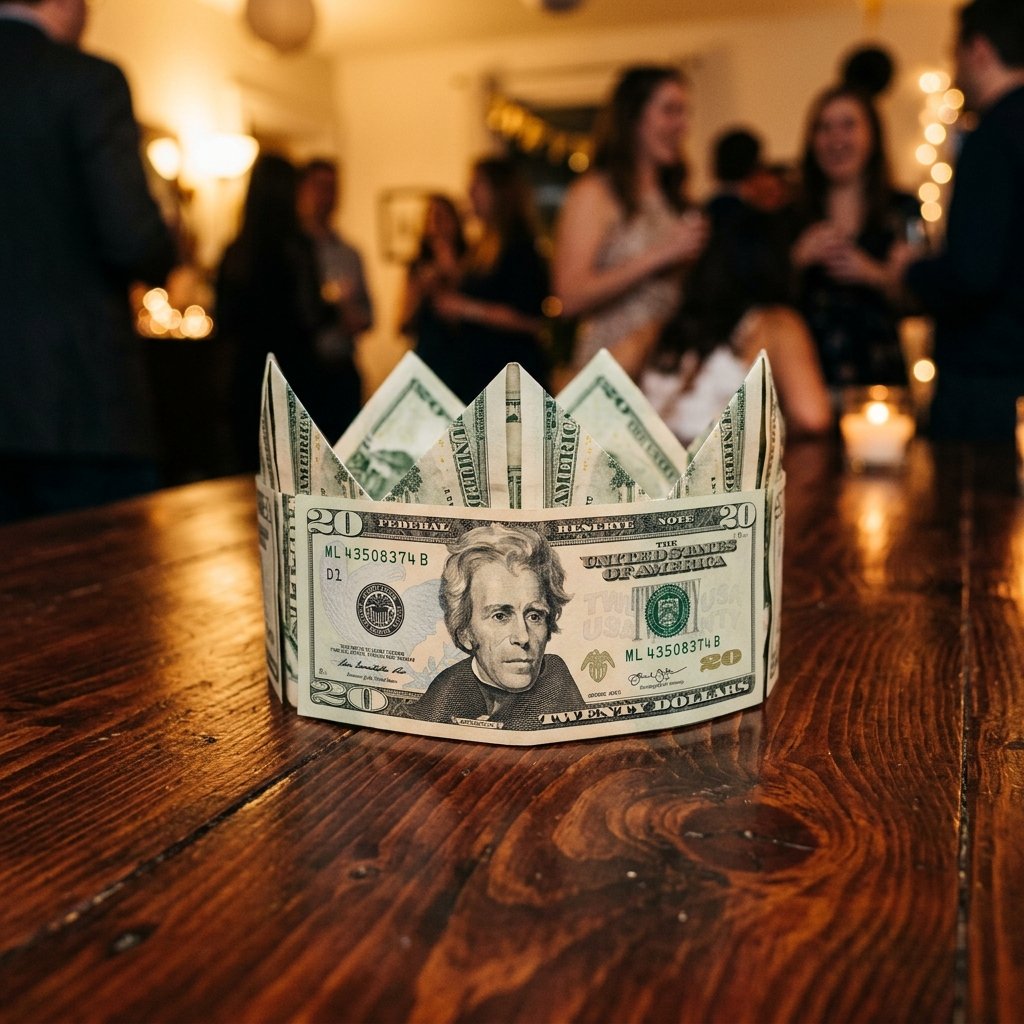

Let’s be honest: sliding a few twenty-dollar bills into a generic store-bought card is the ultimate ‘low-effort’ move. You’re better than that. You’re a craftsman, a budget-savvy gift-giver who knows that the presentation is just as valuable as the denomination. Welcome to the world of money origami, where we turn cold, hard cash into a literal coronation. Whether you are celebrating a high school graduate, a ‘dirty thirty’ birthday, or a couple’s big day, the money origami crown is the gold standard of creative gifting. It’s rugged enough for a father-to-son gift, yet elegant enough for a bridal shower. In this guide, we aren’t just folding paper; we are engineering a memory. By the time you finish this tutorial, you’ll have a gift that commands respect and makes the recipient feel like the royalty they are, all without spending a dime extra on gift wrap or plastic trinkets. We’re talking 100% impact for 0% extra cost. Grab your crispest bills, clear off your workbench, and let’s get to work.
The Royal Treasury: Selecting Your Bills and Materials
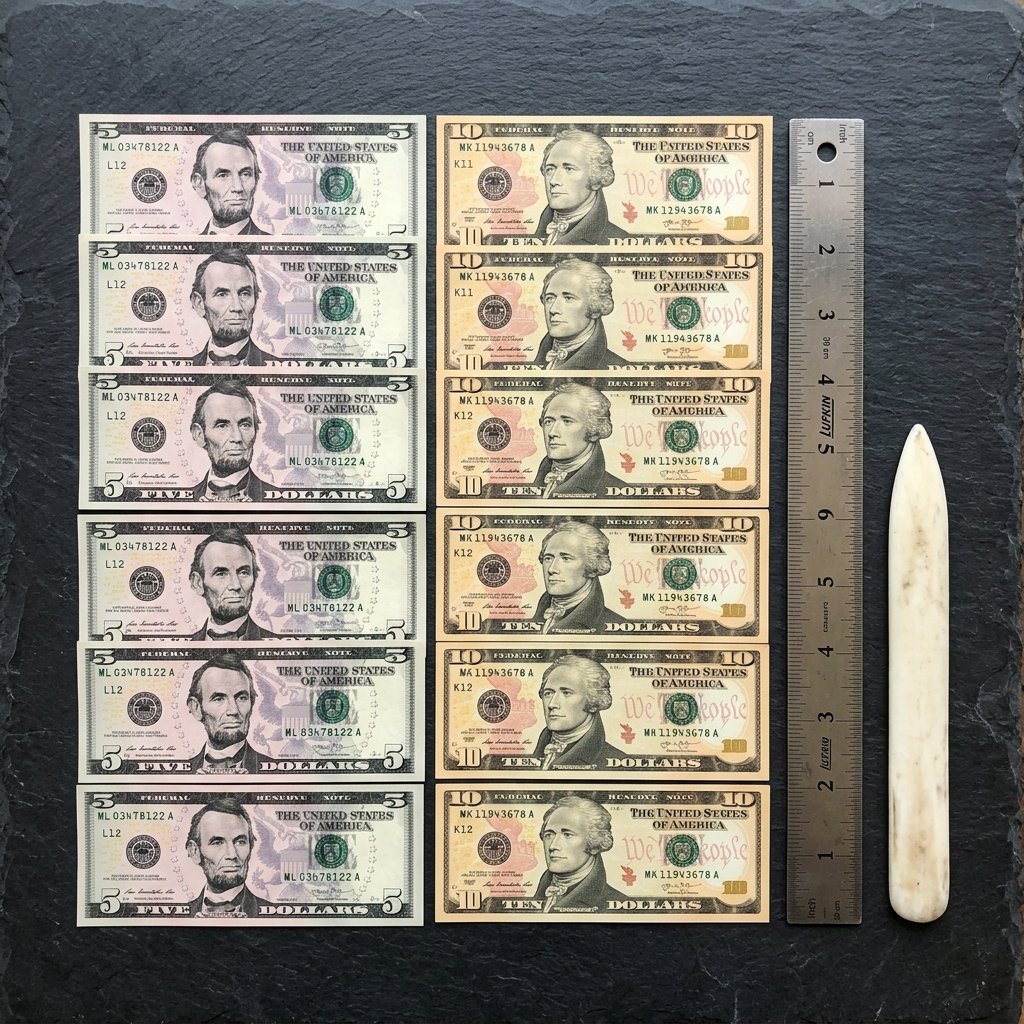
Before you make your first crease, you need to understand your medium. Not all bills are created equal. For a crown that stands tall and doesn’t wilt like a week-old salad, you need crisp, uncirculated currency. If you’ve got a wallet full of ‘soft’ bills that have been through the wash, head to the bank and ask the teller for ‘new’ or ‘stiff’ bills. The high linen and cotton content in US currency makes it incredibly durable, but once those fibers are broken down by use, they won’t hold a sharp fold. You also need to decide on your ‘Royal Budget.’ A modular crown usually requires 5 to 8 bills depending on the size of the head or the display box you’re using.
The Denomination Matrix
Choosing the right bill isn’t just about the money; it’s about the color and the vibe. Fives have that cool, muted green, while hundreds bring that undeniable ‘heavy hitter’ energy. Use the table below to plan your treasury.
| Bill Denomination | Number of Units | Total Gift Value | Visual Impact Level |
|---|---|---|---|
| $1 Bills | 8 Units | $8 | High (Great for kids/practice) |
| $2 Bills | 6 Units | $12 | Legendary (The ‘Rare’ Factor) |
| $5 Bills | 7 Units | $35 | Sophisticated (Deep green hue) |
| $20 Bills | 5 Units | $100 | The ‘Milestone’ Standard |
Pro Tip: If you are on a tight budget but want a massive crown, use $1 bills for the main body and ‘jewel’ the points with folded $10s or $20s for a multi-tonal look.
The Craftsman’s Toolkit: Precision on a Budget
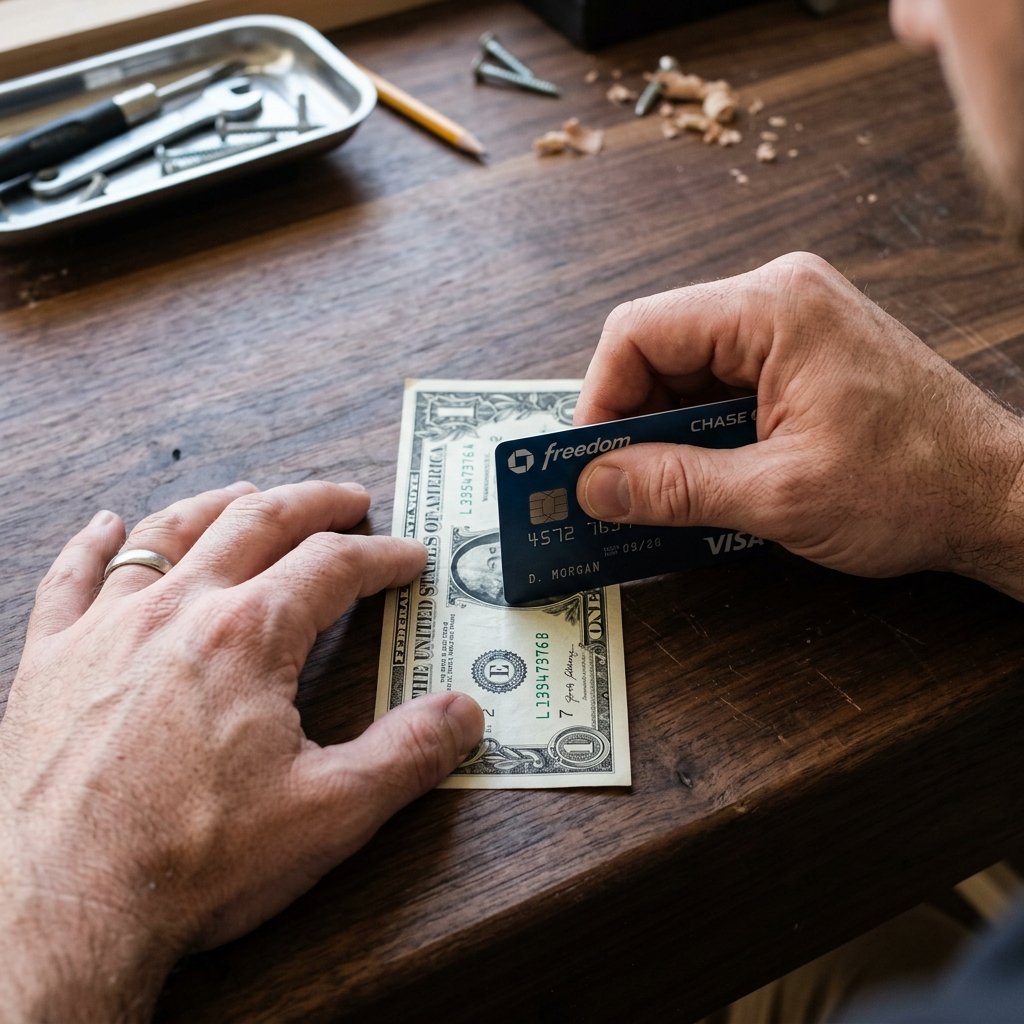
You don’t need a fancy studio to pull this off, but you do need a few ‘pro-level’ hacks to ensure your folds are surgical. Precision is what separates a ‘crumpled dollar’ from a ‘sculpted masterpiece.’ If you don’t have a professional bone folder, don’t sweat it. A metal ruler, the edge of a credit card, or even a heavy butter knife will work to burnish those edges.
Essential Gear List
- Flat Work Surface: Avoid carpets or soft wood. A glass table or a cutting mat is ideal.
- Clean Hands: Natural oils and dirt can stain the light-colored ink on new bills. Wash and dry your hands thoroughly.
- The ‘Creaser’: Use a hard edge to press every fold. A sharp crease is the secret to a crown that doesn’t pop open.
- Paperclips (Temporary): These are your ‘extra hands’ while you are assembling the modules.
| Tool | DIY Alternative | Why It Matters |
|---|---|---|
| Bone Folder | Credit Card / Ruler | Creates sharp, permanent creases. |
| Clamps | Small Paperclips | Holds units in place during assembly. |
| Tweezers | Needle-nose Pliers | Helps tuck in small tabs for a clean finish. |
The Master Class: Step-by-Step Folding Guide
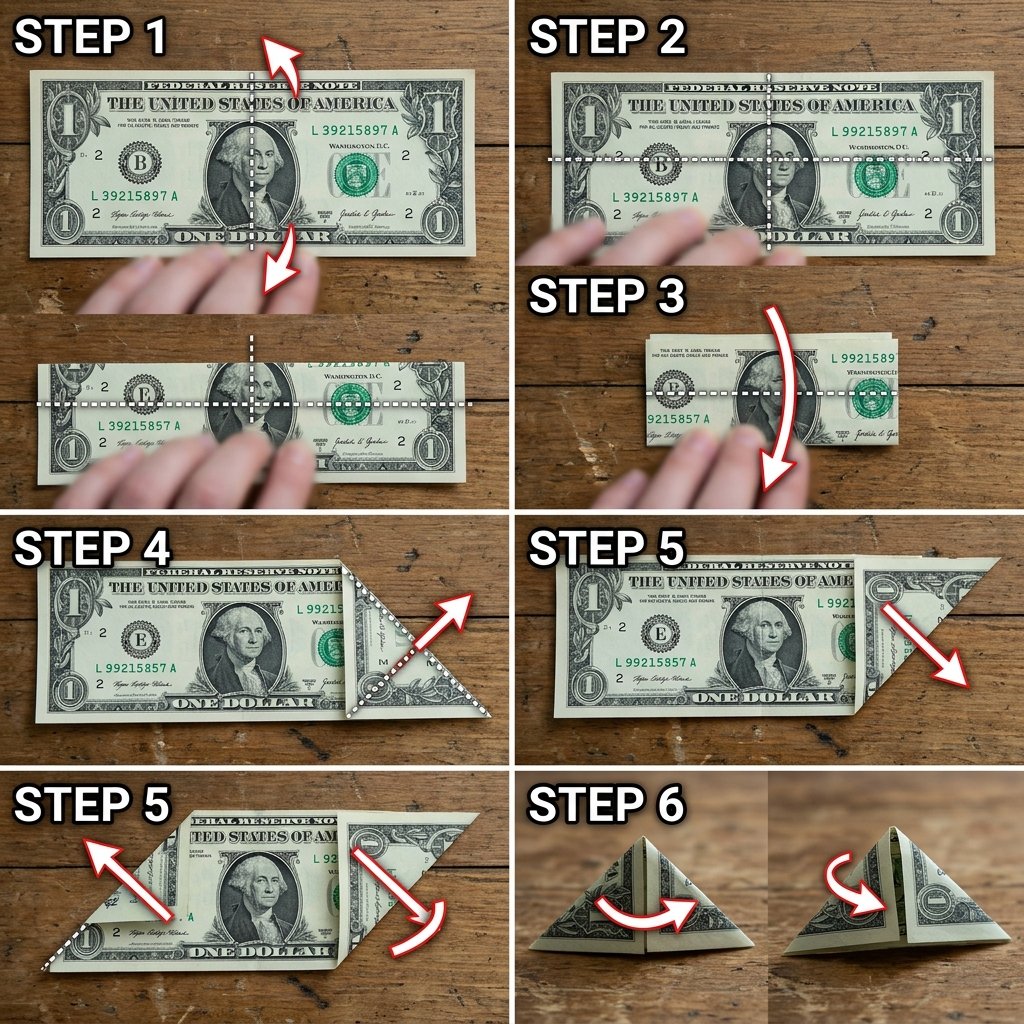
We are going to create a Modular Crown. This is the most impressive version because it allows the crown to be adjusted to any size. Each bill will form one ‘point’ or ‘peak’ of the crown. Follow these steps for each bill you plan to use.
Folding the Individual Peak Units
- The Foundation: Lay the bill flat, face up. Fold it in half lengthwise (hot dog style). Crease it hard and then unfold.
- The Center Line: Fold the bill in half widthwise (hamburger style) just to mark the center, then unfold. You now have a cross-shaped crease in the middle.
- The Roof Folds: Take the top two corners and fold them down to meet the center vertical crease. This should create a triangle shape at the top, resembling the roof of a house.
- The Bottom Flap: You will have a rectangular strip of paper at the bottom. Fold the top layer of this strip upward until it meets the base of your triangle.
- The Lock Fold: Fold that same strip up one more time so it covers the bottom edge of the triangle. Flip the bill over and repeat this on the other side.
- The Final Shape: You should now have a shape that looks like a paper hat or a boat. This is one ‘Peak Unit.’ Repeat this process for all 5-8 bills.
Note: Ensure every unit is folded in the exact same direction. If you fold one with the ‘heads’ side facing out and another with the ‘tails’ side, the crown will look disorganized. Consistency is the mark of the expert.
The Royal Assembly: Connecting the Units

Now that you have your treasury of peaks, it’s time for the engineering phase. This is where your crown takes its circular shape. We use a ‘tab-and-pocket’ system that requires no glue or tape—keeping the money 100% spendable and the design 100% elegant.
Step-by-Step Assembly
- Identify the Pockets: Look at the side of your peak unit. You will see small openings created by the folded flaps.
- The Insertion: Take the ‘wing’ of one unit and slide it into the ‘pocket’ of the next unit. You want to slide it in about 1 to 1.5 inches.
- Locking the Chain: Repeat this for all units until you have a long, straight chain of peaks.
- Closing the Circle: Bring the two ends of the chain together. Carefully slide the final wing into the first pocket. This can be tricky; use tweezers or a small paperclip to hold the other joints in place while you close the loop.
- Structural Integrity: Once the circle is closed, go around the crown and give each joint a firm squeeze. This ‘sets’ the paper and ensures the crown won’t fly apart if the recipient decides to actually wear it.
Sizing Guide
| Recipient | Number of Bills | Assembly Style |
|---|---|---|
| Child/Small Display | 5 Bills | Tight overlap |
| Adult (Wearable) | 8-10 Bills | Loose overlap |
| Cake Topper | 4 Bills | Maximum overlap |
The Presentation: From Cash to Keepsake
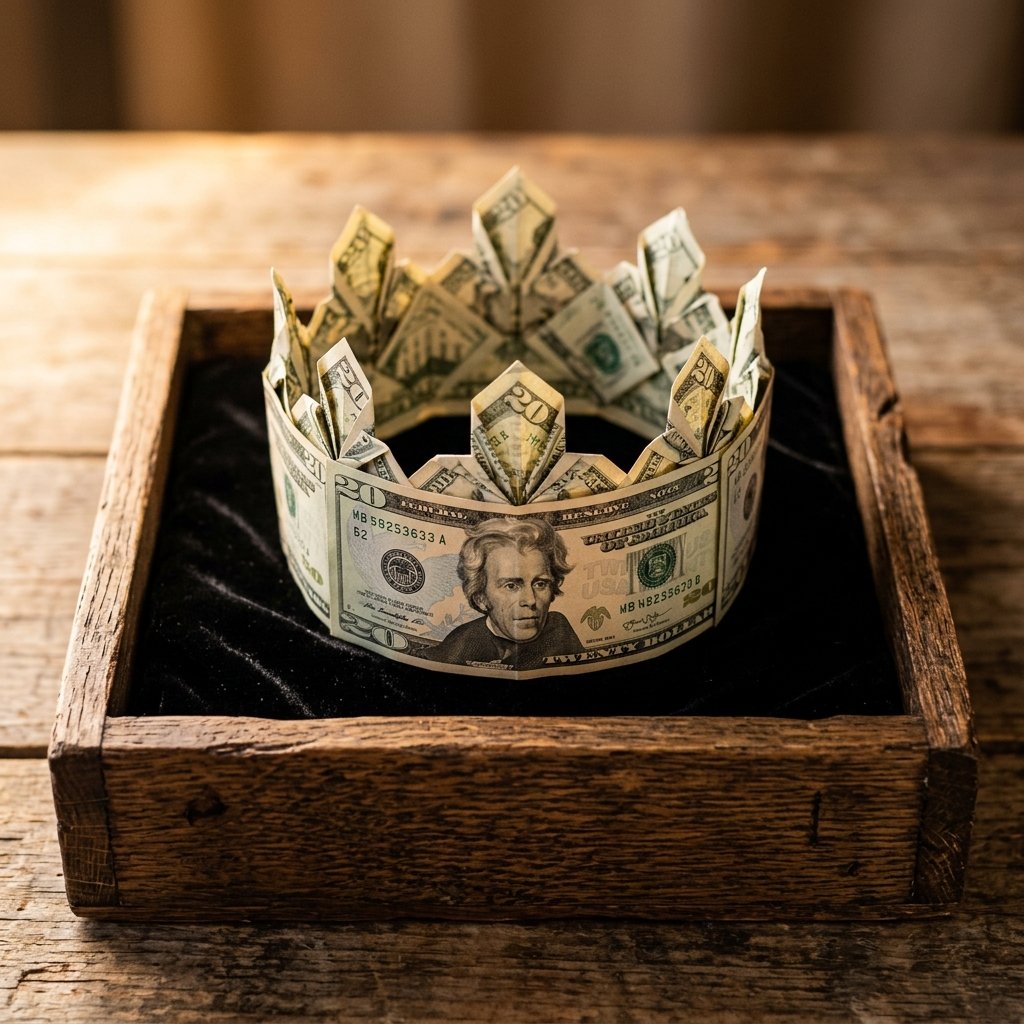
You’ve done the hard work; now it’s time for the ‘reveal.’ A money crown deserves better than a plastic bag. To truly make them feel like royalty, you need to present it with masculine elegance and resourceful flair.
Creative Presentation Ideas
- The Velvet Cushion: Place the crown on a small piece of scrap velvet or dark fabric inside a wooden box. It looks like a museum artifact.
- The Graduation Cap: If gifting to a grad, use a small piece of double-sided tape (on the inside only!) to secure the crown to the top of their mortarboard.
- The ‘Royal Head’ Stand: Use a cheap foam wig head from a craft store, spray paint it matte black or metallic gold, and place the crown on top. It’s a $5 upgrade that looks like a $50 display.
- The Glass Cloche: Place the crown under a glass dome (you can find these at Dollar Tree or thrift stores) with a few loose coins scattered at the base for a ‘treasure chest’ effect.
A Word on Safety: While US currency is durable, it is still paper. Keep the finished crown away from open flames (like birthday candles) and moisture. If you are using tape for display, always use ‘removable’ or ‘painter’s’ tape to ensure the bills aren’t damaged when they are eventually spent!
The Value of Effort: DIY vs. Store-Bought
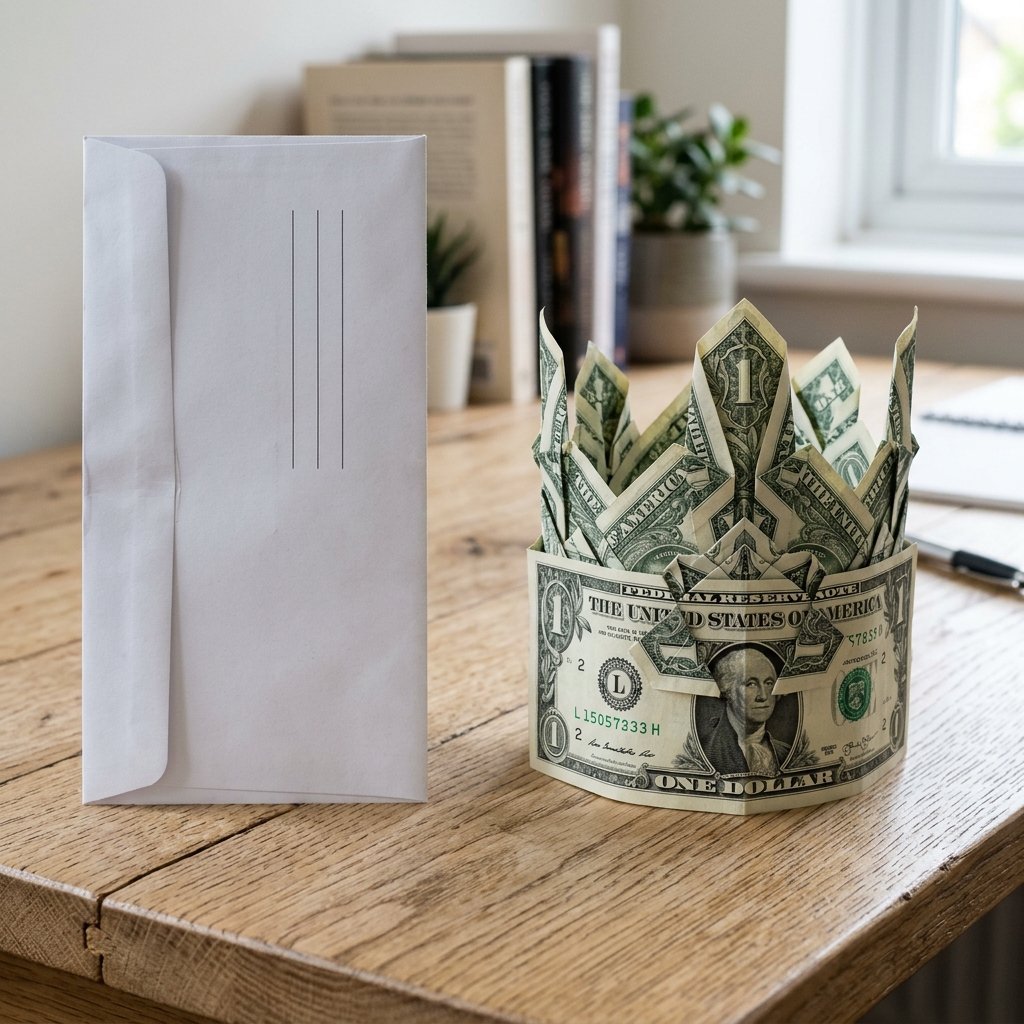
Why do we do this? Because in a world of digital transfers and Venmo, tangible effort is the rarest currency. Let’s look at the breakdown of why this project is the ultimate frugal win.
| Feature | Store-Bought Gift Card | DIY Money Origami Crown |
|---|---|---|
| Material Cost | $5.00 (Card) + Face Value | $0.00 + Face Value |
| Time Investment | 5 Minutes (Driving to store) | 20-30 Minutes (Crafting) |
| ‘Wow’ Factor | Minimal | Maximum |
| Memory Longevity | Forgotten in a week | Photographed and remembered |
| Sustainability | Plastic/Paper Waste | 100% Recyclable/Spendable |
By choosing to fold, you are proving that the recipient is worth your time, not just your money. That is the definition of a ‘thoughtful’ gift.
Conclusion
Congratulations, you’ve just completed your first coronation. You’ve taken a handful of flat, unremarkable bills and engineered them into a three-dimensional symbol of success and celebration. This money origami crown isn’t just a gift; it’s a testament to your resourcefulness and your eye for detail. Whether it sits on a shelf as a trophy or gets worn during a graduation ceremony, it carries a weight that a simple check never could. Remember, the best gifts don’t come from the most expensive stores—they come from the most creative minds. Now, go forth and crown your friends and family. You’ve got the skills; they’ve got the occasion. Long live the DIY king!

Makenzie is the founder and lead writer at MoneyHackTips.com — a personal finance blog dedicated to delivering street-smart financial wisdom for real people on real budgets. With 300+ published articles covering everything from debt management to investing fundamentals, Makenzie’s mission is to make every dollar work harder. When not writing about money hacks, Makenzie is testing frugal living strategies, optimizing side hustles, and helping readers build financial freedom from scratch.