
The Art of the Zero-Dollar Home Upgrade
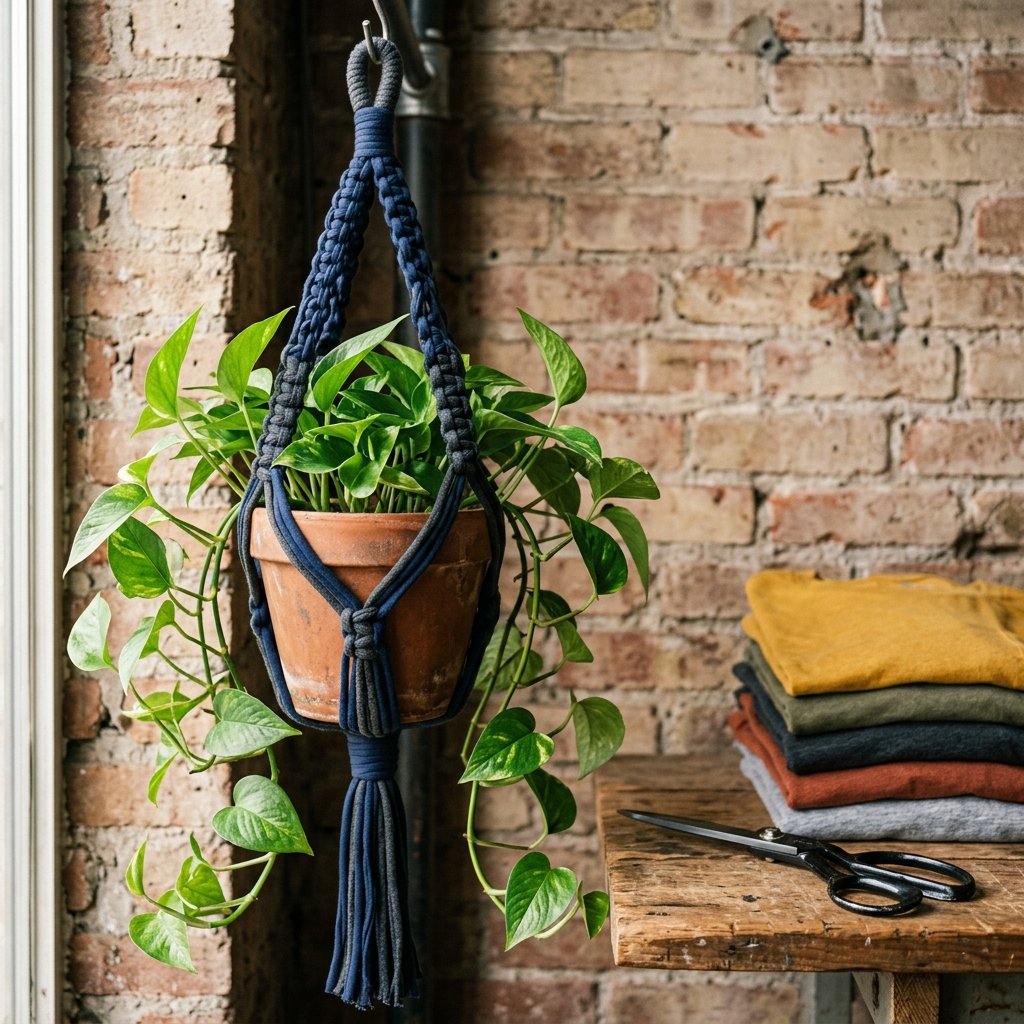
Let’s be honest: those trendy macramé plant hangers at high-end home boutiques are a total racket. They look fantastic, sure, but paying $25 to $45 for a few yards of cotton rope and some basic knots is a luxury we don’t need when we have a drawer full of old t-shirts. As a resourceful DIYer, you know that the best tools aren’t always bought—they are found. Today, we are reclaiming our budget and our closet space by transforming discarded jersey knit into high-strength, industrial-chic plant hangers. This isn’t just about saving money; it’s about the rugged elegance of making something functional with your own two hands. In exactly 10 minutes, you can create a custom-fitted hanger that rivals any store-bought version, all without touching a single crochet hook or knitting needle. We are using the physics of the jersey curl and the security of the gathering knot to create a piece of decor that is as sturdy as it is stylish.
The secret to a high-end look on a zero-dollar budget is all in the tension of your knots and the quality of your ‘Tarn’ (T-shirt yarn).
The Material Hunt: Selecting the Perfect ‘Tarn’ Candidate
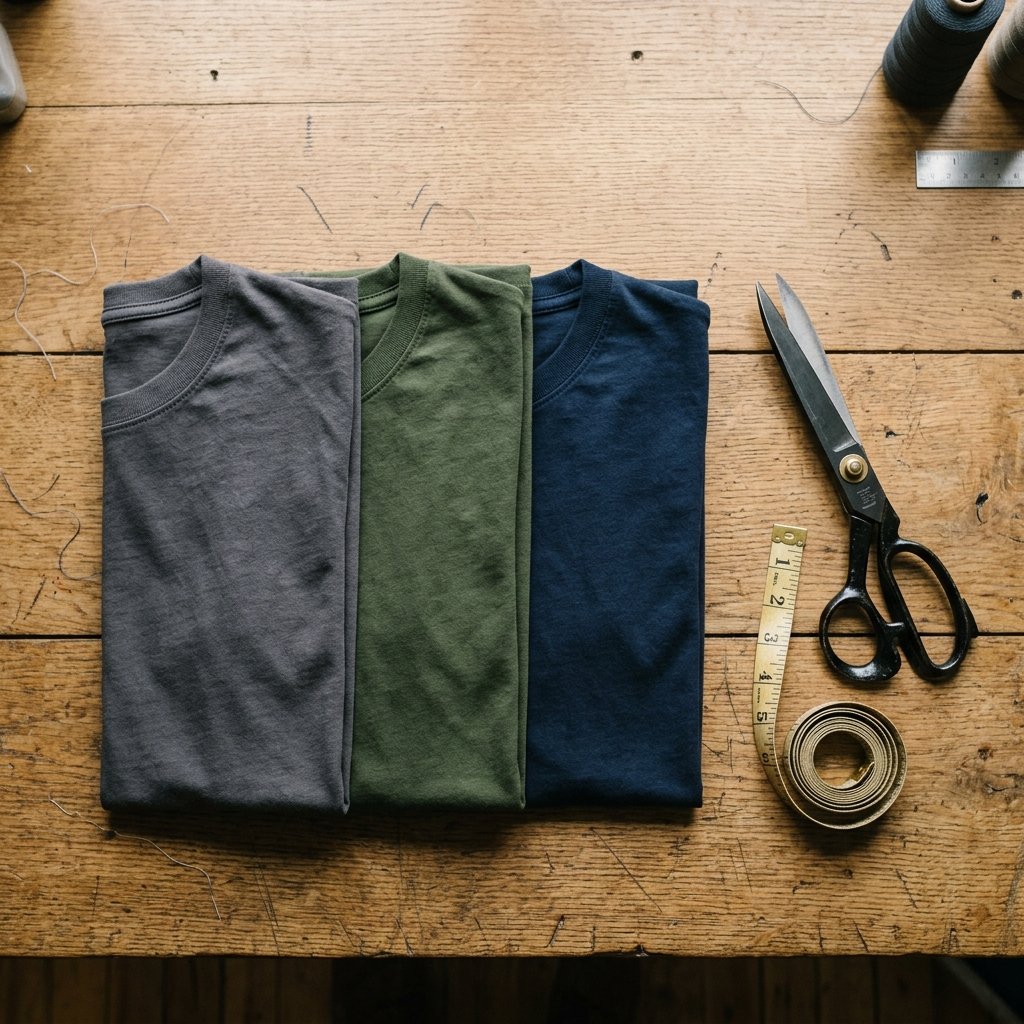
Not all t-shirts are created equal when it comes to structural integrity. To ensure your plant hanger can support the weight of a water-heavy ceramic pot, you need to understand the fabric’s composition. Look for 100% cotton or 95% cotton/5% spandex blends. These provide the perfect ‘curl’—that magical property where jersey knit rolls into a tube when pulled taut, hiding raw edges and mimicking professional cordage.
| Fabric Type | Stretch Factor | Best Use Case |
|---|---|---|
| 100% Cotton Jersey | Moderate | Heavy terracotta pots, large plants |
| Cotton-Spandex Blend | High | Small, lightweight succulents |
| Polyester Blend | Low | Not recommended (edges fray) |
| Heavyweight Beefy-T | Very High | Extra-large, rugged industrial look |
Preparation Steps
- Launder First: Ensure the shirt is clean and dry to allow the fibers to grip properly during knotting.
- Check for Side Seams: Shirts without side seams (tubular knit) produce the smoothest yarn, but seamed shirts work just fine for a more ‘rugged’ textured look.
- Remove the Hem: Use sharp fabric shears to cut off the bottom hem and the underarm area, leaving you with a clean rectangle of fabric.
The 10-Minute Transformation: Cutting and Stretching
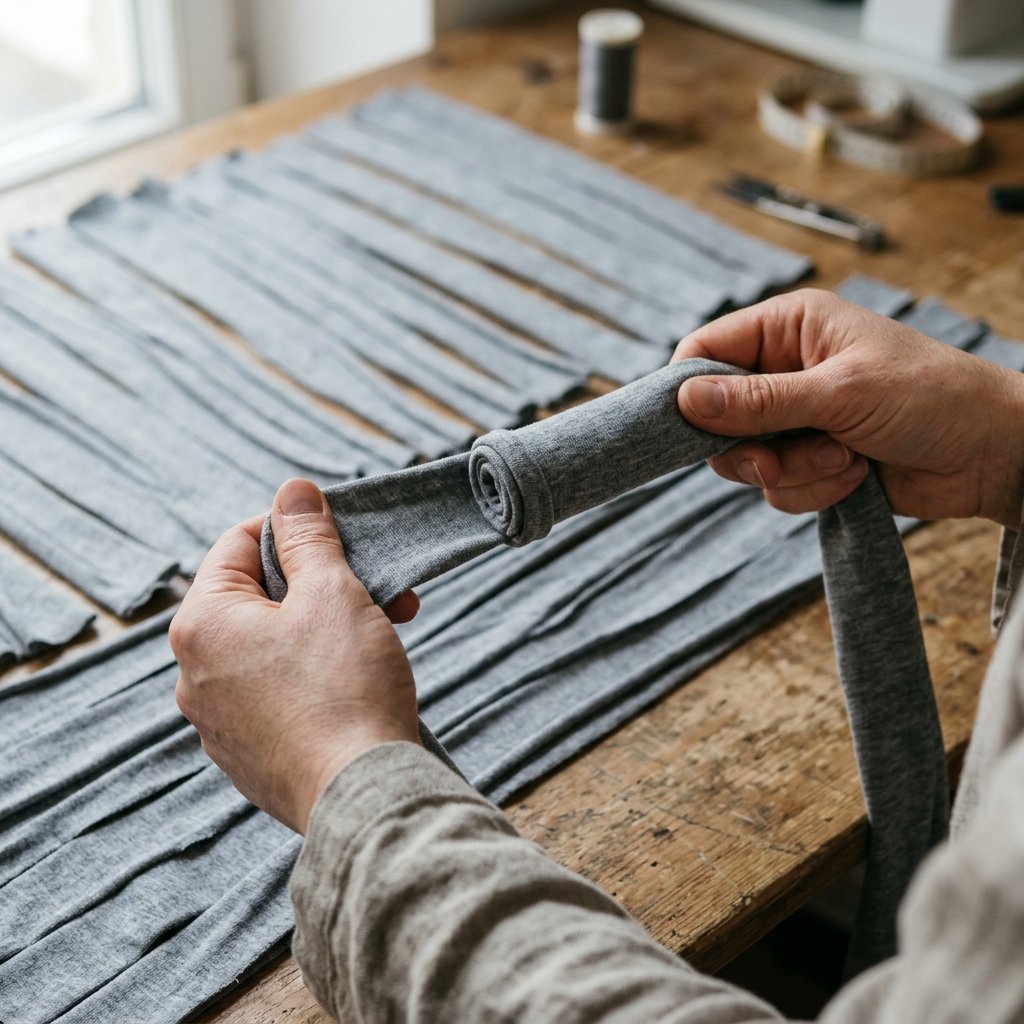
The goal is to create eight uniform strips of fabric. This is where we turn ‘trash’ into ‘tactical’ cordage. Precision here ensures that your planter hangs level—nothing ruins a masculine-elegant aesthetic like a lopsided fern.
- The Horizontal Cut: Lay your t-shirt flat on a hard surface. Cut strips horizontally (from side to side) approximately 1 inch to 1.5 inches wide. You will need 8 strips total.
- The Magic Pull: Grab one strip at a time. Place your hands at either end and pull firmly. You will feel the fabric stretch and see the edges curl inward. This creates a rounded, rope-like cord that is incredibly strong.
- The Length Check: For a standard hanger, each strip should be at least 40 to 50 inches long after stretching.
Pro Tip: If your shirt is small, cut the strips in a continuous spiral around the body of the shirt to get much longer lengths of yarn.
| Project Component | Measurement/Quantity | Estimated Time |
|---|---|---|
| Fabric Strips | 8 Strips | 3 Minutes |
| Strip Width | 1.25 Inches | Included |
| Stretching Time | 8 Strips | 2 Minutes |
| Total Prep Time | N/A | 5 Minutes |
Tactical Knotting: Building the Base and Basket
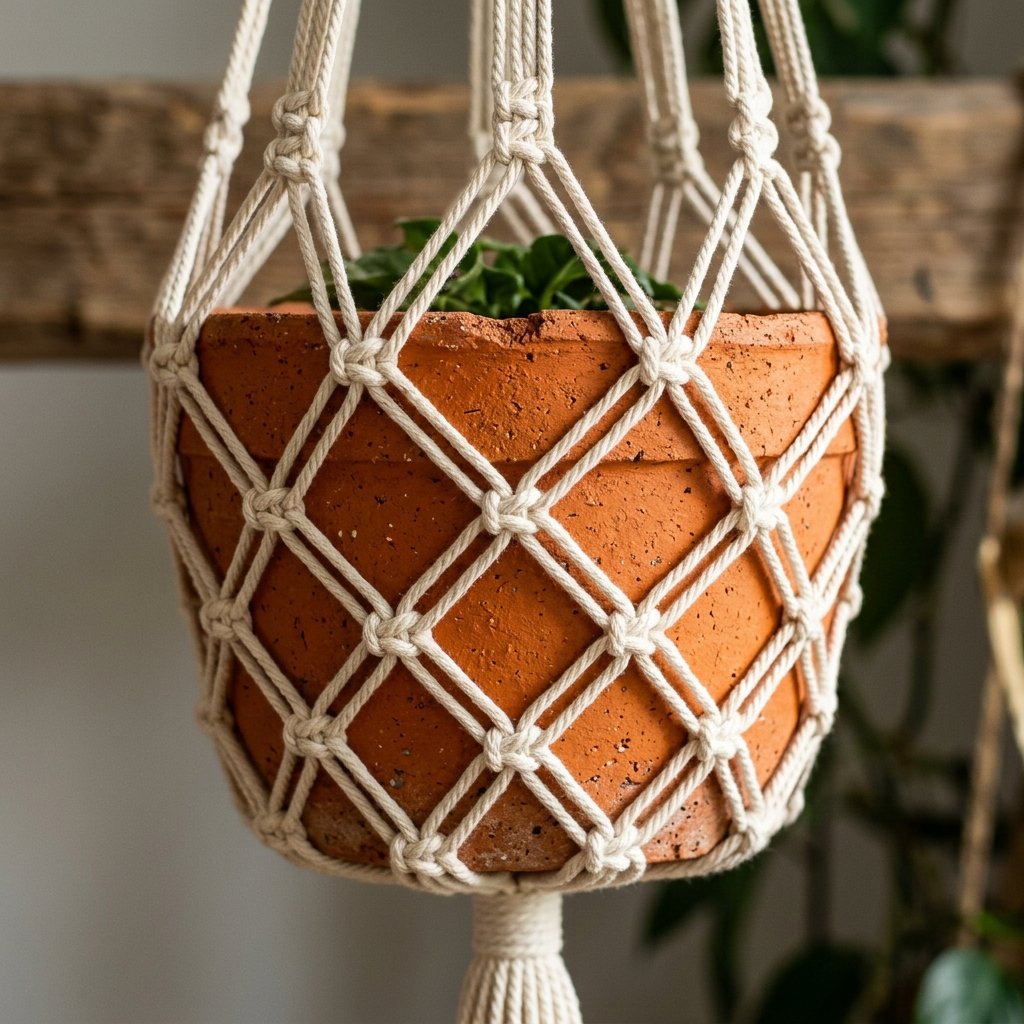
We aren’t just tying knots; we are engineering a suspension system. We will use the Gathering Knot for the top and bottom to ensure the hanger can withstand 10+ lbs of weight without slipping.
Step 1: The Base Gathering Knot
Gather all 8 strips. Take a separate 10-inch scrap of yarn and wrap it tightly around the bundle about 3 inches from the bottom. Tuck the ends under the wraps using a crochet hook or your fingers to create a seamless, ‘no-tail’ finish. This creates the tassel at the bottom.
Step 2: The Diamond Grid
- Pairing: Divide the 8 strips into 4 pairs.
- First Level: Tie a simple overhand knot in each pair about 2 inches above the base knot. Ensure all 4 knots are at the exact same height.
- The Switch: Take one strand from ‘Pair A’ and one strand from ‘Pair B’ and tie them together 2.5 inches higher. Repeat around the circle until all strands are linked. This creates the ‘diamond’ mesh that holds the pot.
- Third Level: Repeat the ‘Switch’ process one more time for larger pots.
Step 3: The Top Loop
Bring all 8 strands back together at the top. Tie another Gathering Knot or a sturdy Overhand Loop Knot to create the hanging point. Trim any excess lengths for a clean, professional finish.
Style & Savings: Why DIY Beats the Big Box Stores
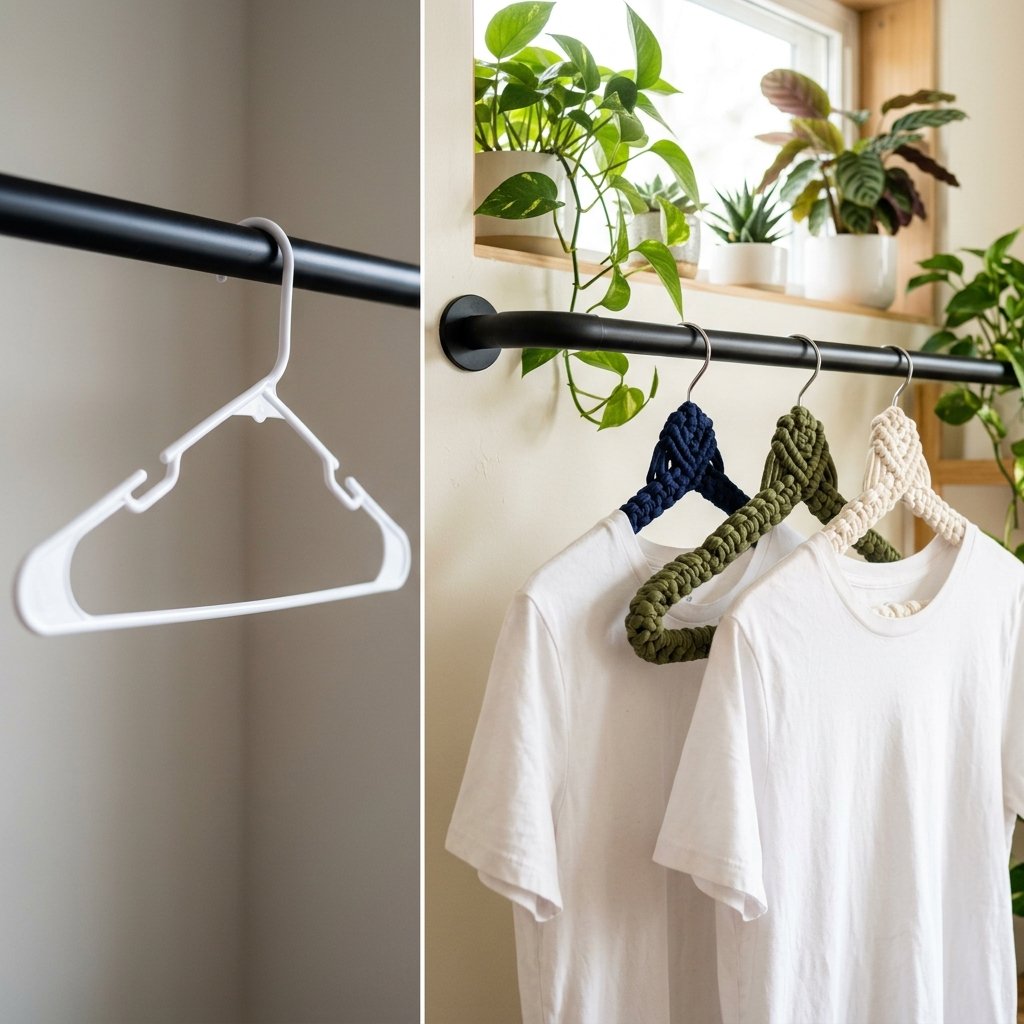
Beyond the satisfaction of the craft, the financial logic is undeniable. When you stop buying mass-produced plastic or overpriced cotton hangers, you free up your budget for the plants themselves—the real stars of the show. This project is the epitome of frugal luxury.
| Feature | Store-Bought Macramé | DIY T-Shirt Hanger |
|---|---|---|
| Cost | $15 – $40 | $0.00 (Upcycled) |
| Time Investment | Drive to store (30 mins) | 10 Minutes |
| Durability | Varies (often thin cord) | High (Jersey is resilient) |
| Customization | None (Standard sizes) | Infinite (Any color/size) |
| Waste | Packaging & Shipping | Zero Waste |
To elevate the look even further, consider adding wooden beads between your knots or using a bleach-dye technique on a dark shirt before cutting it to create a rugged, ‘acid-wash’ industrial vibe. These small touches take the project from ‘homemade’ to ‘bespoke boutique’ in seconds.
Safety and Load Bearing: A Note for the Practical Crafter
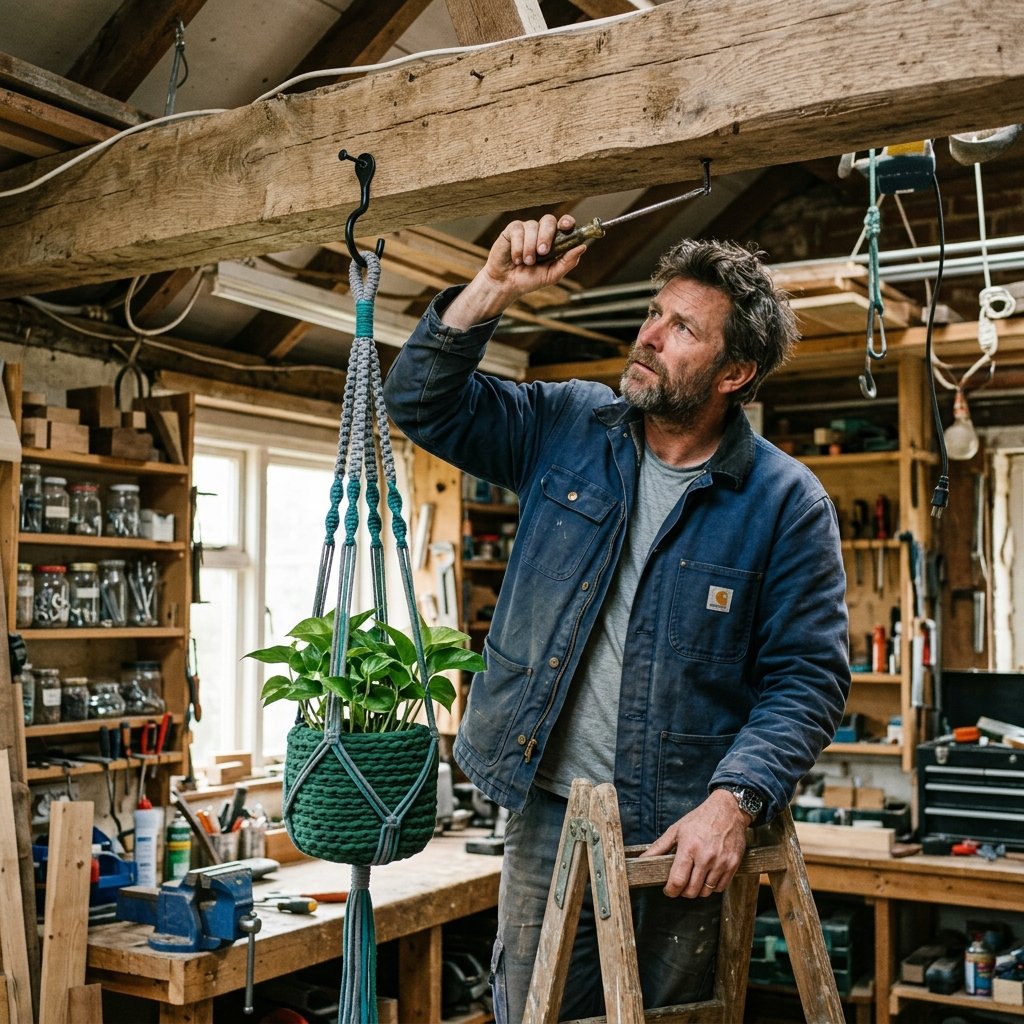
Always test the weight of your planter over a soft surface (like a rug or sofa) for the first 24 hours. While jersey yarn is incredibly strong, the ‘give’ in the fabric can cause the pot to sit lower over time as the fibers settle.
If you are hanging a particularly heavy pot (ceramic or wet soil), ensure your ceiling hook is screwed directly into a joist or uses a high-quality toggle bolt. The hanger is only as strong as the point from which it hangs. For maximum security, use 100% cotton shirts with minimal stretch for these heavier loads, as they have higher tensile strength than spandex blends.
Conclusion
Your Greenery, Reimagined
By spending just 10 minutes and $0, you’ve not only saved a piece of clothing from the landfill but also added a layer of custom, rugged style to your living space. This T-shirt yarn hanging planter is a testament to the power of the frugal mindset—proving that with a little cleverness and a few strategic knots, you can out-style the big-box retailers every time. Whether you’re a budget bride looking for eco-friendly decor, a handy parent teaching your kids about upcycling, or a minimalist looking for a clean, practical aesthetic, this project delivers. Now, go raid your closet, find that old favorite tee that doesn’t fit quite right, and give your plants the handmade home they deserve. Happy crafting!

Makenzie is the founder and lead writer at MoneyHackTips.com — a personal finance blog dedicated to delivering street-smart financial wisdom for real people on real budgets. With 300+ published articles covering everything from debt management to investing fundamentals, Makenzie’s mission is to make every dollar work harder. When not writing about money hacks, Makenzie is testing frugal living strategies, optimizing side hustles, and helping readers build financial freedom from scratch.