
The Handshake of Your Home: Why Your Mailbox Matters
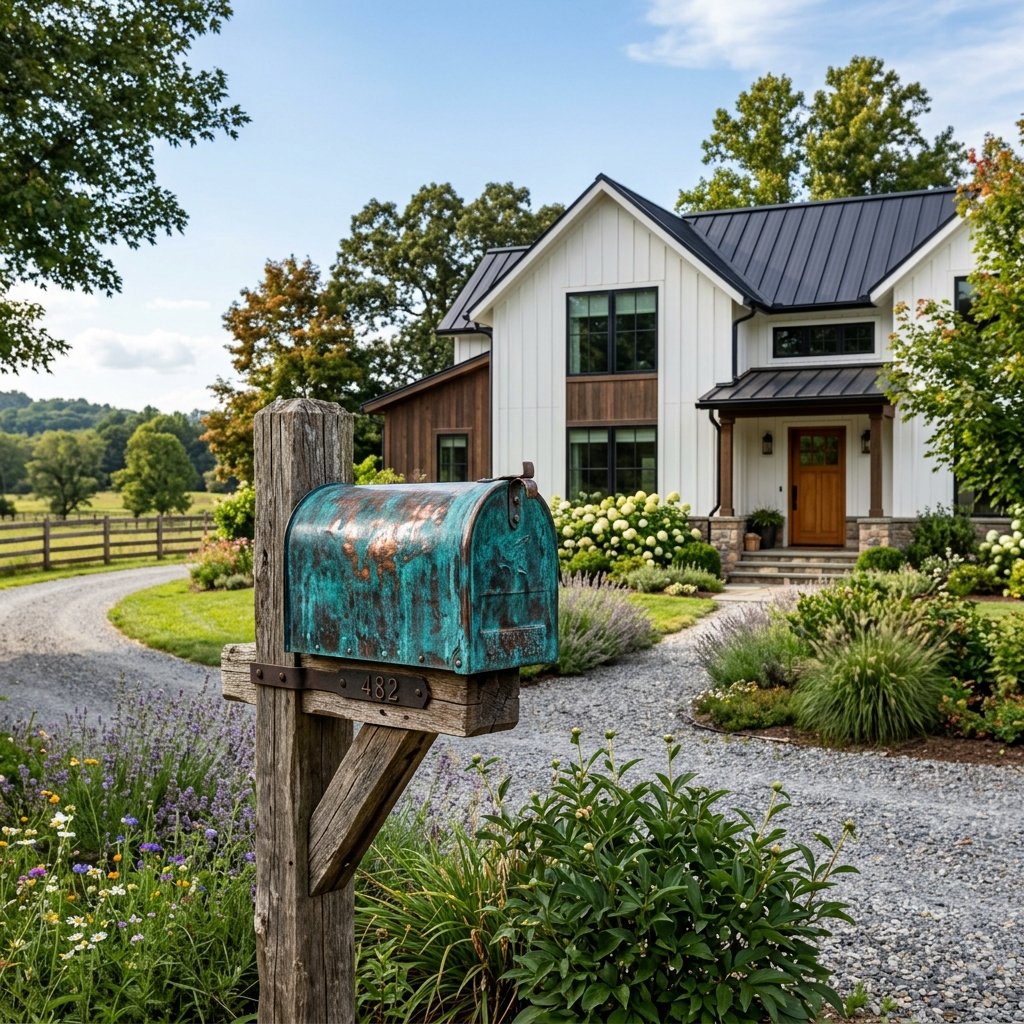
Your mailbox is more than just a receptacle for bills and junk mail; it is the first handshake your home offers to the world. A rusted, sun-bleached, or plain plastic mailbox screams neglect, but a heavy, weathered copper piece whispers tales of craftsmanship, history, and timeless elegance. However, if you have ever browsed the aisles of a high-end home improvement store, you know that a genuine solid copper mailbox can easily set you back $150 to $300. For the savvy DIYer, that is a price tag that simply does not compute.
Today, we are going to use a bit of ‘alchemist’s magic’ to turn a standard, boring metal mailbox into a high-end faux copper masterpiece. We aren’t just slapping on some spray paint and calling it a day. We are going to layer textures, colors, and protective coatings to create a finish that looks like it was forged in a 19th-century metal shop—all for a total investment of under $10. Whether you are a frugal dad looking to sharpen the curb appeal or a budget bride wanting a unique card box for a rustic wedding, this guide is your roadmap to rugged luxury.
The Treasure Map: Sourcing Your $10 Supplies

The secret to a successful ‘trash-to-treasure’ transformation lies in the selection of materials. You don’t need a professional studio; you just need to be clever and resourceful. Most of these items can be found in your garage already, or at your local dollar store.
The Essential Material List
| Item | Source | Estimated Cost |
|---|---|---|
| Metallic Copper Spray Paint (or Acrylic) | Discount Hardware Store | $4.50 |
| Matte Black Acrylic Paint | Dollar Store | $1.25 |
| Seafoam Green/Turquoise Paint | Dollar Store | $1.25 |
| Coarse Sandpaper (80-120 grit) | Garage Scraps | $0.00 |
| Sea Sponge or Rag | Kitchen Cupboard | $0.00 |
| Clear UV-Resistant Topcoat | On-Hand/Discount | $2.50 |
| Total Project Cost | – | $9.50 |
Budget Guru Tip: Always check the ‘mis-tint’ section at your local hardware store. You can often find high-quality exterior paints for pennies on the dollar that work perfectly for the base and patina layers of this project!
Foundation Work: Prepping for Permanence
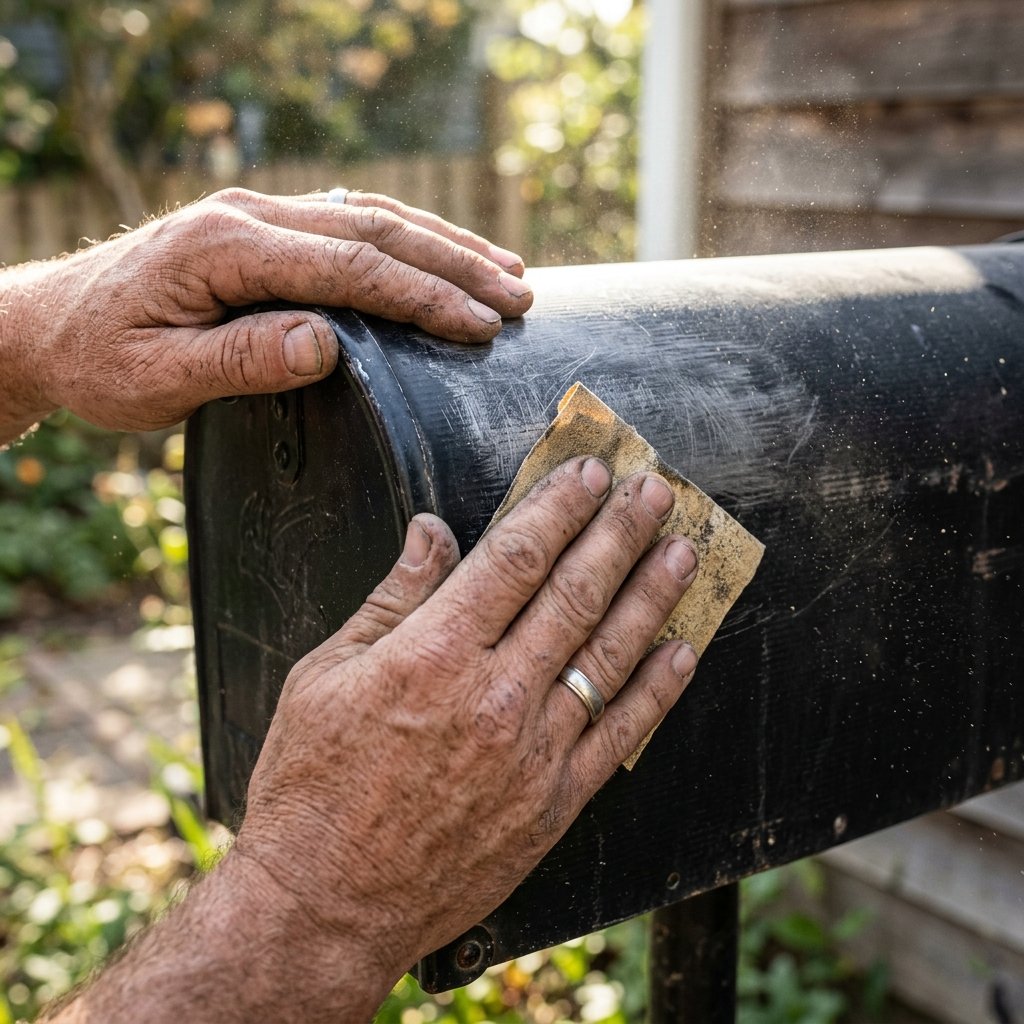
A masterpiece is only as good as its foundation. If you skip the prep work, your beautiful copper finish will flake off within a single season of rain and snow. We want this to look rugged and permanent, not like a temporary craft project.
- Step 1: The Deep Clean. Use a mixture of warm water and dish soap to scrub away years of road grime, bird droppings, and spider webs. If the mailbox is metal and has existing rust, use a wire brush to remove the loose flakes.
- Step 2: Scuffing the Surface. Even if your mailbox is brand new, the factory finish is usually too slick for paint to bond. Use your 80-grit sandpaper to scuff the entire surface. You aren’t trying to remove the old paint entirely, just creating ‘teeth’ for the new layers to bite into.
- Step 3: Degreasing. Wipe the whole thing down with a rag soaked in rubbing alcohol or white vinegar. This removes any skin oils or invisible residues that could cause the paint to bubble.
Once the surface is dry and dull, you are ready for the base. This is where the transformation truly begins.
The Alchemist’s Touch: Layering the Copper Tones
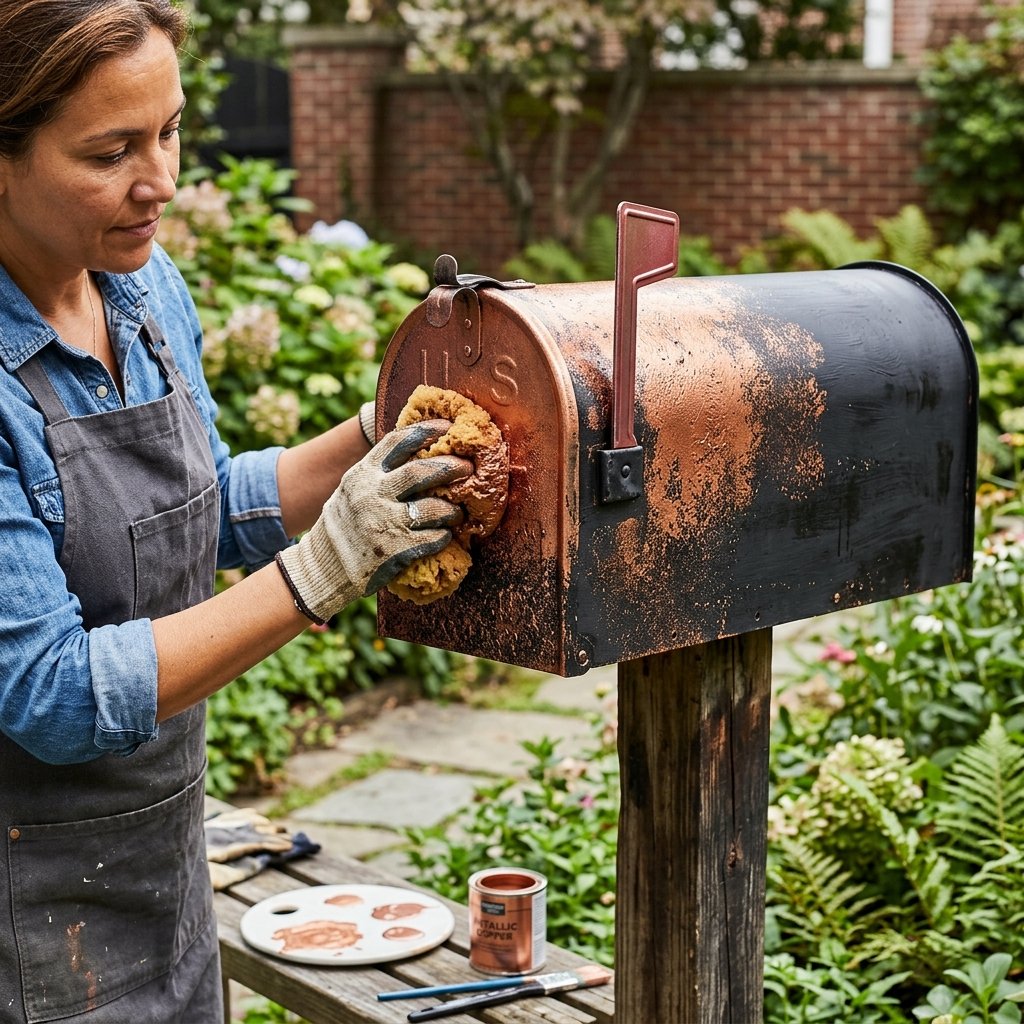
To achieve a high-end look, we must avoid the ‘flat’ look of a single coat of spray paint. Real copper has depth, shadows, and highlights. We are going to build those manually.
The Three-Layer Technique
- The Shadow Layer: Lightly mist the mailbox with matte black paint. You don’t need full coverage here; you want the black to settle into the corners, around the hinges, and near the rivets. This creates ‘artificial shadows’ that make the final piece look heavier and more expensive.
- The Copper Body: Apply your metallic copper paint in short, controlled bursts. Hold the can about 10 inches away. The goal is to let some of that black ‘shadow’ peek through in the crevices. This gives the mailbox a cast-metal appearance.
- The Highlight Polish: Once the copper is tacky (about 10 minutes), take a dry rag and lightly buff the ‘high points’—the top of the mailbox, the handle, and the edges. This mimics the way natural light hits a polished metal surface.
Mantra for the Maker: ‘Thin coats, patient hands.’ It is better to do three light layers than one thick, drippy mess.
Weathering the Storm: Adding Character with Faux Verdigris
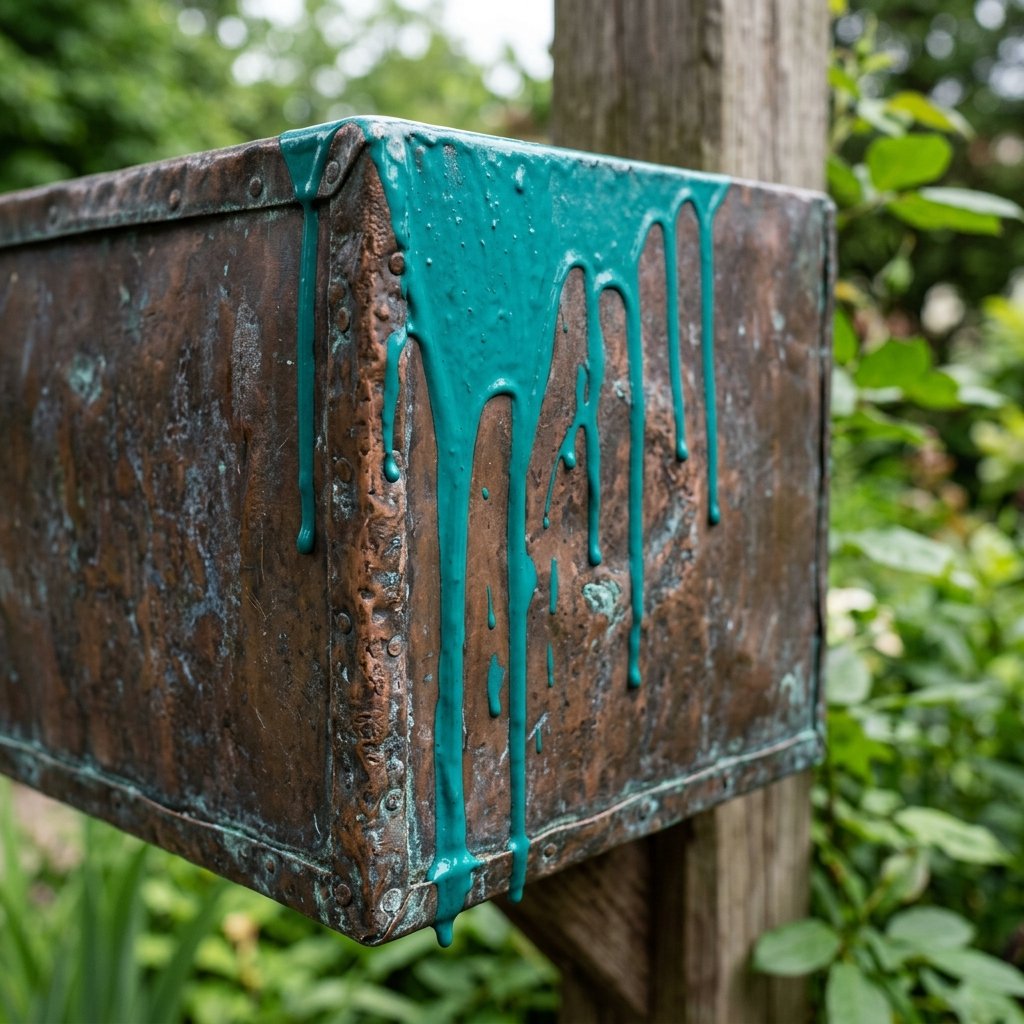
If you want your mailbox to look like it has stood the test of time in a coastal village or an ancient estate, you need verdigris. This is the greenish-blue patina that forms on copper when it oxidizes. This step separates the amateurs from the masters.
Creating the Patina Wash
Mix your seafoam green or turquoise paint with water in a 1:3 ratio (one part paint, three parts water). It should have the consistency of thin ink.
- Dab and Drip: Use your sponge to apply the wash sparingly around the rivets, the hinges, and the base of the mailbox.
- Gravity is Your Friend: Let a few drops run down the side naturally. Real oxidation follows the path of rainwater.
- The Blotting Method: Immediately take a clean, dry paper towel and blot the center of the green spots. You want the color to be faint and blended, not a solid blob of green.
| Technique | Visual Result | Effort Level |
|---|---|---|
| Dry Brushing | Subtle, aged highlights | Easy |
| Watered-down Wash | Deep, realistic oxidation | Moderate |
| Full Sponge Dab | Heavy, antique ‘junkyard’ chic | Easy |
The Final Shield: Weatherproofing for the Long Haul
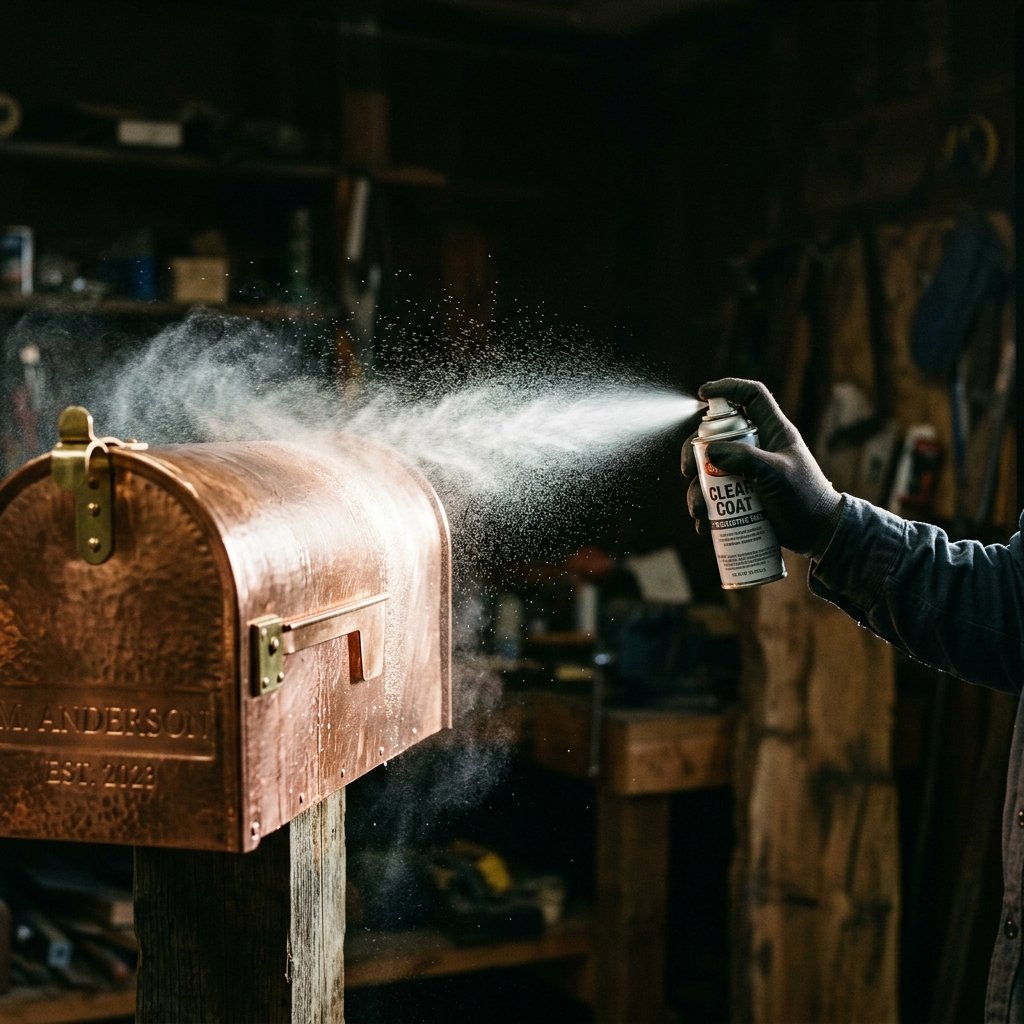
You’ve spent the time to create a work of art; now you must protect it from the harsh UV rays and pouring rain. Without a sealer, the sun will bleach your copper to a dull brown in months.
Choose a Clear UV-Resistant Topcoat. I recommend a satin finish—it provides a subtle glow without the ‘plastic’ look of high gloss. Apply two thin coats, waiting at least 30 minutes between them. Ensure you spray inside the door and around the flag mechanism to prevent sticking.
Maintenance Schedule
- Annual Checkup: Every spring, wipe the mailbox down with a damp cloth.
- Touch-ups: If a rogue weed-whacker nicks the finish, simply dab a tiny bit of copper acrylic paint on the spot and re-seal.
Safety Note: Always apply spray paints and sealers in a well-ventilated outdoor area. Use a mask if you are sensitive to fumes, and keep a piece of cardboard behind your project to prevent overspray on your driveway!
Conclusion
A Masterpiece on a Dime
By following these steps, you have successfully bypassed the ‘big box’ markup and created something with character and soul. For under $10 and about two hours of active work, you’ve transformed a boring utility item into a high-end architectural detail that will have neighbors stopping to ask where you ‘commissioned’ such a piece. This project is a testament to the power of the resourceful DIYer: with a little paint, a bit of grit, and a clever eye, there is no limit to what you can upcycle. Now, sit back, grab a cold drink, and enjoy the best-looking curb on the block!

Makenzie is the founder and lead writer at MoneyHackTips.com — a personal finance blog dedicated to delivering street-smart financial wisdom for real people on real budgets. With 300+ published articles covering everything from debt management to investing fundamentals, Makenzie’s mission is to make every dollar work harder. When not writing about money hacks, Makenzie is testing frugal living strategies, optimizing side hustles, and helping readers build financial freedom from scratch.