
Welcome to the intersection of frugal ingenuity and rugged elegance. If you have ever walked down the aisles of a big-box home improvement store, you know the absolute sticker shock that comes with outdoor landscape lighting. You are often looking at $20 to $50 per light for anything that boasts a masculine, architectural, or high-end aesthetic. But as resourceful crafters, budget-savvy parents, and handy upcyclers, we refuse to pay a premium for something we can build better ourselves.
Today, we are taking the humble $1.25 Dollar Tree solar light and completely re-engineering it. Out of the box, these cheap plastic lights are flimsy, uninspired, and prone to snapping in a stiff breeze. However, beneath that cheap exterior lies a perfectly functional solar panel and LED diode waiting to be unleashed. By combining these inexpensive electronic guts with a few clever hardware store staples, some heavy-duty adhesives, and a masterclass in faux-finishing, we are going to craft custom path markers that look like they were forged in a high-end design studio.
The Upcycler’s Mantra: Never accept a cheap plastic finish when a fifty-cent coat of spray paint and some clever engineering can mimic forged iron or cast stone.
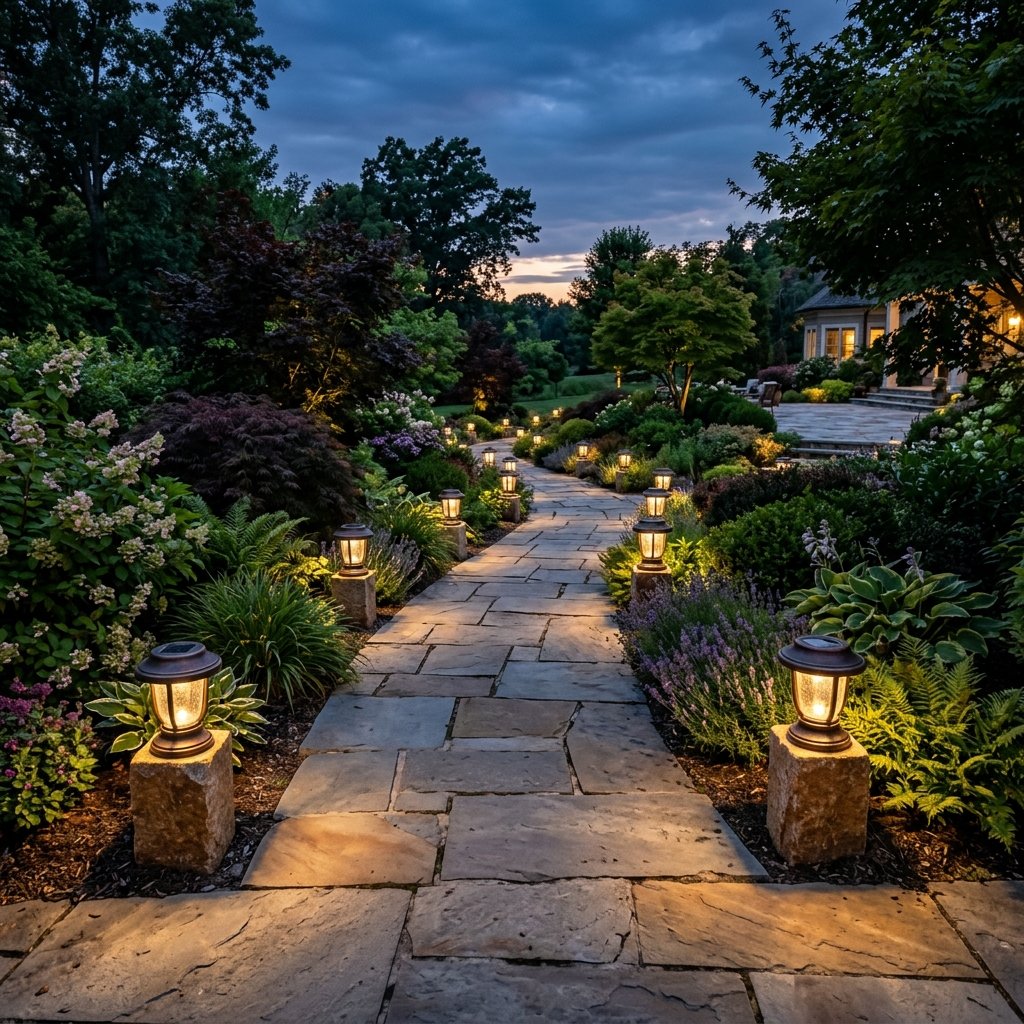
Whether you are looking to illuminate a dark driveway, add some rugged charm to your backyard fire pit area, or create a welcoming, well-lit path for guests, this project is the ultimate weekend craft. Grab your work gloves, heat up your glue guns, and let us dive into the ultimate trash-to-treasure porch makeover.
The Blueprint: Gathering Your Dollar Tree Arsenal
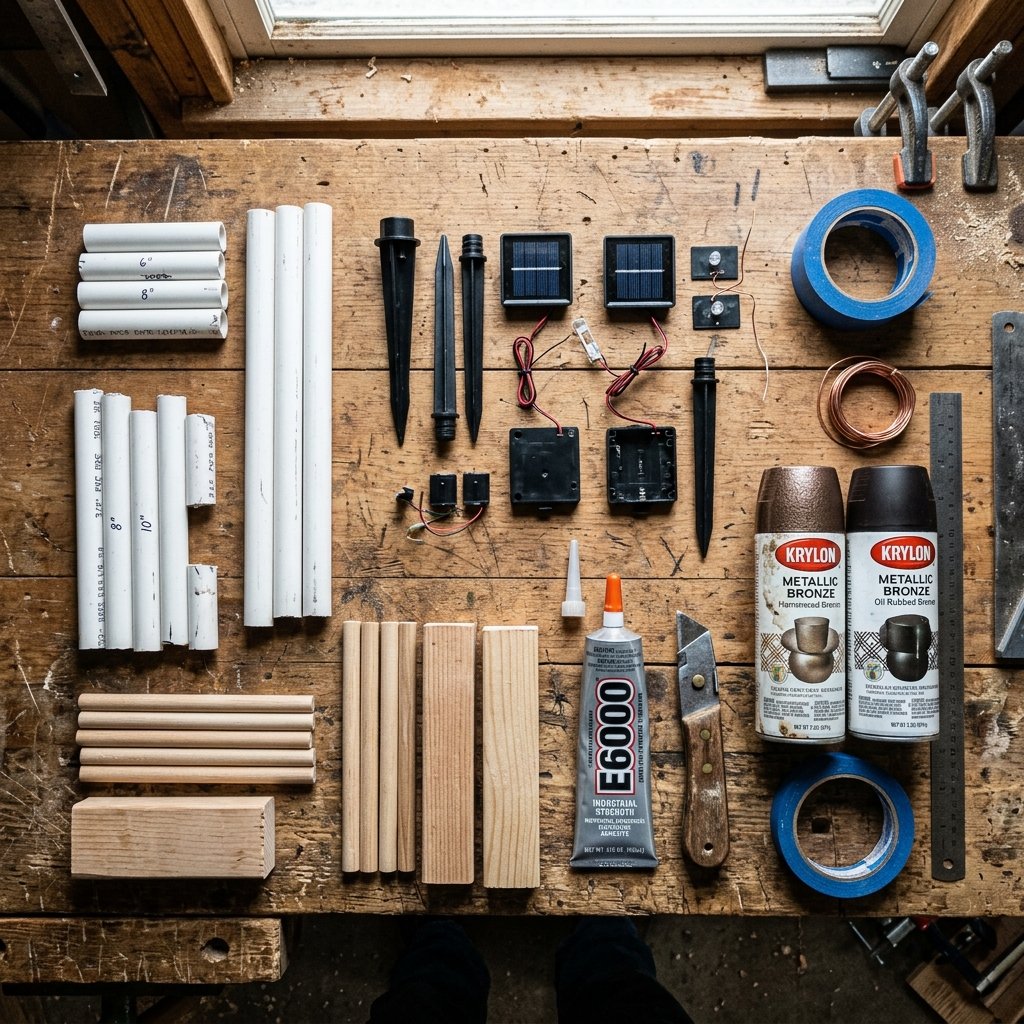
Before we start cutting, gluing, and painting, we need to gather our materials. The beauty of this project lies in its accessibility. You do not need a fully equipped woodshop or expensive tools to pull this off. Our primary components will be sourced directly from the dollar store, supplemented by a few rugged hardware store staples.
The Core Materials
- Dollar Tree Solar Lights: The standard stake lights. You will need one for every marker you plan to build. Look for the ones with a removable top housing.
- Structural Bases: To ditch the flimsy plastic stakes, we will use either 1/2-inch PVC pipe (for a modern, cylindrical look) or wooden dowels/broom handles (for a classic, sturdy feel).
- Adhesives: E6000 industrial strength adhesive and a high-temp hot glue gun.
- Finishing Supplies: Matte black or oil-rubbed bronze spray paint, baking soda (for texturing), and fine-grit sandpaper.
- Clear Coat: A UV-resistant, exterior-grade clear enamel spray to protect our hard work from the elements.
Let us look at the cold, hard numbers. The savings you generate by utilizing this resourceful approach are staggering, allowing you to light your entire property for the cost of a single store-bought fixture.
| High-End Store-Bought Marker | Our Dollar Tree DIY Dupe | Total Savings Per Light |
|---|---|---|
| Cast Iron Solar Stake (Big Box): $24.99 | Dollar Tree Light + PVC + Paint: $2.15 | $22.84 (over 90% savings!) |
| Faux Stone Path Light (Boutique): $35.00 | Dollar Tree Light + Dowel + Texture: $2.40 | $32.60 (over 93% savings!) |
| Set of 10 Walkway Lights: $250.00+ | Set of 10 Custom DIY Lights: $22.50 | $227.50 kept in your wallet! |
As you can see, the budget-savvy approach not only saves you hundreds of dollars but also gives you complete creative control over the final aesthetic.
Structural Engineering: Upgrading the Flimsy Stakes
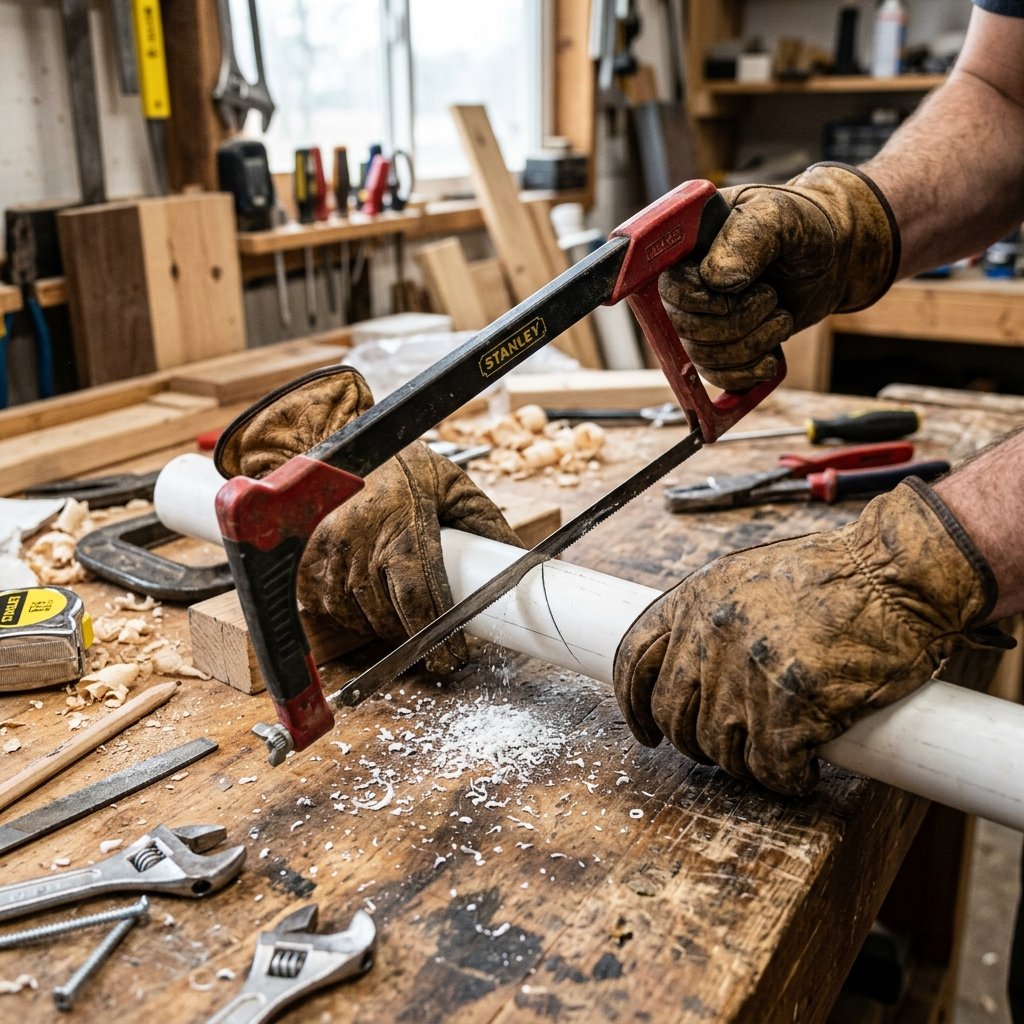
The biggest giveaway of a cheap solar light is the stake. They are notoriously brittle, often snapping the moment they hit compacted soil or a rogue pebble. To elevate our lights to a masculine-elegant standard, we must replace the foundation with something bulletproof.
Option A: The Industrial PVC Upgrade
For a sleek, modern, or industrial look, PVC pipe is your best friend. It is weather-resistant, easy to cut, and incredibly cheap.
- Measure and Cut: Purchase a 10-foot stick of 1/2-inch or 3/4-inch PVC pipe from the hardware store (usually around $4.00). Using a hacksaw or PVC cutters, slice the pipe into 12-inch to 18-inch sections, depending on how tall you want your lights to stand.
- Sand the Surface: PVC has a glossy finish that repels paint. Take a sheet of 120-grit sandpaper and aggressively scuff the entire exterior of the pipe. This gives the plastic a “tooth” for the paint to grip.
- Angle the Bottom: Cut the bottom of each PVC section at a sharp 45-degree angle. This creates a built-in spike, making it infinitely easier to drive into the ground later.
Option B: The Rugged Wooden Dowel
If you prefer a heavier, more traditional aesthetic, thick wooden dowels or upcycled wooden broom handles work beautifully.
- Cut to Size: Use a handsaw or miter saw to cut your dowels into uniform lengths.
- Seal the Wood: Because wood will rot when exposed to soil moisture, you must seal the bottom 6 inches. Dip the angled ends in an exterior-grade wood sealer or coat them heavily in FlexSeal or a similar rubberized coating.
Safety Note: When cutting PVC or sanding wood, always wear a dust mask and protective eyewear. Small plastic particulates and wood dust can be harmful if inhaled.
The Alchemist’s Guide to Faux Finishes
Now comes the truly crafty part: transforming cheap plastic and raw PVC into materials that look heavy, expensive, and forged. This is where your inner Dollar Tree interior designer gets to shine.
The Forged Iron Look
To achieve a rugged, wrought-iron appearance, we need to add subtle texture and a deep, metallic finish.
- Step 1: Wipe down all your sanded PVC pipes and the plastic housings of the Dollar Tree solar lights (make sure to tape off the solar panel and the clear plastic lens with painter’s tape!).
- Step 2: Apply a coat of rust-preventative primer. Even though we are painting plastic, a good automotive or rusty-metal primer adds a fantastic matte base.
- Step 3: Spray with an Oil-Rubbed Bronze or Hammered Black spray paint. The “hammered” varieties contain special solvents that create a dimpled, metal-like texture as they dry.
The Faux Cast Stone Look (The Baking Soda Trick)
If you want your path markers to look like heavy concrete or carved stone, the baking soda paint trick is a miracle worker.
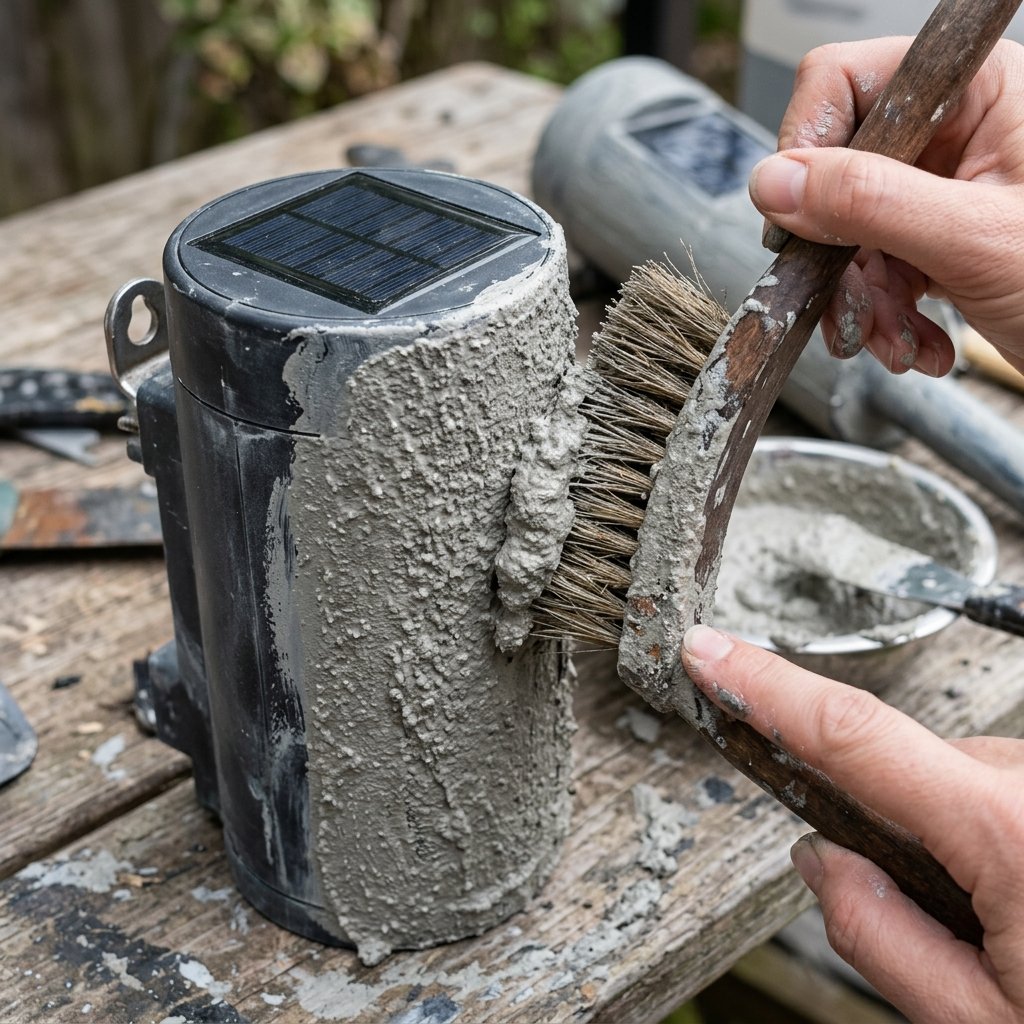
- Mix the Potion: Pour some exterior acrylic latex paint (in a charcoal or greige color) into a disposable cup. Stir in standard baking soda until the paint reaches the consistency of thick pancake batter.
- Stipple the Surface: Using a cheap, stiff-bristled chip brush, dab (or stipple) the thickened paint onto the PVC bases and the solar light housings. Do not brush it smooth; you want the gritty texture to build up.
- Dry and Dry-Brush: Let it dry completely for at least 2 hours. Once dry, take a slightly lighter shade of gray paint, dip just the tips of a dry brush into it, and lightly sweep it over the high points of the texture. This highlights the faux stone crevices perfectly.
Assembly & Weather-Sealing: The Crafty Expert’s Secret
With our components painted and cured, it is time to assemble the final product. A common mistake frugal DIYers make is relying solely on hot glue for outdoor projects. Hot glue will become brittle and snap in freezing winter temperatures, and it can remelt in the scorching summer sun. We need a more rugged solution.
The Hybrid Gluing Technique
We are going to use a combination of E6000 adhesive (for permanent, flexible, waterproof holding power) and hot glue (for an instant, temporary clamp while the E6000 cures).
- Prep the Joints: Ensure the top rim of your painted PVC/dowel base and the bottom inset of the solar light head are free of dust.
- Apply the E6000: Squeeze a continuous bead of E6000 around the inside lip of the PVC pipe. This will form our waterproof gasket.
- Add Hot Glue: Place three small dabs of hot glue on the outer edge of the rim.
- Press and Hold: Quickly press the Dollar Tree solar light head into the PVC base. The hot glue will set within 10 seconds, holding the piece firmly in place, while the E6000 will cure over the next 24 to 48 hours to create an indestructible bond.
Sealing the Electronics
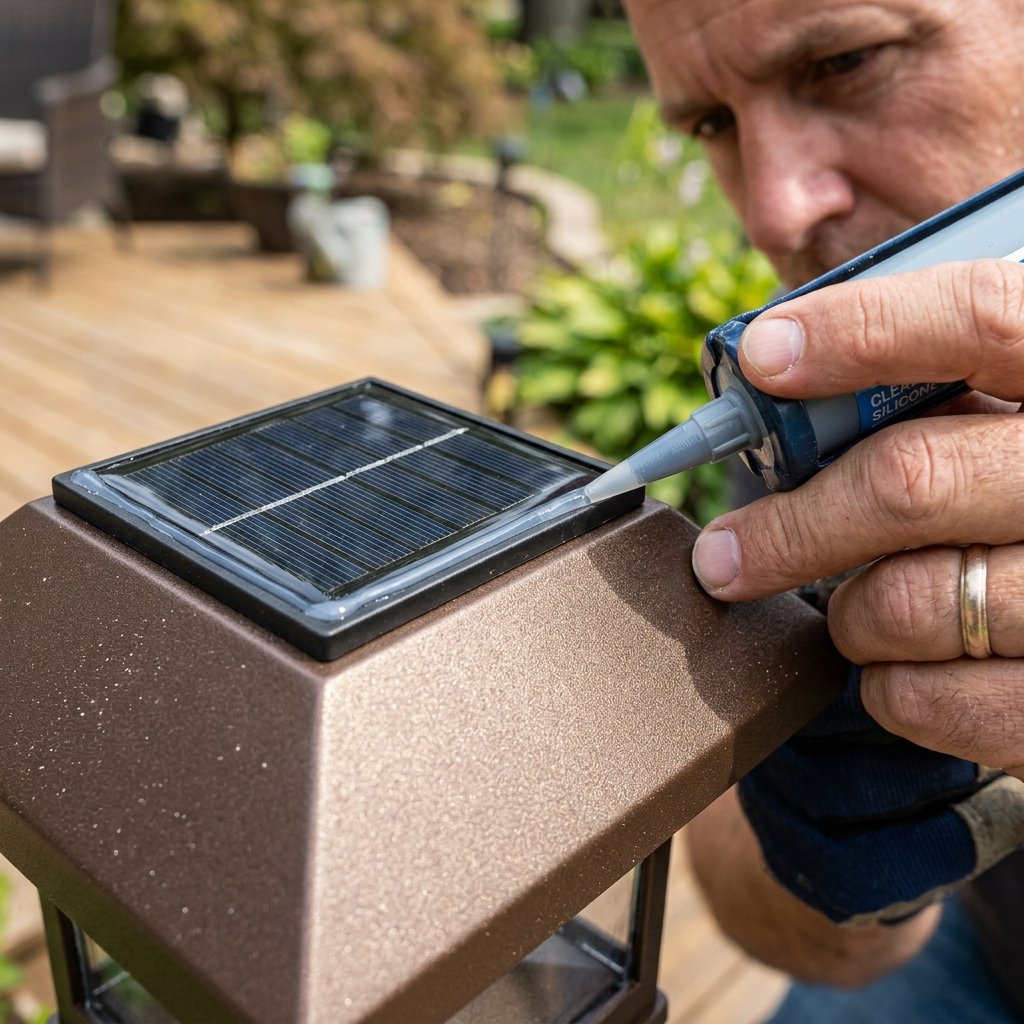
Dollar Tree solar lights are notorious for letting rain seep into the battery compartment. To fix this, take a tube of clear silicone caulk or a precision applicator of super glue and run a microscopic bead around the edge where the tiny solar panel meets the plastic housing. This 5-minute step will extend the life of your $1.25 investment by years.
Pro-Tip: Before final assembly, open the battery compartment and replace the cheap factory rechargeable battery with a higher-capacity NiMH AA or AAA solar battery. This will make your lights shine twice as bright and last until dawn!
Planting Your Beacons: Landscape Installation Tips
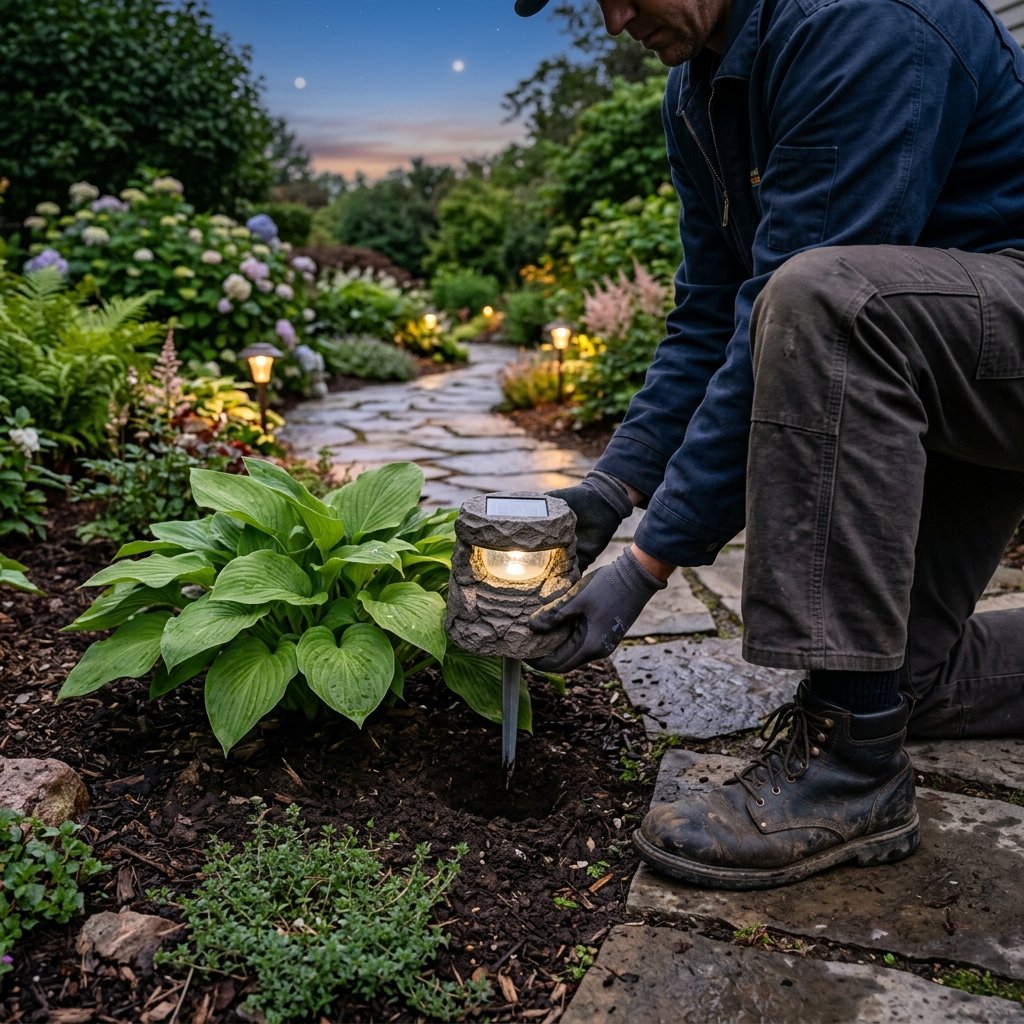
You have successfully built a set of rugged, masculine-elegant solar path markers. Now, it is time to install them. Proper placement and installation are key to ensuring they look like professional landscape lighting rather than a DIY afterthought.
The Pilot Hole Method
Never hammer your finished solar lights directly into the ground. Even with our upgraded PVC or wood bases, the impact can shatter the plastic housing or dislodge the solar panel.
- Assess the Soil: If your soil is hard clay or filled with rocks, water the area thoroughly the night before to soften the ground.
- Create a Pilot Hole: Take a piece of rebar or a spare piece of steel pipe that is slightly narrower than your light bases. Drive the rebar into the ground with a heavy mallet to a depth of about 4 to 6 inches.
- Wiggle and Remove: Wiggle the rebar in a circular motion to widen the hole slightly, then pull it out.
- Seat the Light: Gently push your new custom solar light into the pre-made hole. Pack loose soil around the base and tamp it down firmly with your boot.
Spacing and Styling Strategies
To achieve that high-end, resort-like feel, spacing is critical. Do not line them up perfectly straight like an airport runway; this often looks rigid and unnatural.
- Stagger the Placement: If lighting a walkway, alternate the lights on the left and right sides in a zigzag pattern. This casts a wider pool of ambient light.
- Mind the Distance: Space the lights approximately 6 to 8 feet apart. You want pools of light that gently overlap, not a continuous blinding strip.
- Highlight Features: Place lights near interesting landscape features—at the base of a textured boulder, next to a manicured shrub, or illuminating a set of rustic wooden steps.
Conclusion
And there you have it—a complete masterclass in transforming budget-bin plastics into rugged, high-end landscape architecture. By combining the affordability of Dollar Tree solar lights with the structural integrity of PVC, the magic of faux-finish painting, and a few clever weatherproofing hacks, you have created a lighting setup that rivals the most expensive boutique brands.
This project is the ultimate testament to the frugal DIYer’s spirit: why buy off-the-rack when you can craft something custom, durable, and uniquely yours for pennies on the dollar? Every time you pull into your driveway or step out onto your patio at night, you will be greeted by the warm, elegant glow of your own handiwork. So keep your eyes peeled for potential at the dollar store, keep your glue gun hot, and never underestimate the power of a little creative upcycling. Now, go light up your walkway and enjoy your beautifully illuminated, budget-savvy sanctuary!

Makenzie is the founder and lead writer at MoneyHackTips.com — a personal finance blog dedicated to delivering street-smart financial wisdom for real people on real budgets. With 300+ published articles covering everything from debt management to investing fundamentals, Makenzie’s mission is to make every dollar work harder. When not writing about money hacks, Makenzie is testing frugal living strategies, optimizing side hustles, and helping readers build financial freedom from scratch.