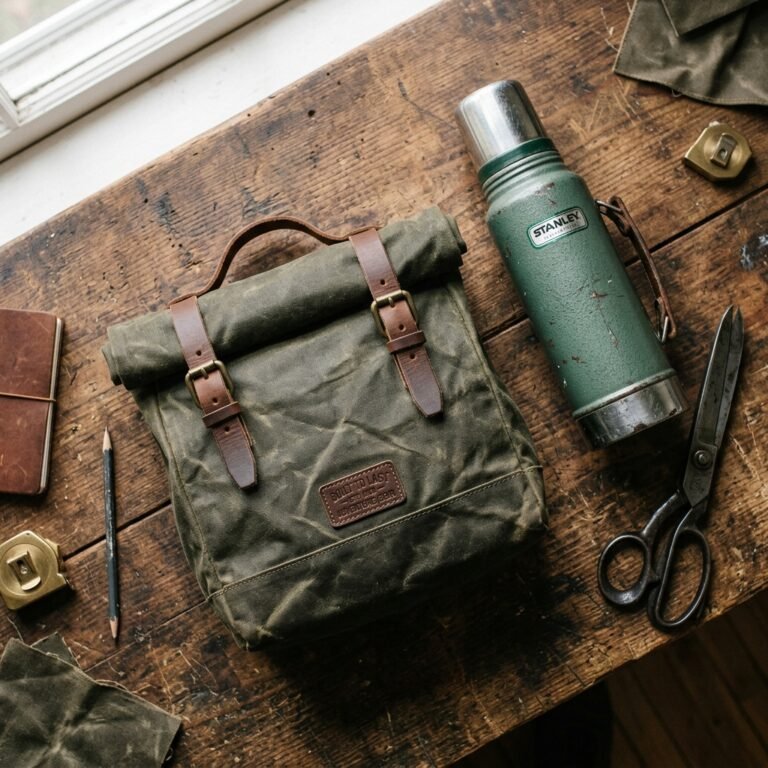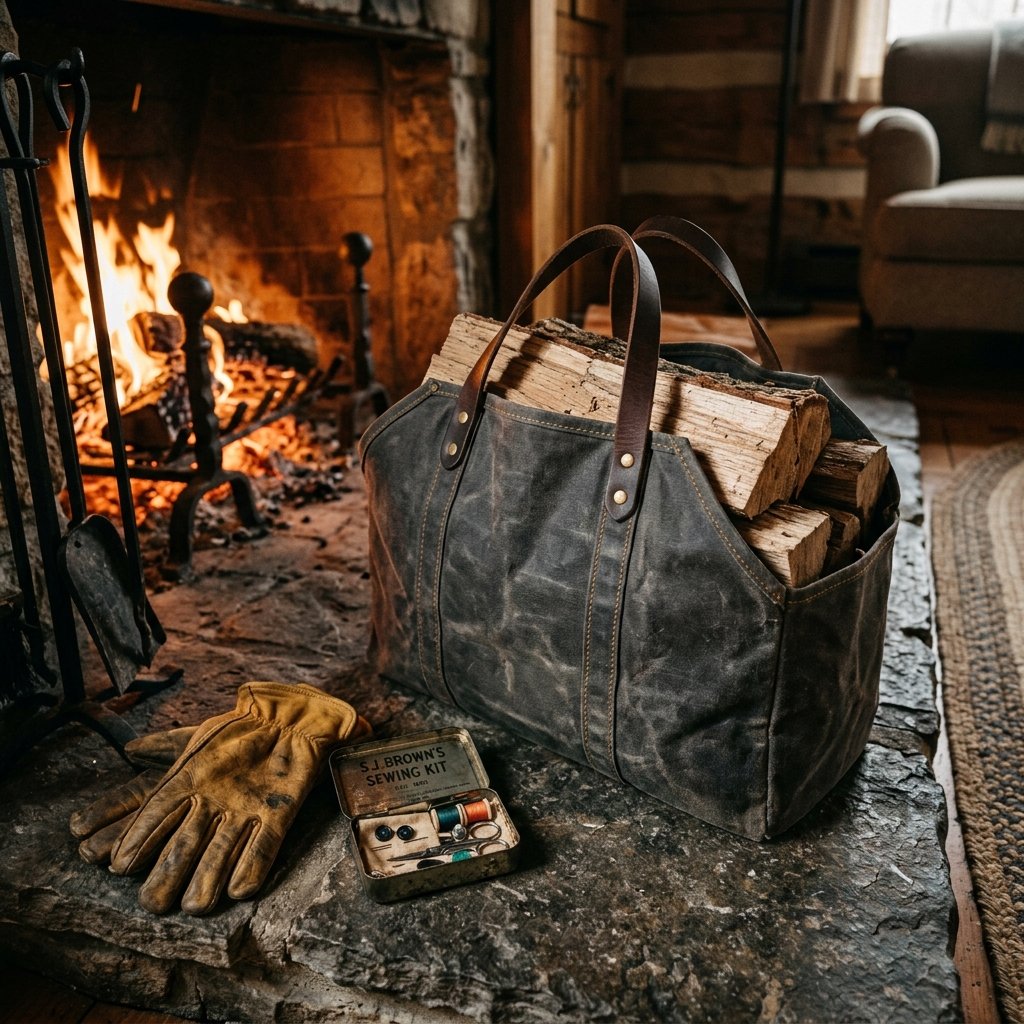

The Art of the Practical Gift: Why a Log Carrier?
There is something inherently noble about the ritual of tending a fire. For the husband who prides himself on his wood-splitting prowess or the dad who finds peace in the crackle of a wood stove, the logistics of moving timber can be, well, a mess. Enter the heavy-duty canvas log carrier. While high-end retailers might charge upwards of $80 to $120 for a rugged carrier, we are going to craft a superior, custom version for roughly $15 to $20. This isn’t just a sewing project; it’s an engineering feat of fabric and thread. We are combining the durability of industrial materials with a refined, masculine aesthetic to create a gift that isn’t just ‘nice’—it’s indispensable. In this guide, I’ll show you how to navigate heavy-duty textiles, master the reinforced ‘Box-X’ stitch, and add those clever, budget-savvy touches that make a handmade gift look like a boutique find.
The Blueprint: Choosing Rugged Materials on a Dime
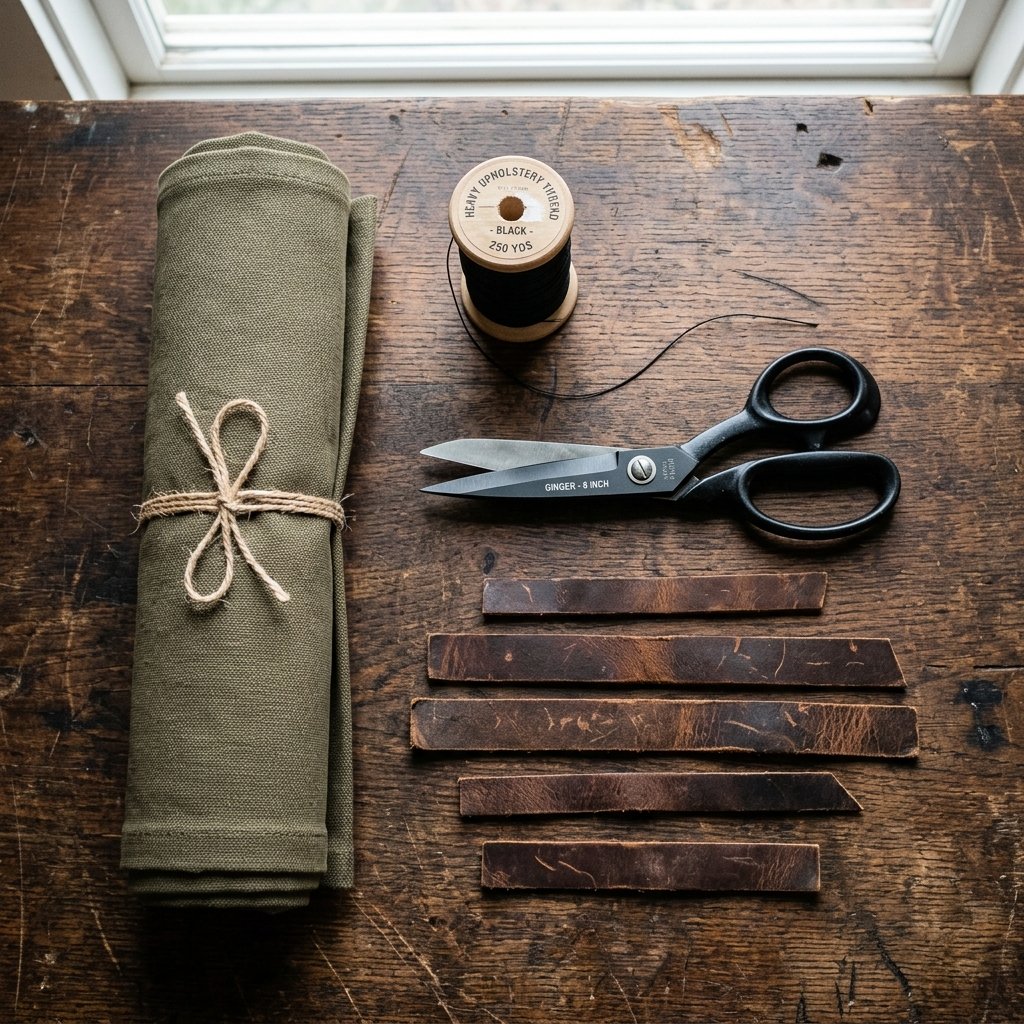
Sourcing Your Canvas and Hardware
To build a carrier that can withstand the weight of seasoned oak and the abrasion of rough bark, you need a material with ‘teeth.’ We are looking for #10 or #12 Duck Canvas. If you are a truly resourceful crafter, look for heavy-duty drop cloths from the hardware store, which can be dyed or waxed for a fraction of the price of designer fabric. For the handles, we will use heavyweight nylon or cotton webbing, ideally 1.5 to 2 inches wide to prevent the straps from digging into the hands.
| Material Item | Store-Bought Price | DIY/Upcycled Cost |
|---|---|---|
| Heavy 18oz Canvas (1 Yard) | $25.00 | $8.50 (Drop cloth or remnant) |
| Reinforced Webbing (4 Feet) | $12.00 | $3.00 |
| Industrial Upholstery Thread | $8.00 | $4.00 |
| Leather Reinforcement Scraps | $15.00 | $0.00 (Old belt or thrifted jacket) |
| Total Investment | $60.00+ | $15.50 |
The Frugal Guru’s Tip: Check your local thrift store for old leather jackets or belts. A single leather belt can be cut down to create beautiful, high-end handle wraps and corner reinforcements, adding $40 of perceived value to your project for just $1.
The Cutting Floor: Precision Measurements for Maximum Load
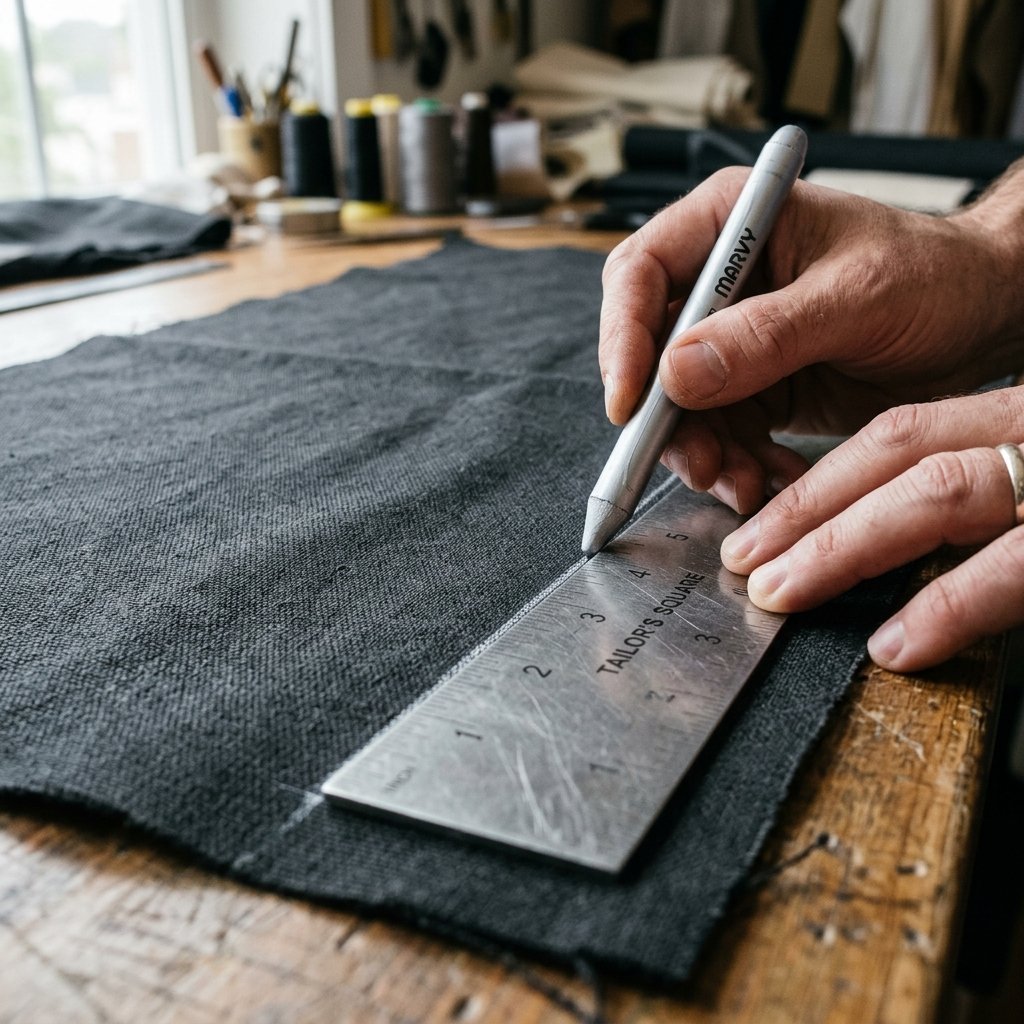
Dimensions for the Perfect Carry
A log carrier needs to be long enough to wrap around 3-4 large logs but narrow enough to fit comfortably between the arm and the torso. After testing various prototypes, the ‘Goldilocks’ dimensions for a standard carrier are 20 inches wide by 40 inches long. This allows for a generous 2-inch hem on all sides while maintaining structural integrity.
- Main Body: Cut one rectangle of canvas at 24″ x 44″. This accounts for a double-fold hem.
- Handles: Cut two lengths of webbing at 48″ each. This length allows the straps to wrap under the carrier for ‘cradle’ support.
- Leather Accents: Cut two rectangles of 4″ x 6″ leather for the handle grips.
When cutting your canvas, use a carpenter’s square to ensure your corners are a perfect 90 degrees. In the world of rugged sewing, precision in the cut prevents ‘torqueing’ (twisting) when the carrier is under a 50-pound load.
The Assembly Line: Heavy-Duty Stitching Techniques
Mastering the Box-X Stitch
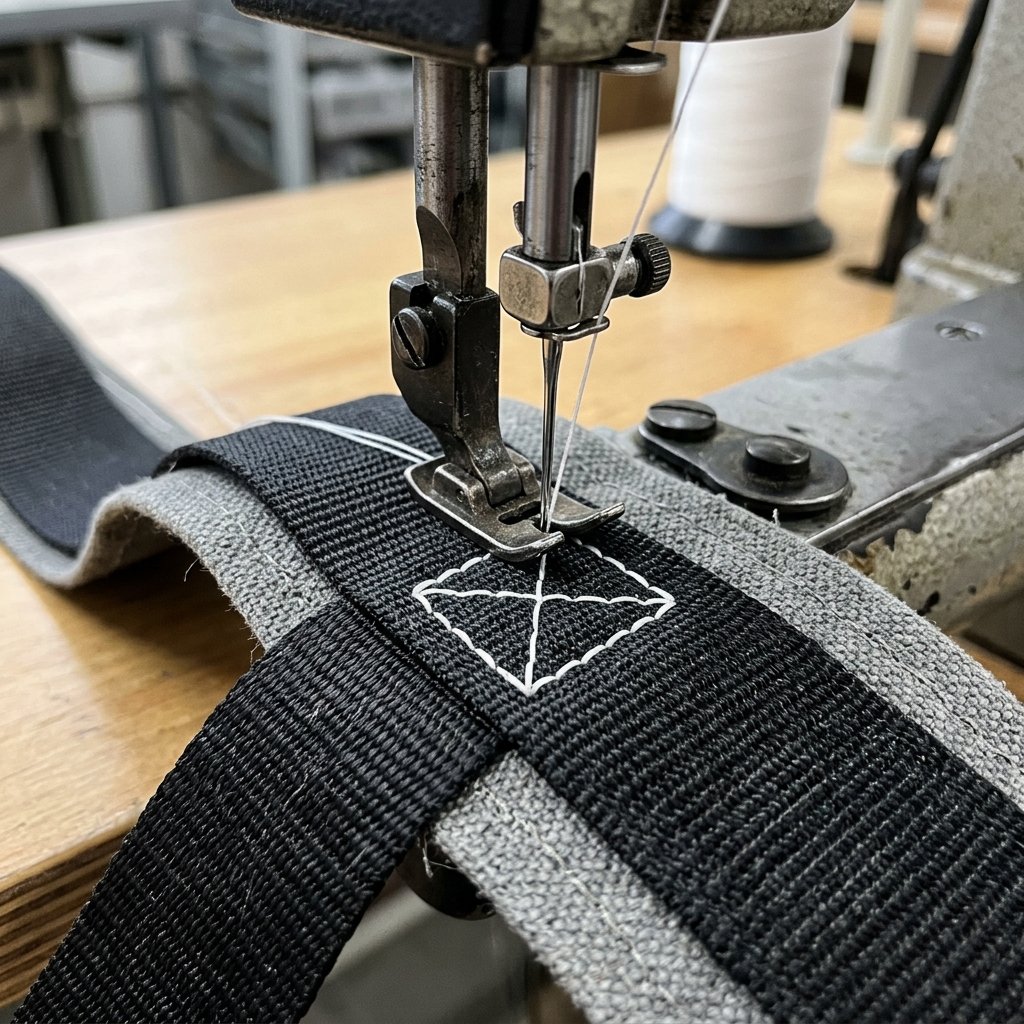
Since this carrier will be hauling significant weight, a standard straight stitch won’t cut it. We need to employ the Box-X stitch (also known as a reinforced square). This is the secret to tactical gear and high-end outdoor equipment. It distributes tension across a larger surface area of the fabric, preventing the webbing from ripping out of the canvas.
- The Double Hem: Fold the edges of your canvas over by 1 inch, then another 1 inch. Pin heavily or use binder clips (regular pins will bend in heavy canvas). Sew along the inner edge with a 3.5mm to 4.0mm stitch length.
- Webbing Placement: Lay your webbing straps so they run vertically down the length of the carrier, spaced 8 inches apart.
- The Structural Wrap: Instead of just sewing the handles to the top, run the webbing 12 inches down the face of the fabric. This ‘cradles’ the wood.
- Sewing the Box: Stitch a square where the webbing meets the top of the carrier. Then, sew a diagonal ‘X’ through the center of that square.
Safety Note: When sewing through multiple layers of heavy canvas and webbing, use a Size 100/16 or 110/18 Denim/Jeans needle. Slow your machine down and use the hand-wheel to walk the needle through particularly thick intersections to avoid breaking the needle or timing.
The Masculine-Elegant Touch: Leather Accents & Personalization
Adding the ‘Pottery Barn’ Finish
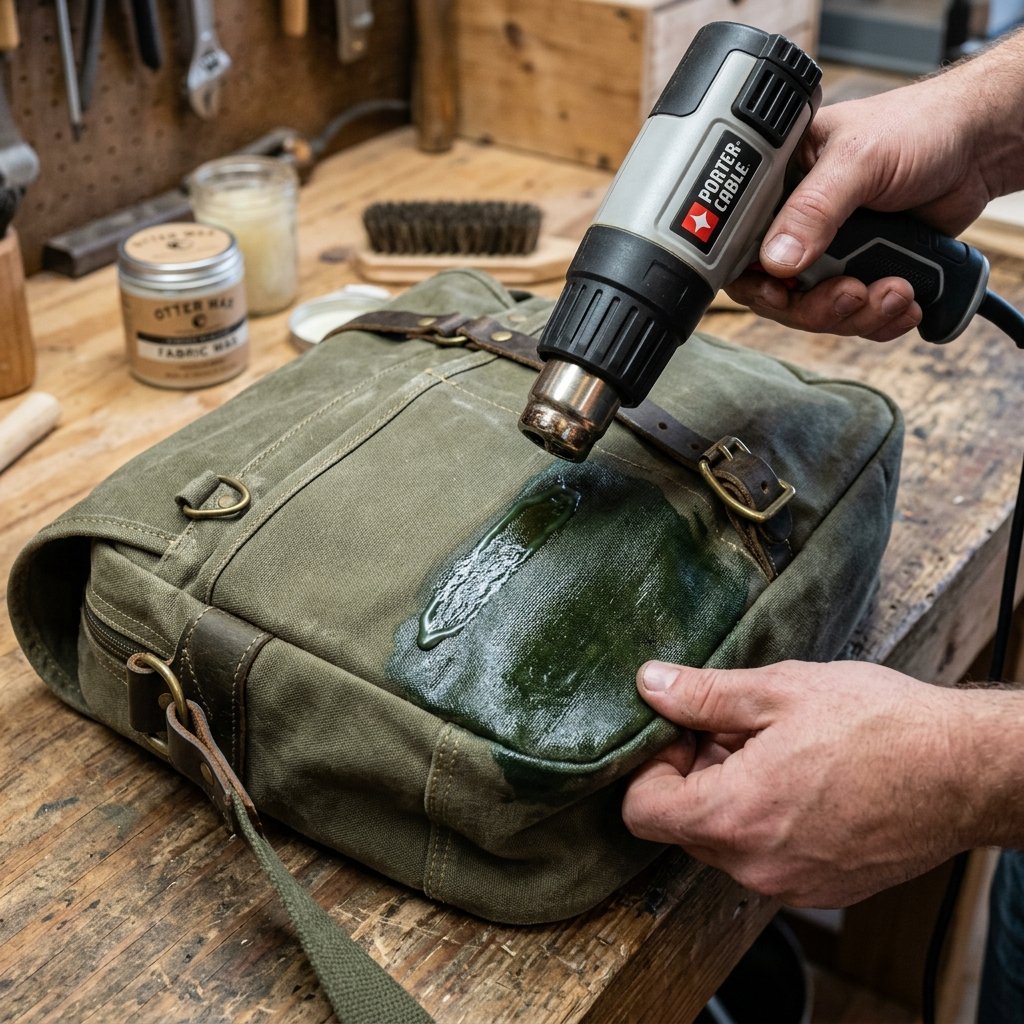
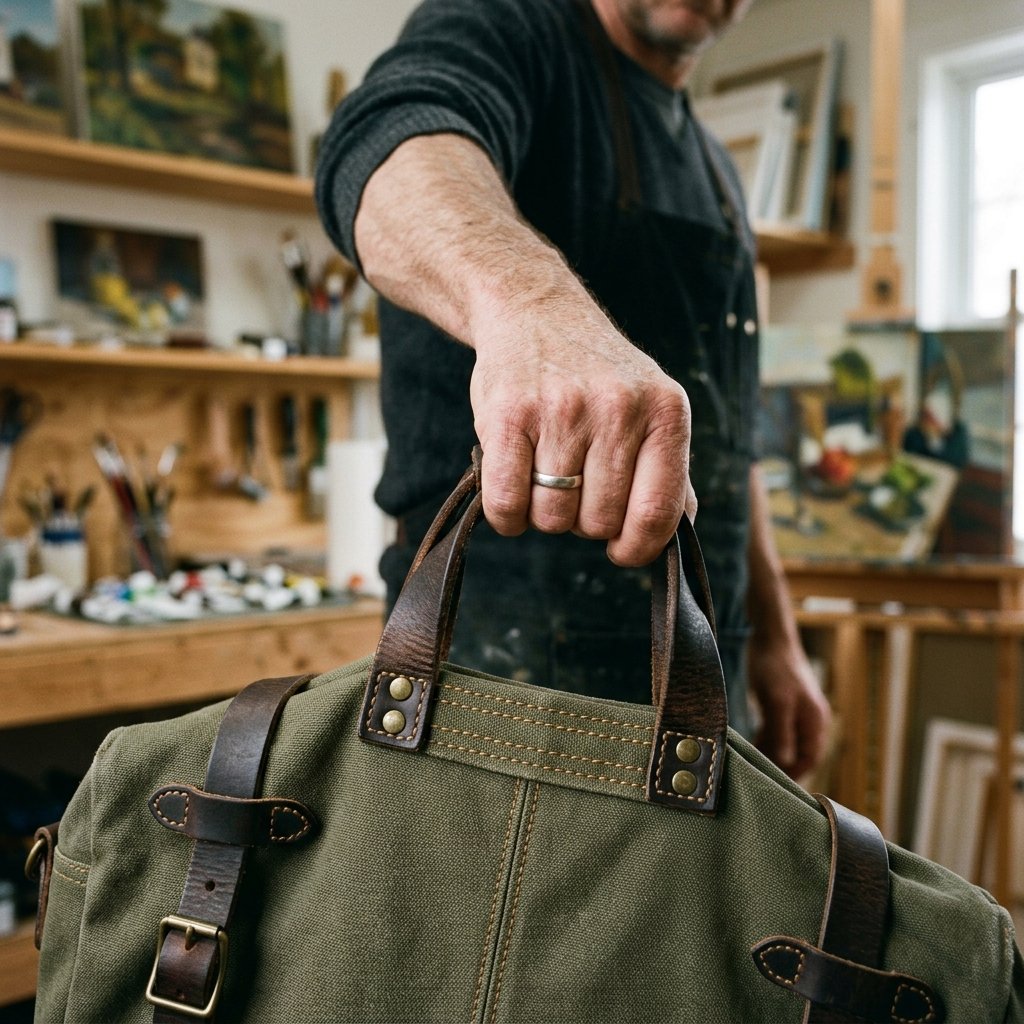
This is where we turn a ‘project’ into a ‘heirloom.’ Adding leather handle wraps not only makes the carrier more comfortable to hold but also gives it a rugged, sophisticated look. Take your 4″ x 6″ leather scraps and wrap them around the center of the webbing handles. Use a leather awl or a heavy-duty needle to hand-stitch them in place using a ‘baseball stitch’ or a simple whip stitch.
Optional: The DIY Waxing Process
To make the carrier water-resistant and give it that sought-after vintage patina, you can wax the canvas yourself. Mix 50% beeswax and 50% paraffin wax in a double boiler. Brush the molten wax onto the finished carrier, then use a hair dryer or heat gun to ‘melt’ the wax into the fibers. This process adds a stiff, rugged texture that only gets better with age.
| Feature | Benefit | DIY Secret |
|---|---|---|
| Leather Grips | Hand comfort & grip | Use an old leather belt for zero cost. |
| Waxed Finish | Waterproofing & durability | Apply with a $1 chip brush and a hair dryer. |
| Contrast Stitching | Visual ‘Pop’ | Use a tan thread on dark canvas for an expensive look. |
The Master’s Checklist: Final Quality Control
Ensuring a Lifetime of Use
Before you wrap this up for the lucky recipient, perform a stress test. A well-made DIY carrier should easily support 40-60 pounds of wood without any audible ‘popping’ of stitches. Check your thread tension; if you see ‘loops’ on the underside of the fabric, your tension was too loose, and the carrier may fail under pressure. If this happens, don’t panic! Simply sew a second row of stitching parallel to the first for ‘insurance.’
- Trim all loose threads: Use a lighter to carefully singe the ends of nylon webbing to prevent fraying.
- Check the ‘Drop’: Ensure both handles are exactly the same length so the load stays balanced.
- Personalize: Consider stamping the leather handle with his initials using a $10 metal stamping kit.
Conclusion
A Gift That Carries Weight
By following this guide, you have created more than just a utility item; you’ve crafted a tool that will accompany many cold winter nights and campfire stories. This heavy-duty DIY canvas log carrier proves that with a little resourcefulness and the right stitching techniques, you can produce a high-end, masculine gift that rivals any luxury brand. You’ve saved nearly $100, upcycled materials that might have gone to waste, and created something truly durable. Whether it’s for a birthday, Father’s Day, or just because, this carrier is a testament to the fact that the best gifts aren’t bought—they are built. Now, go ahead, fill it with some seasoned cedar, and present it with pride. You’ve earned it!

Makenzie is the founder and lead writer at MoneyHackTips.com — a personal finance blog dedicated to delivering street-smart financial wisdom for real people on real budgets. With 300+ published articles covering everything from debt management to investing fundamentals, Makenzie’s mission is to make every dollar work harder. When not writing about money hacks, Makenzie is testing frugal living strategies, optimizing side hustles, and helping readers build financial freedom from scratch.