
The Alchemy of Upcycling: Turning Trash into Bridal Treasure
In the world of wedding planning, the word ‘budget’ often feels like a compromise. But for the resourceful DIYer, it is a challenge to be met with cleverness and craft. The humble wine bottle—something most people toss into the recycling bin without a second thought—is actually a blank canvas for sophisticated, high-end decor. By using the $0 hack of sourcing discarded glass and pairing it with affordable natural fibers, you can create centerpieces that rival those found in expensive boutique catalogs. This guide will walk you through the ruggedly elegant process of twine-wrapping, transforming everyday refuse into a cohesive, rustic-chic aesthetic that screams ‘expensive’ while costing you next to $0.
Budget Mantra: It is not about how much you spend, but how much soul you pour into the details. A handmade wedding is a storied wedding.
The Art of the Scavenge: Sourcing Your Glass for Free
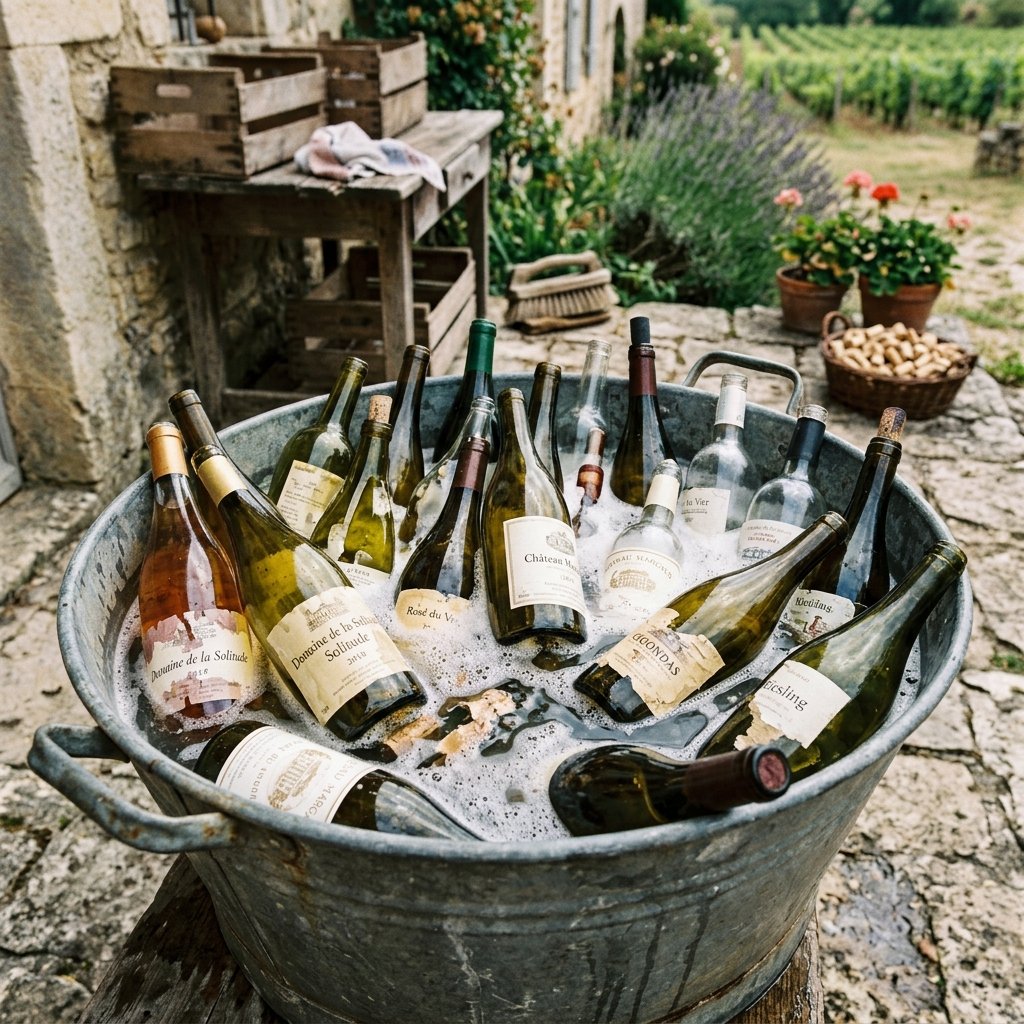
The first step in a zero-budget project is mastering the art of the scavenge. You do not need to buy bottles; you simply need to know where to look. To create a visually interesting tablescape, you want a variety of shapes and heights—think tall, slender Riesling bottles mixed with the stout, sloping shoulders of a Burgundy bottle.
Where to Find Your Materials
- Local Wine Bars and Restaurants: Most establishments pay for recycling pickup. If you offer to take 20-30 bottles off their hands on a Tuesday morning, they are usually thrilled to help.
- Neighborhood Recycling Day: A quick walk around the block the night before pickup can yield a goldmine of clear, green, and amber glass.
- Your Own Pantry: Do not stop at wine. Olive oil bottles, balsamic vinegar glass, and even unique soda bottles add texture and height variation.
Once you have your haul, the real work begins: removing the labels. Forget expensive chemical removers; we are sticking to the frugal path.
| Method | Ingredients | Time Investment |
|---|---|---|
| The Hot Soak | Boiling Water + Dish Soap | 20 minutes |
| The Oil Rub | Cooking Oil + Baking Soda | 10 minutes |
| The Dry Peel | Hairdryer/Heat Gun | 5 minutes |
Pro Tip: For stubborn adhesive, a 1:1 mixture of baking soda and any cheap cooking oil will dissolve glue residue in minutes without scratching the glass.
The Toolkit: Minimalist Gear for Maximum Impact

To achieve a professional, ‘store-bought’ look, you need to be precise with your tools. While the bottles are free, you will need a few basic supplies to ensure the twine stays put and looks seamless. This is where the clever crafter shines, using minimal resources to create maximum structural integrity.
Essential Supplies
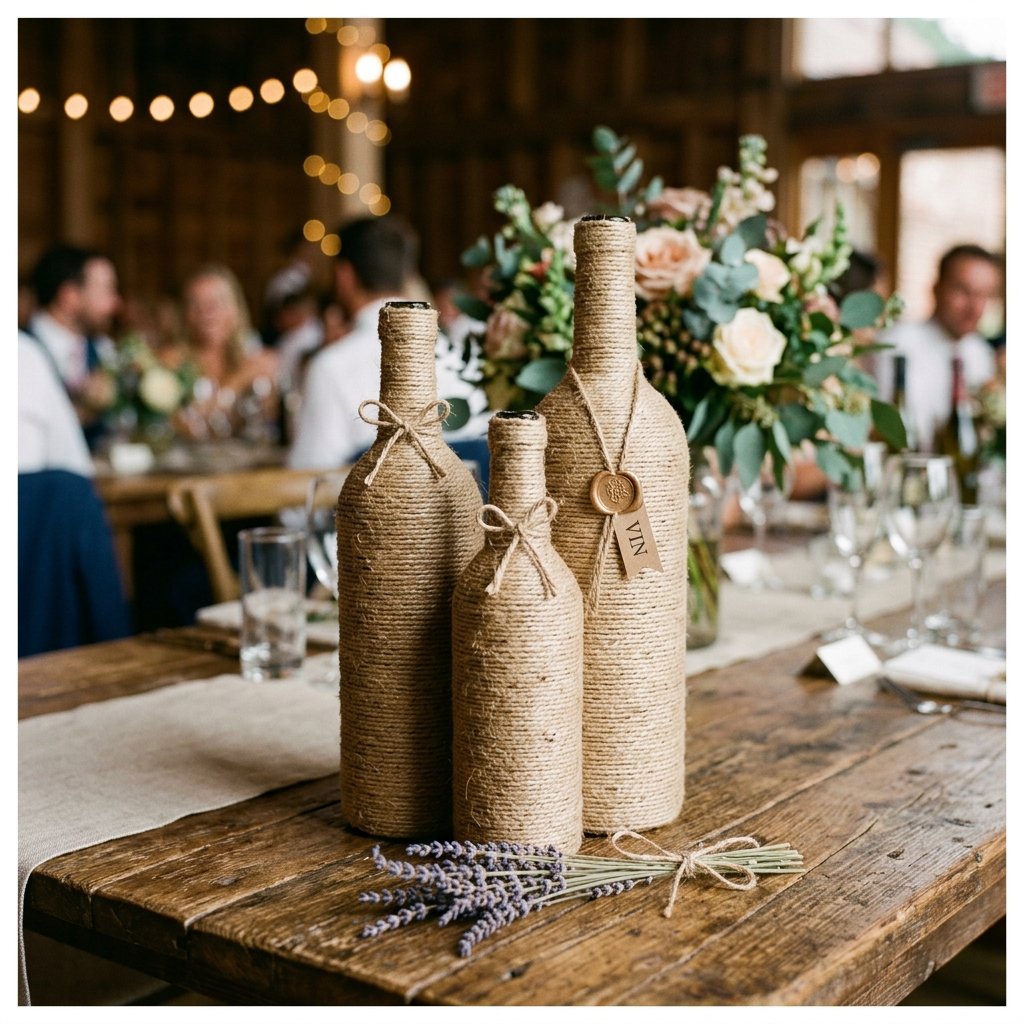
- Twine Selection: Natural jute twine is the standard for a rugged, organic look. For a more ‘coastal’ or refined feel, consider white cotton baker’s twine or even thin sisal rope.
- Adhesive: A high-temp hot glue gun is your best friend for speed, but for a truly invisible finish, a bottle of clear-drying tacky glue applied with a small brush is superior.
- Precision Scissors: You need a sharp edge to ensure the ends of the twine do not fray at the start and finish lines.
| Item | Source | Estimated Cost |
|---|---|---|
| Wine Bottles | Recycled/Scavenged | $0.00 |
| Jute Twine (300 ft) | Dollar Store / Hardware Store | $1.25 |
| Hot Glue Sticks | Existing Toolkit | $0.00 |
| Total Per Centerpiece | Resourceful Sourcing | ~$0.15 |
The Masterclass: Precision Wrapping Techniques
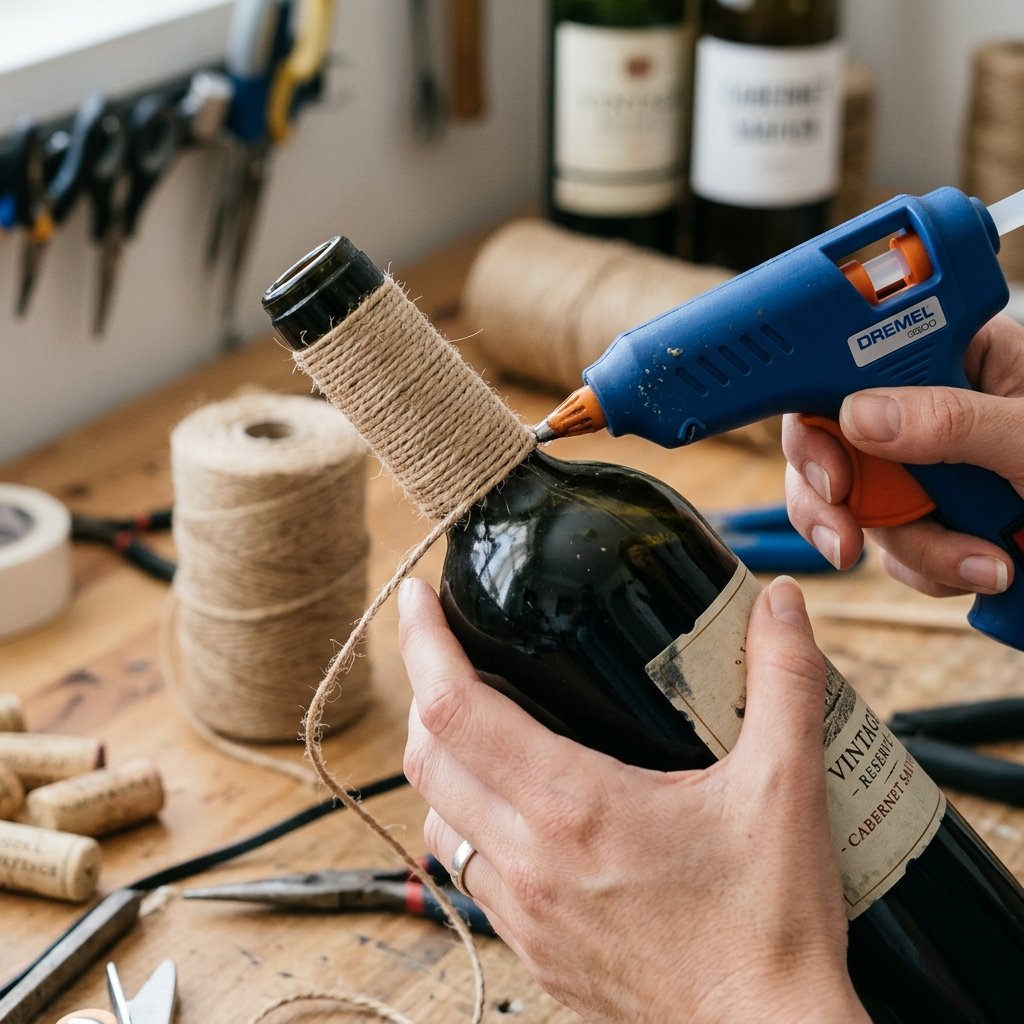
The difference between a ‘craft project’ and a ‘designer centerpiece’ lies in the tension and the start/stop points. You want a tight, uniform wrap with zero glass showing through. Follow these steps for a flawless finish.
The Step-by-Step Wrap
- The Anchor: Apply a small bead of hot glue at the very base of the bottle. Press the end of the twine into the glue, ensuring it is perfectly horizontal.
- The Coil: Begin rotating the bottle slowly, not the twine. Keep the twine taut with your non-dominant hand while the dominant hand guides the bottle. Apply a thin line of glue every 3-4 rotations to prevent slipping.
- The Curve: When you reach the ‘shoulder’ of the bottle where it tapers, use more frequent glue dots. This is the hardest part; if the twine slips, the whole aesthetic is ruined.
- The Neck: Continue the wrap all the way to the very lip of the bottle. This provides a finished, ‘capped’ look.
- The Invisible Finish: Cut the twine at an angle. Apply a tiny dot of glue to the end and tuck it slightly under the previous row of twine using a toothpick or the tip of your scissors.
Mending Mantra: Keep the tension high and the glue low. A clean wrap is a strong wrap.
Elevating the Aesthetic: From Rustic to Refined
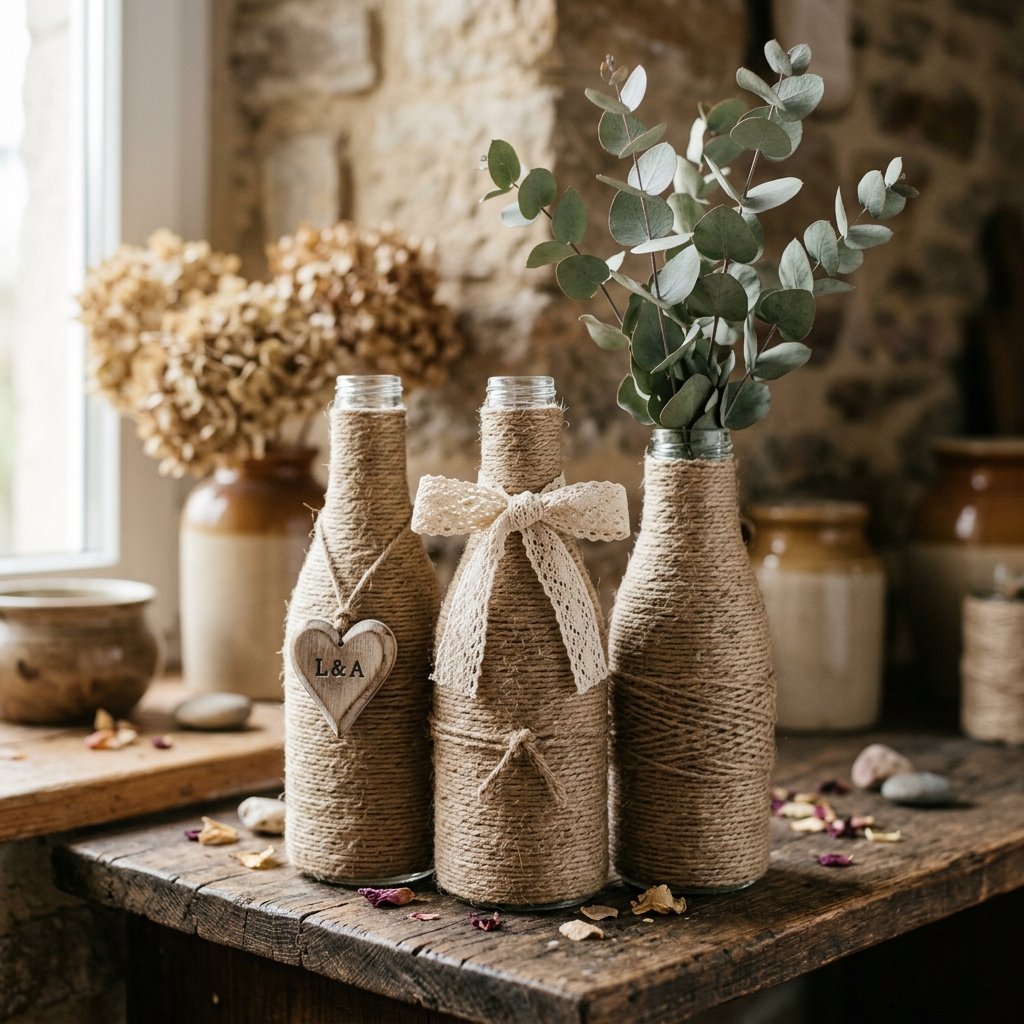
A plain twine-wrapped bottle is a great start, but to make it wedding-ready, you need a touch of ‘masculine-elegant’ styling. This involves layering textures and adding focal points that draw the eye.
Chic Embellishment Ideas
- The Lace Contrast: Wrap a 2-inch strip of white lace around the center of the bottle. The juxtaposition of the rough jute and the delicate lace is a hallmark of the shabby-chic style.
- Monogrammed Charms: Use small wooden discs or even metal washers stamped with the couple’s initials, hung from the neck of the bottle with a thinner piece of string.
- Dried Florals: Instead of fresh flowers which wilt, use dried wheat stalks, lavender, or eucalyptus. These can be prepared weeks in advance, saving you stress on the wedding day.
- The Dipped Look: Paint the bottom third of the wrapped bottle in a metallic gold or matte white for a modern, ‘color-block’ effect.
| Style Variation | Additional Material | Vibe |
|---|---|---|
| Rustic Industrial | Copper Wire / Hardware Washers | Rugged & Bold |
| Boho Dream | Feathers / Macrame Knots | Whimsical & Light |
| Classic Elegance | Pearl Pins / Satin Ribbon | Sophisticated |
The Grand Arrangement: Designing Your Tablescape
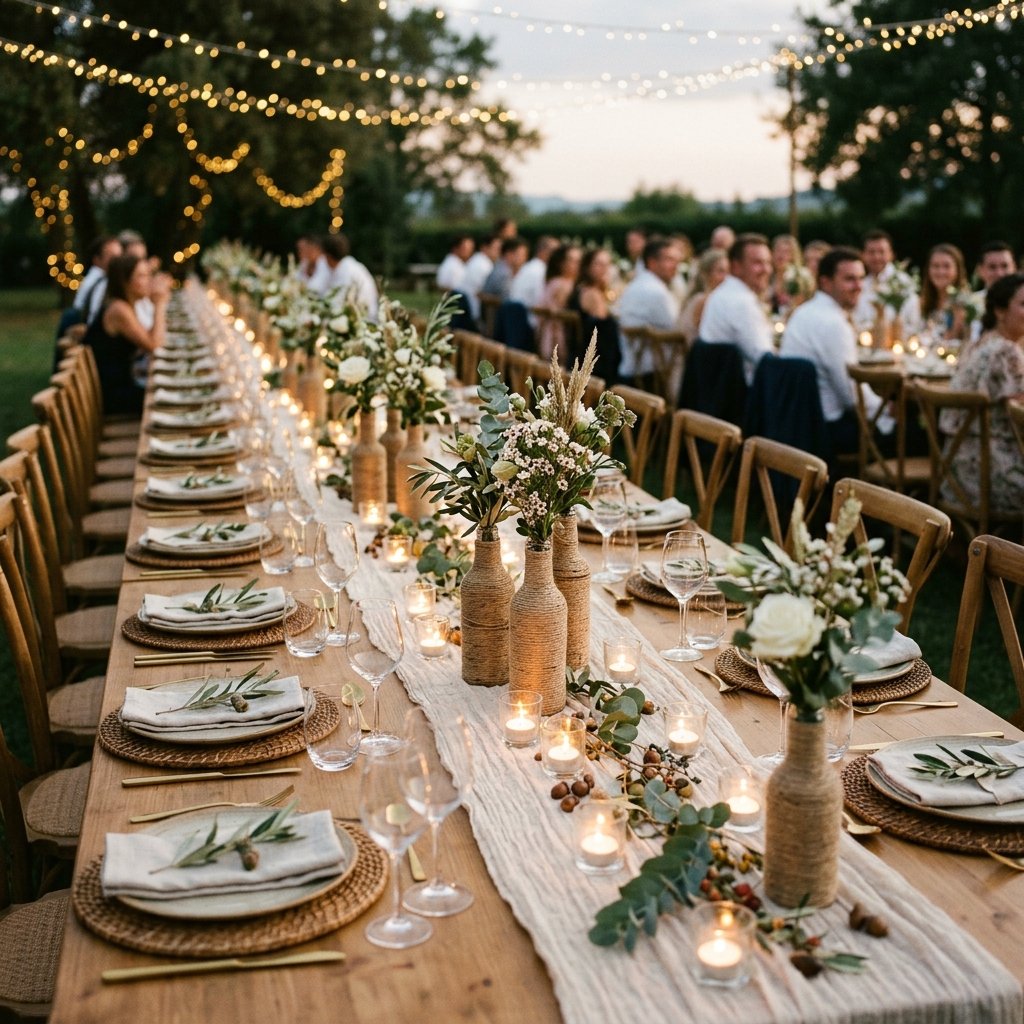
One bottle is a craft; three bottles is a centerpiece. The secret to a professional-looking wedding table is grouping and height variation. You want to create a ‘vignette’ that fills the center of the table without obstructing the guests’ view of one another.
Rules for Table Styling
- The Rule of Three: Always group items in odd numbers. Three bottles of varying heights (e.g., a wine bottle, a beer bottle, and a small glass jar) create a natural visual triangle.
- The Base Layer: Place your bottles on a wood slice, a mirror, or a simple cheesecloth runner. This ‘grounds’ the arrangement and makes it look intentional.
- Lighting: Surround the bottles with tea lights in small mason jars or use ‘fairy lights’ (thin LED strings) tucked inside the bottles if you left some glass exposed or chose a partial wrap.
| Table Type | Bottle Count | Recommended Base |
|---|---|---|
| Round (8-person) | 3-5 Bottles | 12-inch Wood Slice |
| Long Banquet | 2 Bottles per 2 feet | Cheesecloth Runner |
| Cocktail Table | 1 Bottle | Burlap Square |
The Bottom Line: A Cost Comparison Analysis
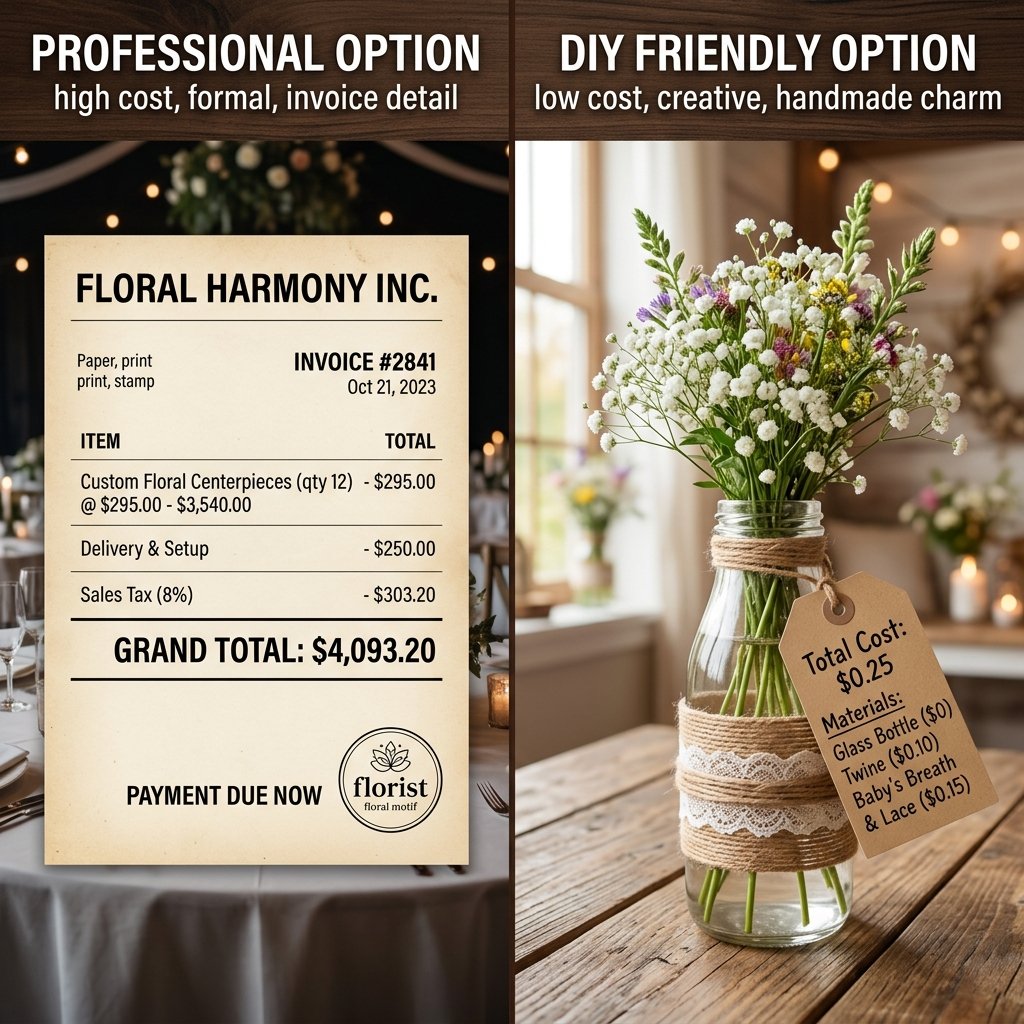
Why put in the effort? The numbers speak for themselves. When you are planning a wedding for 100-150 guests, the cost of centerpieces can easily spiral into the thousands. By choosing the $0 bottle hack, you are redirecting those funds toward things that matter more, like your honeymoon or a down payment on a home.
| Centerpiece Source | Average Cost Per Table | Total for 15 Tables |
|---|---|---|
| Professional Florist | $125.00 | $1,875.00 |
| Boutique Retailer (Vases) | $45.00 | $675.00 |
| DIY Twine-Wrapped Bottles | $2.50 | $37.50 |
The savings of over $1,800 is not just a ‘win’ for your wallet; it is a testament to your creativity and resourcefulness. Plus, these bottles are 100% recyclable and eco-friendly, making them a guilt-free choice for the conscious couple.
Conclusion
Your Wedding, Your Craft, Your Savings
Creating ‘Chic Twine Wrapped Wine Bottle Wedding Centerpieces’ is more than just a way to save money; it is a way to infuse your special day with a sense of personal accomplishment and rugged elegance. By taking what others consider ‘trash’ and applying a bit of budget-savvy magic, you create a beautiful atmosphere that guests will remember long after the last toast is made. So, start saving those bottles, grab a roll of twine, and begin the journey of crafting a wedding that is as unique and resilient as the materials you use. Happy crafting, you frugal guru!

Makenzie is the founder and lead writer at MoneyHackTips.com — a personal finance blog dedicated to delivering street-smart financial wisdom for real people on real budgets. With 300+ published articles covering everything from debt management to investing fundamentals, Makenzie’s mission is to make every dollar work harder. When not writing about money hacks, Makenzie is testing frugal living strategies, optimizing side hustles, and helping readers build financial freedom from scratch.