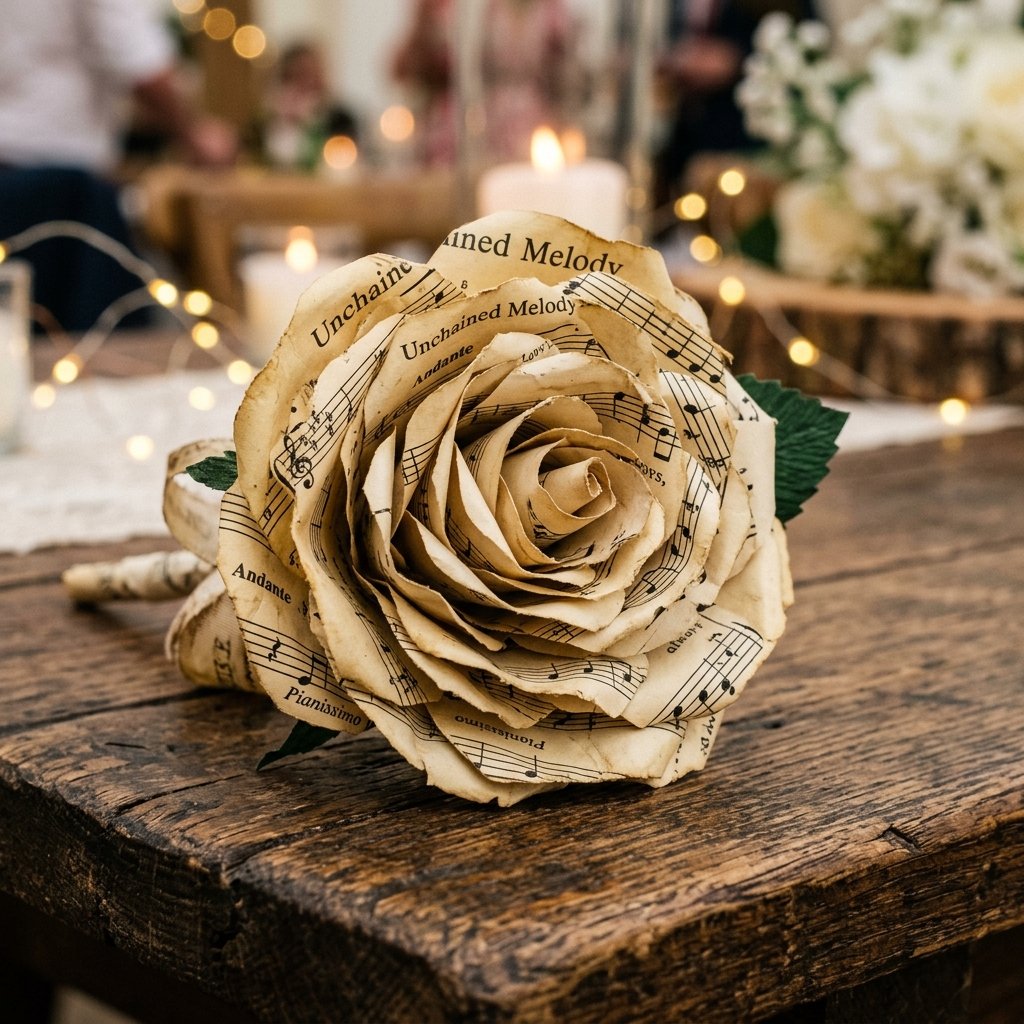

When it comes to wedding planning, the tension between a dream aesthetic and a realistic budget can feel like a dissonant chord. However, as a resourceful DIYer, you know that the most memorable details aren’t bought; they are built. Enter the sheet music paper rose—a project that combines rugged practicality with masculine-elegant charm. These aren’t your average grade-school crafts; they are sophisticated, architectural blooms that tell a story of harmony and heritage. By upcycling old hymnals, vintage scores, or even printed copies of ‘your song,’ you create a centerpiece that is not only 100% unique but also incredibly budget-friendly. In this masterclass, we will explore how to turn $0.05 worth of paper into a $150 florist-lookalike arrangement that will leave your guests breathless and your bank account intact.
The Financial Score: Why Paper Beats Petals
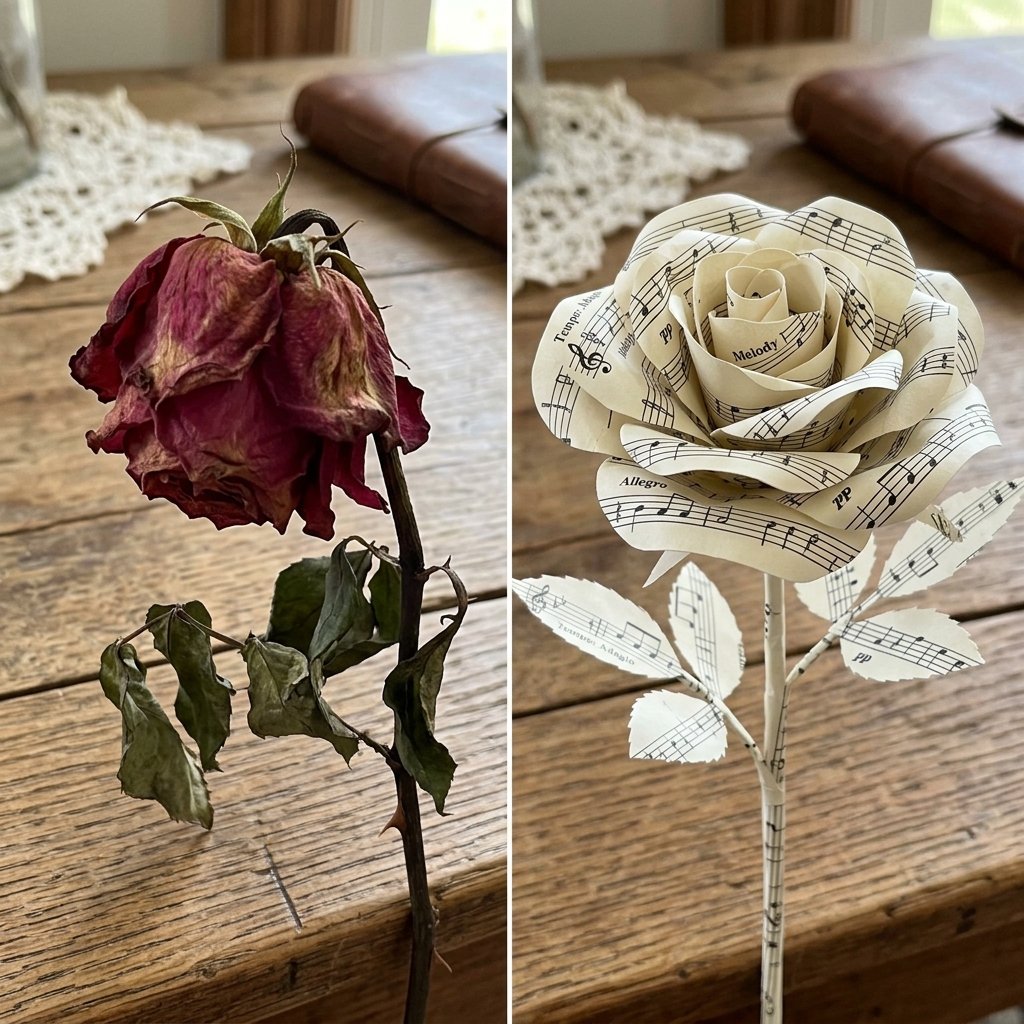
In the world of wedding expenses, floral arrangements often take the lion’s share of the budget. Fresh roses are temperamental, prone to wilting, and shockingly expensive when scaled for a full reception. By choosing to craft your own sheet music roses, you are making a strategic financial move that allows you to reallocate funds to higher-priority items like the honeymoon or the open bar. Let’s look at the cold, hard numbers of this clever upcycling strategy.
| Expense Item | Fresh Florist Roses (Per 100) | DIY Sheet Music Roses (Per 100) | Total Savings |
|---|---|---|---|
| Raw Materials | $350 – $500 | $5 – $15 | $335+ |
| Longevity | 3-5 Days | Indefinite | Priceless |
| Labor/Setup | Professional Fee Included | Your Crafty Time | $100+ |
Beyond the $400+ in savings, these roses offer a rugged durability. They won’t brown in the heat of an outdoor July wedding, and they won’t require a drop of water. They are the practical choice for the groom or bride who values both form and function.
Sourcing the Sonata: Finding the Perfect Paper
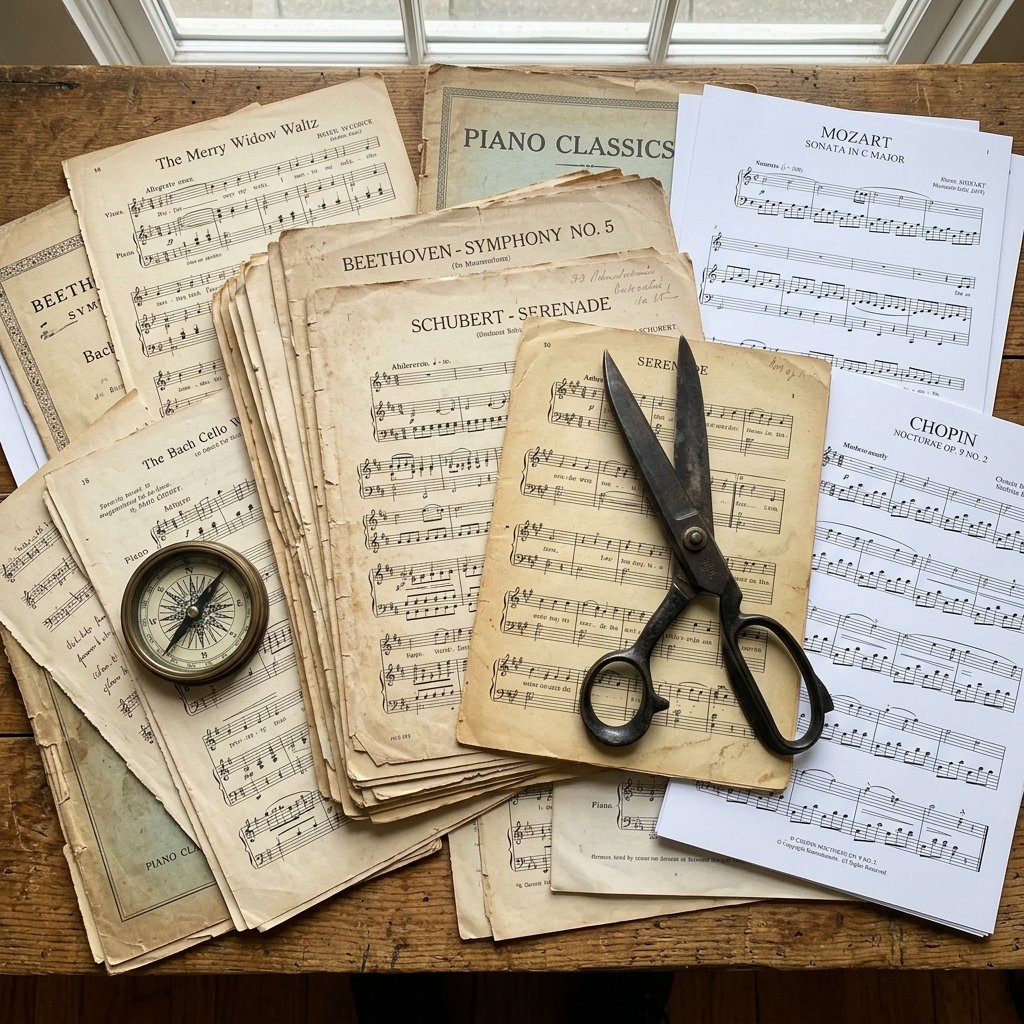
The secret to a high-end look lies in the texture and tone of your paper. You aren’t just looking for any sheet music; you want paper that carries the patina of time. Scour local thrift stores, estate sales, or the ‘free’ bin at your local library. Look for vintage hymnals or classical piano scores which often feature beautiful typography and heavy-weight paper that holds a curl better than modern printer paper.
- Thrift Stores: Look for old books for $0.50 to $1.00. One book can yield over 200 roses.
- Digital Archives: If you want a specific song, download public domain sheet music and print it on cream-colored cardstock for a DIY dupe of vintage paper.
- Estate Sales: Often a goldmine for bulk music sheets that families are happy to give away for free.
Budget Mantra: The more yellowed and worn the paper, the more romantic the rose. Don’t fear the tears; they add character.
The Blueprint of a Bloom: Step-by-Step Construction
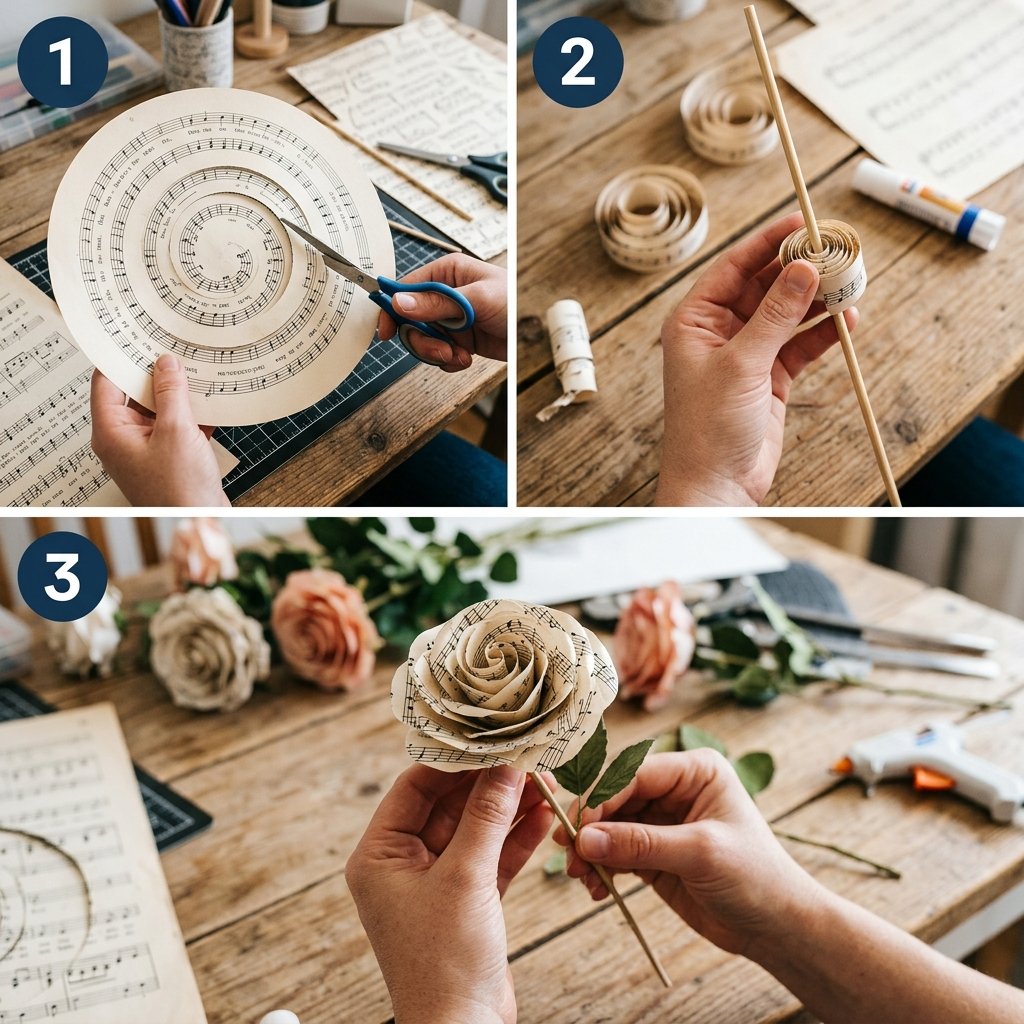
Creating these roses is an exercise in precision and patience. We will use the ‘Spiral Method,’ which is the most efficient and sturdy way to build a paper flower that won’t fall apart during the bouquet toss. Follow these steps to achieve a professional-grade result in approximately 5 to 7 minutes per rose.
Step-by-Step Assembly
- The Square Base: Cut your sheet music into a 4-inch by 4-inch square. For larger ‘statement’ roses, increase this to 6 inches.
- The Spiral Cut: Starting at one corner, cut a continuous spiral toward the center, keeping the ‘lane’ about 0.75 inches wide. Don’t worry about perfect lines; organic wobbles make for more realistic petals.
- The Center Tab: Leave a small circular tab at the very center of your spiral. This will act as the ‘floor’ or base of your rose.
- The Rolling Process: Starting from the outside tip of the spiral, begin rolling the paper tightly around a toothpick or a thin skewer. Keep the bottom edge aligned as you roll.
- The Release: Once you reach the center tab, let the roll ‘spring’ open slightly in your palm. This creates the natural bloom shape.
- The Anchor: Apply a generous bead of hot glue to the center tab and press it firmly against the bottom of your rolled petals. Hold for 20 seconds.
Safety Note: When using high-temp hot glue guns, keep a bowl of ice water nearby. A quick dip can save your fingertips from a nasty burn during the anchoring phase.
Aging the Aria: Distressing and Detailing Techniques
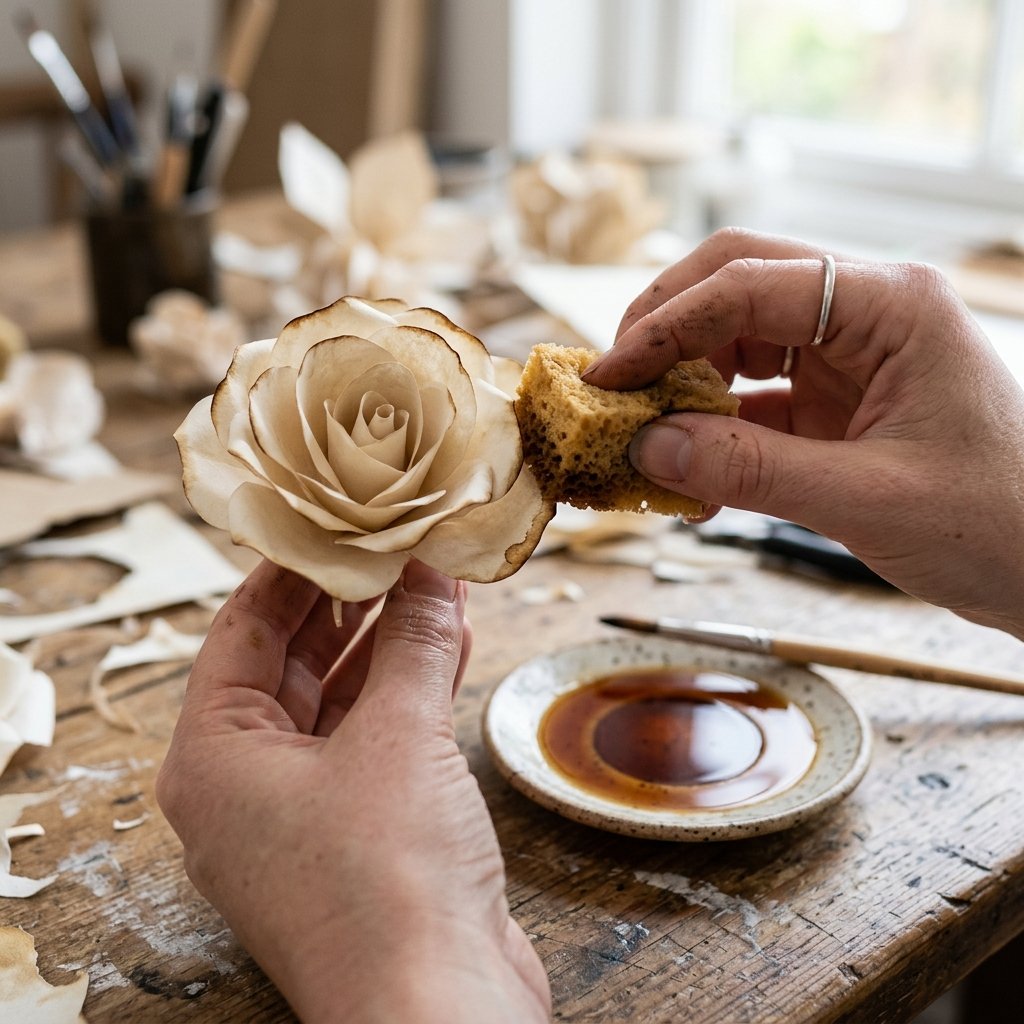
To move your roses from ‘paper craft’ to ‘artisan decor,’ you need to apply distressing techniques. This adds depth and a masculine-elegant grit to the romantic aesthetic. A flat, white paper rose looks cheap; a rose with tea-stained edges looks like a family heirloom.
| Technique | Materials Needed | Visual Effect |
|---|---|---|
| Tea Staining | Black Tea & Sponge | Subtle, all-over vintage warmth |
| Ink Distressing | Brown Ink Pad | Defined, ‘burnt’ petal edges |
| Petal Curling | Wooden Skewer | 3D volume and organic movement |
To execute the ink distressing, lightly drag the edges of your finished rose petals across a sepia-toned ink pad. This highlights the spiral structure and makes the musical notes ‘pop.’ For the stem, use 18-gauge floral wire wrapped in brown floral tape rather than green; the brown provides a more rugged, earthy look that complements the vintage paper.
The Grand Performance: Styling Your Tablescapes
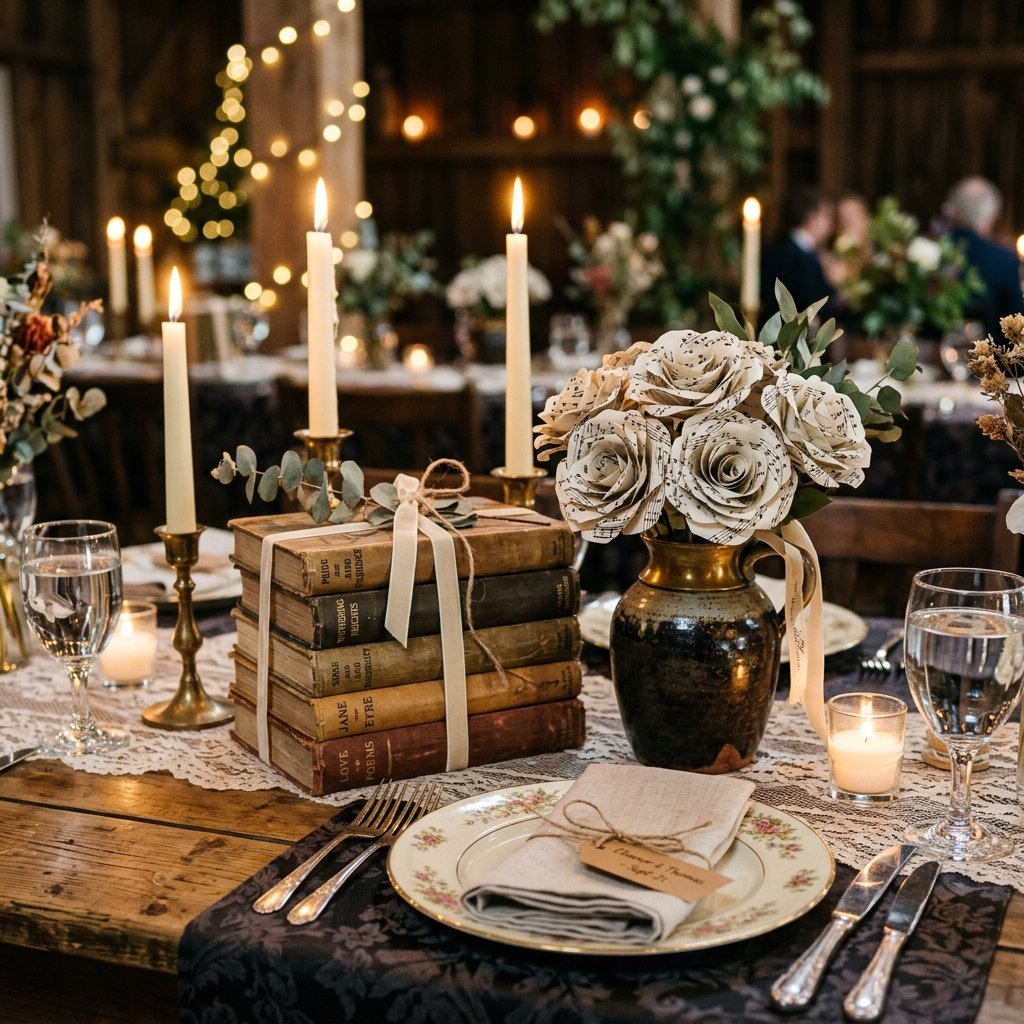
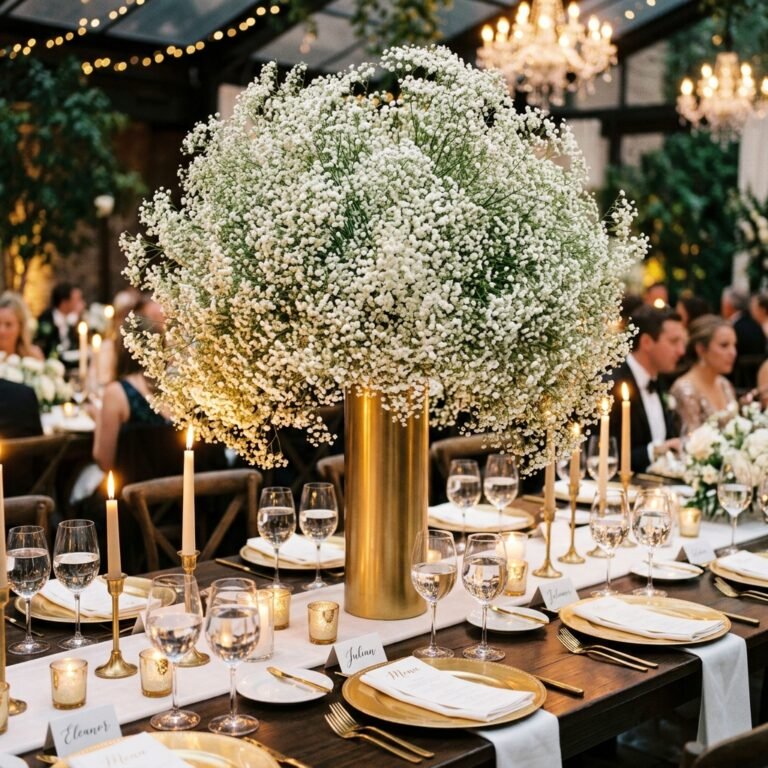
Now that you have a fleet of stunning DIY roses, it’s time to assemble your centerpieces. The goal is high-end impact for a low-end price tag. Combine your paper roses with other budget-savvy elements to create a cohesive, romantic atmosphere.
- The Cloche Display: Place three roses of varying heights under a Dollar Tree glass cloche. Add a strand of $2 fairy lights for a ‘Beauty and the Beast’ vibe that costs less than $5 total.
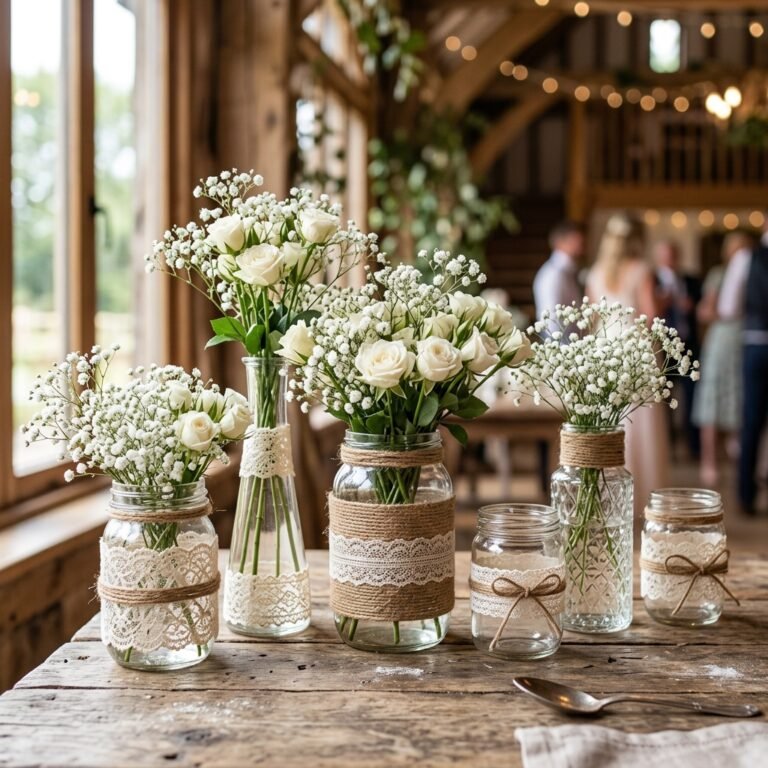
- The Mason Jar Trio: Paint three mismatched jars with matte black or charcoal chalk paint. Group them in the center of the table and fill with a dozen paper roses and a few sprigs of dried eucalyptus.
- The Book Stack: Place a small bouquet of roses on top of a stack of vintage hardback books tied with twine. This is a 100% upcycled centerpiece that looks like it belongs in a boutique hotel.
Using these roses as place card holders is another clever hack. Simply tuck a small card with the guest’s name into the outer petals of a single rose placed at each setting. It serves as both a guide and a thoughtful favor they can take home.
Maintenance and After-Party: Preserving the Memories
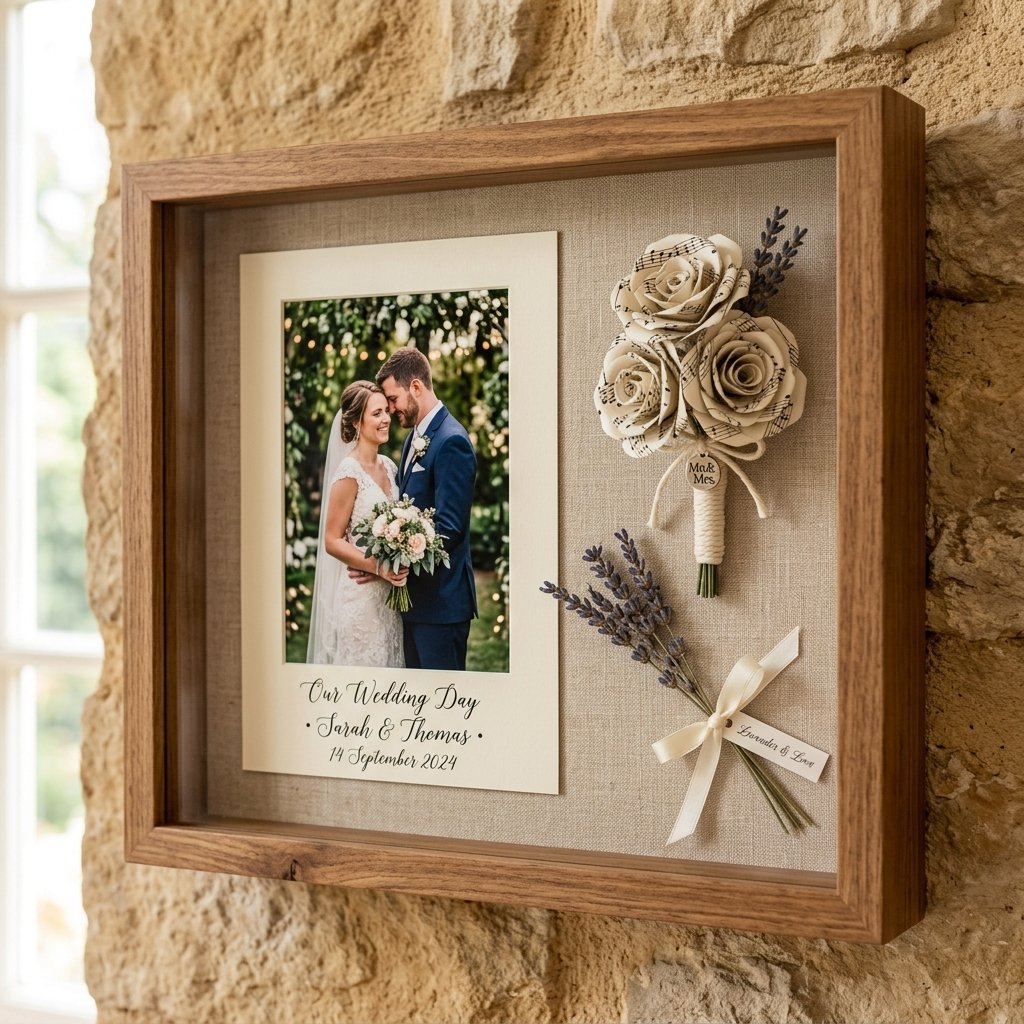
One of the greatest practical advantages of paper roses is their immortality. Unlike fresh flowers that end up in the trash 48 hours after the ‘I dos,’ these roses can be repurposed. Encourage your guests to take them home, or save them to create a shadow box display of your wedding day. To keep them looking pristine, a quick blast from a compressed air can (the kind used for keyboards) every few months will remove dust without damaging the delicate folds. If you live in a high-humidity area, a light coating of matte clear acrylic spray will seal the paper and prevent it from wilting or losing its shape over time.
Conclusion
Creating Stunning DIY Sheet Music Paper Roses is more than just a way to save hundreds of dollars on your wedding; it is a testament to your resourcefulness and creativity. These blooms offer a romantic, timeless aesthetic that fresh flowers simply cannot replicate. By following this budget-savvy guide, you’ve mastered the art of the trash-to-treasure transformation, proving that with a little clever folding and some vintage soul, you can build a wedding that looks like a million bucks on a DIYer’s dime. Now, go forth and craft—your romantic, ruggedly elegant tables await!

Makenzie is the founder and lead writer at MoneyHackTips.com — a personal finance blog dedicated to delivering street-smart financial wisdom for real people on real budgets. With 300+ published articles covering everything from debt management to investing fundamentals, Makenzie’s mission is to make every dollar work harder. When not writing about money hacks, Makenzie is testing frugal living strategies, optimizing side hustles, and helping readers build financial freedom from scratch.