
The Resurrection of Your Favorite Workhorse
We’ve all been there: you’re reaching for a pencil, a pocket knife, or your phone, and you hear that sickening rrip. Your favorite flannel—the one that’s perfectly broken in and feels like a second skin—just developed a gaping wound at the pocket corner. In a world of fast fashion, the impulse is to toss it and head to the store. But a resourceful DIYer knows better. That tear isn’t a death sentence; it’s a badge of honor waiting for a professional-grade fix.
Repairing a flannel pocket isn’t just about closing a hole; it’s about structural reinforcement. Flannel is a brushed fabric, meaning it has a soft nap that is incredibly forgiving for hand-sewing. You don’t need a $500 sewing machine or a degree in textiles to perform this surgery. With 5 minutes of your time and about $0.05 worth of thread, you can restore your garment to a condition that’s actually stronger than when it left the factory. Let’s dive into the rugged art of the invisible mend.
The Anatomy of a Flannel Rip: Why Pockets Fail
Understanding the Stress Points
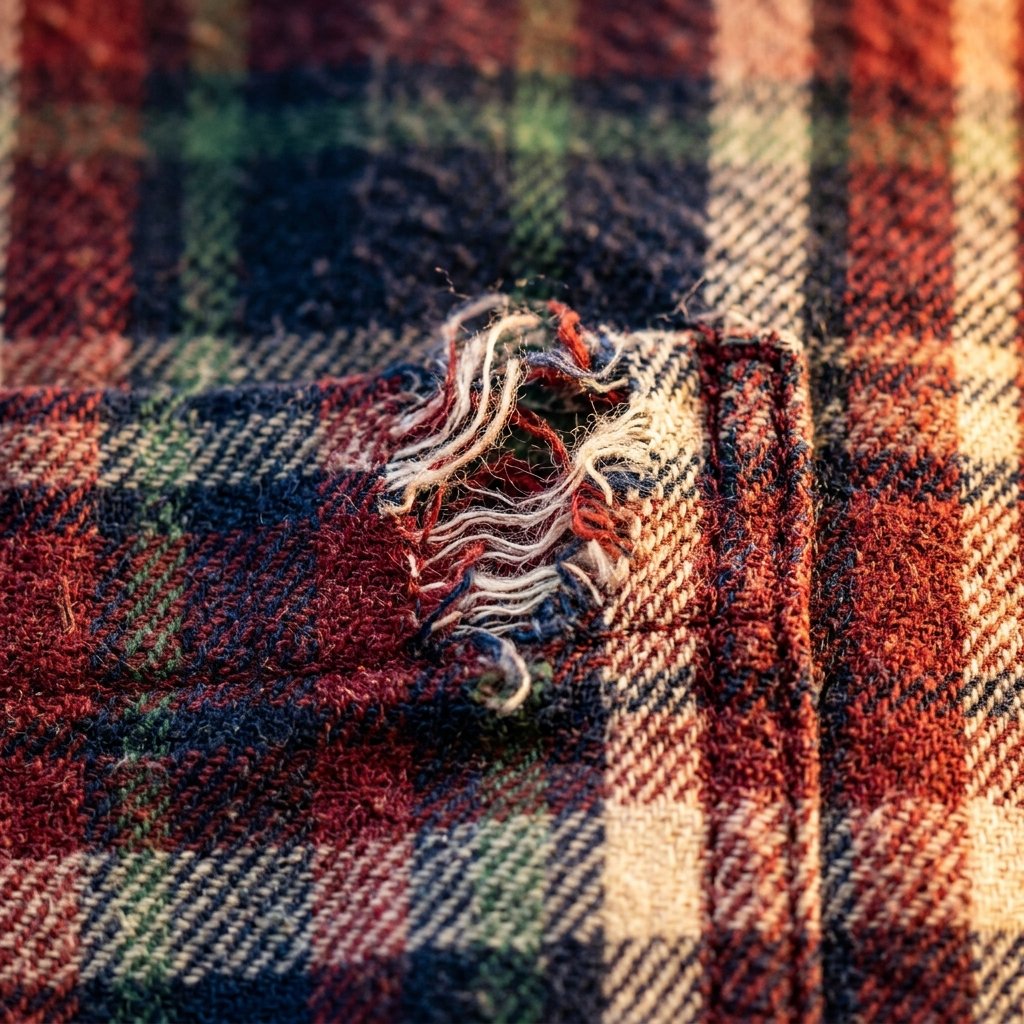
Before we pick up the needle, we need to understand why the pocket failed. Most flannel shirts suffer from ‘corner blowout.’ This happens because the pocket is a high-stress zone where the fabric is pulled away from the main body of the shirt. Because flannel is often loosely woven to achieve its signature softness, the individual threads can shift and fray under pressure.
Identifying the Damage Type
Not all rips are created equal. You need to determine if you have a clean thread break or a ‘fabric blowout’ where the actual fibers of the shirt have disintegrated. If the fabric is still intact, a simple backstitch will do. If the fabric is thinning, we will need to add a small ‘bridge’ of reinforcement on the underside.
| Rip Type | Severity | Recommended Stitch |
|---|---|---|
| Corner Pull-Away | Minor | Reinforced Backstitch |
| Frayed Hole | Moderate | Darning or Patching |
| L-Shaped Tear | Severe | Ladder Stitch + Interfacing |
The goal of a pro repair isn’t just to hide the hole, but to ensure the fabric never fails in that exact spot again. We are building a structural bridge, not just a cosmetic cover-up.
The Essential Mending Kit: Budget Tools for the Rugged DIYer
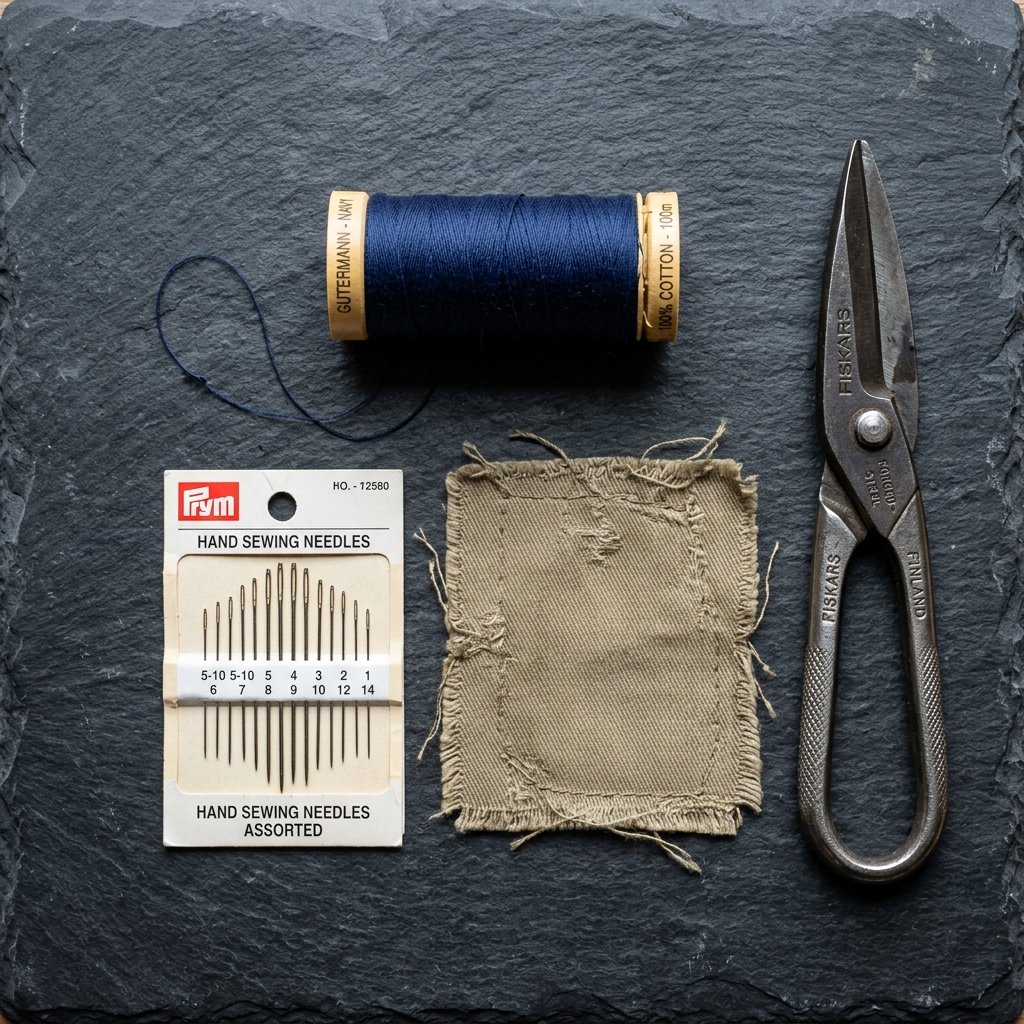
Going Beyond the Basic Kit
You don’t need a fancy sewing box. A clever crafter can assemble a professional-grade mending kit for less than the cost of a cup of coffee. The secret lies in the quality of the thread and the sharpness of the needle. For flannel, you want a needle that can pierce the thick nap without snagging the weave.
- Heavy-Duty Polyester Thread: Unlike 100% cotton thread, polyester has a slight stretch and much higher tensile strength. This is crucial for pockets that actually get used.
- Size 7 or 8 Sharp Needle: These are medium-length needles with a sharp point, perfect for navigating flannel’s thickness.
- Small Fabric Scraps: Never throw away old, unwearable clothes! A 1-inch square of denim or canvas makes the perfect hidden reinforcement for a pocket corner.
- A Thimble (Optional but Recommended): If you’re pushing through multiple layers of heavy 9oz flannel, your thumb will thank you.
| Item | Purpose | Estimated Cost |
|---|---|---|
| Polyester Thread | Structural Seam | $1.50 (per spool) |
| Hand Needles | Precision Stitching | $2.00 (multi-pack) |
| Scrap Fabric | Internal Support | $0.00 (upcycled) |
| Total DIY Cost | Lifetime of Repairs | $3.50 |
Step-by-Step: The Professional Pocket Reinforcement Technique
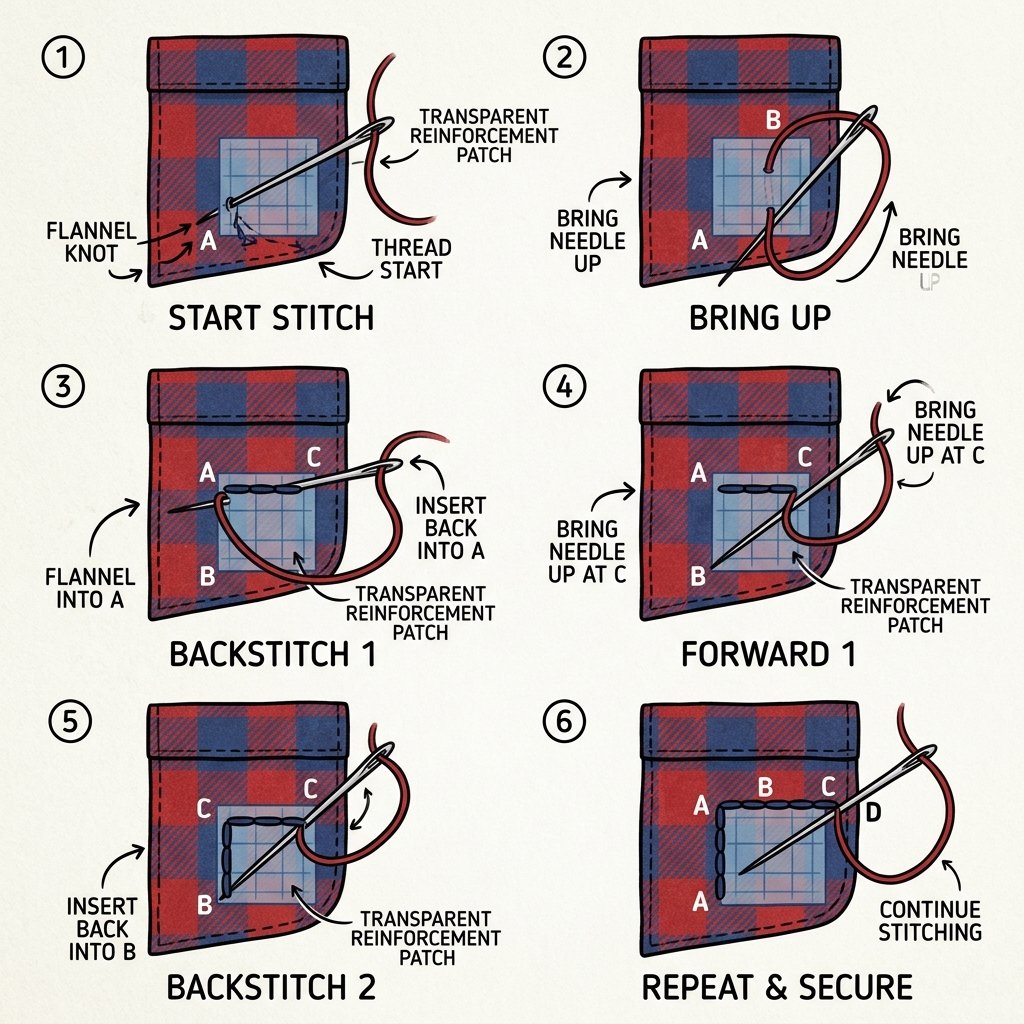
The 5-Minute Fix Execution
Follow these steps to achieve a repair that is nearly invisible and twice as strong as the original seam. This method uses an internal ‘anchor’ to prevent future tearing.
- Prep the Area: Trim any long, dangling frayed threads with sharp scissors. Do not cut into the healthy fabric; just clean up the ‘fuzz’ so you can see the structural integrity of the weave.
- The Hidden Anchor: Cut a small 1/2-inch square of scrap fabric or heavy interfacing. Slide this inside the shirt, directly behind the rip. This acts as a ‘washer’ for your stitches, preventing them from pulling through the flannel.
- Thread and Knot: Cut about 18 inches of thread. Double it over and tie a sturdy knot at the end. A doubled thread provides the ‘rugged’ strength needed for workwear.
- The First Anchor Stitch: Start your needle from the inside of the shirt, passing through the scrap fabric first, then the shirt body, and finally emerging at the bottom of the rip. This hides the knot forever.
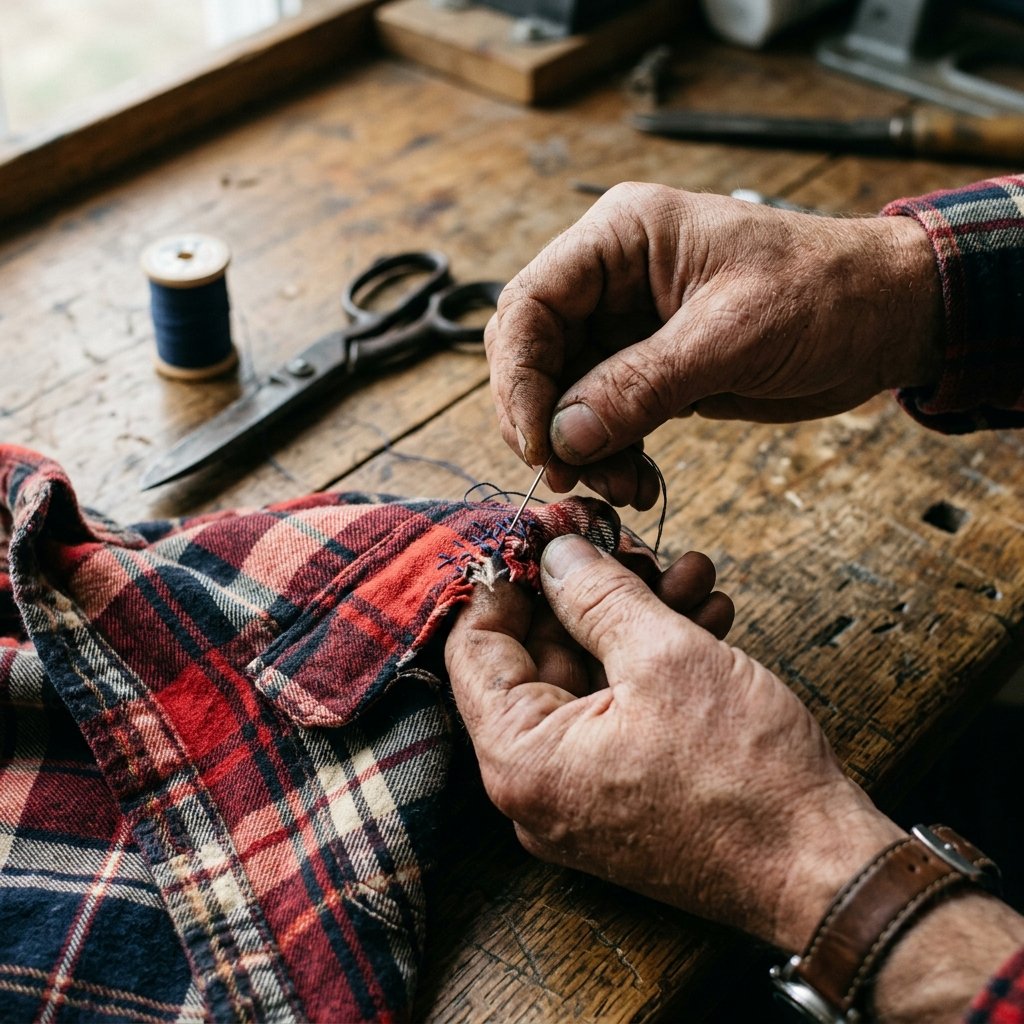
- The Backstitch: Work your way up the rip using a backstitch. For every stitch, go forward 1/8 inch, then bring the needle back halfway into the previous stitch. This creates a continuous line of thread that mimics a machine stitch.
- The Corner Lock: When you reach the top of the pocket, wrap the thread over the top edge 3 times. This ‘whip-stitch’ reinforcement creates a bolster that absorbs the shock when you shove your hands or tools into the pocket.
- The Final Knot: Pass the needle back to the inside of the shirt, tie a square knot against the scrap fabric, and snip the excess.
Pro Tip: Always match your thread color to the darkest color in the plaid pattern. It will blend into the shadows of the fabric nap and become virtually invisible.
Mastering the Stitches: Backstitch vs. Ladder Stitch
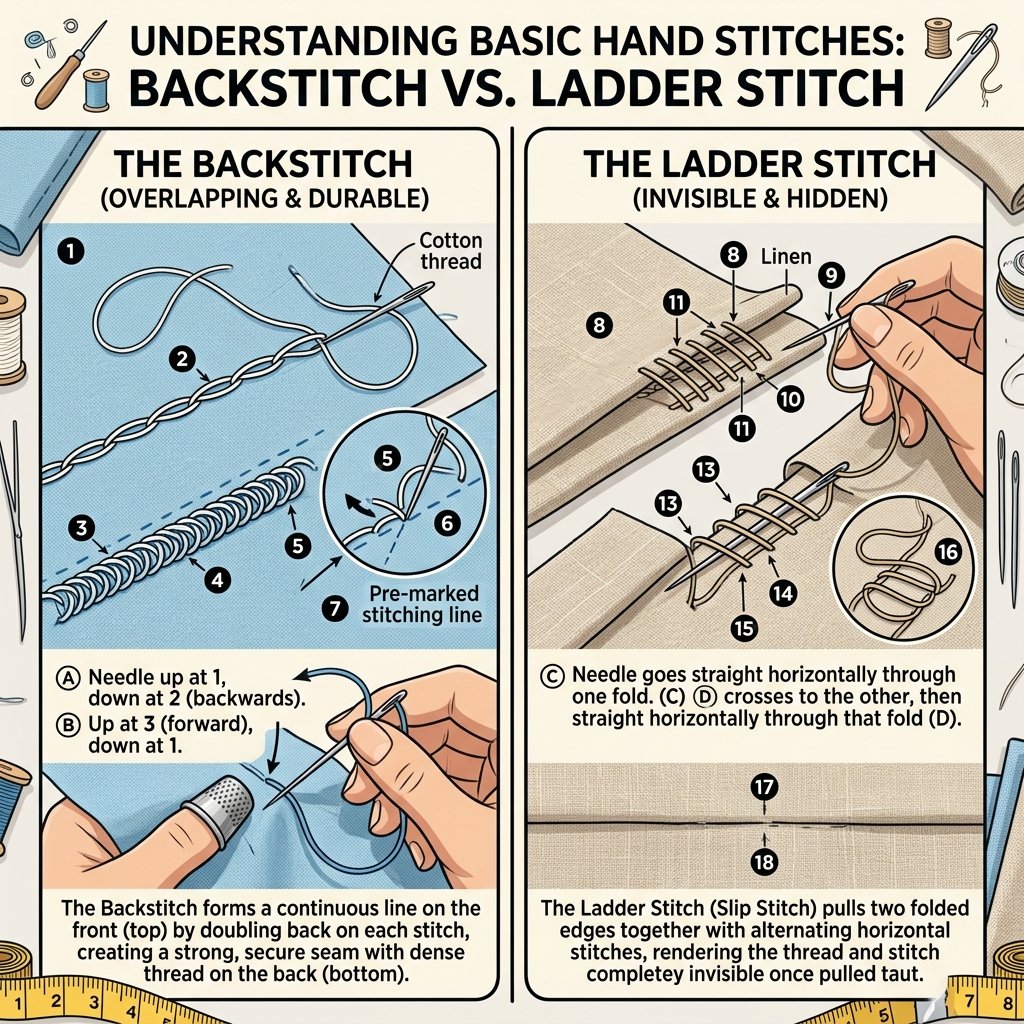
Choosing Your Weapon
While the backstitch is the king of strength, sometimes you want a repair that is completely hidden, especially on the face of the pocket. This is where the Ladder Stitch (or invisible stitch) comes into play. If the rip is on the side of the pocket rather than the corner, the ladder stitch allows you to pull the two edges together like a zipper.
- The Backstitch: Best for high-stress corners. It is the strongest hand stitch available. It looks like a solid line on the front and overlapping dashes on the back.
- The Ladder Stitch: Best for side-seam splits. You tunnel the needle through the fold of the fabric on one side, then cross over to the other. When you pull the thread tight, the edges meet perfectly, hiding the thread entirely.
| Stitch Type | Best Use Case | Strength Level |
|---|---|---|
| Backstitch | Corner Repairs | High (Structural) |
| Ladder Stitch | Seam Splits | Medium (Invisible) |
| Whip Stitch | Edge Fraying | Low (Protective) |
The ‘Rugged’ Finish
For those who embrace the ‘workwear’ aesthetic, you don’t always have to hide the repair. Using a contrasting thread (like white thread on navy flannel) and a Sashiko-style running stitch can turn a repair into a design feature. This is known as ‘visible mending’ and is a favorite among the upcycling community.
Proactive Maintenance: Strengthening Your Wardrobe
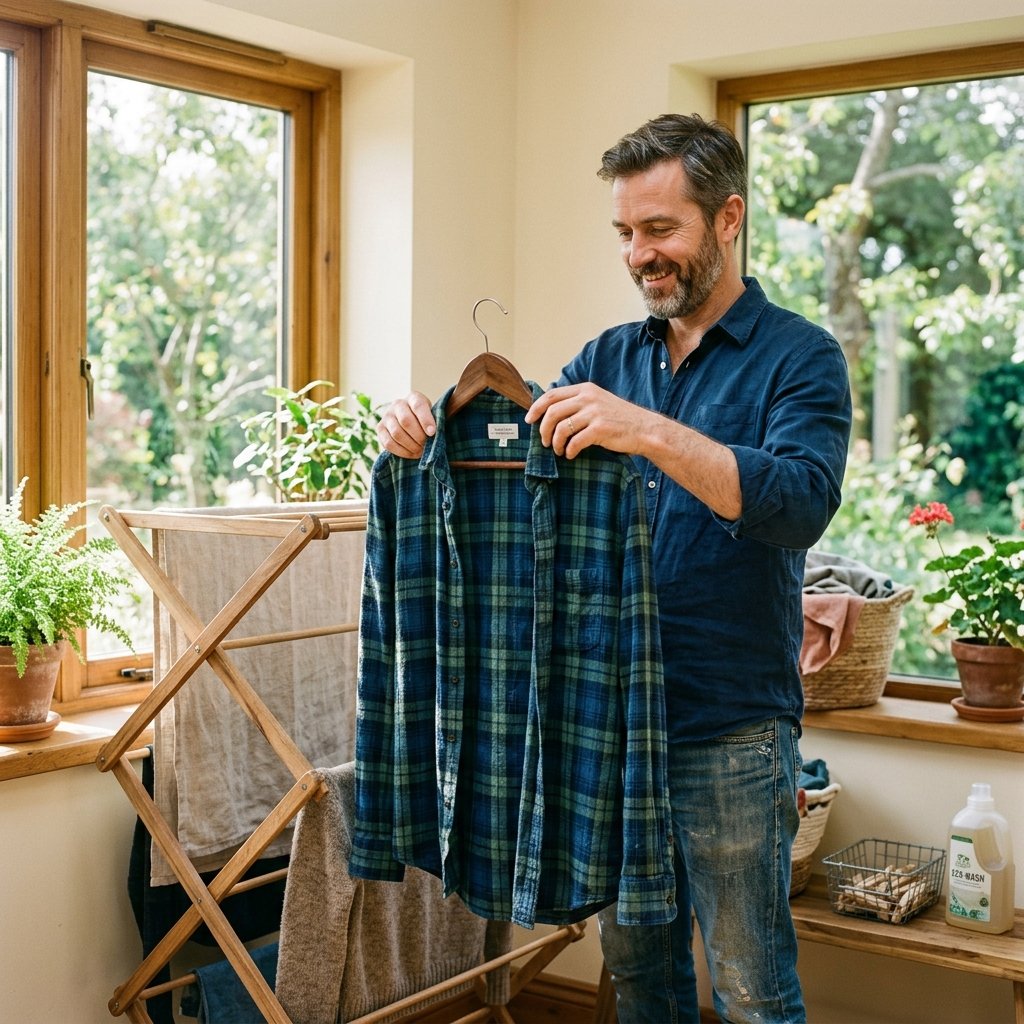
Why Wait for a Rip?
A clever DIYer doesn’t wait for disaster to strike. If you buy a new flannel shirt—especially a budget-friendly one—take 2 minutes to reinforce the pocket corners immediately. Manufacturers often use a simple ‘tack’ stitch that is prone to unraveling. By adding three or four hand-sewn ‘bar tacks’ (tightly packed horizontal stitches) at the stress points, you can extend the life of the shirt by years.
Laundering for Longevity
Flannel’s greatest enemy is the high-heat dryer. Heat makes the fibers brittle, leading to the very tears we’re trying to fix. To keep your repairs intact and your fabric strong:
- Wash in cold water to preserve fiber flexibility.
- Turn the shirt inside out to protect the nap and your hand-sewn stitches from the agitator.
- Air dry whenever possible. If you must use a dryer, use the ‘Low Heat’ or ‘Delicate’ setting.
Budget Mantra: A stitch in time saves nine… and about $40 on a new shirt.
Cost Analysis: DIY Repair vs. The Alternatives
The Frugal Truth
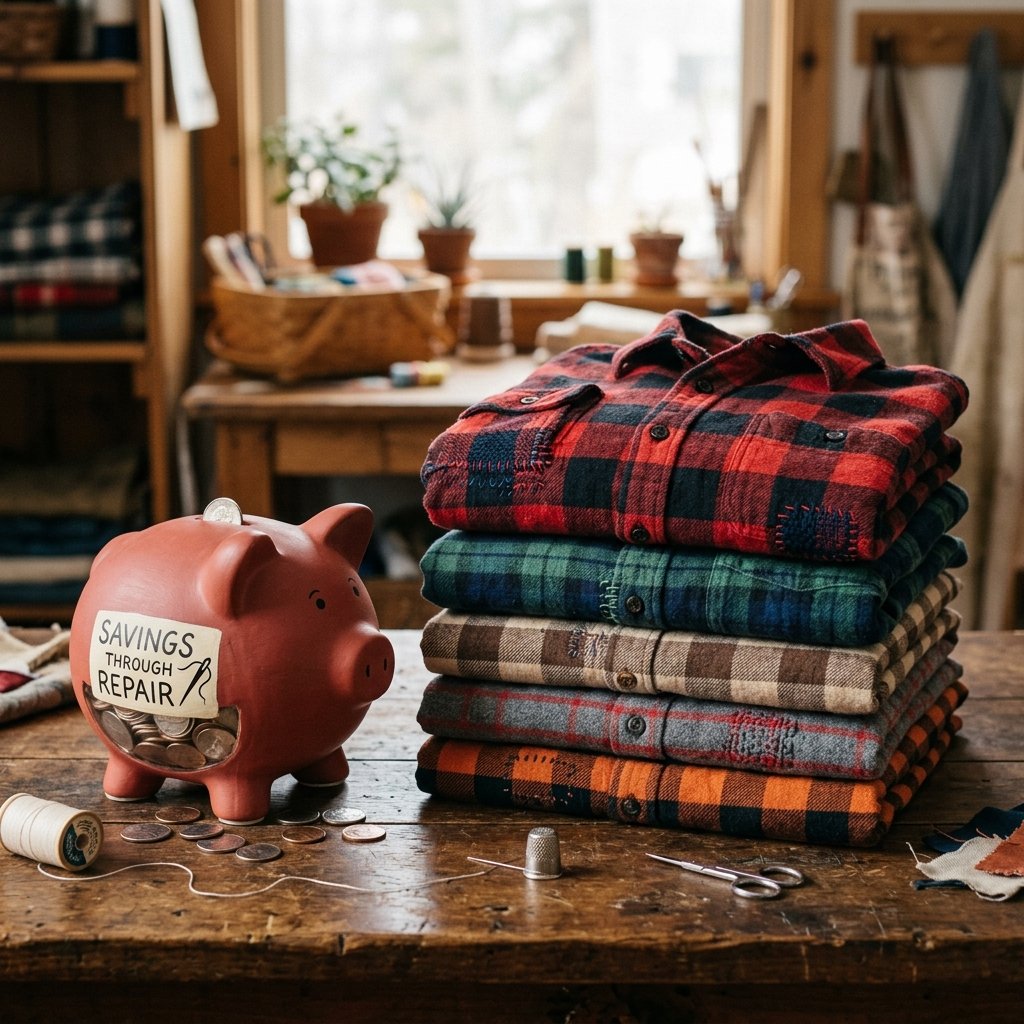
Let’s talk numbers. Being budget-savvy isn’t just about saving pennies; it’s about the cumulative value of maintaining what you own. When you choose to spend 5 minutes mending a pocket, you are effectively paying yourself a high hourly rate in savings.
| Option | Time Investment | Out-of-Pocket Cost |
|---|---|---|
| Professional Tailor | 3-5 Days | $15.00 – $25.00 |
| Buy New Flannel | 1 Hour | $35.00 – $85.00 |
| DIY Hand-Mend | 5 Minutes | $0.05 |
By mastering this one simple skill, you’ve saved enough for a nice dinner or your next DIY project materials. Over a lifetime, mending your own clothes can save a household thousands of dollars, all while keeping high-quality textiles out of landfills. That is the definition of masculine-elegant practicality.
Conclusion
The Mark of a True Maker
Repairing your own gear is a foundational skill for any resourceful DIYer. It transforms you from a mere consumer into a steward of your belongings. That flannel shirt, with its neatly reinforced pocket corners, now tells a story of resilience and craftsmanship. You didn’t just ‘fix a hole’; you applied a practical, clever solution to a common problem, proving that with a little bit of thread and five minutes of focus, you can outsmart the ‘throwaway’ culture. Wear that flannel with pride—it’s now stronger, better, and more ‘you’ than it ever was before. Happy mending!

Makenzie is the founder and lead writer at MoneyHackTips.com — a personal finance blog dedicated to delivering street-smart financial wisdom for real people on real budgets. With 300+ published articles covering everything from debt management to investing fundamentals, Makenzie’s mission is to make every dollar work harder. When not writing about money hacks, Makenzie is testing frugal living strategies, optimizing side hustles, and helping readers build financial freedom from scratch.