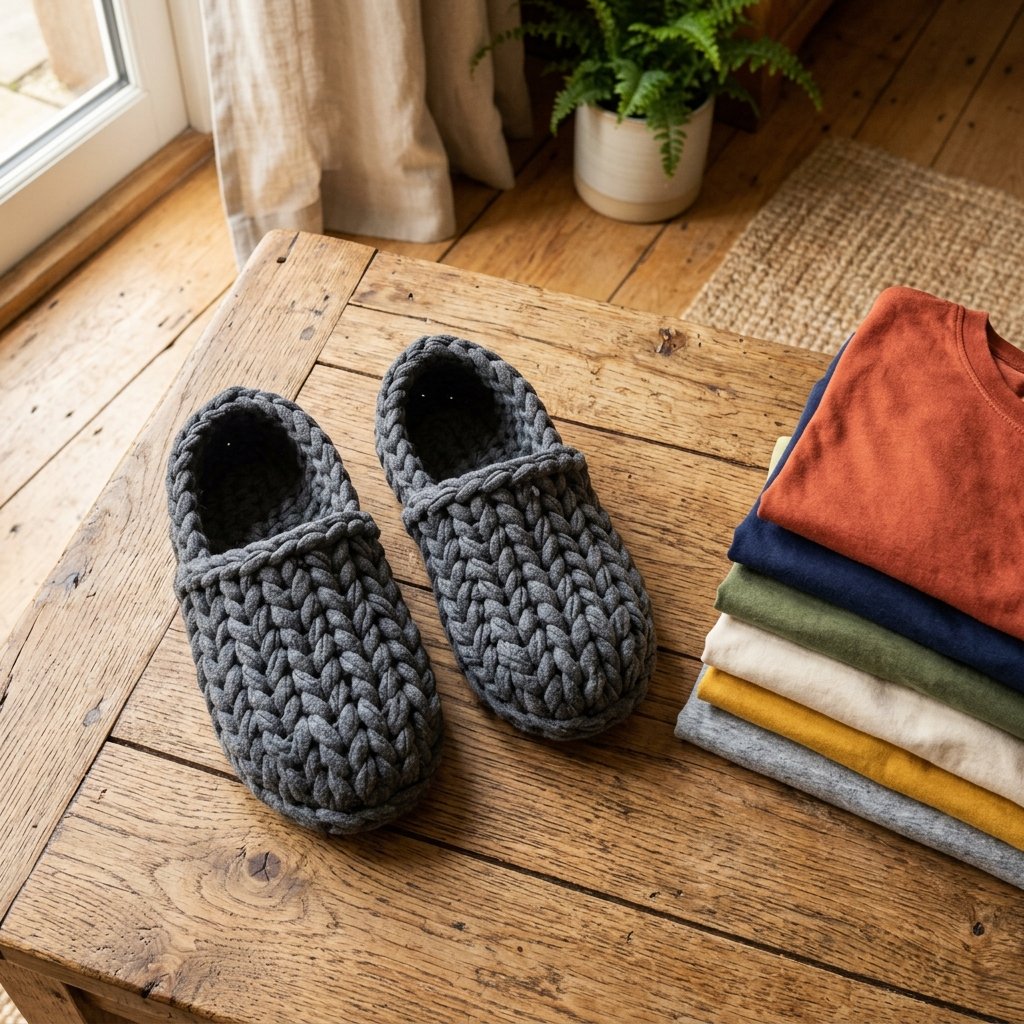

The Ultimate Trash-to-Treasure Footwear
We have all been there: staring at a pile of old t-shirts that are too sentimental to toss but too ‘distressed’ to wear in public. Instead of letting them take up precious real estate in your dresser, why not turn them into the most comfortable piece of footwear you will ever own? These aren’t your flimsy, store-bought slippers that lose their shape after a week. We are talking about rugged, breathable, and custom-molded slippers made from 100% upcycled materials.
As a savvy DIYer, you know that the best projects are the ones that cost $0 and take less time than a single episode of your favorite show. These T-shirt yarn slippers are the epitome of clever resourcefulness. They are thick enough to protect your feet from cold tiles, yet soft enough to feel like you’re walking on a cloud. Whether you are a handy parent looking for a quick craft or a budget-conscious gift-giver, this guide will show you how to master the art of the 20-minute slipper build.
“Frugality isn’t about having less; it’s about making more out of what you already have. Your laundry basket is actually a shoe store in disguise.”
The Material Audit: Why T-Shirt Yarn Wins

Before we pick up the scissors, let’s talk about why jersey knit (the fabric of most t-shirts) is the gold standard for footwear. It has a natural stretch that provides a compression-like fit, and because it is usually cotton-based, it wicks moisture away from your skin. No more sweaty feet in synthetic polyester slippers!
The Cost Comparison
Let’s look at the numbers. A pair of high-quality, washable cotton slippers can easily set you back $25 to $45. Our version? Absolutely free.
| Feature | Store-Bought Slippers | DIY T-Shirt Yarn Slippers |
|---|---|---|
| Material Cost | $20 – $50 | $0.00 |
| Washability | Often Spot-Clean Only | 100% Machine Washable |
| Custom Fit | Standard Sizing | Molded to YOUR Foot |
| Durability | Glued Soles (Prone to Peeling) | Woven/Stitched (Rugged Longevity) |
To get started, you will need one or two large T-shirts (the bigger the shirt, the more yarn you get), a pair of sharp fabric shears, and your own two hands. If you want to get fancy, a large crochet hook (10mm or larger) is helpful, but we will focus on the finger-weaving method for those who want to keep it simple and tool-free.
Phase 1: Crafting the ‘Continuous Loop’ Yarn

The secret to a durable slipper is minimizing knots. We want one long, continuous strand of yarn. This is where your inner ‘crafty expert’ comes out. Follow these steps to maximize your yardage:
- Prep the Shirt: Lay the shirt flat on a table and cut off the bottom hem and the top part (from the armpits up). You are left with a large fabric tube.
- The Slit Method: Fold the tube in half, but leave about 1 inch of the bottom layer protruding past the top layer.
- Cutting the Fringe: Cut strips about 1.5 inches wide from the folded edge toward the protruding edge, but stop before you cut through that 1-inch gap.
- The Diagonal Cut: Open the shirt so the uncut 1-inch strip is in the center. Cut diagonally from the first slit to the second, the second to the third, and so on. This creates one long, spiraling strand.
- The Stretch: This is the most satisfying part. Pull the strand taut. The jersey fabric will curl inward, creating a rounded, durable yarn that hides raw edges.
“The harder you pull the yarn, the tighter the curl. A tight curl means a denser, more rugged slipper sole that won’t flatten out over time.”
Phase 2: The 20-Minute Finger-Woven Sole
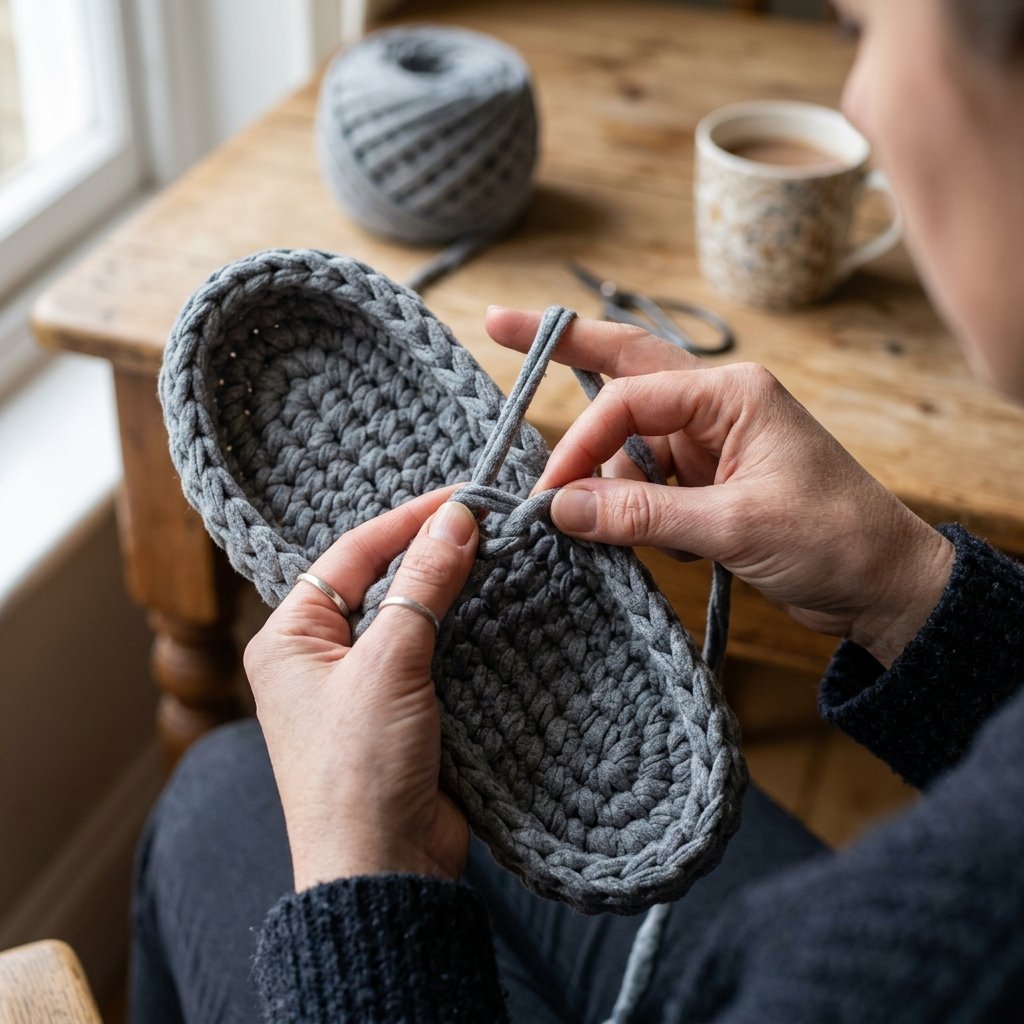
No knitting needles? No problem. We are using a simplified finger-looping technique that builds a thick, cushioned base in minutes. This is a rugged, masculine-elegant approach to crafting that emphasizes utility.
Step-by-Step Construction
- The Slip Knot: Start with a slip knot and place it over your index finger.
- The Foundation Chain: Pull a loop of yarn through the slip knot. Repeat this until you have a chain that matches the length of your foot minus about 1 inch (to account for stretch). Typically, this is 8 to 10 loops.
- Building the Width: Work back down the chain by pulling a loop through each existing ‘link.’ You are essentially creating a wide, flat rectangle.
- The ‘U-Turn’: When you reach the end of your foot length, turn and work around the other side of the foundation chain. This creates an oval shape that mimics the natural footprint.
- The Wall Build: Once the sole is wide enough to cover the bottom of your foot, stop adding extra loops at the turns. Simply continue looping at a 1:1 ratio. This will cause the sides to ‘curl up,’ creating the walls of the slipper.
Keep your tension consistent! Tight loops equal a firmer slipper, while loose loops create a slouchy, sock-like feel. For a truly rugged finish, we recommend keeping the tension high on the sole and slightly looser on the upper ‘toe box’ area.
Reinforcing for the Long Haul: The ‘Pro-Level’ Sole
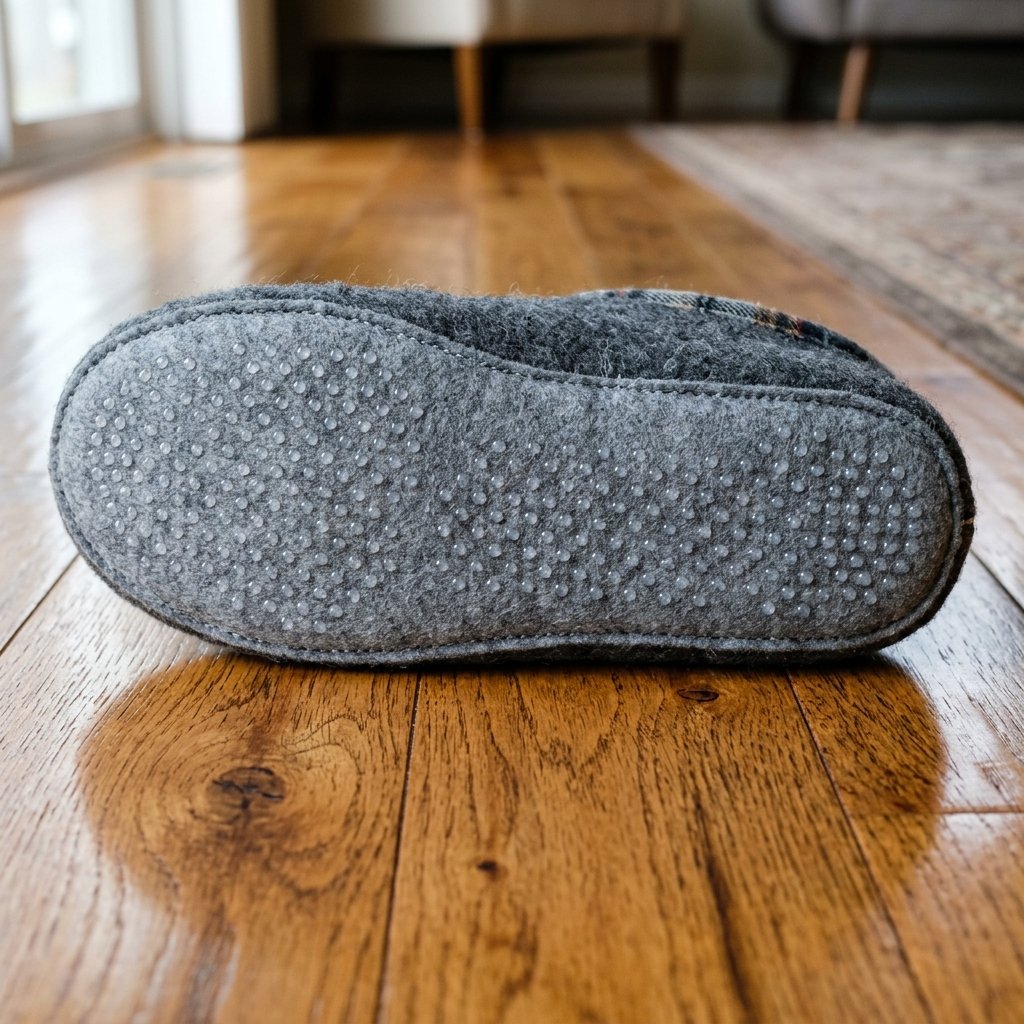
If you have hardwood or tile floors, you want your slippers to have grip and longevity. A savvy DIYer doesn’t just make things pretty; they make them functional. Here is how to ‘ruggedize’ your slippers for under $2.
| Method | Material Needed | Benefit |
|---|
“A drop of hot glue on the heel and ball of the foot is the difference between a cozy evening and a slip-and-slide disaster. Safety is the ultimate DIY skill.”
To attach a secondary sole, use a simple whip stitch with a bit of leftover yarn. This creates a high-end, hand-stitched look that resembles expensive boutique house shoes.
Customizing for Gifts: The Masculine-Elegant Touch

These make incredible gifts for Father’s Day, birthdays, or as a ‘welcome home’ gesture. To elevate the look from ‘upcycled craft’ to ‘bespoke footwear,’ focus on the finishing touches. For a rugged, masculine-elegant vibe, stick to a palette of charcoal, navy, or olive green shirts.
- Leather Accents: Stitch a small scrap of leather or faux-leather over the heel. It adds structure and looks incredibly sophisticated.
- Cuffing: Fold the top edge of the slipper down to create a ‘moccasin’ style cuff. Secure it with a single wooden button.
- Personalized Tags: Use a permanent marker on a scrap of canvas to write the recipient’s name and sew it into the inside heel.
Because these are made from t-shirts, they are breathable enough for summer but insulating enough for winter. They are the ultimate year-round companion for any handy dad or frugal crafter.
Conclusion
Step Into Your New Favorite Hobby
Congratulations! In just 20 minutes, you have successfully diverted textile waste from the landfill and created a custom piece of functional art. These T-shirt yarn slippers prove that you don’t need a massive budget or a room full of expensive tools to produce high-quality, stylish goods. You just need a little resourcefulness and a clever eye for the potential in your ‘trash.’
Don’t stop at one pair. Once you master the finger-looping rhythm, you’ll find yourself making these for every family member. They are the perfect solution for ‘no-shoes’ households and make a thoughtful, handmade gift that people will actually use every single day. So, go raid that closet, grab your shears, and start weaving your way to the most comfortable feet you’ve ever had. Happy upcycling!

Makenzie is the founder and lead writer at MoneyHackTips.com — a personal finance blog dedicated to delivering street-smart financial wisdom for real people on real budgets. With 300+ published articles covering everything from debt management to investing fundamentals, Makenzie’s mission is to make every dollar work harder. When not writing about money hacks, Makenzie is testing frugal living strategies, optimizing side hustles, and helping readers build financial freedom from scratch.