
The Art of the Budget-Savvy Walk Down the Aisle
Planning a wedding often feels like a tug-of-war between your Pinterest dreams and your bank account reality. But here is the secret that high-end wedding planners don’t want you to know: luxury is a feeling, not a price tag. As a seasoned ‘trash-to-treasure’ guru, I have spent years proving that with a bit of resourcefulness, a sharp eye for materials, and a rugged determination to do it yourself, you can create a ceremony space that looks like it cost $10,000 for closer to $100.
In this masterclass, we are going to dive deep into the world of sophisticated, masculine-elegant, and ruggedly beautiful wedding aisle decor. We are talking about taking everyday items—glass jars, foraged branches, Dollar Tree basics, and thrifted fabrics—and elevating them into something truly bespoke. Whether you are a frugal DIYer, a handy parent helping with your daughter’s big day, or a creative gift-giver looking to contribute labor instead of a check, this guide is your blueprint for an unforgettable ceremony entrance.
The Foundation of Frugal Elegance: Strategic Sourcing
Why DIY Beats Rental Every Time
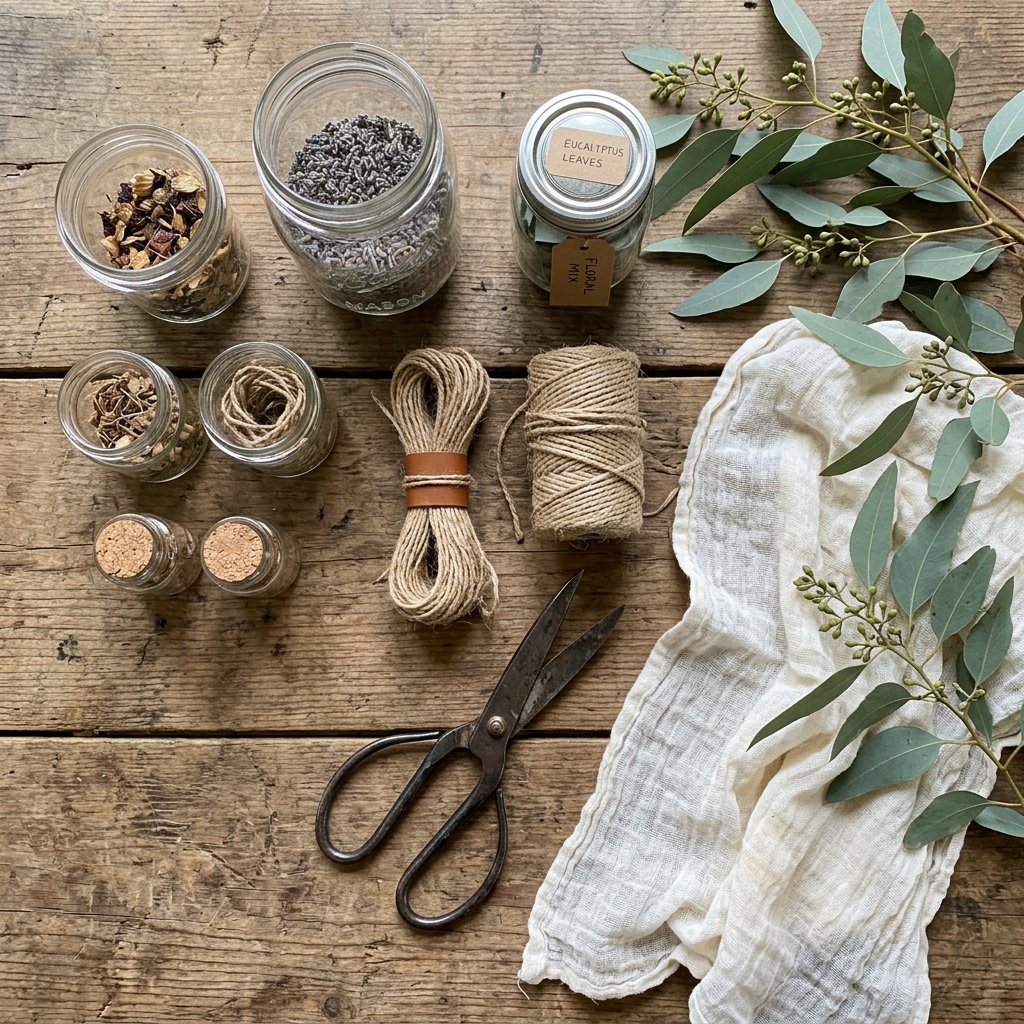
When you rent decor, you are paying for the convenience of someone else’s inventory. When you DIY, you are investing in a vision. The key to keeping costs next to nothing is strategic sourcing. This means looking at a discarded wine bottle and seeing a high-end taper candle holder, or looking at a backyard cedar tree and seeing the base for a lush greenery garland.
Before we pick up a glue gun, let’s look at the cold, hard numbers. A professional florist or event designer will charge a premium for labor, delivery, and markup on materials. By taking the ‘crafty expert’ approach, you can slash these costs by 90% or more.
| Decor Element | Professional/Rental Price | DIY Resourceful Price | Potential Savings |
|---|---|---|---|
| Greenery Aisle Garlands (20ft) | $400 – $600 | $20 – $40 (Foraged/Bulk) | 95% |
| Glass Lanterns (Set of 10) | $150 – $300 | $12.50 (Upcycled/Dollar Tree) | 92% |
| Fabric Aisle Runner | $80 – $200 | $15 – $30 (Cheesecloth/Thrifted) | 85% |
| Custom Signage | $50 – $150 | $5 (Plywood Scraps/Paint) | 96% |
Budget Guru Mantra: “If you can’t buy it, build it. If you can’t build it, find it at the thrift store. If you can’t find it there, forage it from the earth.”
The Glass Jar Renaissance: Upcycled Lanterns & Vases
Turning Trash into Taper Holders
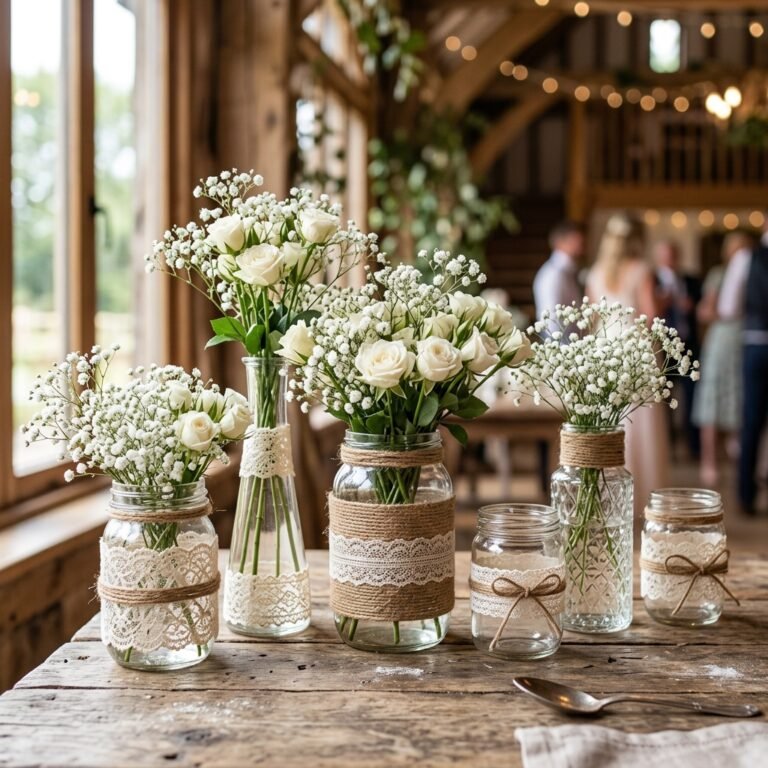
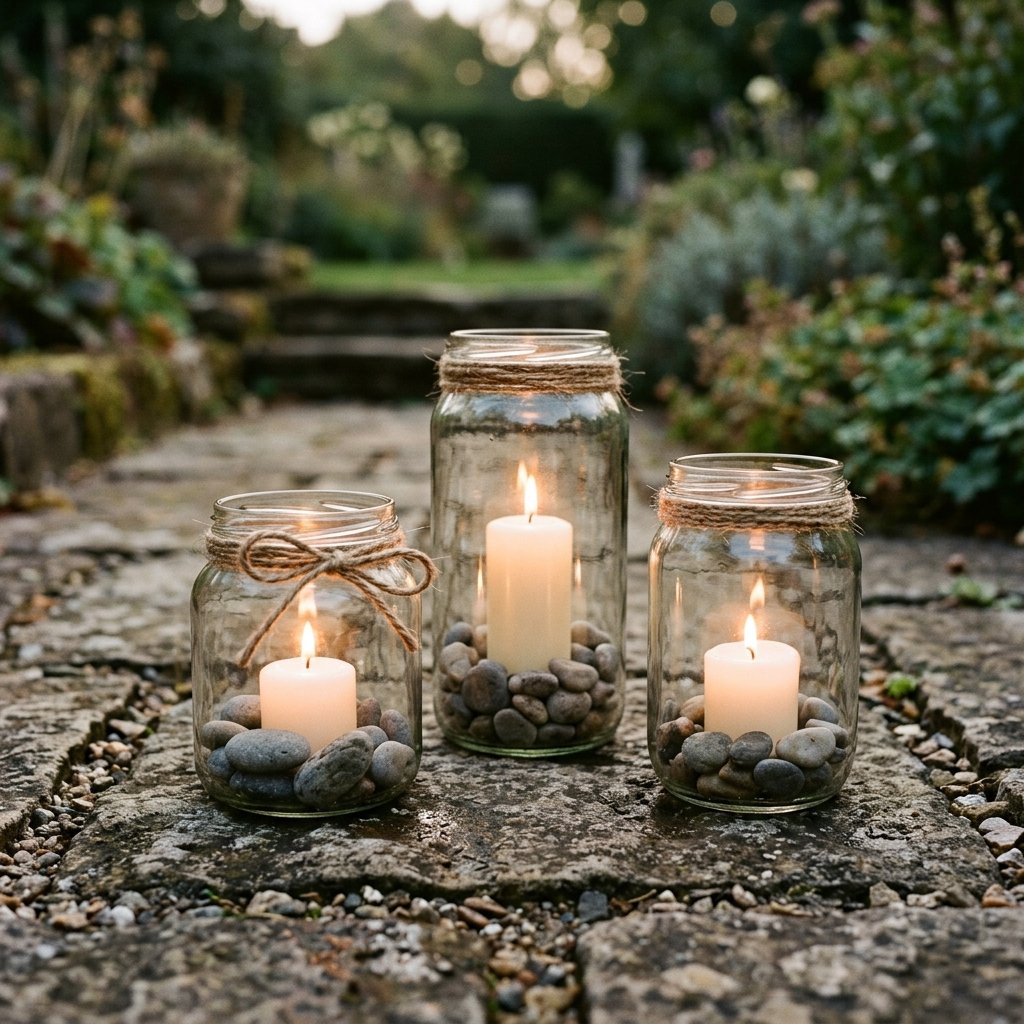
One of the most effective ways to line an aisle is with the repetitive beauty of glass. Instead of buying expensive hurricane vases, we are going to use the ‘Collector’s Method’. Start saving every pasta sauce jar, pickle jar, and wine bottle six months out. To create a cohesive look, we will use a unified design element like jute twine or matte black spray paint.
- Step 1: The Cleanse. Soak jars in hot water and baking soda to remove labels. For stubborn adhesive, a mixture of vegetable oil and baking soda works wonders.
- Step 2: The Uniform. To make mismatched jars look like a set, wrap the neck of each jar 5-10 times with jute twine, securing the ends with a dab of hot glue.
- Step 3: The Illumination. Use Dollar Store LED tea lights or bulk-bought votives. For a more rugged, masculine-elegant look, fill the bottom 1/3 of the jar with coarse sand or small river pebbles to stabilize the candle.
The Floating Candle Hack
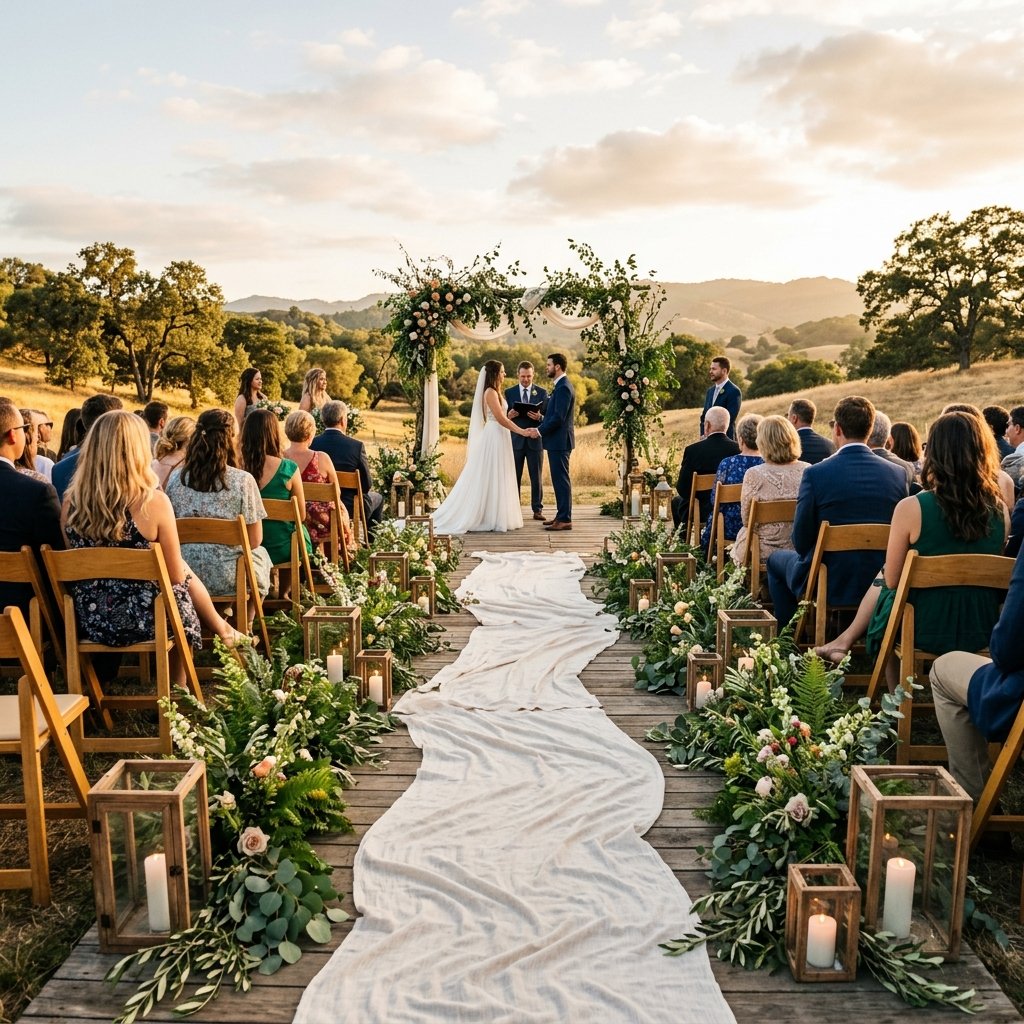
For a ‘dreamy’ ethereal effect, fill large glass cylinders (often found for $1.25 at discount stores) with water. Submerge a single sprig of rosemary or a faux silk petal at the bottom, and place a floating candle on top. The water acts as a lens, magnifying the greenery and creating a high-end botanical look for pennies.
Foraging for Grandeur: The Zero-Cost Greenery Guide
Nature is Your Best Supplier
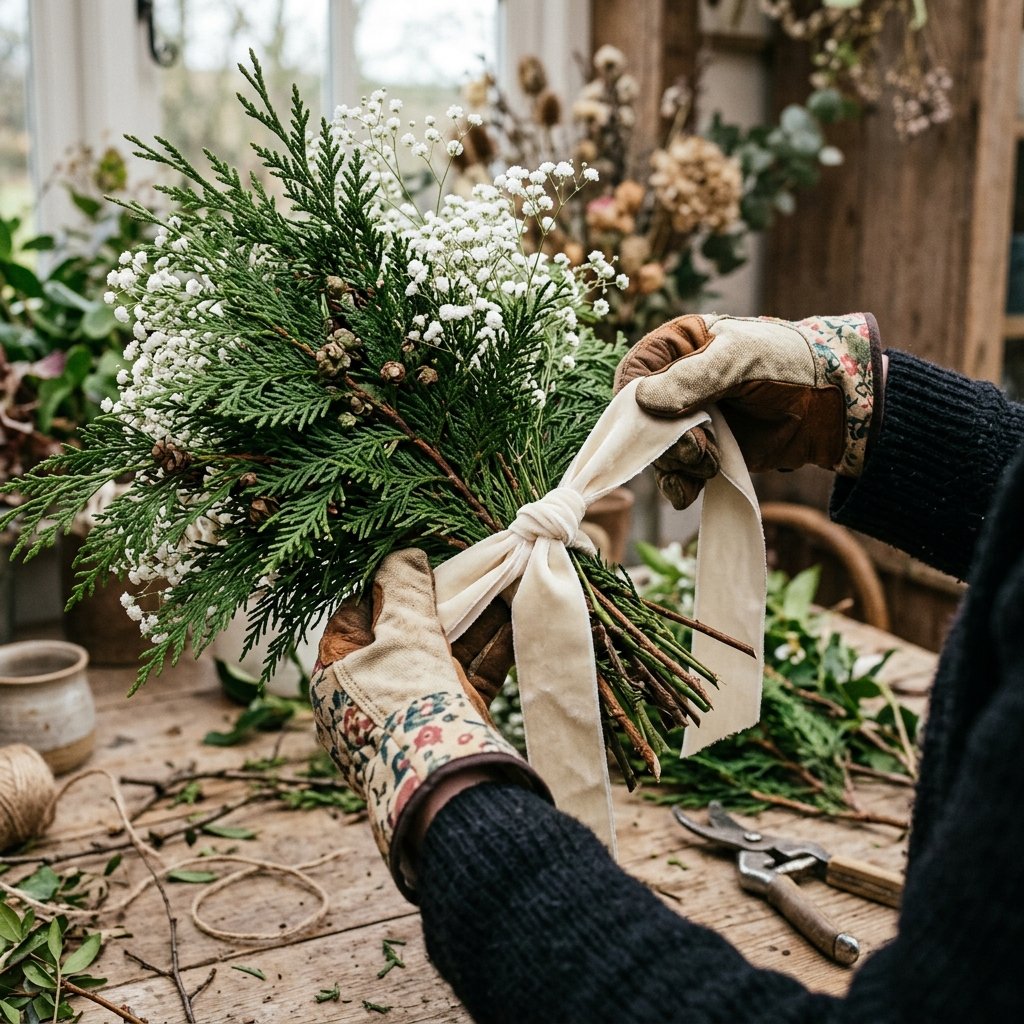
Florals are usually the biggest wedding expense. To achieve a ‘dreamy’ look for next to nothing, we pivot from expensive blooms to abundant greenery. Foraged greenery provides a rugged, organic texture that looks far more sophisticated than cheap plastic flowers. If you have access to a backyard, a local park (with permission), or a friendly neighbor’s garden, you have a goldmine.
Top Forageable Varieties for Aisle Decor:
- Evergreens: Cedar and Pine provide great structure and a wonderful scent.
- Eucalyptus: Often found in warmer climates or bought in bulk very cheaply; it dries beautifully.
- Wild Grasses: Dried pampas grass or tall wheat stalks add a ‘boho’ masculine elegance to the end of pews.
- Ivy: Perfect for draping over the sides of chairs or benches.
Crafty Expert Tip: To keep foraged greenery fresh, cut the stems at a 45-degree angle and submerge them in cool water for at least 12 hours before the ceremony. Spray the leaves with a mixture of water and a little glycerin to keep them from wilting in the sun.
The ‘Invisible’ Anchor Technique
To attach greenery to the ends of chairs without damaging the furniture, use clear command hooks or zip ties hidden behind the stems. Wrap the base of your greenery bundle in a small piece of damp paper towel, cover with plastic wrap, and then hide the whole ‘water pack’ with a wide ribbon of burlap or torn cotton fabric.
The Baking Soda Paint Trick: Faux Stone Planters
Elevating Plastic to Pottery
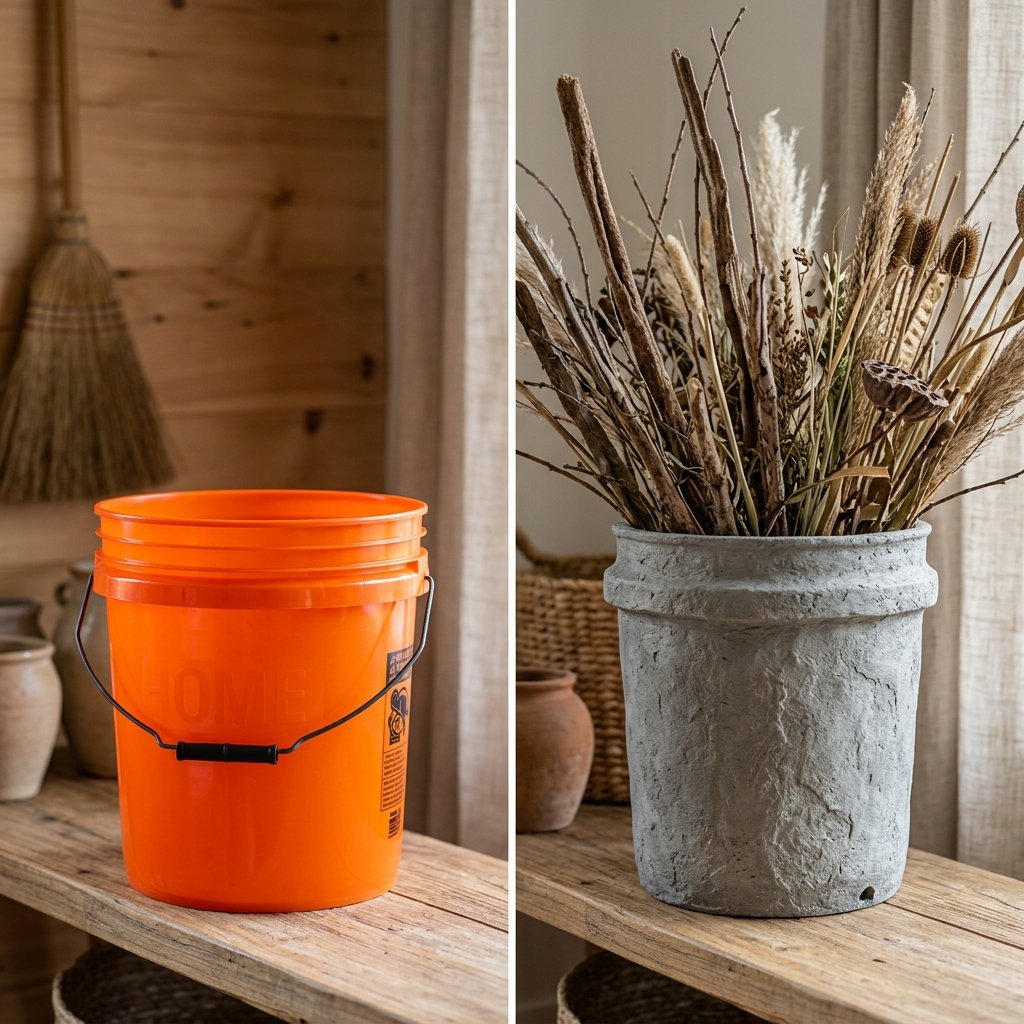
If you want large statement pieces at the start of your aisle, you don’t need to drop $50 per ceramic pot. We are going to use the ‘Baking Soda Paint Trick’ to turn cheap plastic buckets or Dollar Tree planters into heavy, expensive-looking ‘stone’ urns.
| Ingredient | Measurement | Purpose |
|---|---|---|
| Matte Acrylic Paint | 1 Cup | Base color (Terracotta, Grey, or Off-White) |
| Baking Soda | 1/4 Cup | Creates the gritty, stone-like texture |
| Water | 1 Teaspoon | Thins the mixture if it becomes too clumpy |
Application Process:
- Mix the paint and baking soda until it reaches a thick, cake-batter consistency.
- Apply to the plastic planter using a stippling motion (dabbing) rather than long strokes. This creates the ‘pitted’ look of real stone.
- Apply a second coat once the first is dry (usually 30 minutes).
- Once fully cured, lightly sand the high spots to reveal a multi-tonal, weathered finish.
Fill these ‘stone’ urns with tall branches (like birch or curly willow) for a dramatic, rugged entrance that costs less than $5 per vessel.
Fabric & Flow: The High-End Runner Secret
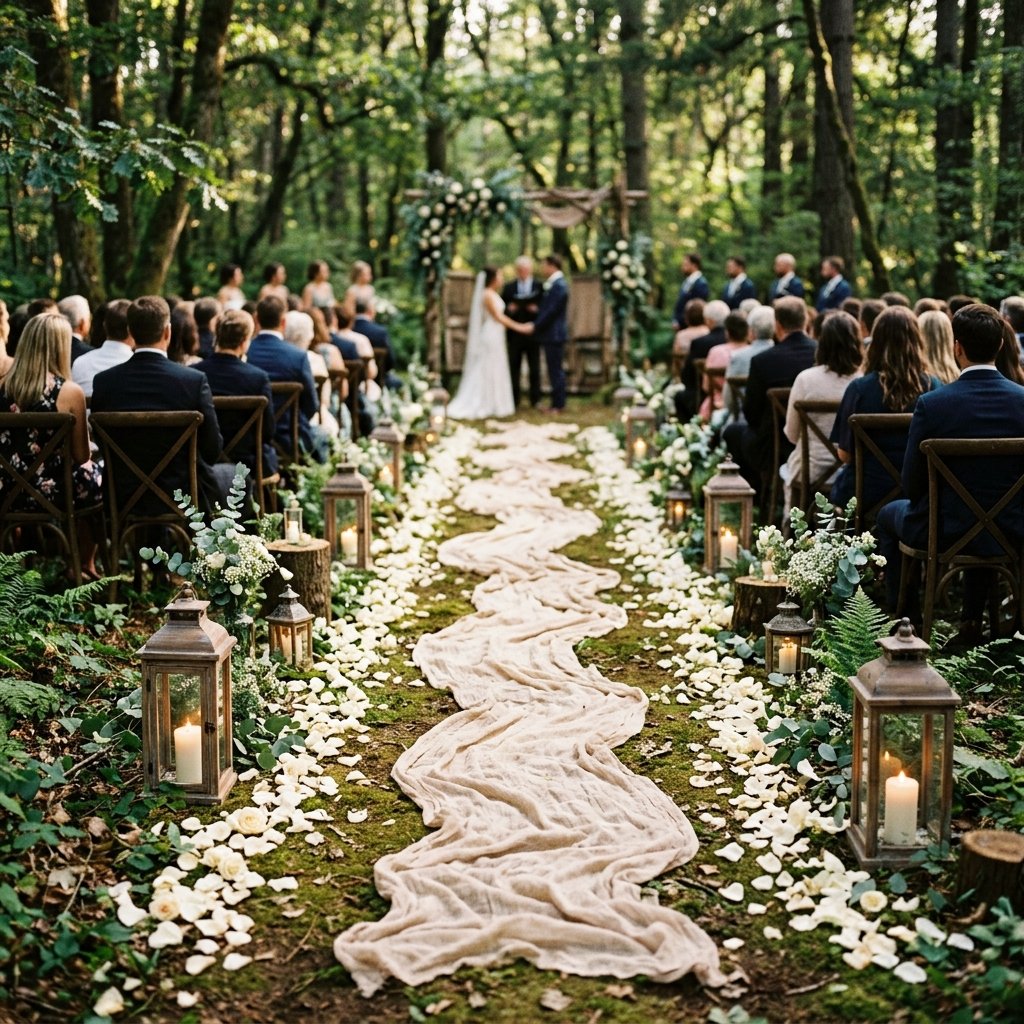
Why Cheesecloth is a DIYer’s Best Friend
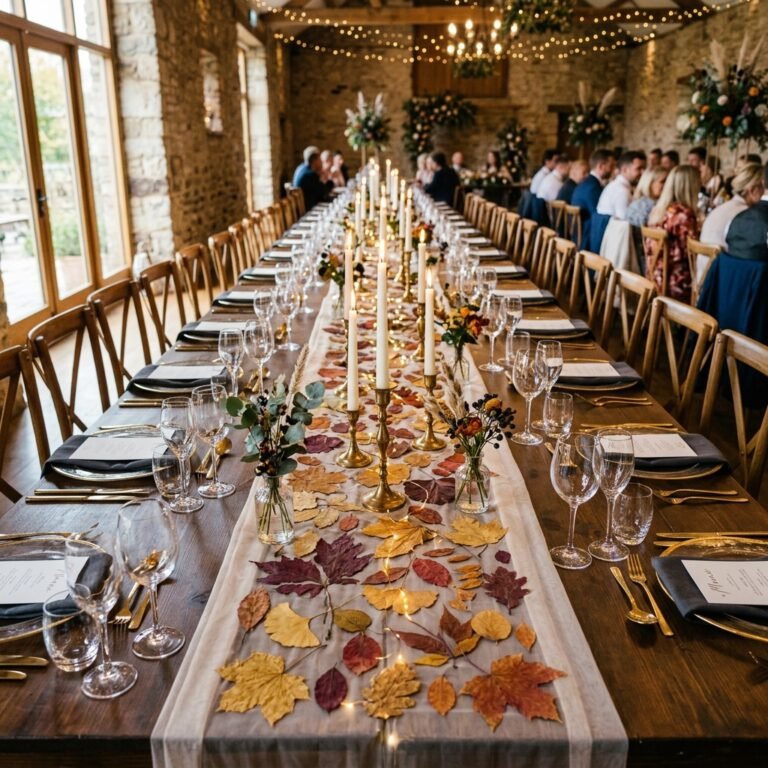
A traditional white aisle runner can look stiff and ‘plastic.’ For a dreamy, high-end aesthetic, we want movement and texture. Grade 90 cheesecloth is the secret weapon of budget wedding stylists. It is incredibly cheap when bought in bulk (look for 100-yard bolts) and has a beautiful, gauze-like transparency.
The Custom Dye Method:
To get that perfect ‘dusty rose’ or ‘sage green’ that matches your palette, don’t buy pre-dyed fabric. Use the Tea-Dyeing or Coffee-Staining method for a vintage, masculine-elegant look.
- Step 1: Boil a large pot of water and add 10-15 black tea bags. Let it steep until the water is dark.
- Step 2: Wet your cheesecloth first (this ensures even dyeing).
- Step 3: Submerge the fabric in the tea bath for 5 to 20 minutes depending on the desired depth of color.
- Step 4: Rinse in cold water and hang to dry. The result is a stunning, ‘antique’ ivory fabric.
Pro Tip: Don’t lay the runner flat. ‘Puddle’ it! Bunch the fabric slightly as you lay it down to create shadows and depth. This hides any imperfections in the floor and looks much more intentional and luxurious.
The Final Flourish: Budget-Friendly Signage
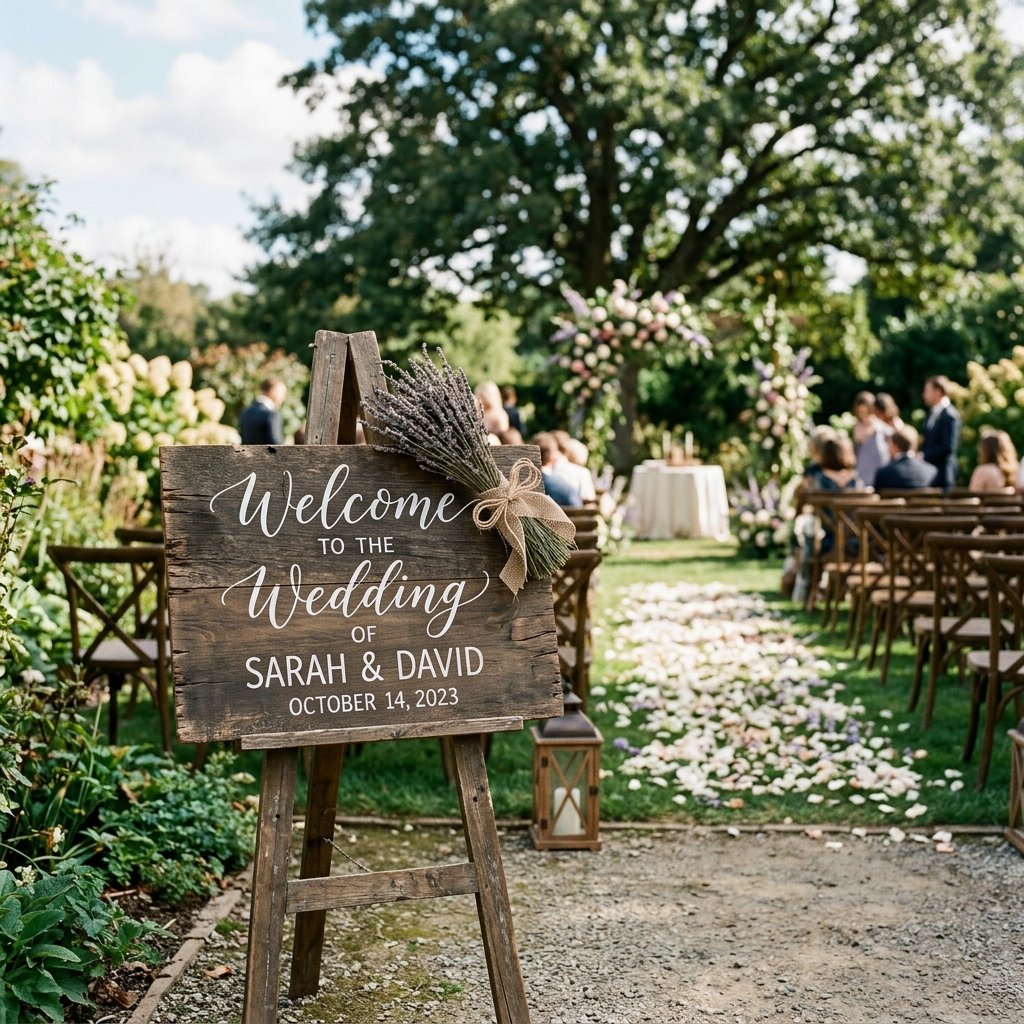
Rugged Wood & Hand-Lettering
Welcome your guests with a sign that feels substantial. Instead of ordering a custom acrylic sign for $100, head to the scrap pile of a local hardware store or look for old wooden pallets. A rugged, weathered piece of wood paired with clean, white lettering is the epitome of masculine elegance.
The ‘Carbon Paper’ Lettering Hack:
You don’t need to be a calligrapher to have perfect signage. Here is the crafty expert way to do it:
- Design your sign on a computer and print it out to scale (you may need to tile several sheets of paper).
- Rub a pencil or chalk all over the back of the printed paper.
- Tape the paper onto your wood.
- Trace the outline of the letters with a ballpoint pen. The pressure will transfer the lead/chalk onto the wood.
- Fill in the outline with a white paint marker (available for $3).
Safety Note: When working with old pallets, always sand the wood thoroughly to prevent splinters for your guests, and check for any protruding rusty nails. Use a matte clear coat spray to seal the wood if the wedding is outdoors.
Conclusion
Your Dream Ceremony is Within Reach
Creating an absolutely dreamy wedding aisle doesn’t require a massive budget; it requires vision, time, and a little bit of elbow grease. By upcycling glass, foraging from the natural world, and using clever ‘dupe’ techniques like the baking soda paint trick, you can build a space that is both ruggedly handsome and ethereally beautiful.
Remember, the most memorable weddings aren’t the ones where the most money was spent—they are the ones where the love and effort of the couple (and their ‘handy’ support system) are visible in every hand-tied ribbon and hand-painted sign. Now, grab your twine and your paint markers, and let’s get crafting. Your dream walk down the aisle starts with a single, budget-savvy step.

Makenzie is the founder and lead writer at MoneyHackTips.com — a personal finance blog dedicated to delivering street-smart financial wisdom for real people on real budgets. With 300+ published articles covering everything from debt management to investing fundamentals, Makenzie’s mission is to make every dollar work harder. When not writing about money hacks, Makenzie is testing frugal living strategies, optimizing side hustles, and helping readers build financial freedom from scratch.