
The Secret to High-End Botanical Elegance on a Shoestring Budget
Planning a wedding often feels like a relentless pursuit of beauty while staring down the barrel of a mounting debt. But what if the most sophisticated, Pinterest-worthy decor wasn’t found in a luxury rental catalog, but scattered across the forest floor? For the resourceful DIYer, the transition from ‘trash’ to ‘treasure’ is a way of life. Today, we are diving into the art of creating Stunning DIY Pressed Leaf Wedding Table Runners. This project isn’t just about saving money; it’s about infusing your celebration with a rugged, masculine elegance and a level of organic detail that mass-produced linens simply cannot replicate.
By leveraging the natural bounty of the seasons and a few clever upcycling tricks, you can create a tablescape that looks like it cost $1,000s for almost zero cost. Whether you are a budget bride, a handy dad helping with decor, or a crafty gift-giver, this guide will walk you through the professional-grade techniques required to turn fallen leaves into high-art wedding runners. We aren’t just gluing leaves to paper; we are curating a botanical masterpiece.
The Forager’s Guide: Scouting the Perfect Botanical Specimens
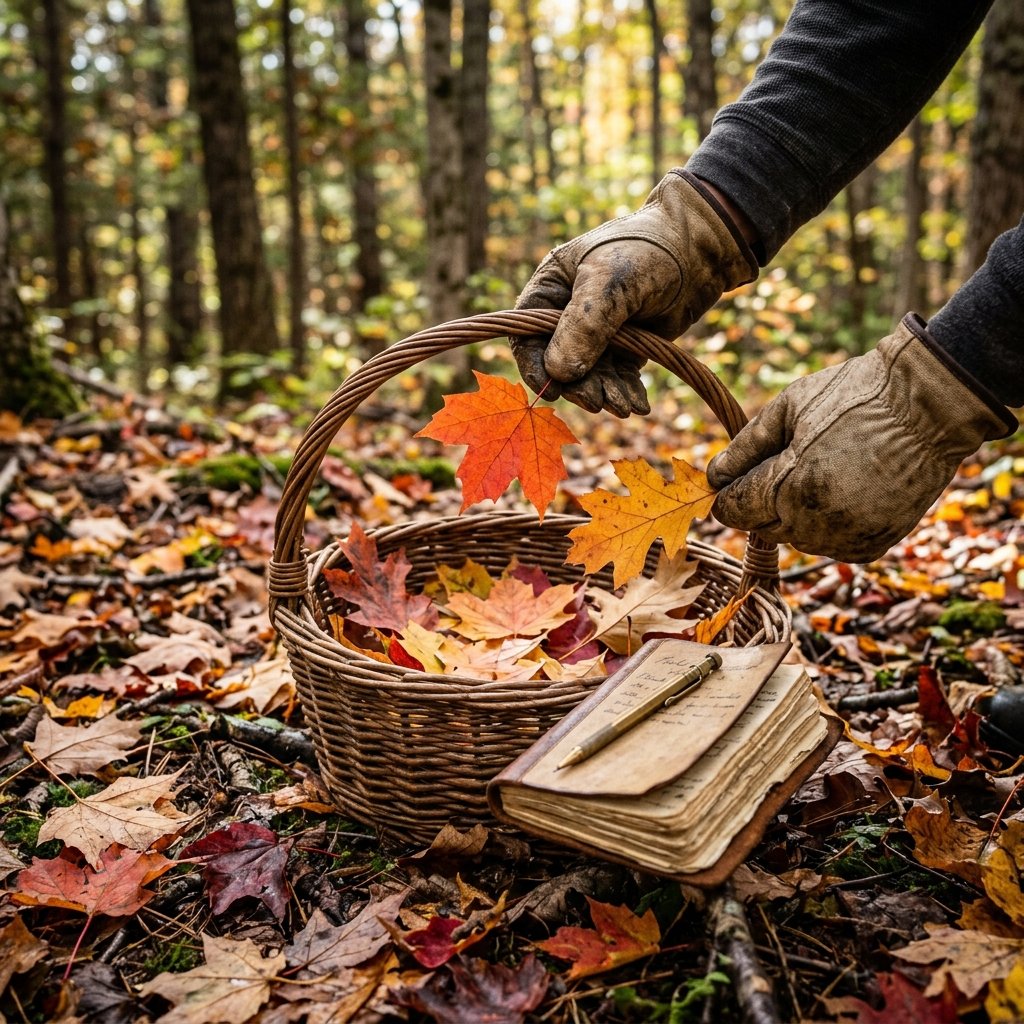
Selecting Your Raw Materials
The foundation of a million-dollar runner starts with the quality of your harvest. You aren’t just looking for any leaf; you are looking for specimens with structural integrity and vibrant pigmentation. Avoid leaves that are already brittle or showing signs of decay. You want ‘fresh’ fallen leaves that still retain some flexibility.
- Maple Leaves: Known for their iconic shape and brilliant reds and oranges.
- Oak Leaves: Provide a rugged, sturdy aesthetic with deep browns and leathery textures.
- Ferns: Offer a delicate, intricate contrast to broader leaves.
- Ginkgo: The gold standard for a ‘high-end’ look with their unique fan shape.
Budget Mantra: Nature provides the luxury; you provide the labor. A morning walk is your shopping spree.
Timing and Preparation
The best time to forage is 24 to 48 hours after a light rain, once the leaves have dried on the surface but haven’t yet become brittle from the sun. Bring a flat-bottomed basket or a large envelope to keep your finds flat from the moment you pick them up. This prevents curling, which is the enemy of a crisp, pressed look.
| Leaf Type | Color Palette | Pressing Time |
|---|---|---|
| Sugar Maple | Red/Orange | 7-10 Days |
| White Oak | Deep Brown/Tan | 10-14 Days |
| Wild Fern | Vibrant Green | 5-7 Days |
| Beech | Golden Yellow | 7-10 Days |
The Pressing Masterclass: From Fresh to Timeless
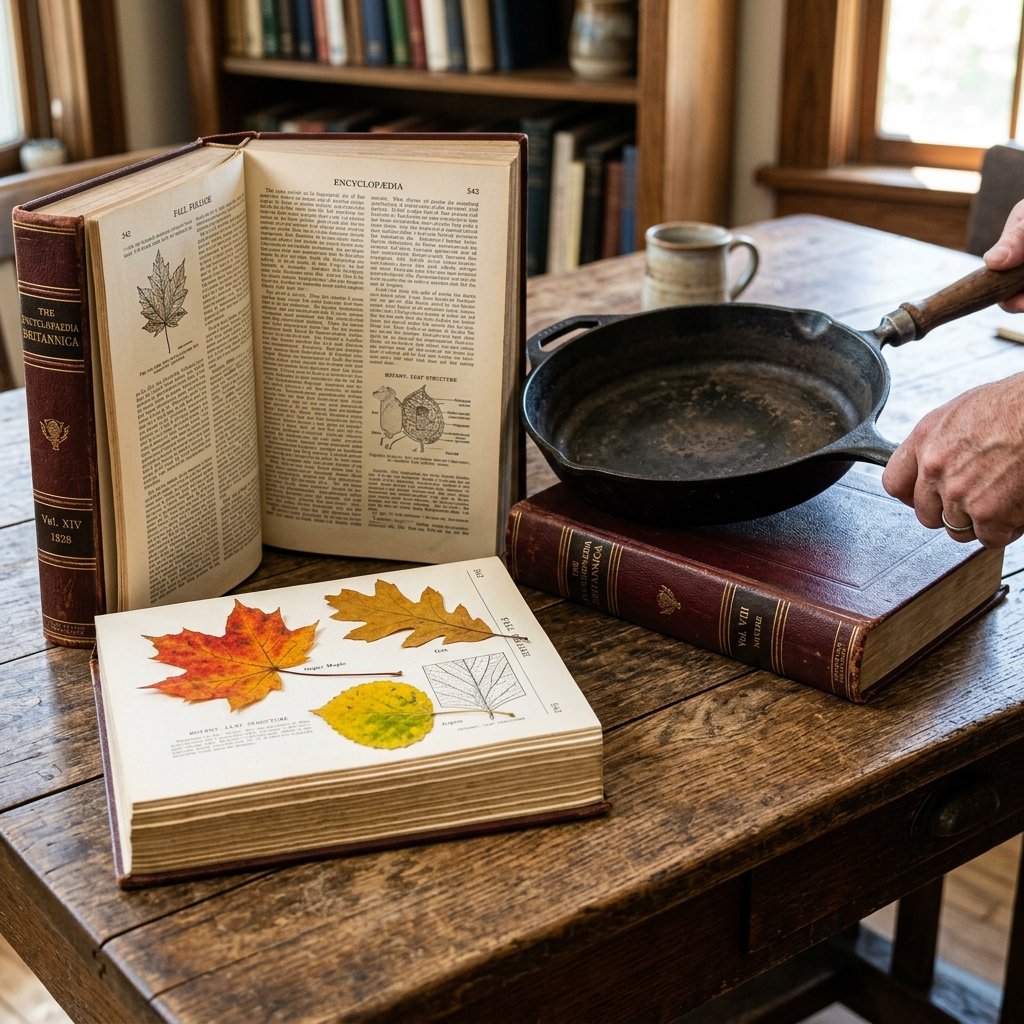
The Weighted Method (The Frugal Classic)
You don’t need an expensive flower press. Your local library (or your own bookshelf) is your best friend. The key is moisture management. If you trap moisture, the leaves will mold. If you don’t apply enough pressure, they will wrinkle.
- Place a sheet of plain white tissue paper or recycled newspaper (no glossy ink) inside a heavy book.
- Arrange leaves so they do not overlap. Overlapping causes them to fuse together.
- Close the book and stack at least 10-15 lbs of weight on top—think toolboxes, cast iron pans, or more books.
- Wait. Patience is the only cost here. Check them after 7 days.
The Ironing Shortcut (For the Time-Crunched)
If your wedding is next weekend, you can use a dry iron. Place the leaf between two sheets of parchment paper. Set the iron to low-medium heat with zero steam. Press firmly for 30-60 seconds. This flash-dries the leaf, though it may result in slightly less vibrant colors than the slow-press method.
Safety Note: Never use steam when pressing leaves; the moisture will cook the leaf, turning it brown and mushy instantly.
The Foundation: Selecting Your Runner Material
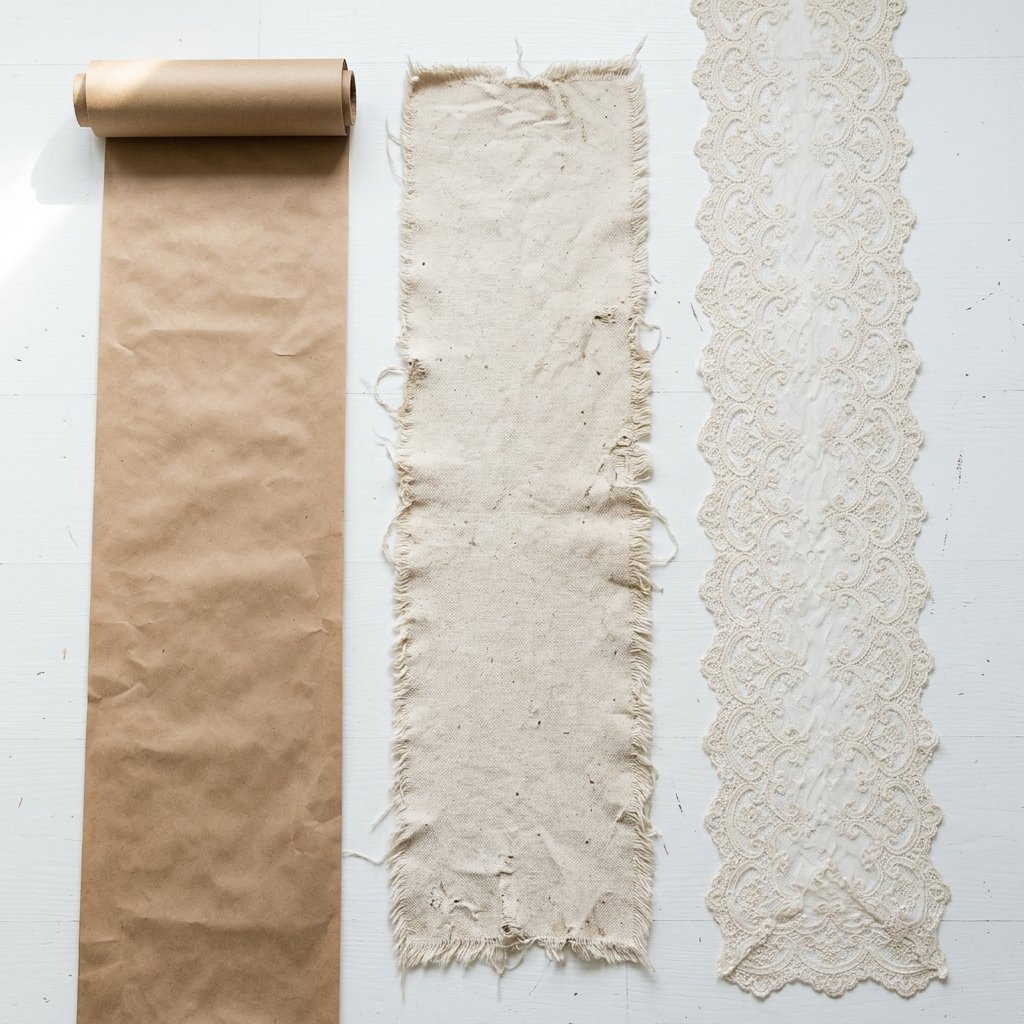
Upcycled Bases that Look Expensive
To achieve that million-dollar look for $0, we need to think beyond the craft store. The base of your runner provides the ‘canvas’ for your botanical art. Here are three budget-savvy options:
- Recycled Kraft Paper: If you have leftover packing paper or even brown grocery bags (carefully ironed flat), this creates a rugged, organic base that screams ‘Boho Chic.’
- Thrifted Lace or Sheer Curtains: Visit a local charity shop. A single sheer white curtain can be cut into 4 or 5 elegant runners.
- Drop Cloth Linens: A canvas drop cloth from the hardware store (approx. $10) can be cut into strips and frayed at the edges for a high-end, Belgian linen aesthetic.
| Material | Source | Cost per Runner |
|---|---|---|
| Kraft Paper | Recycled Packaging | $0.00 |
| Sheer Curtains | Thrift Store | $0.50 – $1.00 |
| Canvas Drop Cloth | Hardware Store | $2.00 |
| Store-Bought Linen | Boutique Store | $45.00+ |
The Assembly: Creating the ‘Million Dollar’ Layout
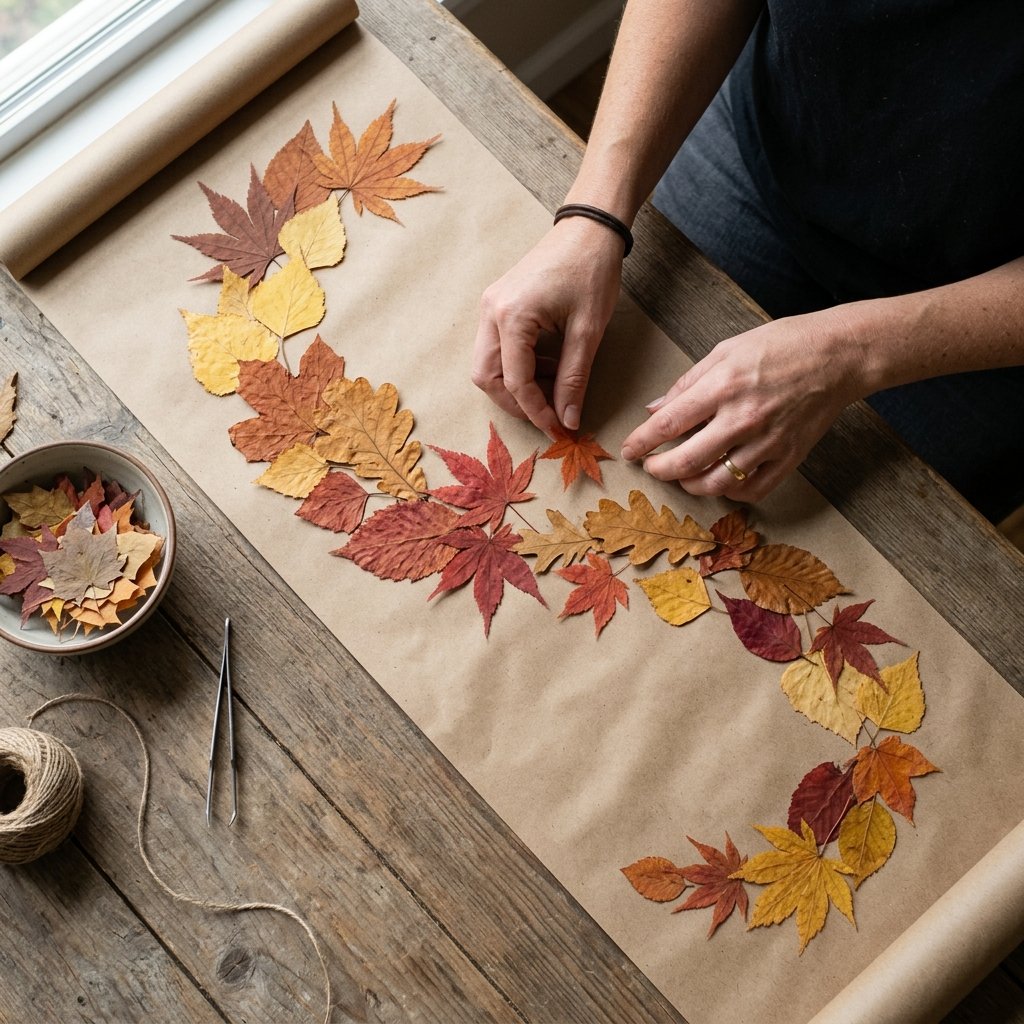
Composition Strategy
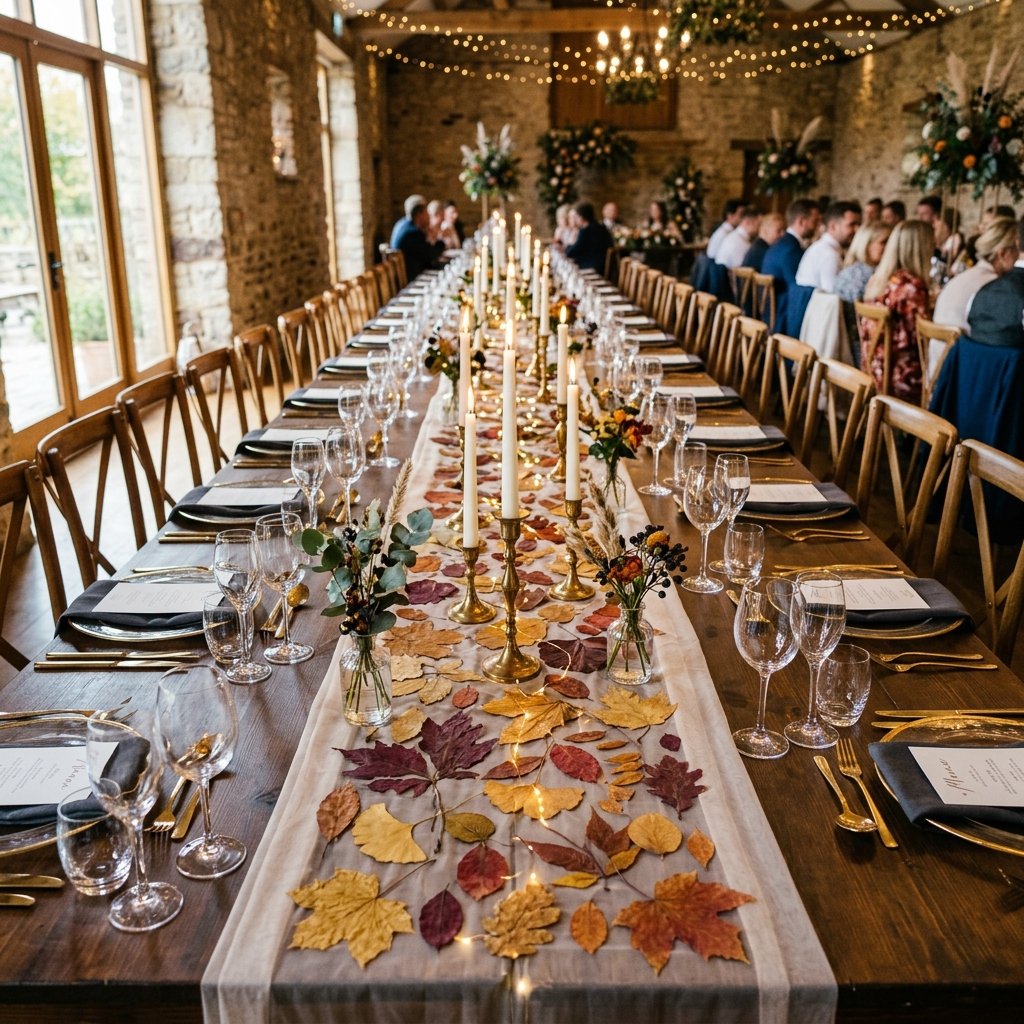
This is where the magic happens. Don’t just scatter leaves randomly. To look like a professional event stylist, you need a compositional flow. Aim for a ‘cascading’ effect where the leaves appear to have drifted naturally across the table.
The Layering Technique
- The Anchor: Place your largest, darkest leaves (like Oak) down first as a base layer. These provide visual weight.
- The Mid-Tones: Layer in your vibrant Maples or Ginkgos, overlapping the edges of the anchor leaves.
- The Highlights: Use small ferns or bright yellow leaves to fill in gaps and add ‘light’ to the arrangement.
- The Adhesive: Use a tiny dot of clear-drying glue or a glue stick just to hold the leaf in place. Don’t saturate it, or the leaf will curl.
Stylist Tip: Leave some of the base material visible. Negative space is what separates ‘cluttered’ from ‘curated.’
The Finishing Touches: Sealing and Styling
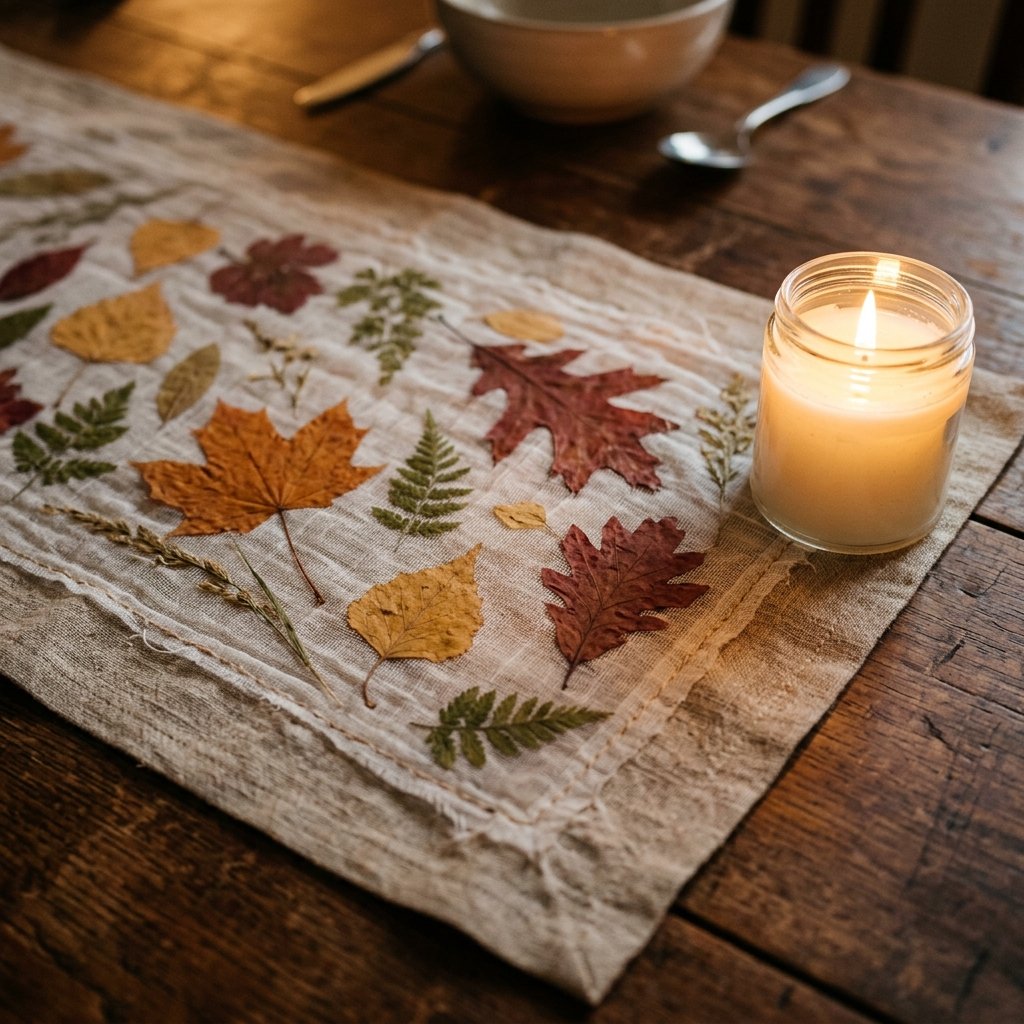
Preserving the Beauty
Pressed leaves are fragile. To ensure they last through the reception (and beyond), you have two professional options:
- The Matte Seal: Lightly spray the entire runner with a matte clear coat or hairspray. This prevents the leaves from absorbing humidity and curling during the event.
- The Sheer Overlay: My favorite ‘million-dollar’ trick. Place your leaf arrangement on the base, then lay a strip of $1.25 Dollar Tree organza or cheesecloth over the top. It protects the leaves and adds a dreamy, ethereal soft-focus effect.
The Complete Tablescape
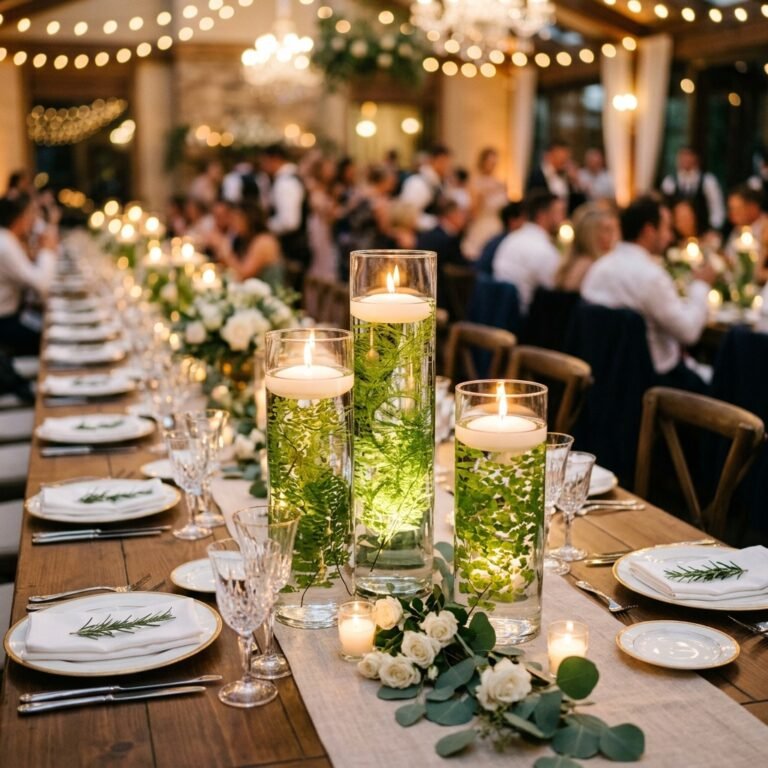
To truly sell the look, pair your DIY runner with other low-cost, high-impact items. Use Dollar Tree glass cylinders with floating candles, or foraged wood slices as chargers. The contrast between the rugged wood and the delicate pressed leaves creates a sophisticated, masculine-elegant vibe that looks incredibly expensive.
Conclusion
Botanical Grandeur Without the Price Tag
Creating Stunning DIY Pressed Leaf Wedding Table Runners is a testament to the power of resourcefulness. By choosing to forage rather than buy, and to craft rather than rent, you aren’t just saving hundreds or even thousands of dollars—you are creating a unique, tactile experience for your guests. This project proves that with a little bit of ‘rugged’ effort and ‘clever’ styling, the forest floor can provide a more luxurious setting than any high-end boutique. So, grab your basket, head into the woods, and start building your million-dollar wedding one leaf at a time.

Makenzie is the founder and lead writer at MoneyHackTips.com — a personal finance blog dedicated to delivering street-smart financial wisdom for real people on real budgets. With 300+ published articles covering everything from debt management to investing fundamentals, Makenzie’s mission is to make every dollar work harder. When not writing about money hacks, Makenzie is testing frugal living strategies, optimizing side hustles, and helping readers build financial freedom from scratch.