
The Secret to Curb Appeal That Costs Less Than Lunch
We’ve all seen them—those towering, rustic wooden signs leaning elegantly next to front doors in high-end home decor magazines. They scream ‘curb appeal’ and ‘welcoming atmosphere,’ but if you check the price tag at a boutique or even a big-box craft store, you’re looking at a staggering $50 to $120. As a resourceful DIYer, your first thought should be: ‘I can build that for practically nothing.’ And you’re right. In this guide, we’re going to bypass the retail markup and craft a professional-grade rustic porch sign for under $10. Whether you’re a handy parent looking to spruce up the entryway or a crafty gift-giver aiming to impress, this project is the ultimate ‘trash-to-treasure’ win. We aren’t just slapping paint on a board; we are using clever, rugged techniques to create a piece that looks like it was salvaged from a 100-year-old barn and hand-lettered by a pro.
Sourcing Your Timber: The Art of the $2 Canvas
The foundation of a great porch sign isn’t an expensive piece of kiln-dried oak from the lumber yard. It’s about finding a rugged, character-filled board that can handle the elements. For the most budget-savvy results, we look toward the humble fence picket or the discarded pallet. A standard 6-foot cedar or pressure-treated pine fence picket at most hardware stores costs between $2.00 and $3.50. This is your secret weapon.
| Material Source | Estimated Cost | Pros | Cons |
|---|---|---|---|
| New Fence Picket | $2.50 | Clean, easy to find, uniform size. | Needs artificial aging. |
| Discarded Pallet Wood | $0.00 | Authentic aging, zero cost, rugged texture. | Requires disassembly and heavy sanding. |
| Scrap 1×8 Pine | $0.00 – $5.00 | Smooth surface, takes stain beautifully. | Often too short or requires buying a full board. |
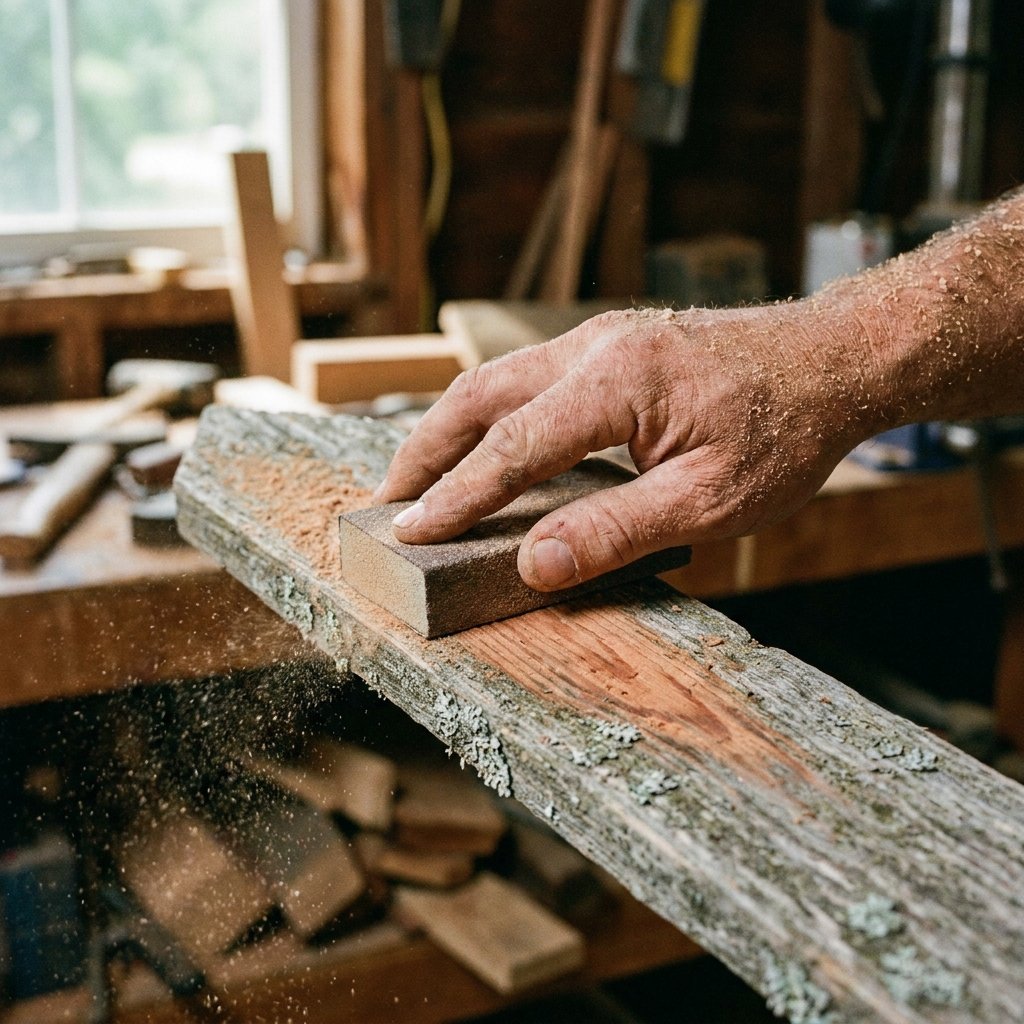
If you want that truly ‘expensive’ look, look for pickets with interesting grain patterns or small knots. These imperfections are what give the sign its ‘Pottery Barn’ soul. If you’re scavenging pallets, ensure they are marked with ‘HT’ (Heat Treated) rather than ‘MB’ (Methyl Bromide) for safety. Once you have your board, give it a quick pass with 80-grit sandpaper. We aren’t looking for a furniture-grade finish; we want to remove splinters while keeping the rugged texture intact.
Aging Like a Pro: The ‘Iron Vinegar’ Patina Secret
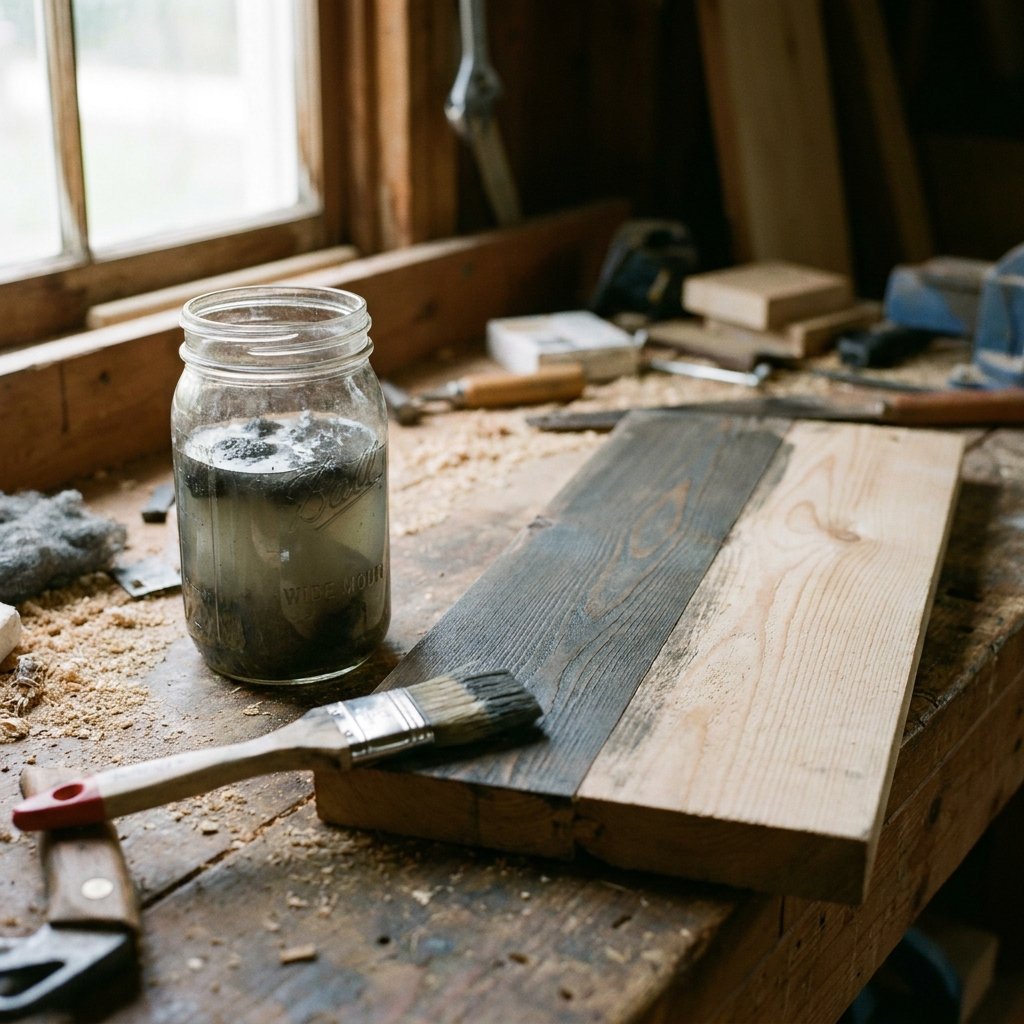
Why spend $15 on a tiny can of weathered wood stain when you can raid your kitchen for a few cents? This is the clever crafter’s favorite trick for turning new wood into antique silver-gray or deep farmhouse brown in minutes. The reaction between the tannins in the wood and the iron acetate you’re about to make is pure magic.
The Rustic Aging Formula: Place a pad of #0000 steel wool in a glass jar and cover it with white vinegar. Let it sit for 24 to 48 hours. The longer it sits, the darker the ‘stain’ will be.
Before applying your concoction, brew a very strong pot of black tea. Paint the tea onto your board first. The tea adds extra tannins, ensuring the vinegar solution reacts deeply and evenly. Once the tea is dry, brush on your iron-vinegar solution. Within minutes, you’ll watch the wood transform from ‘new lumber’ to ‘reclaimed barn wood.’ This process costs roughly $0.50 per project, saving you nearly 100% compared to store-bought chemical stains.
The Master’s Lettering Hack: No Stencil Machine Required
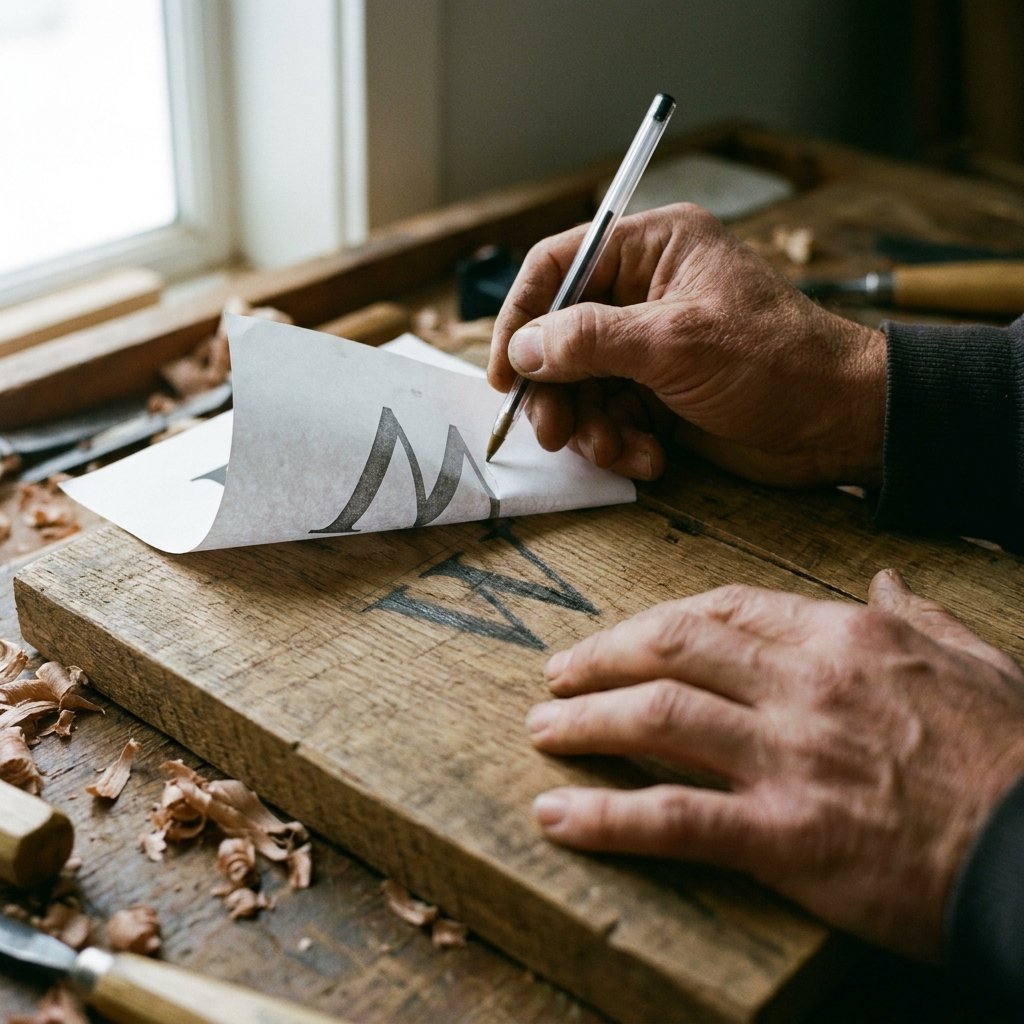
The biggest hurdle for most DIYers is the lettering. You don’t need a $300 vinyl cutting machine to get crisp, professional lines. We are going to use the ‘Pencil Transfer Method.’ It’s a classic tailor’s and sign-maker’s secret that ensures perfect alignment every time. First, print your desired text (like ‘WELCOME’ or ‘HOME’) using a bold serif or script font from your computer. Scale the letters so they fit the width of your board—usually about 5 to 6 inches wide.
- Flip the printed paper over and heavily shade the back of the letters with a graphite pencil.
- Tape the paper right-side-up onto your wood board.
- Trace the outline of the letters with a ballpoint pen, pressing firmly. This transfers the graphite onto the wood like carbon paper.
- Fill in the outlines using a $1.25 acrylic paint pen or a small brush with white outdoor paint.
| Lettering Method | Cost | Difficulty | Durability |
|---|---|---|---|
| Vinyl Decals | $15 – $20 | Easy | Moderate (can peel) |
| Hand-Cut Stencils | $2.00 | High | High |
| Pencil Transfer (Our Method) | $0.00 | Low | Maximum |
The Rugged Finish: Armor-Plating Your Art
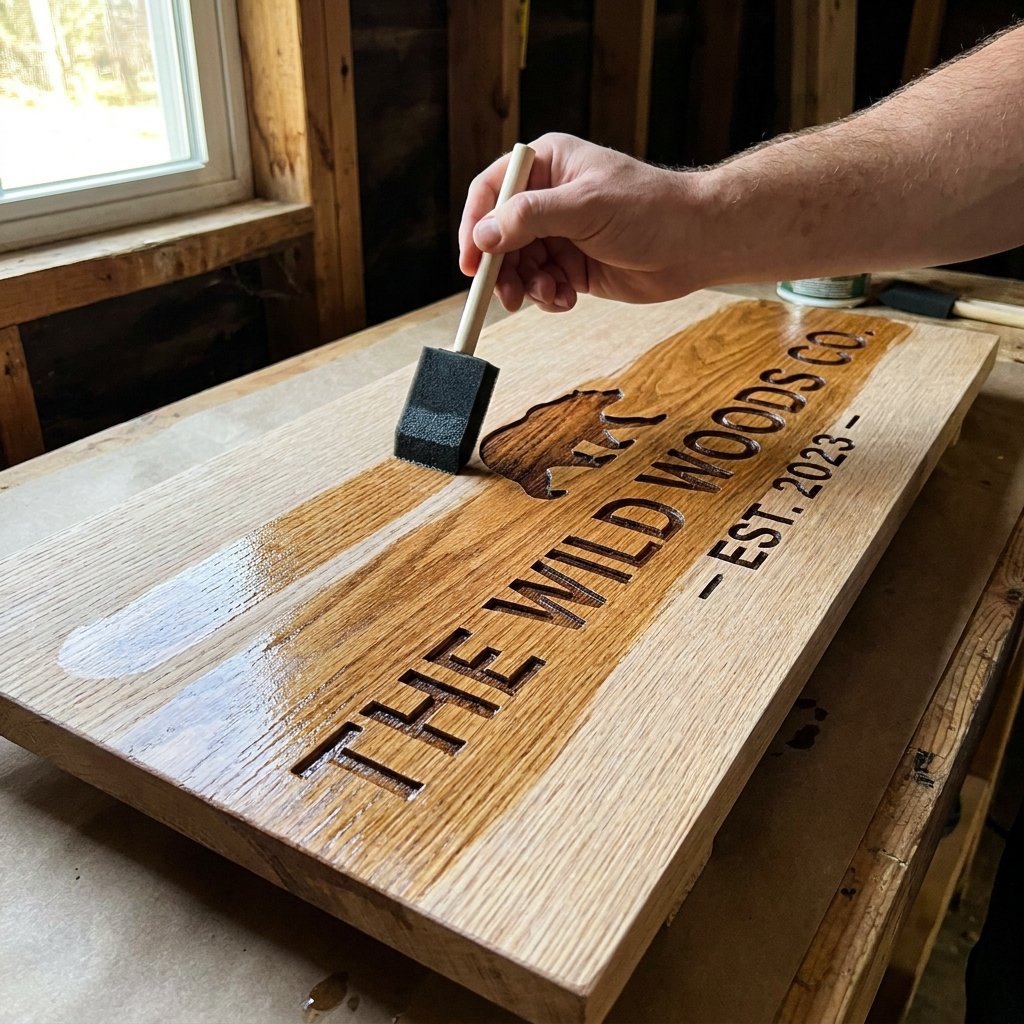
Your sign is going to live outdoors, which means it needs to stand up to rain, UV rays, and temperature swings. A common mistake is using a standard indoor sealer that will yellow or crack within a month. To keep that ‘expensive’ look, we need a matte or satin finish that protects without making the wood look like plastic. A small can of Water-Based Spar Urethane is your best friend here. While a full can costs $12, you only use about $1.00 worth of product per sign, and it lasts for years.
Pro-Tip for Longevity: Always seal the bottom edge of the board. This is where moisture wicks up from the porch floor, causing the wood to rot or the paint to peel. Give the bottom three heavy coats of sealer.
Apply two thin coats over the entire sign, including the back. This prevents the wood from warping. If you want an even more rugged, masculine-elegant look, you can lightly sand the edges of your painted letters with a fine-grit sandpaper before sealing to give them a ‘distressed’ vintage appearance.
Style Guide: Elevating Your Sign to Boutique Status
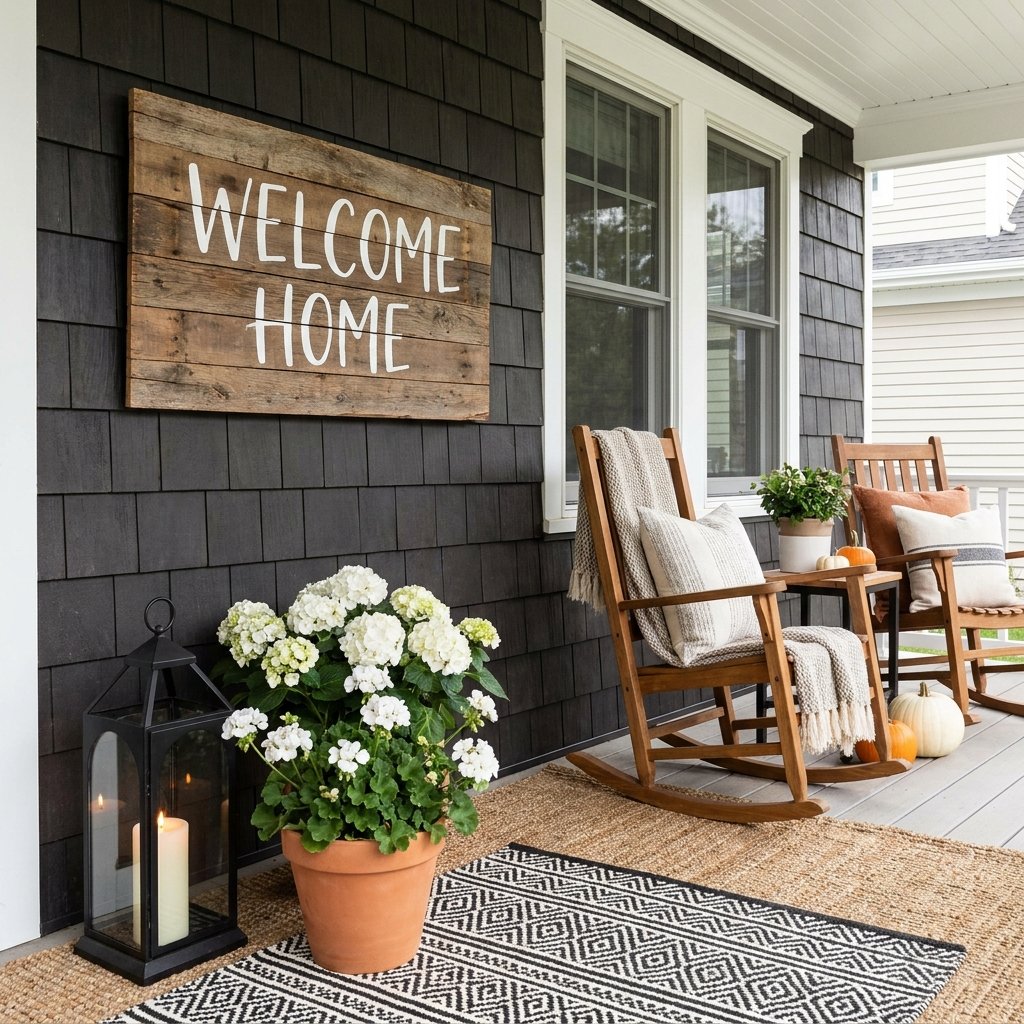
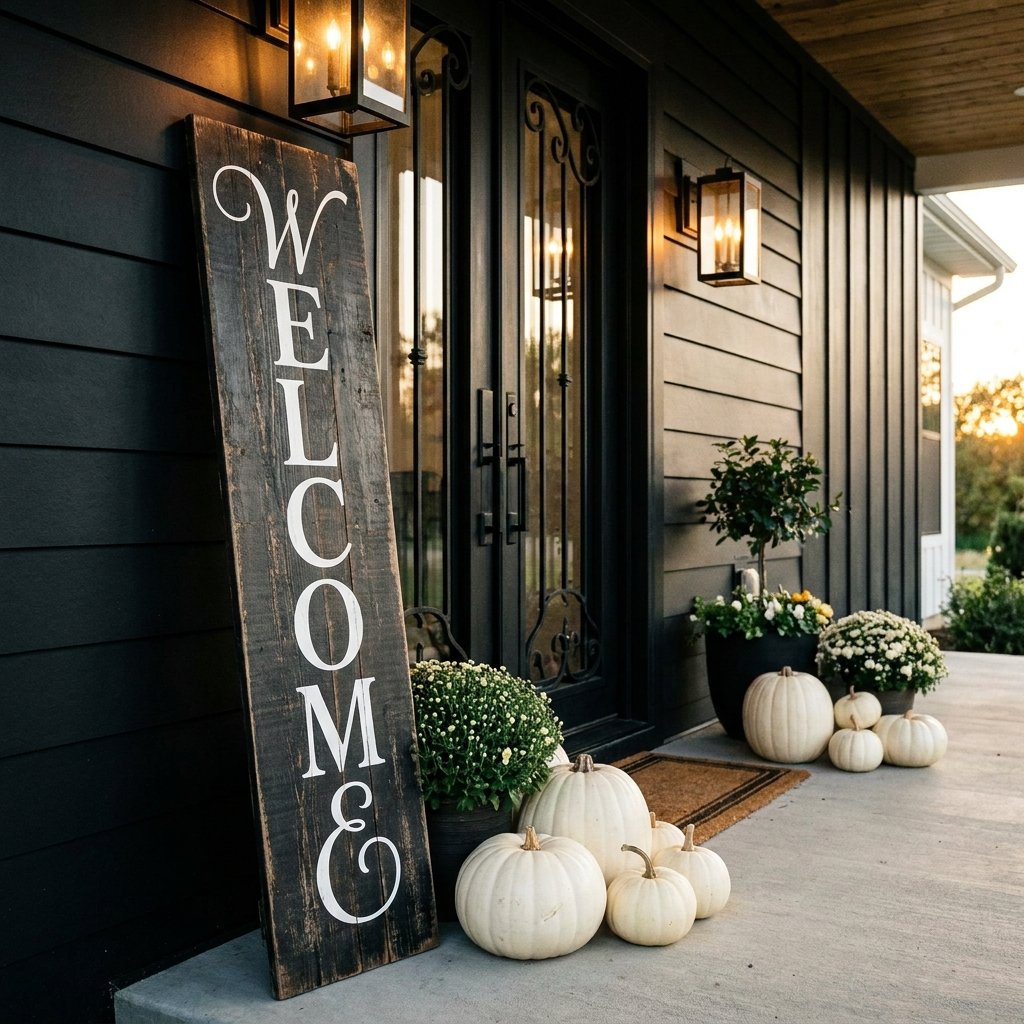
Placement is everything. A sign leaning alone can look a bit lonely. To make your neighbors truly think you spent a fortune, you need to ‘anchor’ the sign with accessories. Think in layers. Pair your $10 sign with a $5 Dollar Tree galvanized bucket filled with seasonal greenery or a layered rug setup (a small patterned rug over a larger coir mat).
- The Modern Farmhouse Look: Use white lettering on a dark stained board, paired with black metal lanterns.
- The Coastal Rugged Look: Use a light gray wash with navy blue lettering and wrap a bit of thick jute rope around the top.
- The Minimalist Gentleman: Use a natural wood finish with black block lettering and lean it against a dark-painted brick wall.
By coordinating the colors of your sign with your front door hardware or your mailbox, you create a cohesive, high-end design language that suggests professional styling rather than a weekend hobby.
Conclusion
You’ve Built More Than a Sign; You’ve Built Value
By following these resourceful steps, you’ve successfully bypassed the retail trap. You didn’t just buy decor; you applied crafty expertise and budget-savvy logic to create a piece of art that enhances your home’s value and charm. For a total investment of roughly $7.50 to $9.00, you now have a rugged, elegant porch sign that rivals anything found in a high-end boutique. The next time a neighbor asks where you bought it, you can proudly tell them it’s a custom piece. Now, take that $100 you saved and start planning your next big ‘trash-to-treasure’ project. Happy crafting!

Makenzie is the founder and lead writer at MoneyHackTips.com — a personal finance blog dedicated to delivering street-smart financial wisdom for real people on real budgets. With 300+ published articles covering everything from debt management to investing fundamentals, Makenzie’s mission is to make every dollar work harder. When not writing about money hacks, Makenzie is testing frugal living strategies, optimizing side hustles, and helping readers build financial freedom from scratch.