
Listen up, frugal DIYers and resourceful upcyclers. If you are still buying those plastic-wrapped sleeves of disposable cotton rounds at the drugstore, you are literally throwing your hard-earned cash straight into the landfill. Every single day, millions of single-use cotton pads are used for 10 seconds to wipe off mascara or apply toner, only to be tossed in the garbage. It is an environmental nightmare and, frankly, an absolute drain on your wallet.
But we are crafty problem solvers, aren’t we? We don’t buy into the disposable culture. Instead, we look at what we already have. That pile of old, stretched-out, pit-stained t-shirts sitting in your donation pile? That is pure, unadulterated crafting gold. Today, we are going to channel our inner master tailor and eco-warrior to transform that textile trash into high-end, ultra-soft, reusable makeup remover rounds.
This project is the ultimate zero-budget hack. It requires $0.00 in new materials, takes maybe 30 minutes of your time, and will save you hundreds of dollars over the next few years. Whether you are a handy parent looking for a clever weekend project, a budget bride putting together zero-waste bridesmaid gift baskets, or just a practical soul who hates wasting money, this guide is your blueprint. Grab those old tees, roll up your sleeves, and let’s get resourceful.
The True Cost of Convenience: Why We Upcycle
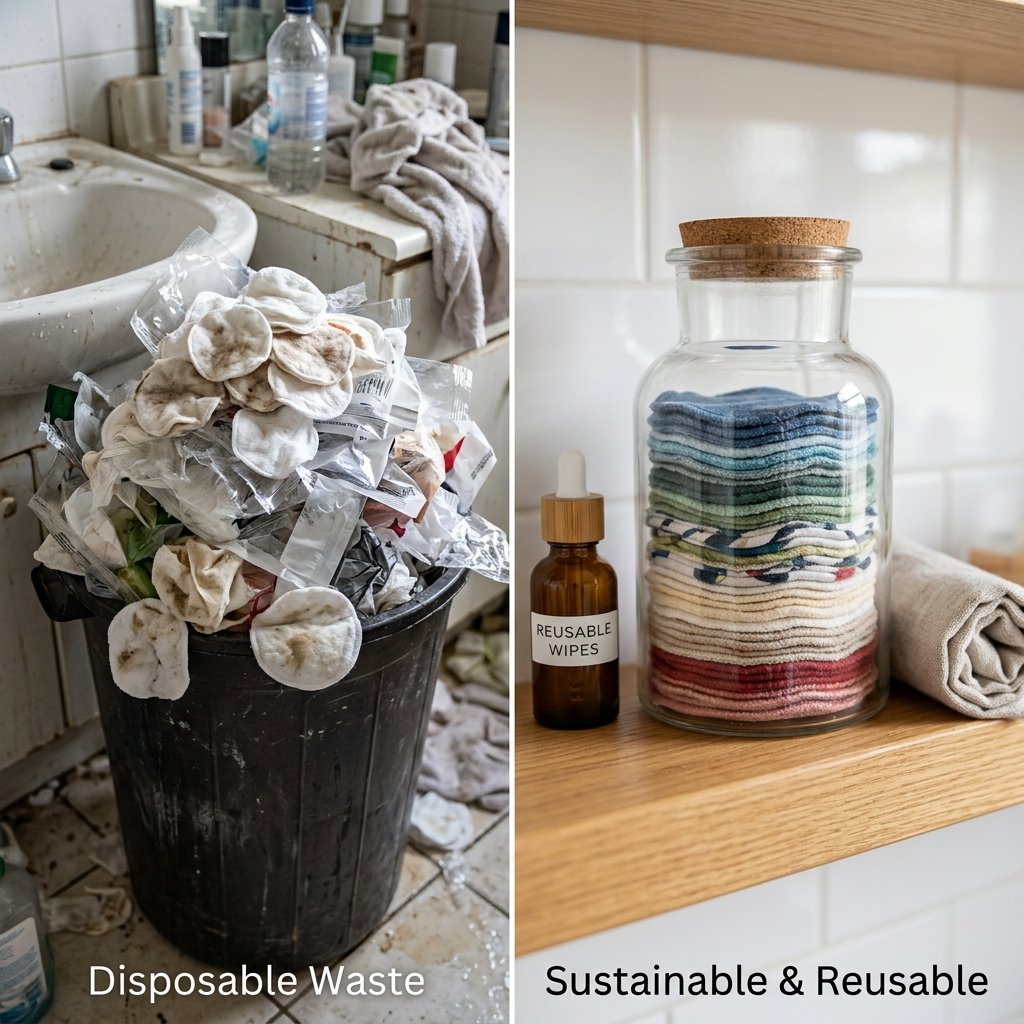
Before we make our first cut, let’s break down the rugged math of why this project is a mandatory addition to your frugal living arsenal. The beauty of upcycling isn’t just the environmental impact—though keeping textiles out of landfills is a massive win. The real beauty is the undeniable, cold, hard cash you keep in your pocket.
A standard pack of disposable cotton rounds costs about $4.00. If you use two pads a day (one for makeup removal, one for toner), you are blowing through a pack every month and a half. That might not sound like a lot, but let’s stretch that timeline out. Over five years, you are spending nearly $160.00 on literal garbage. By upcycling just 2 old t-shirts, you can create a lifetime supply of reusable rounds for exactly $0.00.
Financial Breakdown: Disposables vs. DIY Upcycled Rounds
| Expense Metric | Store-Bought Disposables (5 Years) | Zero-Budget DIY T-Shirt Rounds |
|---|---|---|
| Initial Cost | $4.00 per pack | $0.00 (Upcycled from closet) |
| Monthly Cost | $2.66 (approx.) | $0.00 |
| 5-Year Total Cost | $159.60 | $0.00 |
| Environmental Impact | 3,650 pads in the landfill | 0 waste (Textiles saved!) |
| Durability | Single-use (10 seconds) | Lasts 5+ years with washing |
“A penny saved is a penny earned, but a textile saved is a masterclass in resourceful living. Stop buying your trash; start making your treasures.”
Raiding the Closet: Selecting the Perfect Fabric

Not all t-shirts are created equal when it comes to crafting the perfect makeup remover pad. You want to approach your closet like a master tailor sourcing fine linens. The goal is maximum softness and ultimate absorbency. Remember, you are going to be rubbing this material on the delicate skin around your eyes, so texture is everything.
The Ideal T-Shirt Characteristics:
- 100% Cotton is King: Look for tags that say 100% cotton. Cotton is naturally absorbent, breathable, and washes beautifully. Blends with a little polyester are acceptable, but pure cotton will give you that high-end spa feel.
- Well-Worn and Loved: This is the one time you want older, beaten-up fabric. A t-shirt that has been washed 100 times is significantly softer and more absorbent than a brand new one. That vintage band tee with the holes in the armpits? Perfect.
- Avoid Scratchy Synthetics: Stay away from heavy acrylics, stiff polyesters, or anything with thick, rubbery screen-printed logos. You cannot use the printed sections of the shirt for the pads, as they will scratch your skin and won’t absorb liquids.
- Color Considerations: Darker colors (blacks, navies, dark greys) are incredibly practical because they will hide stubborn mascara and eyeliner stains. White or light grey shirts are great for applying toner, as you can see the dirt being removed.
Pro-Tip for the Handy Upcycler: Don’t limit yourself to just t-shirts! Old flannel pajamas, worn-out baby receiving blankets, and threadbare cotton sweatshirts also make incredibly plush, luxurious face pads. Resourcefulness knows no bounds.
The Master Crafter’s Toolkit

We are running a zero-budget operation here, which means we are utilizing the tools we already have in our arsenal. You do not need an expensive sewing machine to pull off this project. In fact, hand-sewing these pads gives them a rugged, bespoke, artisanal quality that you simply cannot buy in a store.
Essential Gear List:
- The Fabric: 1 to 2 old cotton t-shirts (washed and dried).
- Heavy-Duty Scissors: A sharp pair of fabric shears is ideal. If you only have standard household scissors, make sure they are clean and sharp enough to cut through two layers of jersey knit without chewing the fabric.
- A Template: To get perfectly uniform circles, use a small mason jar lid, a shot glass, or a small juice glass. You want a diameter of roughly 2.5 to 3 inches.
- Marking Tool: A tailor’s chalk, a washable fabric pen, or even just a standard ballpoint pen (since the edges will be sewn or hidden).
- Needle and Thread: A standard hand-sewing needle and some durable all-purpose polyester or cotton thread. Contrast stitching (like bright yellow thread on a dark grey pad) adds a fantastic custom touch!
- Pins or Binder Clips: To hold the fabric layers together while you cut and sew.
“Safety Note: Keep your fabric shears sharp. Dull scissors are dangerous scissors because they require more force, leading to slips. And remember, hide your good fabric scissors from your family—they are not for cutting cardboard!”
Step-by-Step: Cutting and Maximizing Your Yield
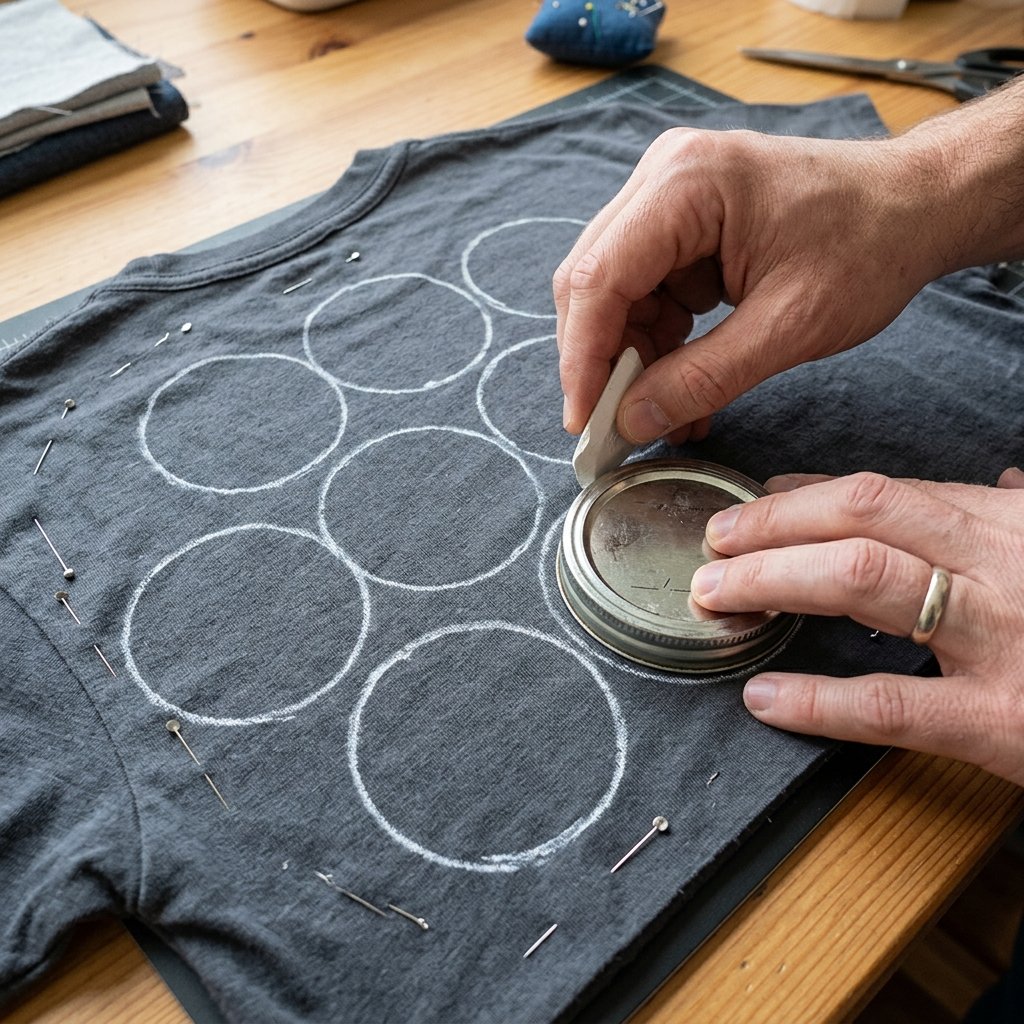
Efficiency is the name of the game. A true frugal crafter wastes nothing. When cutting up your t-shirt, the goal is to extract as many 3-inch circles as humanly possible before the scraps are relegated to the rag bin.
The Cutting Process:
- Prep the Canvas: Lay your t-shirt completely flat on a large table or the floor. Smooth out all the wrinkles. You will be cutting through both the front and back layers of the shirt simultaneously to save time.
- Trace the Grid: Take your template (the jar lid) and your marking tool. Start at the bottom hem corner of the shirt. Trace your first circle. Move the template right next to it, leaving about 1/4 inch of space, and trace the next. Continue across the shirt in tight, organized rows.
- Avoid the Pitfalls: Do not trace over thick seams, the collar, or any rubberized graphic prints. Stick to the smooth, unblemished jersey fabric.
- Pin and Cut: Place a straight pin or a small binder clip in the center of each traced circle. This holds the top and bottom layers of the shirt together. Now, take your sharp scissors and carefully cut out the circles.
By cutting through both layers, every circle you cut out automatically gives you the 2 pieces of fabric needed to make 1 double-ply makeup pad. A standard large t-shirt should yield anywhere from 30 to 50 individual pads!
To Sew or Not to Sew? Three Tailoring Techniques

T-shirt material (jersey knit) has a magical property: it does not fray. Unlike woven cottons or linens, a cut edge of a t-shirt will simply curl slightly, but it will never unravel. This means you have options ranging from absolute lazy-genius to grandma’s master-level hand stitching.
Method 1: The Zero-Sew Pinking Shears Hack (Time: 10 seconds per pad)
If you own a pair of pinking shears (the scissors that cut in a zig-zag pattern), you can skip sewing entirely. Simply cut your double-layered circles using the pinking shears. When you need to use one, just grab two layers together, apply your toner, and wipe. They will separate in the wash, but you just stack them back up when dry. It’s rugged, raw, and incredibly efficient.
Method 2: The Grandma-Approved Blanket Stitch (Time: 3 minutes per pad)
This is where we add that masculine-elegant, bespoke craftsmanship. Hand-sewing the two layers together ensures they stay perfectly aligned in the wash and gives them a high-end boutique look.
- Thread your needle with about 18 inches of thread and tie a sturdy knot at the end.
- Sandwich your two fabric circles together, ensuring the softer sides face outward.
- Hide the knot by pushing the needle through just the top layer from the inside out.
- Use a classic blanket stitch or a simple whipstitch around the entire perimeter, staying about 1/8 inch from the edge. Keep your stitches tight and uniform.
- When you reach the beginning, tie off the thread with a secure double knot and snip the excess.
Method 3: The Quick Machine Zig-Zag (Time: 30 seconds per pad)
If you have a sewing machine, set it to a medium-width zig-zag stitch. Simply run the edges of your double-layered pad under the presser foot, letting the needle drop just off the edge of the fabric on the right swing. This binds the edges perfectly and creates a durable, commercial-grade finish.
Washing, Storing, and Upkeep: The Zero-Waste Routine
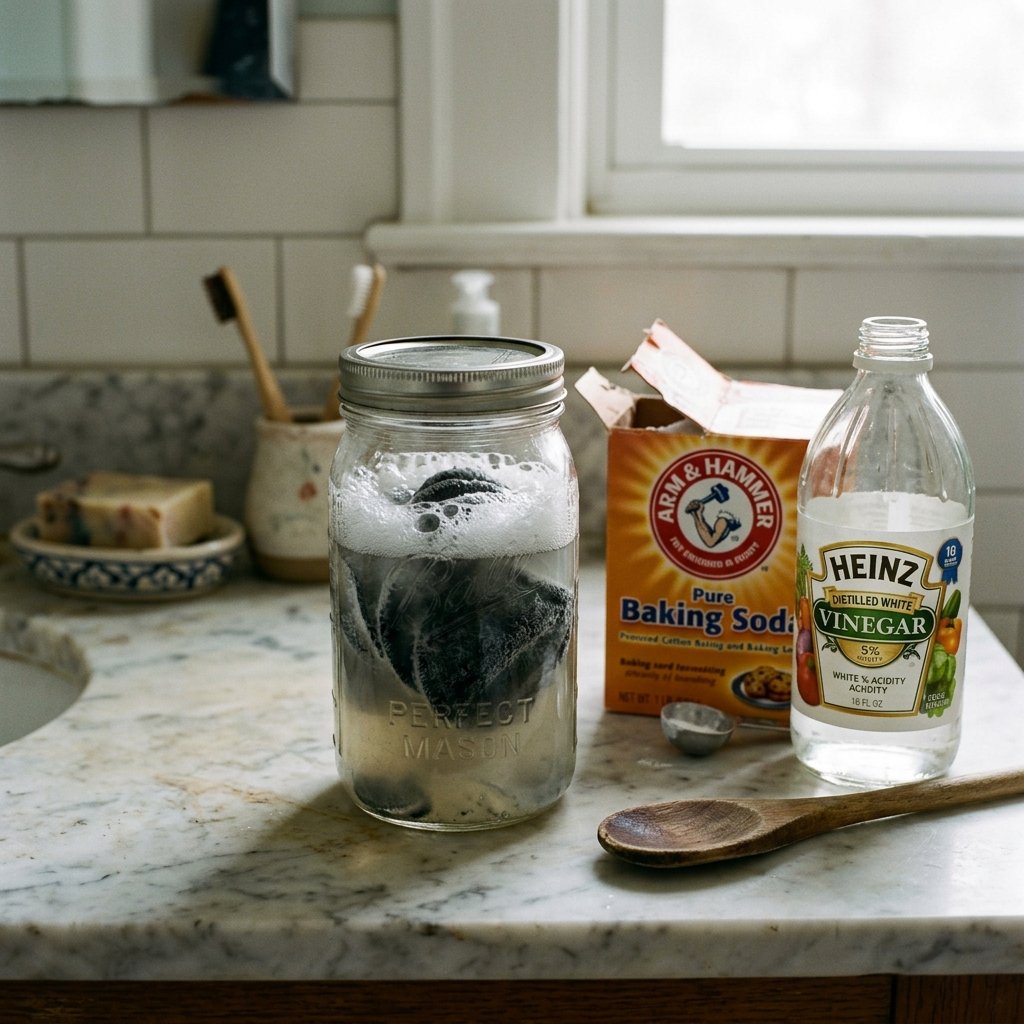
You have successfully manufactured your own high-quality, eco-friendly skincare tools. Now, you need to maintain them. Proper care ensures these upcycled rounds will last for years, maximizing your frugal investment.
The Storage Solution
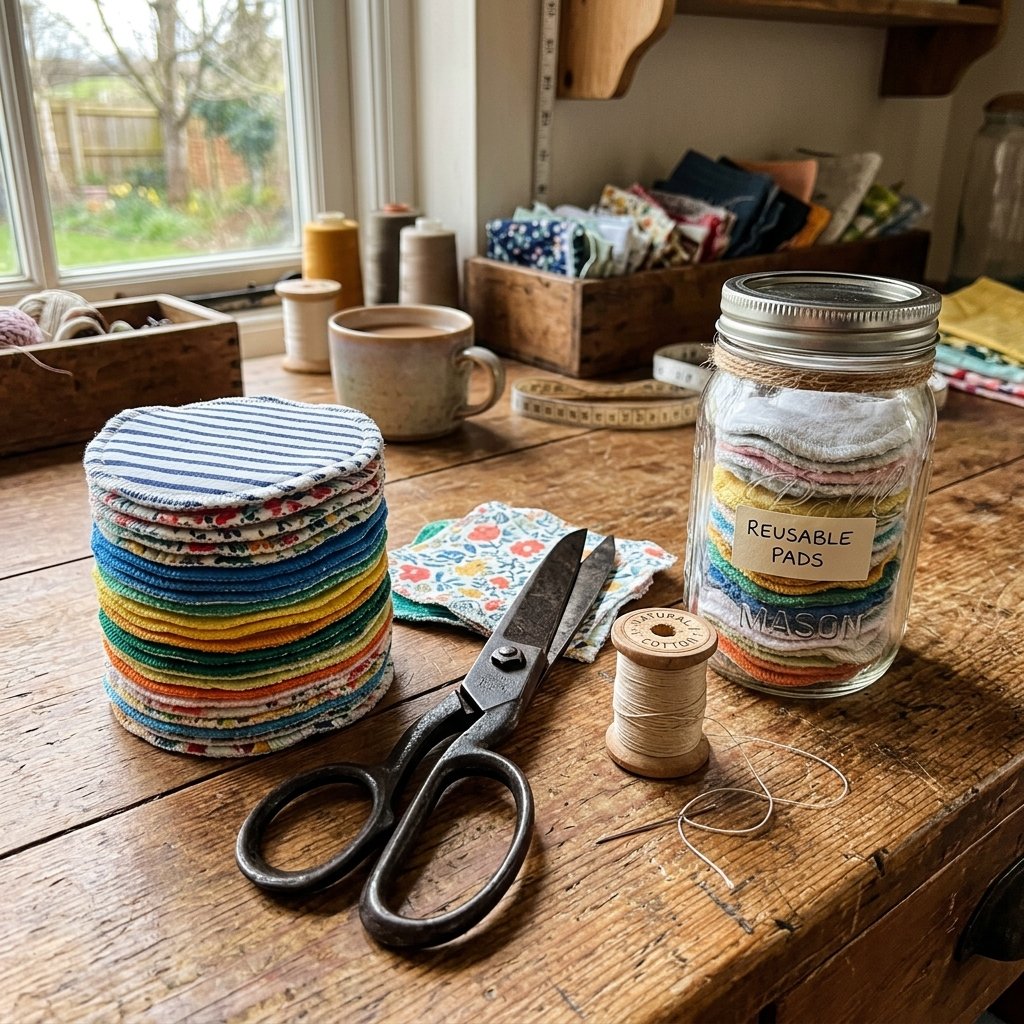
Do not go out and buy a fancy organizer. Wash out an old glass salsa jar, a candle jar, or a wide-mouth mason jar. Stack your clean, dry pads inside. It looks incredibly chic on a bathroom counter—giving you that high-end apothecary vibe for absolutely zero dollars.
The Wash Routine
Because these pads are small, they will get eaten by your washing machine if they are loose. You need a wash bag. If you don’t have a mesh lingerie bag, resourcefulness strikes again: use an old pillowcase! Toss your dirty pads into the pillowcase, tie a knot in the top, and throw it in with your regular towel or t-shirt laundry load. Wash on warm and dry normally.
DIY Frugal Stain Remover Soak
Waterproof mascara and long-wear foundation can leave stubborn stains. If you want to keep your pads looking fresh, whip up this budget-savvy pre-soak solution:
| Ingredient | Measurement | Purpose in Recipe |
|---|---|---|
| Hot Water | 2 Cups | Activates the cleaning agents |
| Baking Soda | 1 Tablespoon | Lifts heavy oils and makeup pigments |
| White Vinegar | 1 Tablespoon | Softens the fabric and neutralizes odors |
| Dish Soap (Dawn) | 1 Teaspoon | Breaks down waterproof makeup barriers |
“The Frugal Crafter’s Protocol: Drop your heavily soiled pads into a jar with this DIY soak for 30 minutes before tossing them into the washing machine. The baking soda and vinegar reaction will literally push the embedded makeup right out of the cotton fibers.”
The Ultimate Thoughtful Gift: Packaging Your Upcycled Rounds
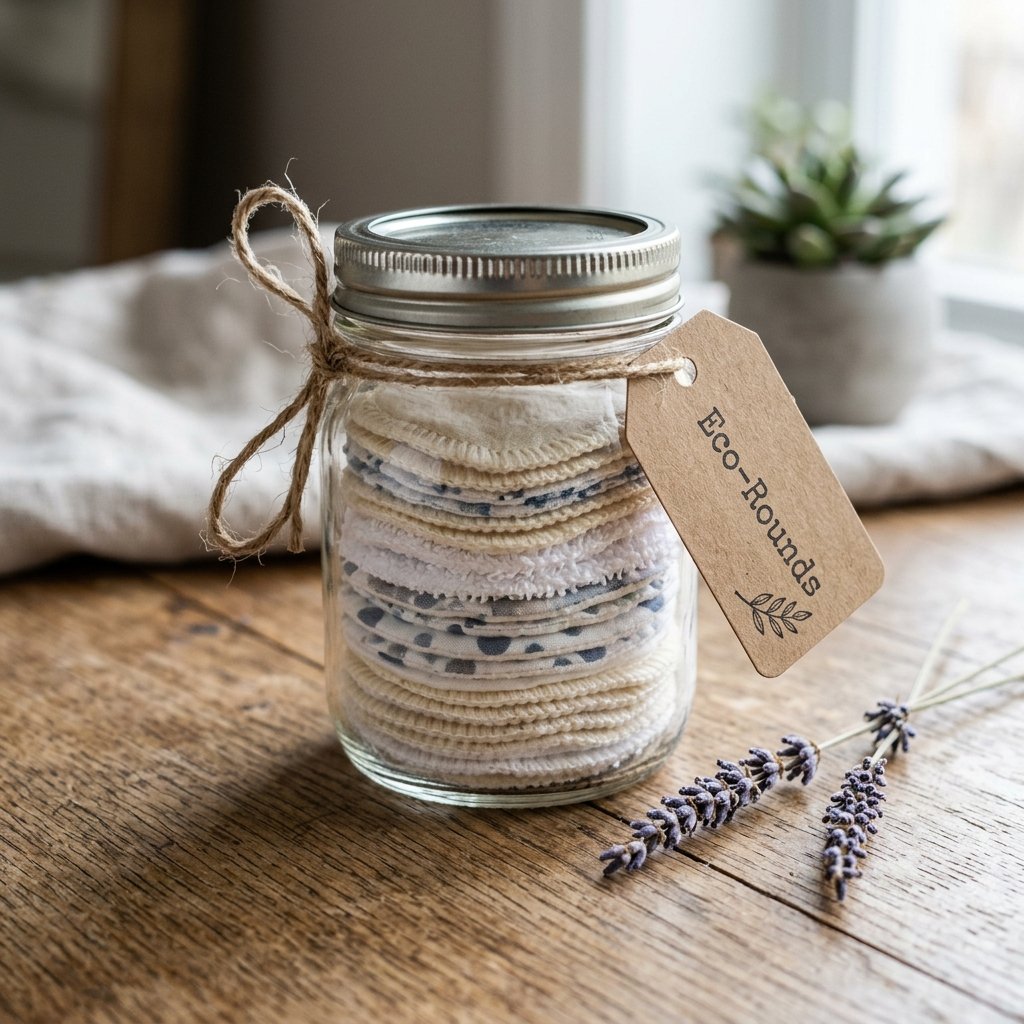
Here is a secret: the best gifts aren’t bought; they are crafted with intention. These eco-friendly makeup rounds make an exceptional, thoughtful gift for Mother’s Day, bridesmaid proposals, or as a stocking stuffer for the eco-conscious teenager in your life. It shows you invested time, effort, and care into their self-care routine.
How to Package Like a Pro on a Dime:
- The Vessel: Take a small, interesting glass jar (like a repurposed jam or artichoke heart jar). Clean it thoroughly and remove the label using a little rubbing alcohol or olive oil to dissolve the glue.
- The Presentation: Stack 15 to 20 of your hand-stitched pads neatly inside the jar.
- The Label: Cut a small tag out of a scrap piece of cardboard or a brown paper grocery bag. Write something clever and encouraging like, “Handcrafted Eco-Rounds: Good for your face, great for the planet.”
- The Finishing Touch: Tie the tag around the neck of the jar using a piece of rough jute twine or a thin strip of leftover t-shirt fabric pulled taut (it rolls into a perfect piece of yarn!).
By pairing this jar of upcycled rounds with a small bottle of homemade witch hazel toner or a DIY coffee scrub, you have just created a luxury spa gift set that rivals a $40 boutique item, all sourced entirely from your household scraps.
Conclusion
Transforming old, destined-for-the-dump t-shirts into luxurious, eco-friendly makeup remover rounds is the absolute pinnacle of frugal, resourceful living. You have bypassed the disposable consumer trap, saved yourself hundreds of dollars, and learned a practical hand-sewing skill in the process. This isn’t just about saving $4.00 a month; it is about shifting your mindset. It is about looking at the things you own and realizing their potential doesn’t end when they get a hole or a stain. So, keep those scissors sharp, keep your thread tangled-free, and never underestimate the power of a crafty upcycler with an old t-shirt and a vision. Now go raid that closet and start cutting!

Makenzie is the founder and lead writer at MoneyHackTips.com — a personal finance blog dedicated to delivering street-smart financial wisdom for real people on real budgets. With 300+ published articles covering everything from debt management to investing fundamentals, Makenzie’s mission is to make every dollar work harder. When not writing about money hacks, Makenzie is testing frugal living strategies, optimizing side hustles, and helping readers build financial freedom from scratch.