
The Art of the High-End Hustle
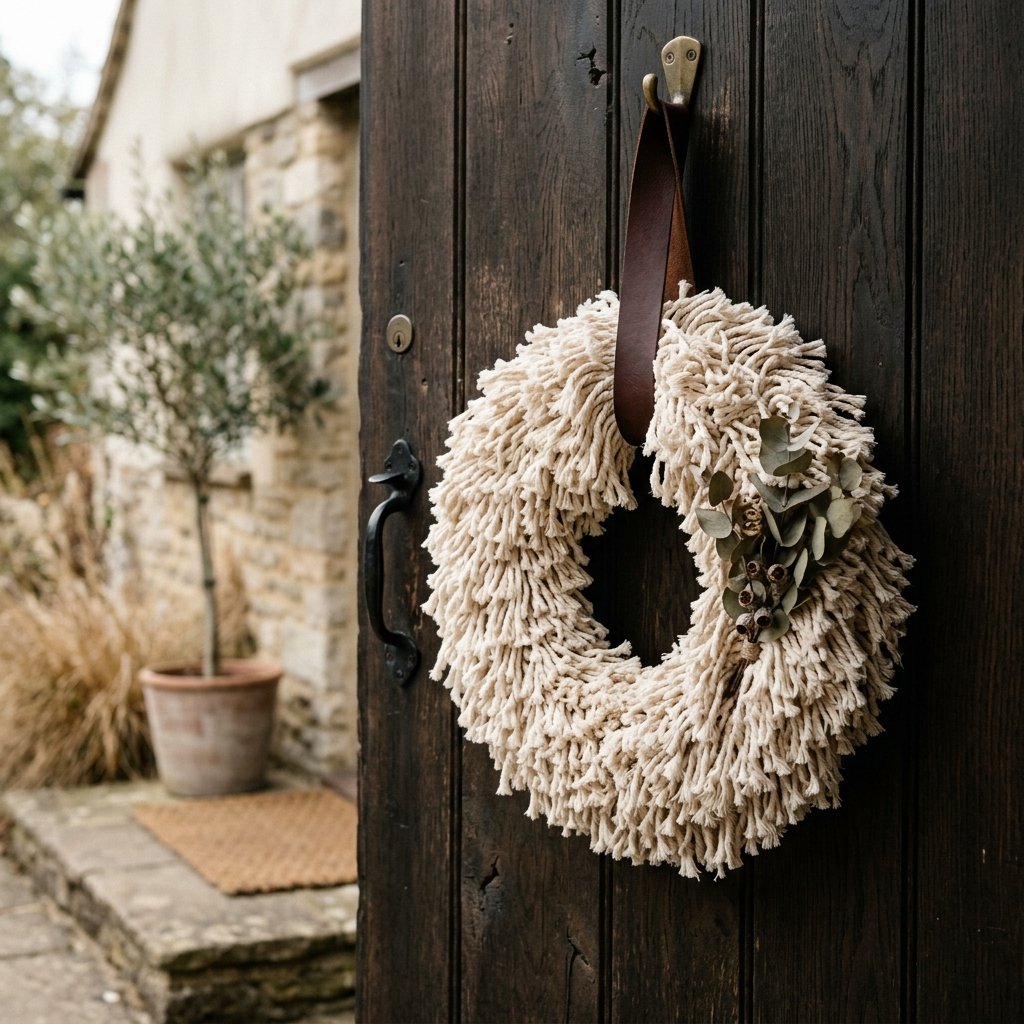
Let’s talk about the magic of the ‘trash-to-treasure’ mindset. You’ve seen those gorgeous, textured, shaggy wreaths in boutiques like Anthropologie or West Elm, usually sporting a price tag upwards of $65 to $120. They exude a certain rugged, masculine-elegant charm—organic, tactile, and effortlessly cool. But what if I told you that the secret ingredient to that high-end aesthetic is currently sitting in the cleaning aisle of your local Dollar Tree? Yes, we are talking about the humble cotton mop head. By applying a bit of clever resourcefulness and some basic macramé techniques, you can craft a professional-grade boho wreath for a grand total of about $3.75. This isn’t just a craft; it’s a budget-savvy victory for the handy parent and the frugal decorator alike. We’re going to take raw, utility materials and elevate them into a piece of decor that looks like it was curated from a high-end interior design gallery.
The Blueprint: Materials and Cost Analysis
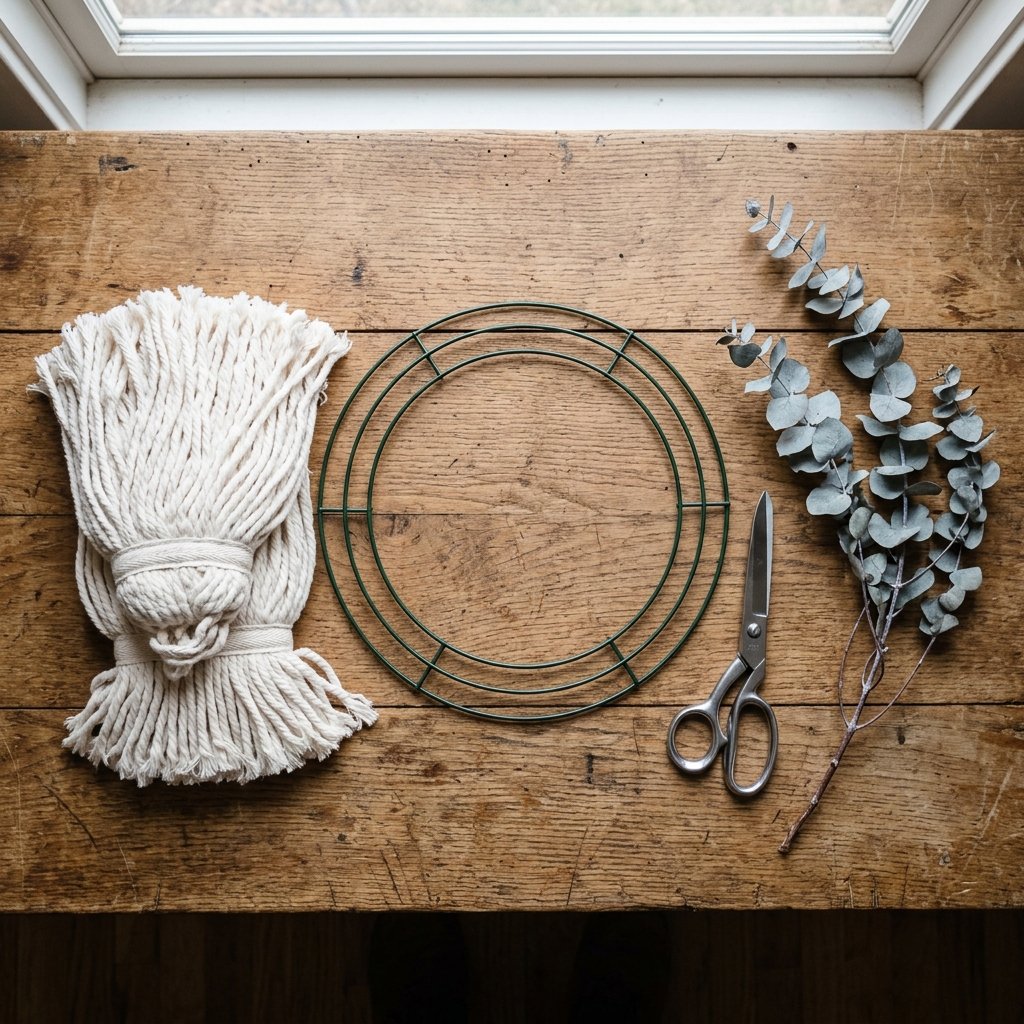
Before we dive into the construction, let’s look at the logistics. A successful DIYer knows that preparation is half the battle. To achieve that ’boutique’ look, you need the right foundation. We aren’t just slapping strings on a ring; we are building a structured piece of art.
Inventory Checklist
- 2-3 Cotton Mop Heads (Dollar Tree): Ensure they are 100% cotton for that matte, organic texture. Avoid the synthetic yellow versions.
- 1 Wire Wreath Form (Dollar Tree): The 12-inch or 14-inch sizes work best for a standard front door.
- Embellishments: Think dried eucalyptus, a scrap of leather for the hanger, or a few wooden beads.
- Tools: Sharp fabric scissors, a hot glue gun (for the accents), and a wide-tooth comb.
| Item Source | DIY Component | Estimated Cost |
|---|---|---|
| Dollar Tree | Wire Wreath Frame | $1.25 |
| Dollar Tree | 2x Cotton Mop Heads | $2.50 |
| Scrap/Nature | Dried Greenery/Leather | $0.00 |
| Total Investment | High-End Boho Wreath | $3.75 |
Store-Bought vs. DIY Comparison
| Retailer | Style | Price |
|---|---|---|
| High-End Boutique | Boho Cotton Fringe Wreath | $85.00 |
| Target/HomeGoods | Seasonal Shaggy Wreath | $35.00 |
| Your Workshop | Custom Mop Head Wreath | $3.75 |
Phase One: Prepping the Fibers
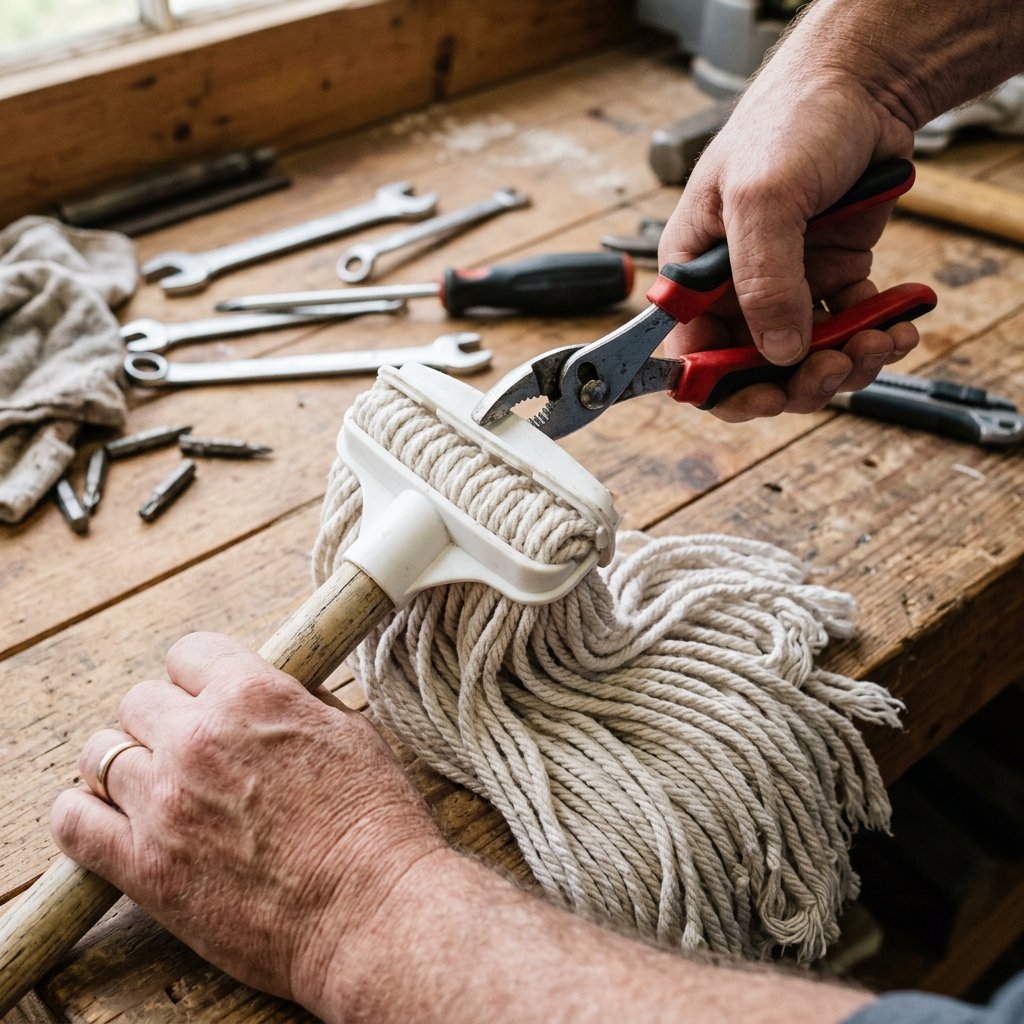
The first step in this transformation is deconstructing the utility of the mop. We need to strip away the plastic housing to reveal the raw cotton potential within. This part is incredibly satisfying for the tactile crafter.
Disassembling the Mop Head
- Locate the plastic zip-tie or metal band holding the mop strings to the plastic base.
- Using your heavy-duty snips or scissors, carefully cut the connector. Safety Note:
“Always cut away from your body when tension is involved in the plastic bands to avoid snaps.”
- Once the band is cut, the strings should slide out in a large bundle.
- Untwist the main bundle. You will notice the strings are looped. For our wreath, we want individual strands or long U-shaped loops depending on the thickness you desire.
Pro Tip: If the mop strings feel a bit stiff or have a ‘factory’ scent, you can soak them in a bowl of warm water with a splash of fabric softener for 10 minutes. Let them air dry completely before starting. This gives the cotton a softer, more premium drape.
Phase Two: The Lark’s Head Knot Technique
Building the Texture
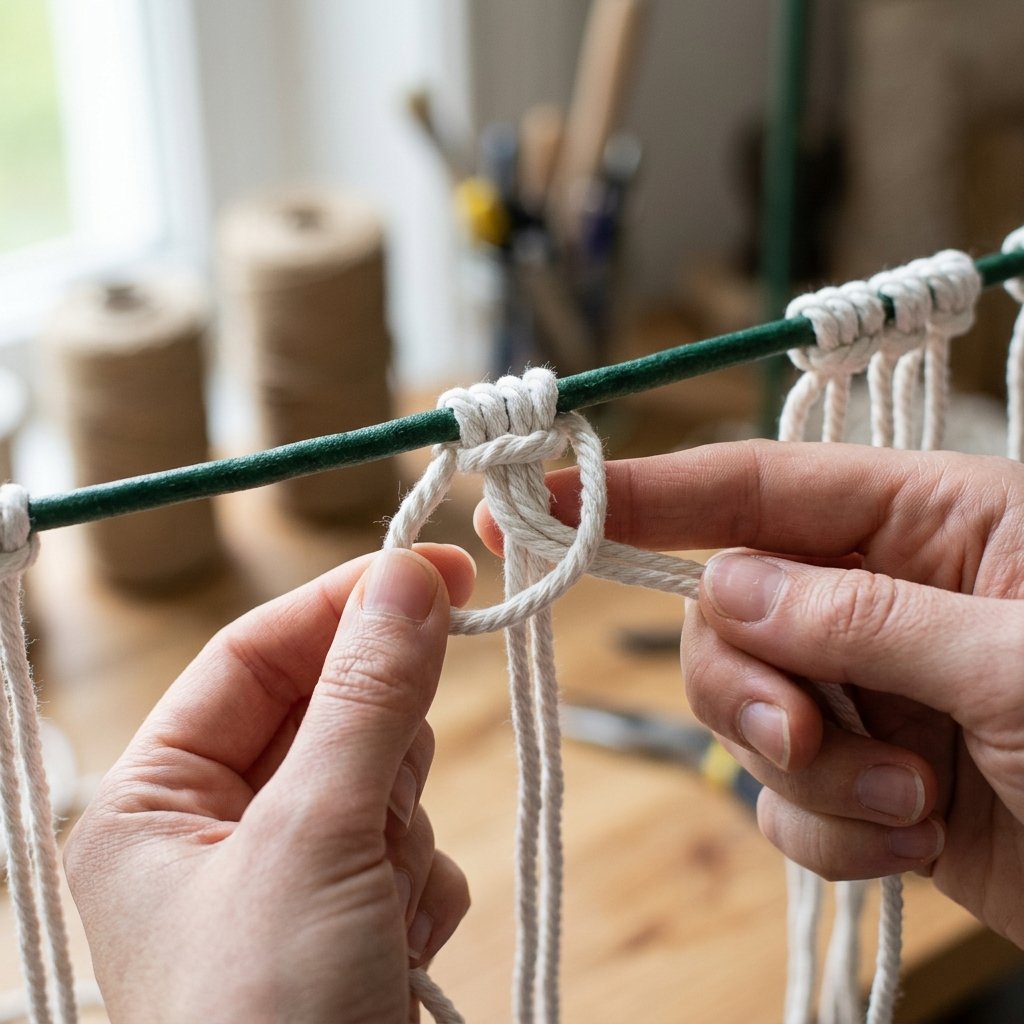
To get that uniform, expensive look, we use a classic macramé knot called the Lark’s Head Knot. This ensures the strings sit flat against the wire frame and creates a beautiful ‘hitched’ edge around the inner circle.
Step-by-Step Knotting
- Take two strands of mop string and fold them in half to create a loop at the top.
- Place the loop under the wire frame (start with the innermost ring).
- Pull the tail ends of the strings over the wire and through the loop.
- Tug the tails firmly to tighten the knot against the wire.
- Repeat this process, sliding the knots close together so no green wire is visible.
“Consistency is the key to luxury. Ensure every knot is pulled with the same tension to create a seamless, professional finish.”
Work your way around the entire circle. If you want a fuller, ‘shaggier’ look, repeat this process on the second wire ring of the frame. This layering creates depth and shadows that make the wreath pop against your door.
Phase Three: Grooming and Tailoring
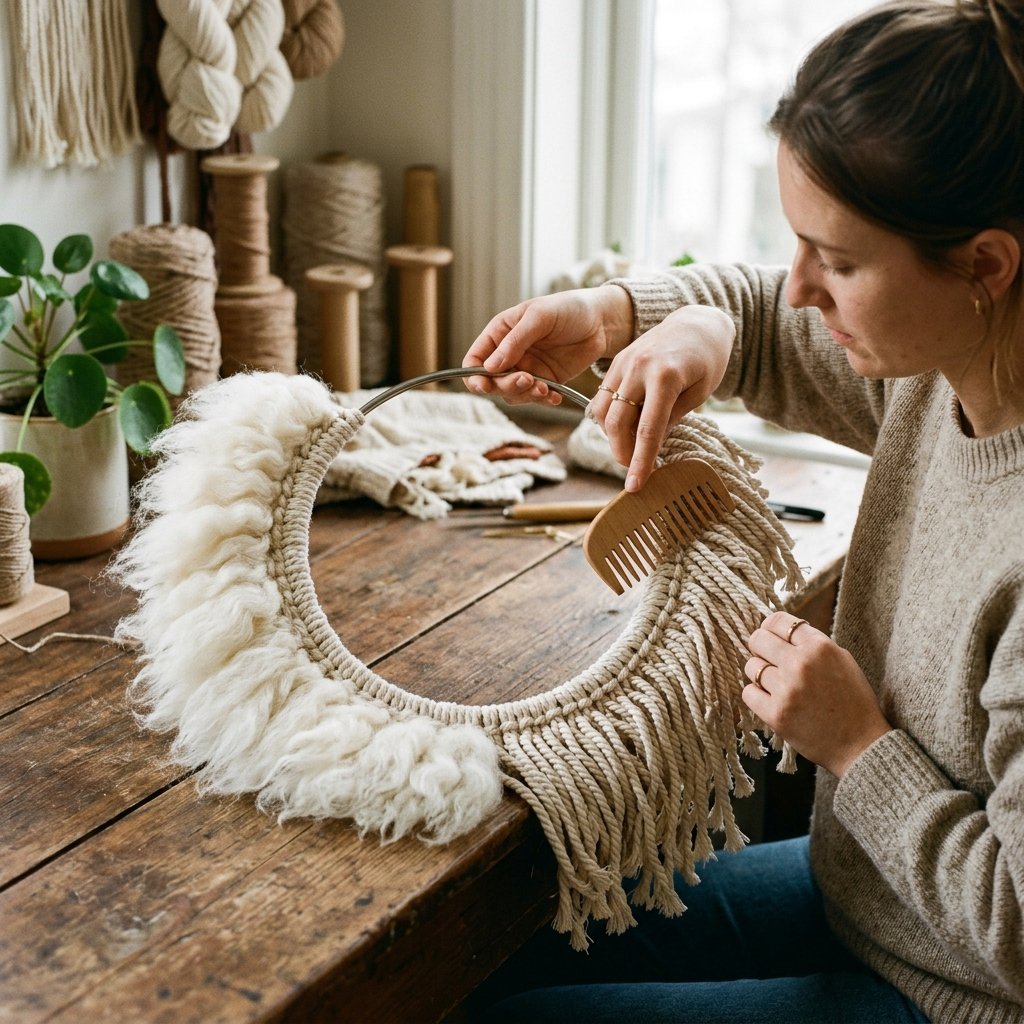
Right now, your wreath probably looks a bit wild. To move it from ‘mop on a string’ to ‘boho chic,’ we need to apply some grooming techniques. This is where your inner barber/tailor comes out.
The ‘Comb and Trim’ Method
- Combing: Use a wide-tooth comb or even a pet slicker brush to gently brush out the twists in the cotton strands. This turns the ‘ropes’ into soft, feathery fringe.
- The Haircut: Lay the wreath flat on a table. Decide if you want a perfectly circular ‘clean’ cut or a more organic, shaggy look. Use sharp scissors to trim the ends.
- The Steam Trick: If the strings are wrinkled, use a handheld steamer for 2 minutes. The cotton will relax instantly, giving it a high-end, heavy drape.
| Style Choice | Technique | Visual Result |
|---|---|---|
| Modern Minimalist | Strict circular trim, no brushing | Clean, architectural lines |
| Wild Boho | Heavy brushing, uneven lengths | Soft, ethereal, cloud-like |
| Rugged Farmhouse | Light brushing, tea-stained cotton | Vintage, lived-in feel |
Phase Four: Styling for the Seasons
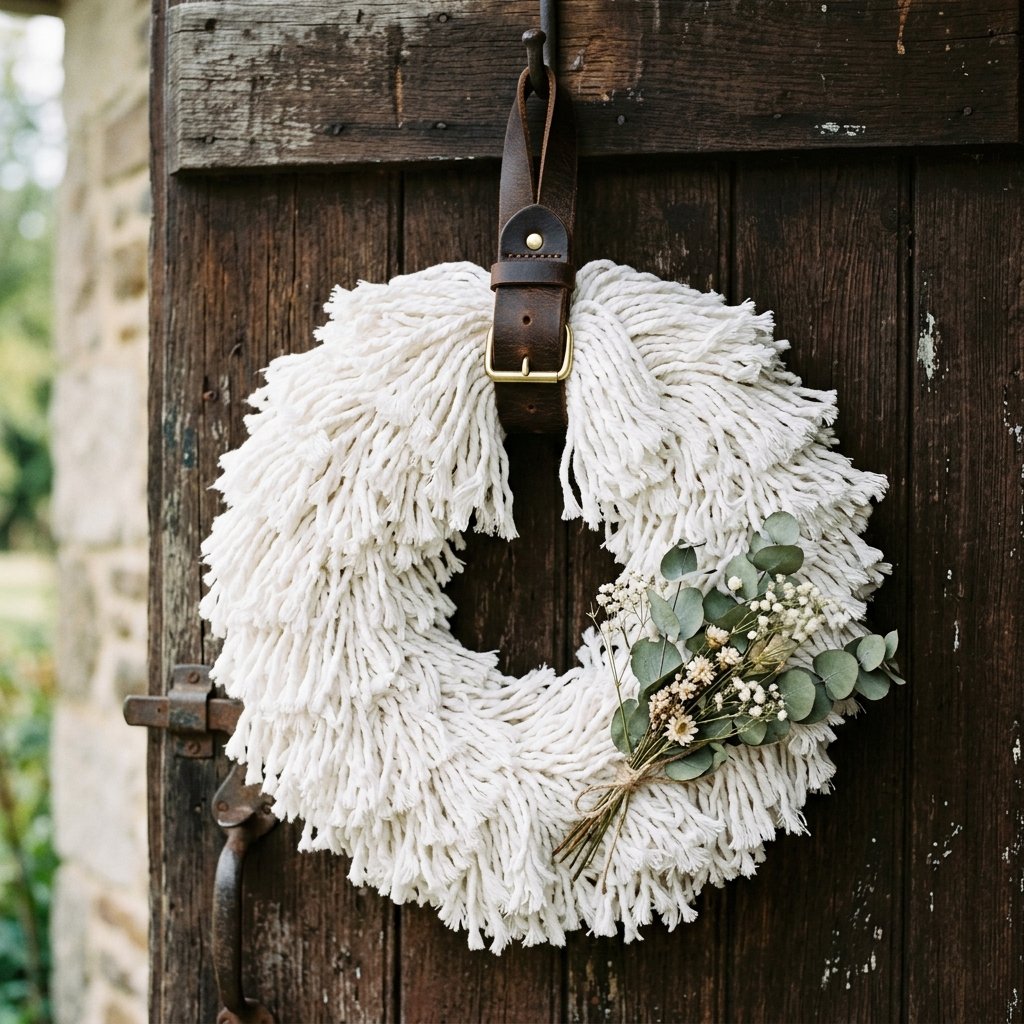
The beauty of this neutral cream wreath is its versatility. It acts as a blank canvas for every season. You don’t need a new wreath for every holiday; you just need a few clever swaps.
Seasonal Accent Guide
- Spring/Summer: Tuck in a few sprigs of dried lavender or a small air plant. Use a thin strip of light tan leather to hang the wreath.
- Autumn: Add dried orange slices, cinnamon sticks, or a few copper-painted acorns. A mustard yellow velvet ribbon adds the perfect cozy touch.
- Winter: Use a sprig of fresh cedar or pine and a single oversized jingle bell in an antique brass finish.
The Masculine-Elegant Touch: For a more rugged look, avoid bows. Instead, use a leather ‘belt’ strap to hang the wreath from the top of the door. This adds a structural, functional element that balances the softness of the cotton fringe.
Maintenance and Longevity
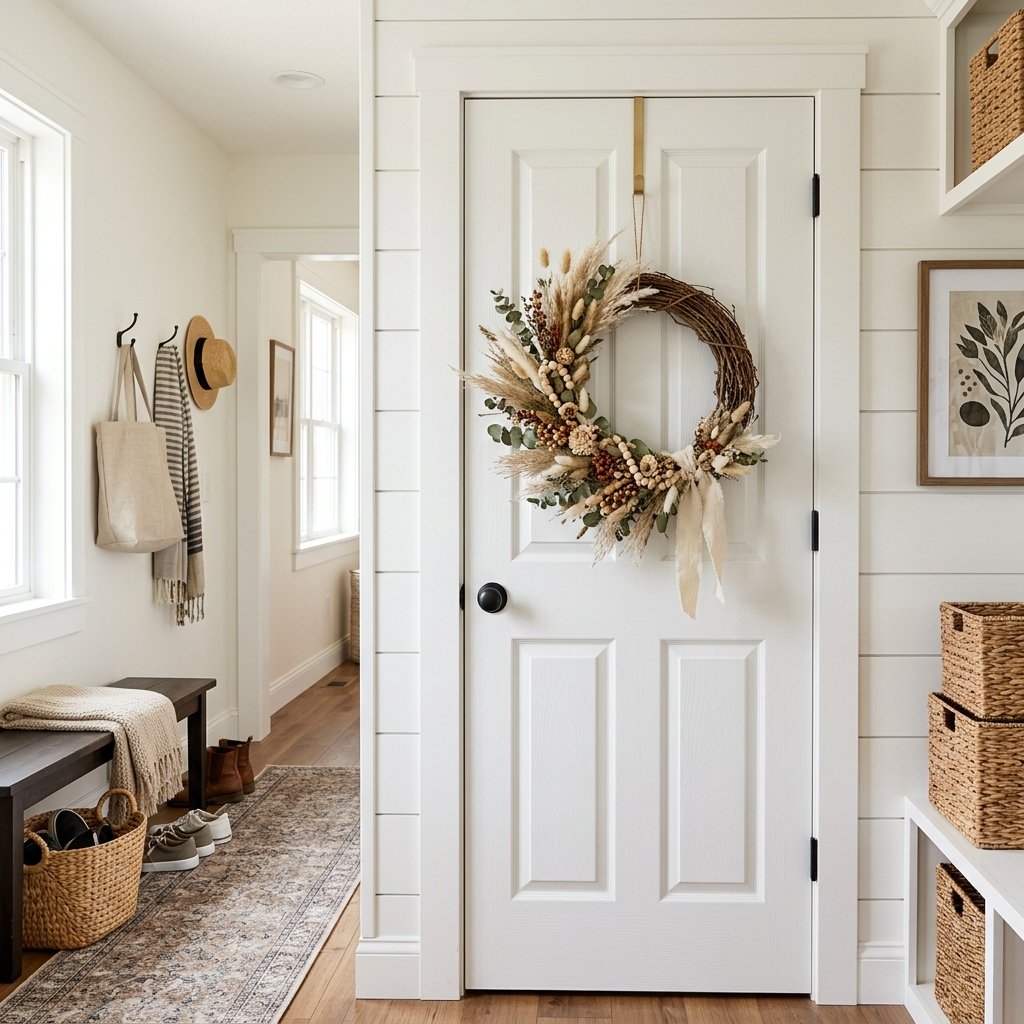
Because this is made of 100% cotton, it is best suited for a covered porch or an interior door. Direct rain will make the cotton heavy and potentially lead to mildew if it can’t dry out. If it gets dusty, a quick shake or a low-suction vacuum attachment will bring it back to life.
“Budget-savvy decor isn’t just about making it cheap; it’s about making it last. A little care ensures your $4 masterpiece looks great for years.”
Conclusion
The $4 Masterpiece
There you have it—a stunning, texture-rich Boho wreath that defies its humble origins. By looking past the ‘utility’ of a Dollar Tree mop head and seeing the ‘material,’ you’ve successfully hacked the high-end home decor market. This project proves that you don’t need a massive budget to have a stylish, welcoming home; you just need a pair of scissors, a wire frame, and a little bit of creative grit. So, the next time you’re walking down that cleaning aisle, grab a couple of mops. Your front door—and your wallet—will thank you. Happy crafting!

Makenzie is the founder and lead writer at MoneyHackTips.com — a personal finance blog dedicated to delivering street-smart financial wisdom for real people on real budgets. With 300+ published articles covering everything from debt management to investing fundamentals, Makenzie’s mission is to make every dollar work harder. When not writing about money hacks, Makenzie is testing frugal living strategies, optimizing side hustles, and helping readers build financial freedom from scratch.