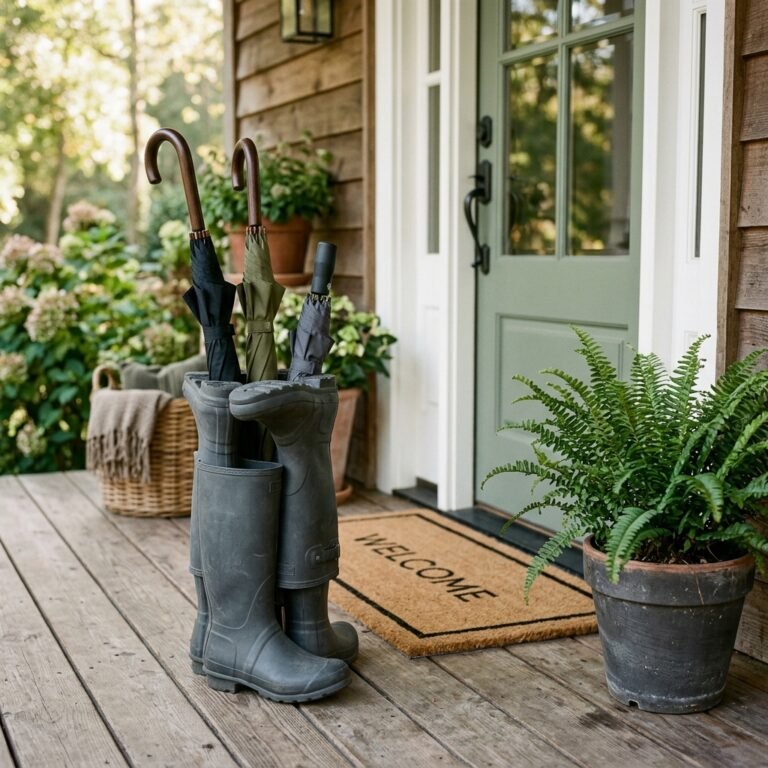
The Art of the Zero-Budget Upgrade
We have all been there: a pantry or workshop filled with a mismatched collection of glass jars—relics of pickles, pasta sauces, and jams past. While these glass vessels are structurally sound and incredibly useful, their visual chaos can make even the most organized shelf look like a cluttered mess. Enter the $0 solution that combines rugged utility with a refined, masculine-elegant aesthetic: the Upcycled T-Shirt Yarn Jar Cover. This project isn’t just about hiding a label; it is about reclaiming textile waste and transforming everyday glass into a cohesive, tactile storage system. Whether you are a frugal DIYer looking to organize a craft room or a handy parent teaching the kids about sustainability, this guide will show you how to turn a raggedy old tee into a sophisticated home accessory in under 30 minutes.
The Anatomy of the Upcycle: Why T-Shirt Yarn?

T-shirt yarn, often called ‘tarn,’ is the ultimate resource for the budget-savvy maker. Unlike store-bought twine or wool, T-shirt yarn is slightly elastic, incredibly durable, and—best of all—completely free if you harvest it from garments destined for the bin. The jersey knit fabric of most tees naturally curls when stretched, creating a rounded cord that looks remarkably like expensive designer rope. This elasticity is key for jar covers; it allows the sleeve to grip the glass tightly without the need for messy adhesives.
The Cost of Convenience vs. The Value of Craft
When you buy decorative storage bins from high-end retailers, you are often paying for the aesthetic of natural fibers. By making your own, you bypass the $15-$25 price tag per jar. Let’s look at the resource breakdown:
| Resource | Store-Bought Decorative Jar | Upcycled T-Shirt Jar | |||
|---|---|---|---|---|---|
| Material Cost | $12.00 – $35.00 | $0.00 | |||
| Time Investment | 20 mins (Driving/Browsing) | 15-30 mins (Crafting) | Environmental Impact | High (Manufacturing/Shipping) | Negative (Waste Diversion) |
“The most sustainable material is the one you already own. True craft is finding the gold hidden in the cotton scraps of yesterday.”
Gathering Your Gear: The Zero-Budget Material List

To execute this project with professional-grade results, you do not need a fancy studio. You simply need a few household basics. The beauty of this DIY lies in its accessibility; if you have a drawer of ‘work shirts’ with holes in the armpits, you have everything you need.
- 1-2 Old T-Shirts: 100% cotton or cotton-blend jersey works best. Avoid side-seams if possible for a smoother yarn.
- Sharp Fabric Shears: A clean cut is essential to prevent fraying.
- Clean Glass Jars: Any size from small baby food jars to large gallon pickles.
- A Large Crochet Hook (Optional): A 10mm or 12mm hook is great, but we will also cover a ‘no-tool’ braided method.
- Safety Note:
Always ensure your glass jars are free of chips or cracks before applying pressure. When cutting fabric, keep fingers clear of the shear path, especially when navigating thick seams.
From Rag to Riches: Creating the Perfect T-Shirt Yarn

The secret to a high-end look is how you cut your yarn. We are using the Continuous Loop Method to ensure you have one long strand without unsightly knots. This technique maximizes the usable fabric from the torso of the shirt.
- Prep the Shirt: Lay the shirt flat on your work surface. Cut off the bottom hem and the top portion (from the armpits up). You should be left with a rectangular tube of fabric.
- The Fringe Cut: Fold the tube in half vertically, but leave about 1 inch of the bottom layer protruding past the top layer.
- Slice the Strips: Cut slits across the folded fabric about 1 inch wide, stopping at the 1-inch overlap. Do not cut all the way through!
- The Diagonal Connection: Open the shirt so the uncut 1-inch strip is centered. Cut diagonally from the first slit to the second, the second to the third, and so on. This creates one continuous spiral of fabric.
- The Magic Stretch: Take your long strip and pull it firmly. The edges will curl inward, hiding the raw cuts and creating a professional-looking cord.
Total time for yarn creation: 5 minutes. Cost: $0.
The Build: Crafting the Jar Cover (Two Methods)
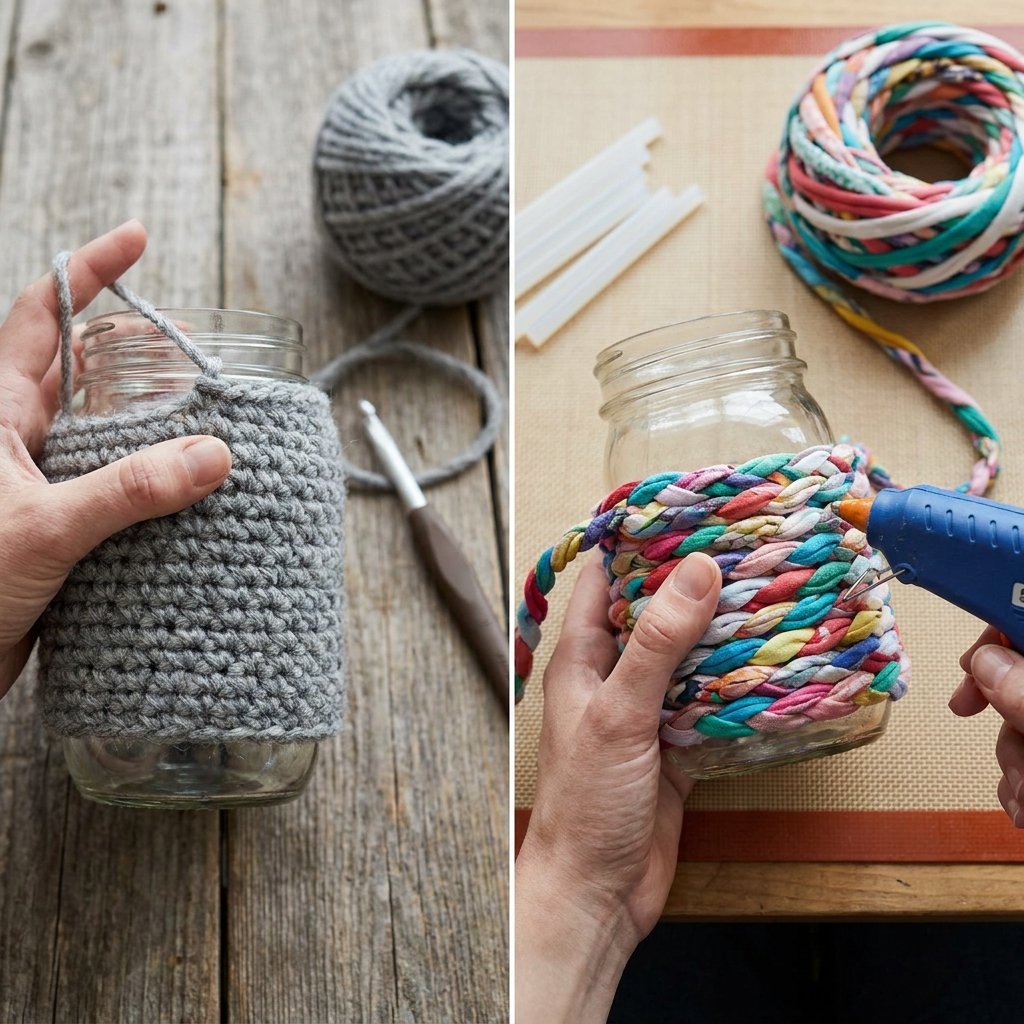
Depending on your skill level and tool availability, you can choose between the Crochet Method for a rugged, textured look, or the Braid-and-Wrap Method for a sleek, minimalist finish.
Method A: The Rugged Crochet Sleeve
This method creates a thick, protective ‘sweater’ for your jar. It is perfect for jars that will hold heavy tools or kitchen utensils.
- The Base: Create a magic ring and work 6 single crochets into it. Pull tight.
- The Expansion: Increase in each stitch (12 stitches total) until the circle matches the diameter of your jar’s bottom.
- The Walls: Stop increasing and work one single crochet into the back loop of every stitch. This creates a ‘corner’ that allows the yarn to travel up the sides of the glass.
- The Height: Continue spiraling upward until you reach the neck of the jar. Fasten off and tuck the tail.
Method B: The Braid-and-Wrap (No-Hook Required)
If you don’t crochet, this is the way to go. It yields a result that looks like high-end nautical rope decor.
- Braid: Create three long strands of t-shirt yarn and create a simple 3-strand braid.
- Secure: Use a tiny dab of hot glue (or a simple needle and thread) to secure the start of the braid to the bottom edge of the jar.
- Spiral: Wrap the braid tightly around the jar, applying a small dot of glue every 2 inches to keep it from slipping.
- Finish: Tuck the end of the braid under the previous row at the top and secure.
Styling & Utility: Where to Use Your New Upcycled Jars
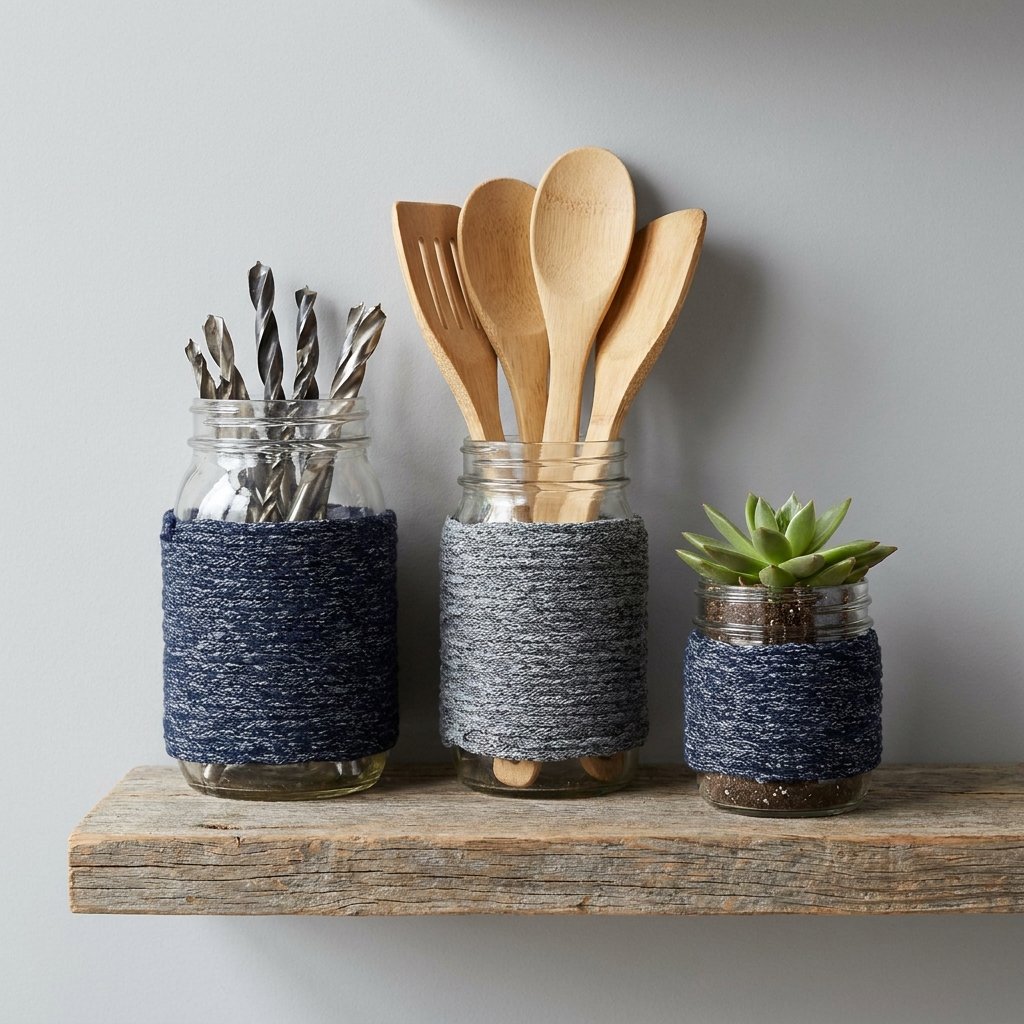
Now that you have mastered the technique, it is time to deploy your creations. These aren’t just pretty faces; they are functional upgrades for every room in the house. The fabric cover provides a non-slip grip and acts as a muffler, preventing that annoying ‘clinking’ sound on stone countertops.
| Location | Recommended Use | Style Tip |
|---|---|---|
| The Workshop | Hex bolts, nails, and drill bits. | Use dark charcoal or black tees to hide grease and oil stains. |
| The Kitchen | Wooden spoons, spatulas, or dried beans. | Mix and match shades of cream and tan for an organic, farmhouse feel. |
| The Bathroom | Cotton swabs, toothbrushes, or combs. | Use 100% cotton yarn for easy washing; just slide the cover off and toss in the machine. |
For a masculine-elegant touch, consider adding a small leather scrap as a label, or cinch the top with a piece of twine. These small details elevate the project from a simple craft to a piece of intentional decor.
Maintenance and Longevity: Keeping Your Covers Fresh
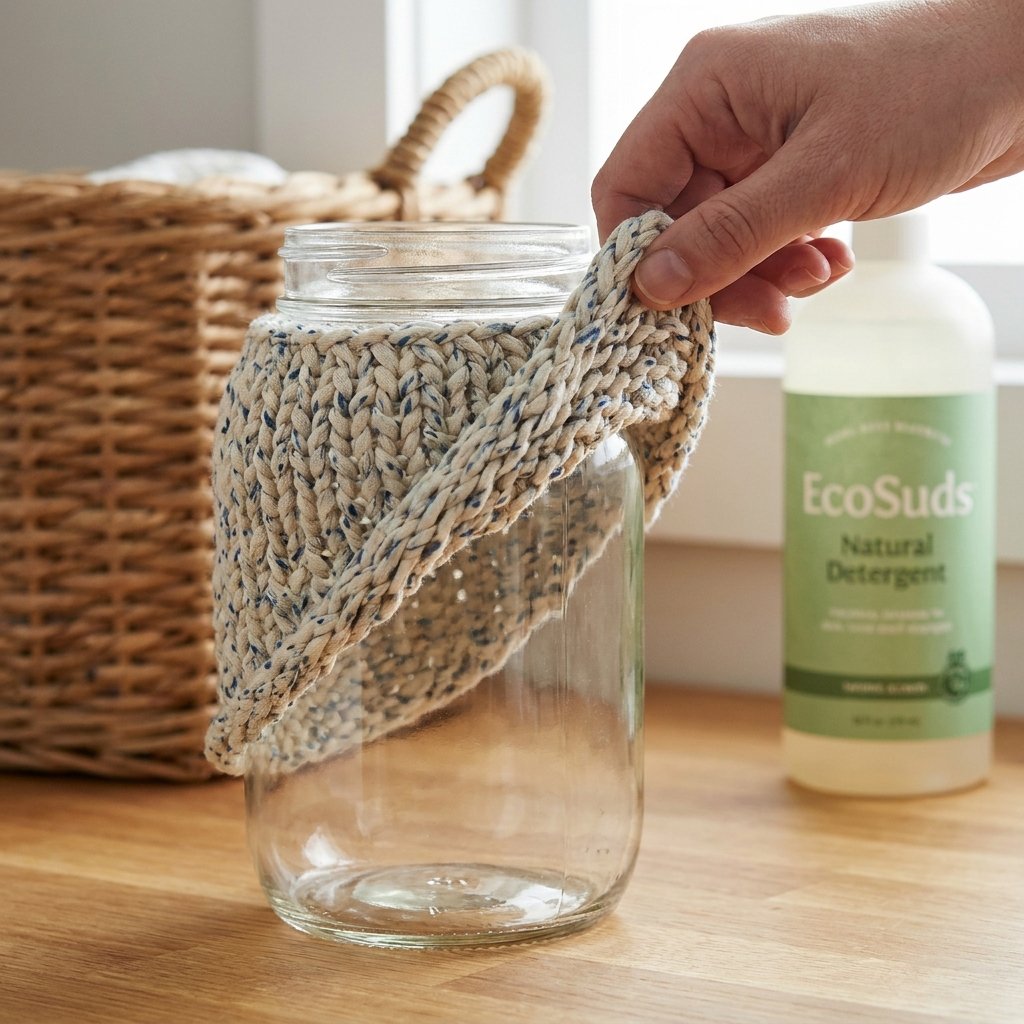
One of the biggest advantages of using upcycled t-shirts is the ease of care. Unlike plastic or painted jars, these covers are durable and renewable. If your jar cover gets dusty or stained, simply slide it off the glass vessel. Most t-shirt yarn covers are 100% machine washable. To keep them looking new, wash on a cold cycle and lay flat to dry to maintain the tension of the knit.
“A well-made tool deserves a well-made home. Care for your gear, and it will care for you.”
If the cover ever loses its ‘stretch’ after years of use, you can simply unwrap the yarn and re-knit it, or use the fabric as heavy-duty rags for your next project. It is the ultimate closed-loop system for the frugal homesteader.
Conclusion
Redefining Trash into Treasure
Transforming a messy collection of jars into a sophisticated storage suite doesn’t require a trip to a big-box store or a massive budget. By using the resourceful techniques of the Upcycled T-Shirt Yarn DIY, you have successfully diverted textile waste from the landfill and saved yourself upwards of $50 in home organization costs. You have turned an old, forgotten garment into a rugged, practical, and stylish accessory that brings order to your space. So, the next time you finish a jar of pickles, don’t throw it in the recycling bin—reach for that old t-shirt and start crafting. Your shelves (and your wallet) will thank you.

Makenzie is the founder and lead writer at MoneyHackTips.com — a personal finance blog dedicated to delivering street-smart financial wisdom for real people on real budgets. With 300+ published articles covering everything from debt management to investing fundamentals, Makenzie’s mission is to make every dollar work harder. When not writing about money hacks, Makenzie is testing frugal living strategies, optimizing side hustles, and helping readers build financial freedom from scratch.