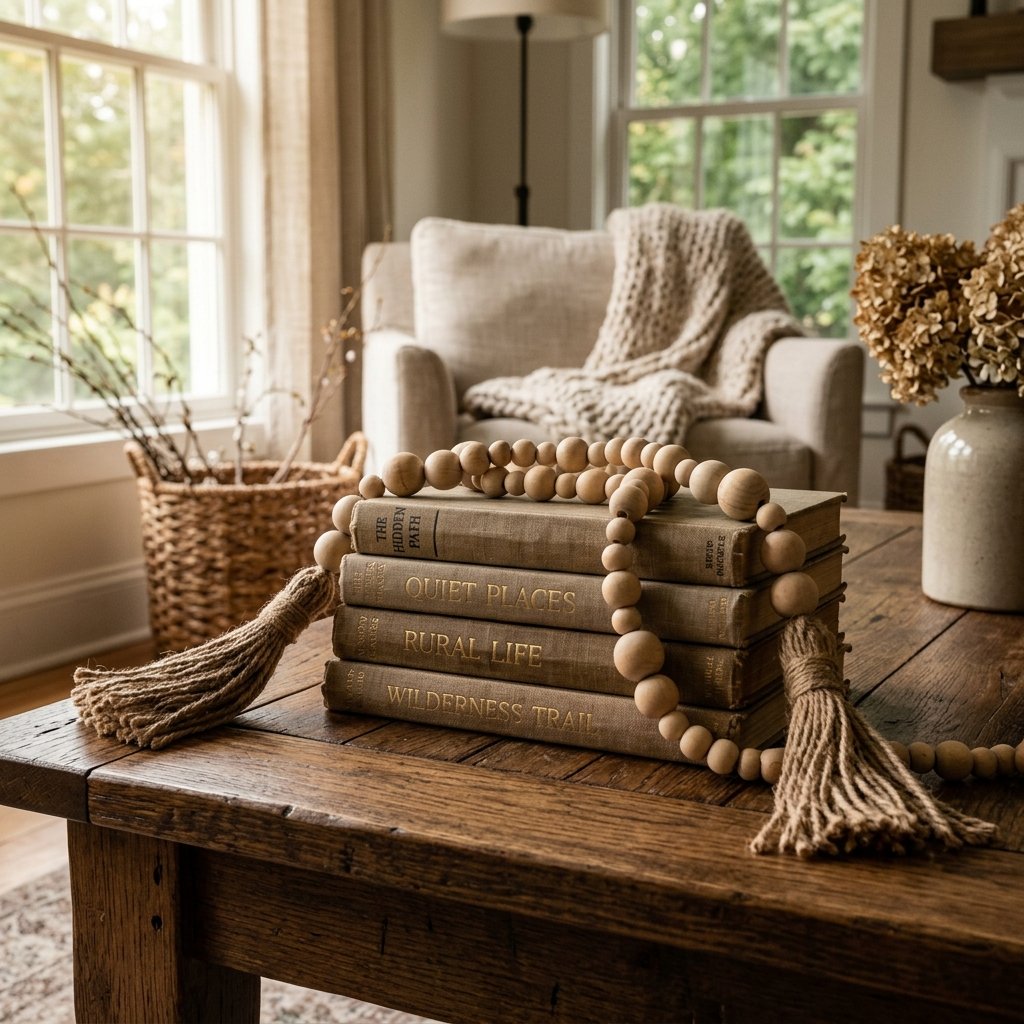

Walk into any high-end home goods store like Pottery Barn, Anthropologie, or West Elm, and you will likely find a simple wood bead garland draped elegantly over a ceramic vase or a stack of coffee table books. Then, you look at the price tag: $35, $45, or even $60 for what is essentially a string of wooden spheres. As a resourceful DIYer, your internal alarm should be going off. Why pay a 1,000% markup when you can achieve the exact same aesthetic for the price of a fancy latte? Today, we are reclaiming our decorating budgets. We are heading to the local dollar store to hunt for the raw materials that will become a sophisticated, rugged, and masculine-elegant decor piece. This project is not just about saving money; it is about the craft of the dupe—taking humble, inexpensive items and elevating them through clever finishing techniques and expert assembly. Whether you are a budget-savvy bride looking for table accents or a handy parent wanting to spruce up the mantel, this guide will show you how to create a gorgeous wood bead garland for under $5.
The Designer Dupe Strategy: Why DIY Beats Retail
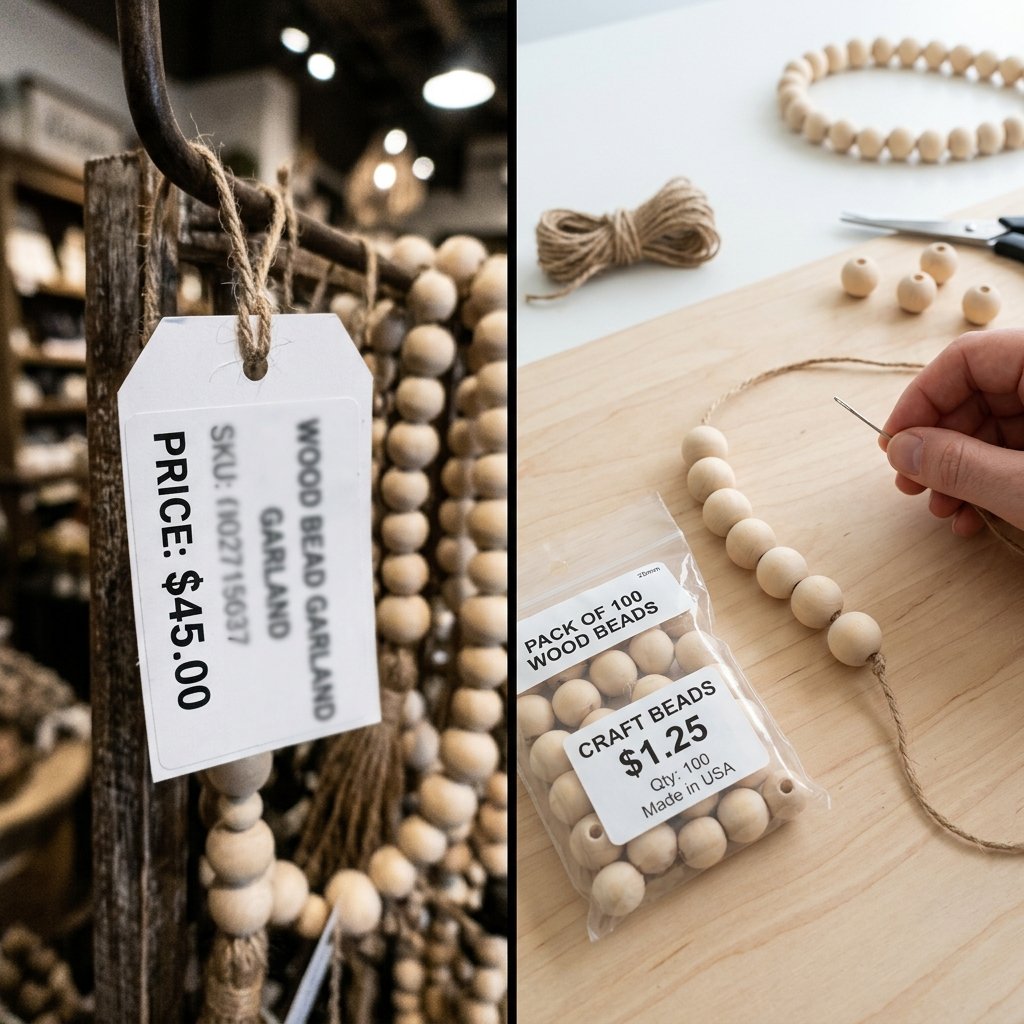
The secret to high-end decor isn’t the price—it is the weight, the texture, and the finish. Retailers charge a premium for the convenience of a pre-assembled aesthetic. However, when you DIY, you have total control over the customization. You can choose the exact shade of walnut stain to match your flooring, or the specific thickness of the jute twine to provide that rugged, tactile feel. By sourcing your beads from the dollar store, you are bypassing the logistics and branding costs that inflate retail prices. In this section, we analyze the cost disparity and the creative freedom that comes with the ‘trash-to-treasure’ mindset.
| Feature | High-End Retailer | Dollar Store DIY |
|---|---|---|
| Price | $35.00 – $65.00 | $3.75 – $4.95 |
| Material | Standard Pine/Schima Superba | Natural Wood / Bamboo |
| Customization | Fixed Colors | Unlimited (Stain, Paint, Dye) |
| Tassel Quality | Machine-made Poly-blend | Hand-tied Natural Jute/Cotton |
| Build Time | 0 Minutes | 20 Minutes |
The budget-savvy crafter knows that luxury is a feeling, not a price point. A well-stained bead and a heavy tassel carry more weight than a designer logo.
The $5 Toolkit: Sourcing Your Materials
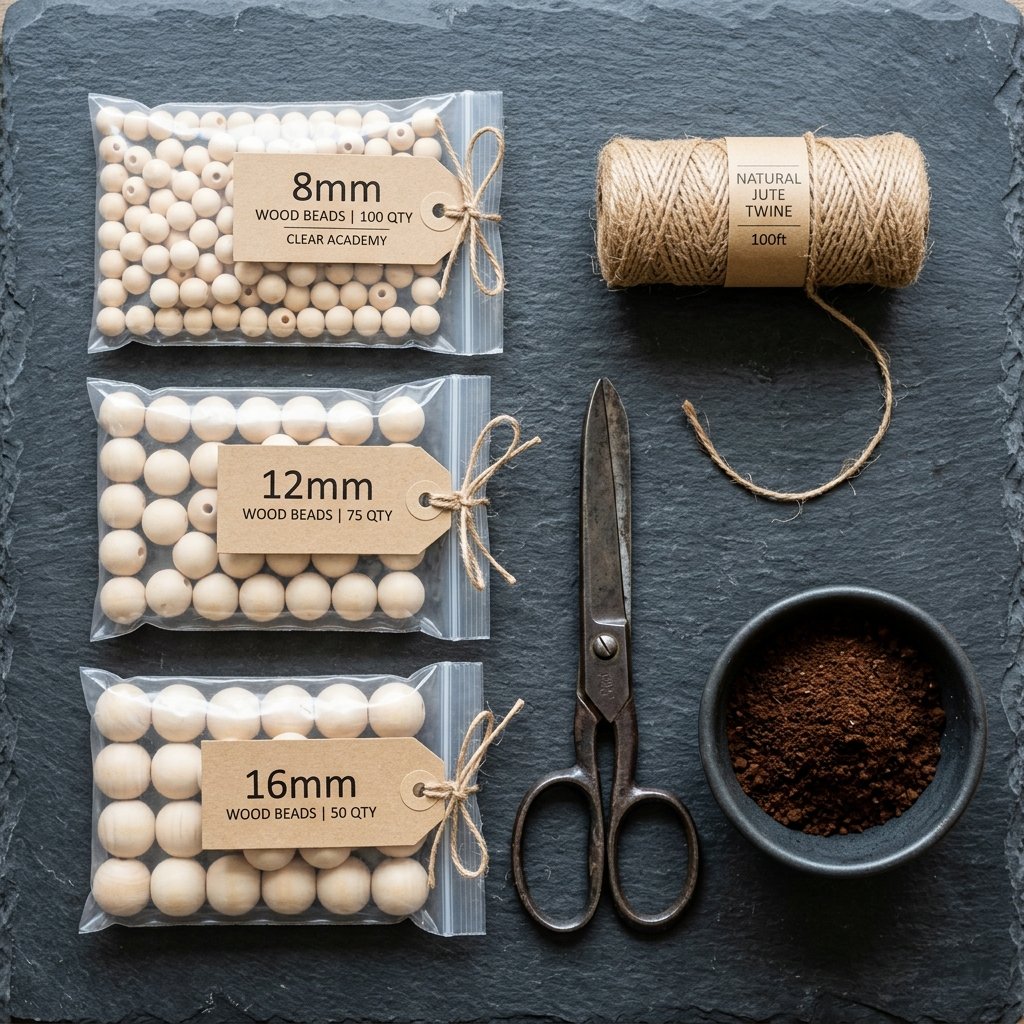
To keep this project under the $5 mark, we need to be strategic. The Dollar Tree and similar discount stores frequently stock ‘crafter’s square’ wood beads in various sizes. If you cannot find them in the craft aisle, look in the toy section for wooden building blocks or the seasonal section for beaded ornaments that can be disassembled. Here is your tactical shopping list to ensure you stay within your $5 budget.
- Wood Beads (2-3 packs): Look for natural, unfinished wood. These are usually $1.25 per pack.
- Jute Twine or Cotton Cord: A single roll will last for dozens of garlands. Cost: $1.25.
- Large Eye Needle or a Paperclip: Used for threading. (Check your junk drawer—$0.00).
- Kitchen Scraps for Staining: Coffee grounds or black tea bags. Cost: $0.00.
- Scissors and a Ruler: Standard household tools.
By keeping your material list lean, you maximize your ROI. If you want a more ‘rugged’ look, opt for the thickest jute twine available. For a ‘masculine-elegant’ vibe, consider using a scrap of leather or suede cord for the tassels.
The Art of the Faux-Finish: Staining and Aging Without Chemicals
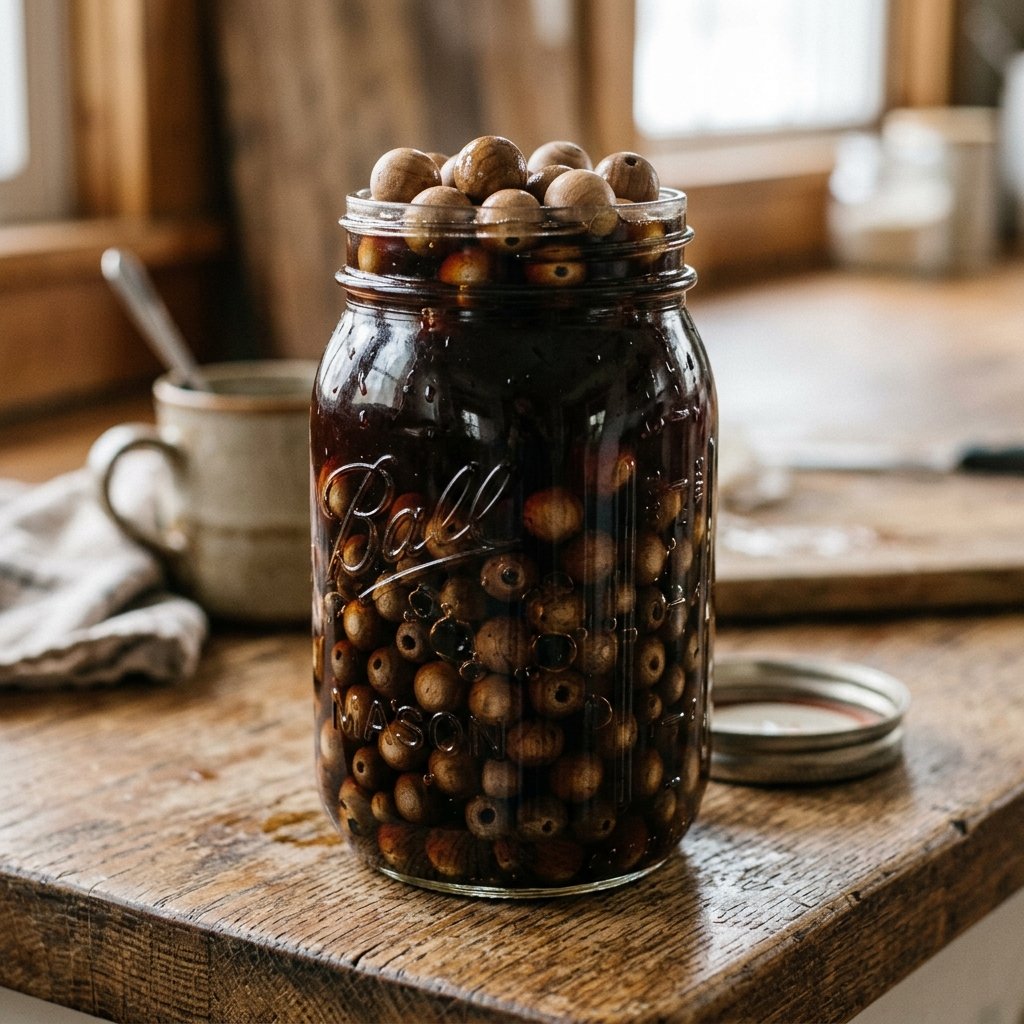
Raw dollar store beads often look ‘cheap’ because they are too light and uniform. To achieve a high-end look, we need to add depth. Instead of buying expensive oil-based stains, we will use resourceful kitchen chemistry. This not only saves money but also ensures your decor is non-toxic and eco-friendly. We recommend two primary methods for aging your wood beads: the ‘Espresso Soak’ for a deep walnut finish, and the ‘Weathered Grey’ wash for a coastal farmhouse look.
| Stain Type | Ingredients | Soak Time | Resulting Look |
|---|---|---|---|
| Walnut/Dark Wood | Strong Coffee + 1 tsp Vinegar | 30 Minutes | Rich, masculine, traditional |
| Golden Oak | 3 Black Tea Bags + Hot Water | 45 Minutes | Warm, honey-toned, vintage |
| Weathered Driftwood | Grey Acrylic Paint + 80% Water | 5 Minutes (Dipped) | Modern, coastal, muted |
The Pro Staining Technique
- Place your beads in a glass jar or a zip-top bag.
- Pour your chosen stain (coffee or tea) over the beads until submerged.
- Shake the container every 10 minutes to ensure even coverage and prevent ‘flat spots’ where beads touch.
- Drain the liquid and spread the beads on a paper towel to dry for at least 2 hours.
Safety Note: When using hot liquids for staining, always use heat-resistant containers and avoid splashing. Ensure beads are 100% dry before stringing to prevent mold.
Tassel Engineering: Crafting the Perfect Ends
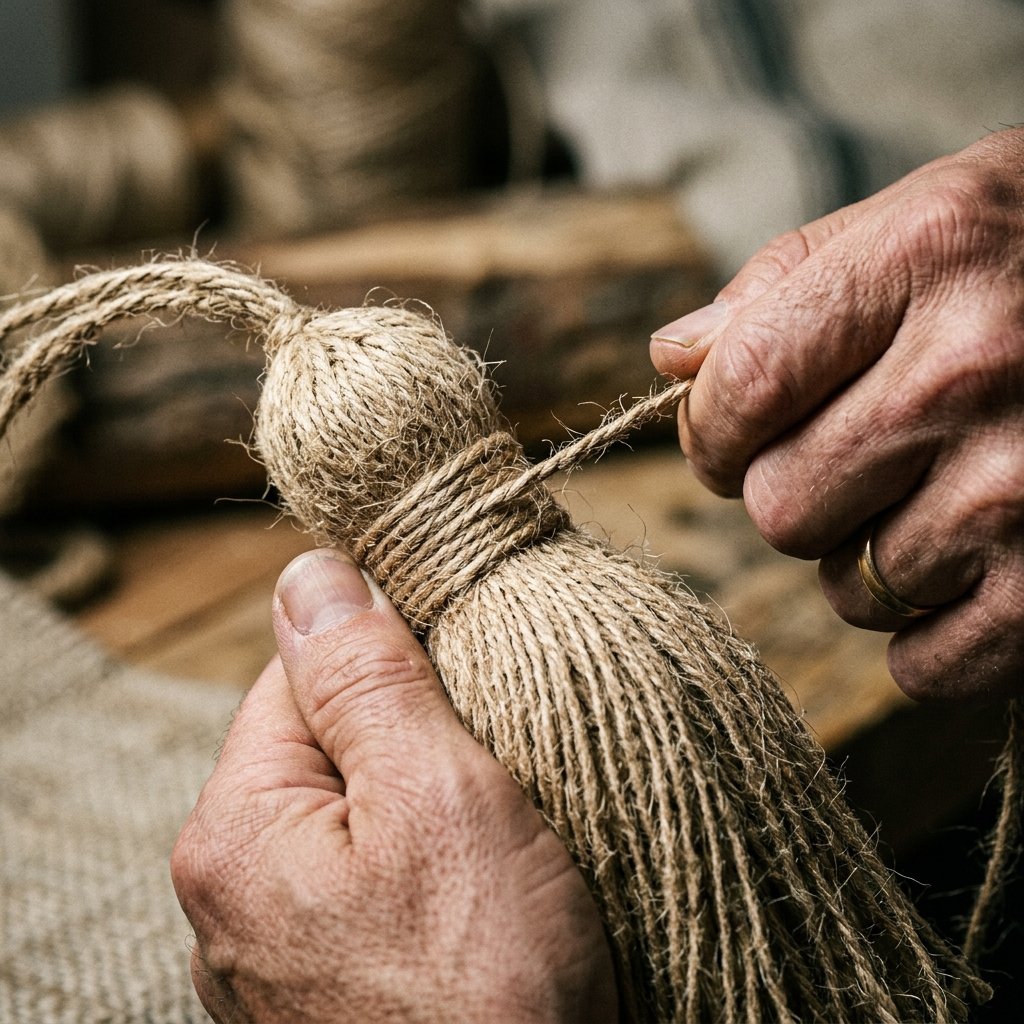
The tassel is the ‘anchor’ of your garland. A skimpy tassel makes the whole project look DIY in the wrong way. We want thick, heavy, and purposeful tassels. To achieve this, we will use the ‘Hand-Wrap’ method. This technique ensures a rugged, uniform look that mimics high-end boutique styling.
Step-by-Step Tassel Construction
- The Wrap: Wrap your jute twine around a piece of cardboard (or your hand) approximately 20 to 25 times. The more wraps, the fuller the tassel.
- The Top Tie: Slide a 10-inch piece of twine through the top of the loops and tie a very tight double knot. This will be the attachment point to your garland.
- The Cut: Slide your scissors through the bottom of the loops and snip them open.
- The Neck: Take another piece of twine and wrap it tightly around the ‘neck’ of the tassel (about 1 inch from the top). Wrap it 5-7 times for a professional, banded look. Tuck the ends in with a needle or a dab of glue.
For a masculine-elegant touch, try using a contrasting color for the neck wrap, such as a black thread or a thin strip of leather. This small detail elevates the piece significantly.
The Assembly Phase: Stringing for Durability
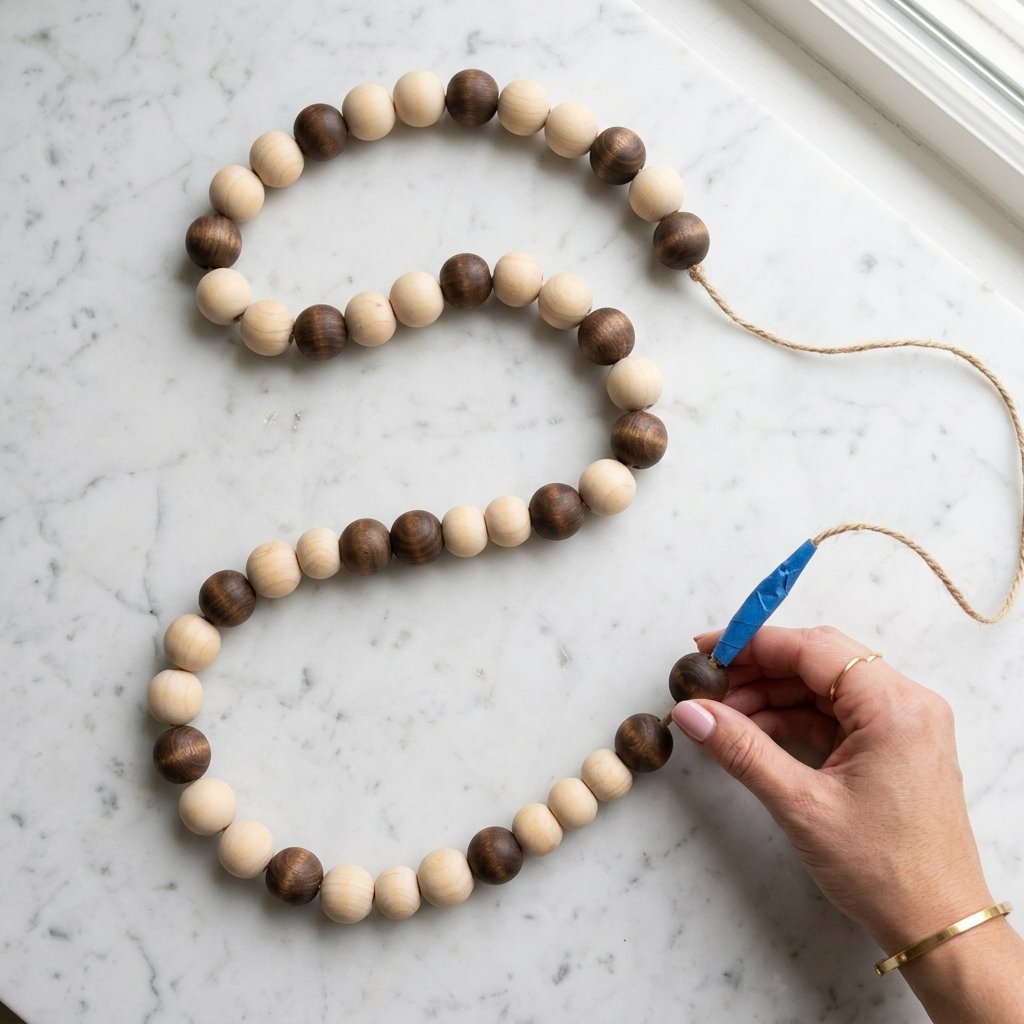
Now that your beads are stained and your tassels are prepped, it is time for assembly. This is where many crafters fail by making the garland too stiff or too loose. You want ‘drape.’ Drape is the ability of the garland to flow and curve naturally over objects without showing the string underneath or being so tight it kinks.
The Tension Secret
- Step 1: Measure out your twine. For a standard 4-foot garland, cut 6 feet of twine to allow for knots and tassels.
- Step 2: Tie one tassel to the end using a secure Surgeon’s Knot.
- Step 3: Thread your beads. To make this easier, wrap the tip of your twine in a small piece of clear tape to create a ‘needle’ effect.
- Step 4: Vary your bead sizes if you have them. A 3-small, 1-large pattern creates visual rhythm.
- Step 5: Attach the second tassel. CRITICAL: Before tying the final knot, lay the garland in a ‘U’ shape on the table. This ensures there is enough ‘play’ in the string for it to drape gracefully.
| Garland Length | Bead Count (Approx) | Best Use Case |
|---|---|---|
| 24 Inches | 30-40 Beads | Tiered Trays / Small Vases |
| 48 Inches | 60-80 Beads | Coffee Table Books / Mantels |
| 72 Inches | 100+ Beads | Christmas Trees / Large Mirrors |
Versatile Styling: Where to Place Your Masterpiece
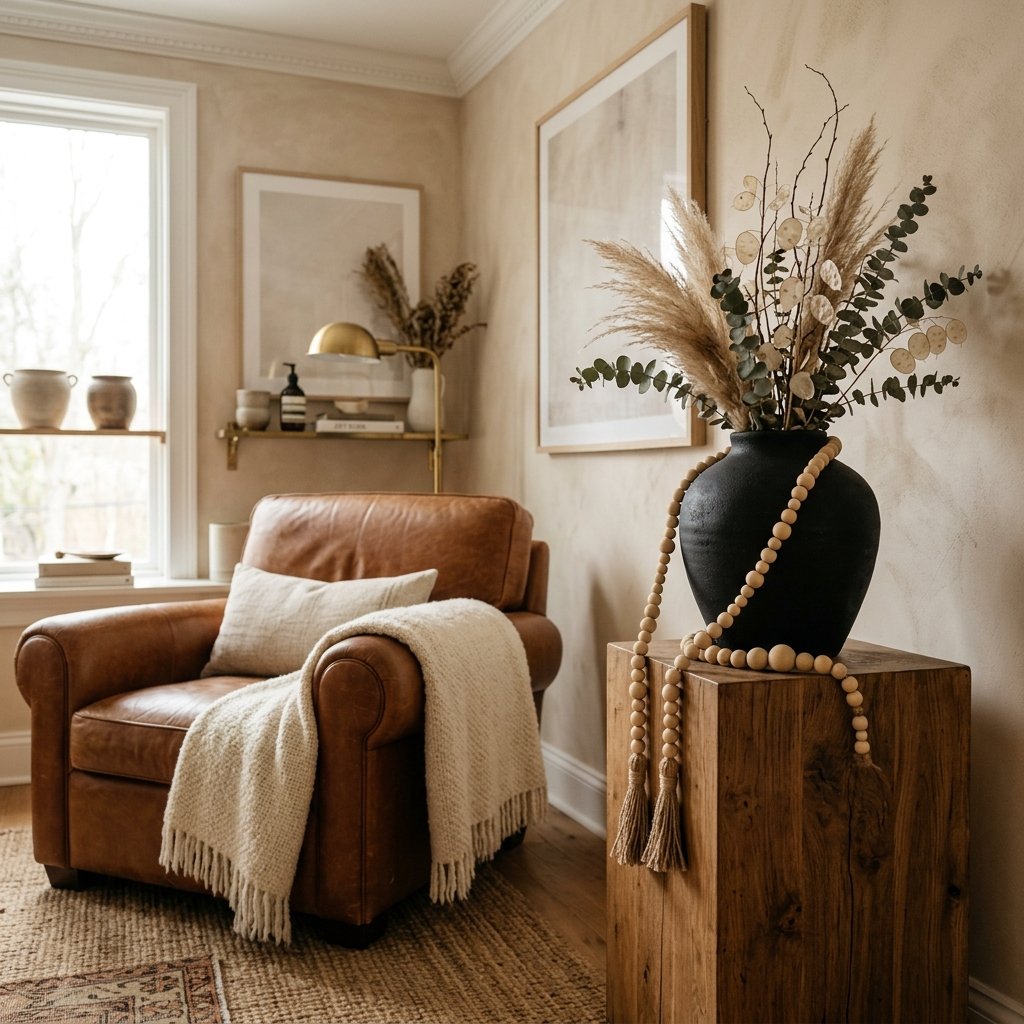
Your $5 masterpiece is complete, and it looks identical to the $40 version at the mall. Now, how do you style it? The beauty of the wood bead garland is its versatility. It fits perfectly into Farmhouse, Boho, Industrial, and Modern Minimalist aesthetics. Because we used natural stains and rugged jute, it carries a masculine-elegant weight that works in offices and dens as well as living rooms.
Top 3 Styling Moves
- The ‘Coil’: Coil the garland loosely on top of a stack of 3 hardcover books. Let the tassels hang off the side at different levels.
- The ‘Drape’: Drape the garland over the neck of a large glass amber jug or a white ceramic vase. This adds texture to smooth surfaces.
- The ‘Mantel Layer’: Stretch the garland across your fireplace mantel, weaving it between candles and framed photos to create a cohesive line that leads the eye.
Remember, the goal is to add organic texture to a space. Don’t overthink the placement—the more ‘effortless’ it looks, the more expensive it appears.
Conclusion
Creating high-end home decor doesn’t require a high-end budget; it requires a resourceful spirit and a bit of ‘crafty’ elbow grease. By turning $1.25 packs of dollar store beads into a stunning garland, you have not only saved over $30, but you have also created a piece that is uniquely yours. You’ve mastered the art of natural staining, the engineering of a perfect tassel, and the secret to the perfect drape. This project is a testament to the fact that with a little creativity, you can stop paying retail and start living in a home that looks like a million bucks on a $5 budget. Now that you have conquered the garland, what other ‘retail ripoffs’ can you tackle next? The dollar store is waiting.

Makenzie is the founder and lead writer at MoneyHackTips.com — a personal finance blog dedicated to delivering street-smart financial wisdom for real people on real budgets. With 300+ published articles covering everything from debt management to investing fundamentals, Makenzie’s mission is to make every dollar work harder. When not writing about money hacks, Makenzie is testing frugal living strategies, optimizing side hustles, and helping readers build financial freedom from scratch.