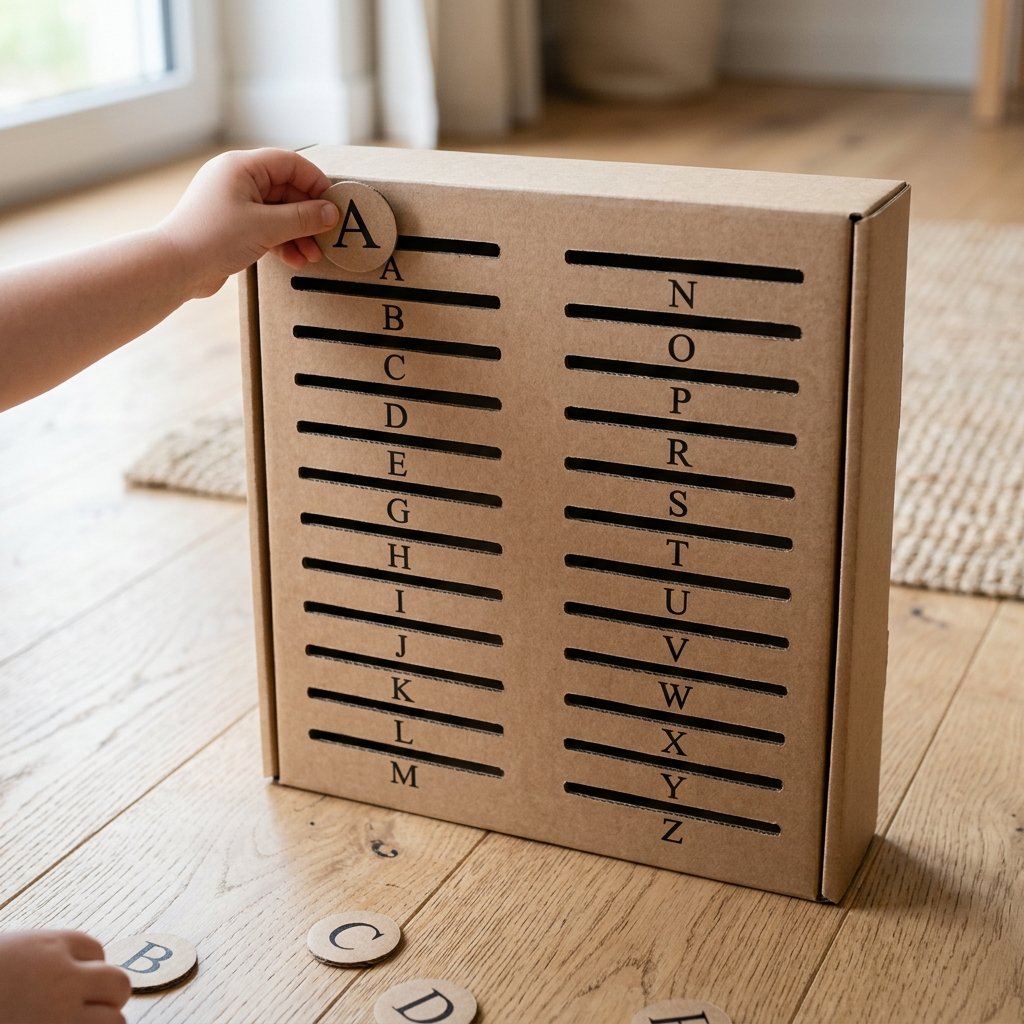

The Magic of the Humble Cardboard Box
In a world of flashing lights, plastic batteries, and expensive subscription toy boxes, there is a rugged, reliable hero hiding in your recycling bin: corrugated cardboard. As a frugal DIYer, you know that the best tools for learning aren’t bought; they are built. Today, we are going to engineer a literacy powerhouse—the Alphabet Slot Drop Box. This isn’t just a toy; it is a tactile, hands-on experience designed to bridge the gap between fine motor development and letter recognition. Whether you are a handy dad looking for a weekend project or a budget-savvy mom aiming to curate a Montessori-inspired playroom without the three-figure price tag, this build is for you. We are talking about zero-cost materials, a 5-minute learning curve for your child, and a lifetime of creative satisfaction for you.
“True resourcefulness is seeing a piece of trash and seeing a tool for a child’s future. The box is just the beginning.”
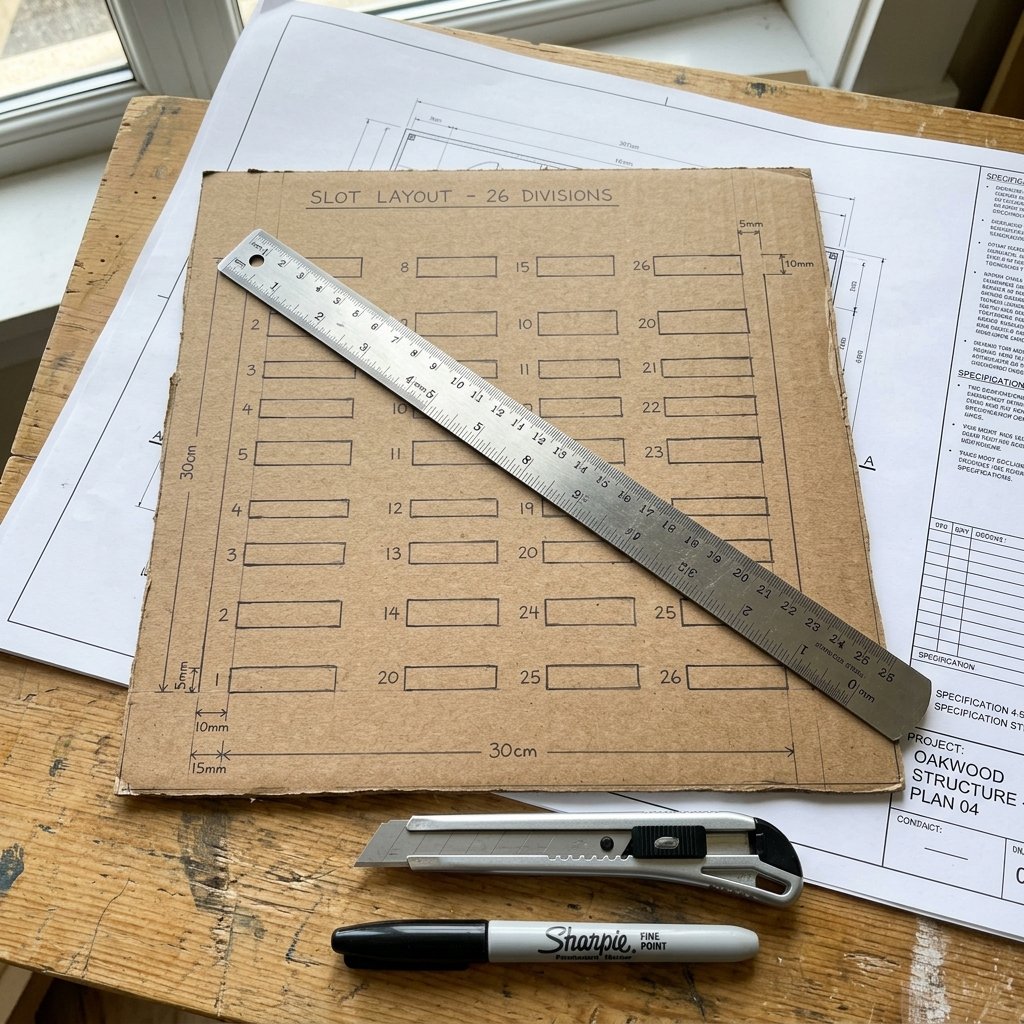
The Blueprint: Engineering the Perfect Drop Box
Why the ‘Slot and Drop’ Method Works
Before we pick up the utility knife, let’s talk about the ‘why.’ Young children are biologically hardwired for posting—the repetitive action of putting objects into slots. By combining this natural developmental urge with alphabet recognition, we create a high-engagement learning environment. This project uses structural integrity principles to ensure the box survives the enthusiastic play of a toddler. We aren’t just taping flaps; we are creating a reinforced learning station. This build focuses on spatial awareness, pincer grasp refinement, and phonemic awareness, all wrapped in a rugged, eco-friendly package.
| Feature | Developmental Benefit | DIY Advantage |
|---|---|---|
| Narrow Slots | Fine Motor Control | Customizable to token size |
| Vertical Orientation | Shoulder Stability | Fits on any shelf or floor |
| Letter Labeling | Visual Literacy | Use any font or color |
| Internal Ramp | Cause and Effect | Zero-cost engineering |
The Scavenger Hunt: Materials and Budget Breakdown
Sourcing Your Gear
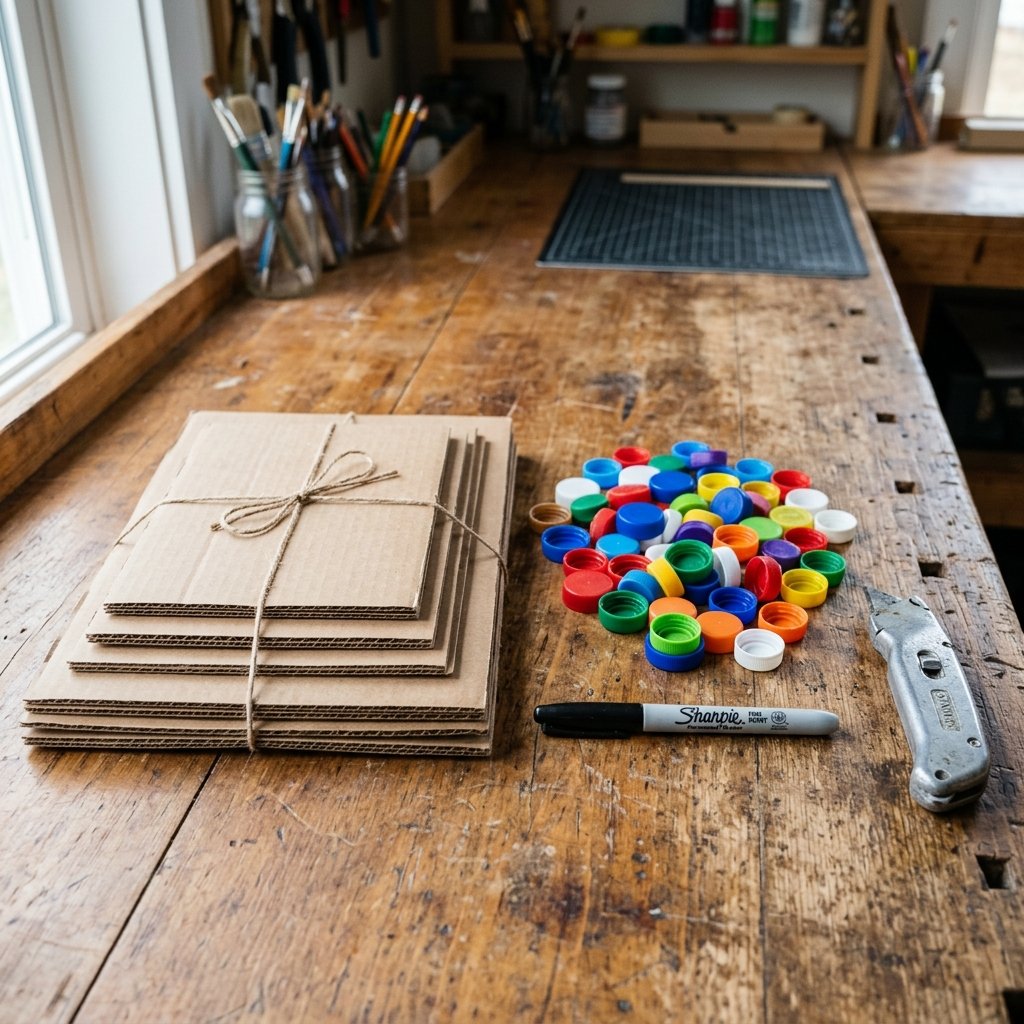
The beauty of this project lies in its 100% free price tag. You likely have every single one of these items in your pantry, garage, or junk drawer right now. For the base, we want a medium-sized shipping box with thick walls—think of the heavy-duty ones used for shipping small appliances or bulk groceries. For the tokens, we will be upcycling plastic milk jug caps or double-walled cardboard scraps. This is where your crafty expertise shines; we are turning ‘trash’ into a high-end educational tool that would easily retail for $40 or more in boutique toy stores.
| Required Material | Source/Recommendation | Estimated Cost |
|---|---|---|
| Shipping Box | Amazon, Grocery Store, or Garage | $0.00 |
| Cardboard Scraps | Leftover flaps from the main box | $0.00 |
| Utility Knife | Standard box cutter or X-Acto | Owned |
| Permanent Marker | Black or bold primary colors | $0.00 |
| Hot Glue Gun | For reinforcing internal ramps | Owned |
| Total Project Cost | The Ultimate Frugal Win | $0.00 |
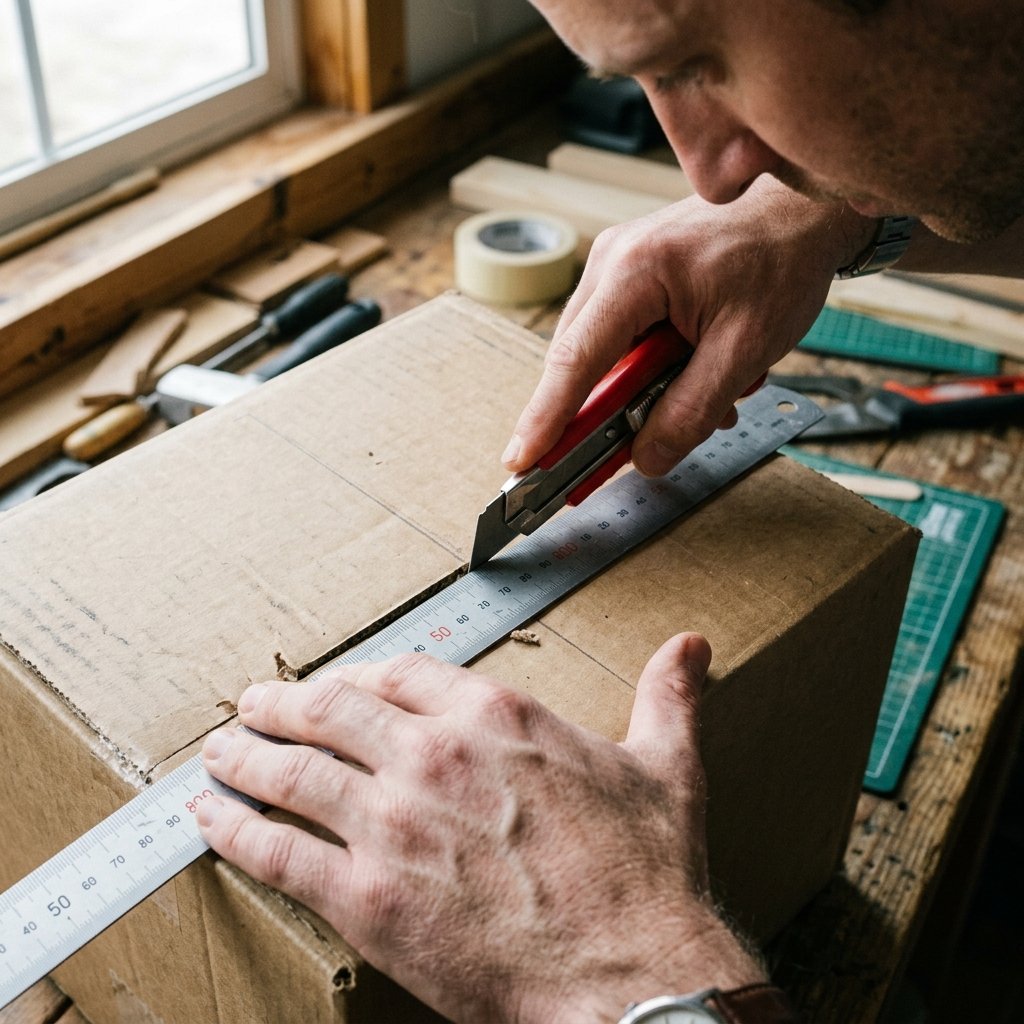
Safety Note: Always use a fresh, sharp blade in your utility knife. A dull blade requires more force and is more likely to slip, leading to accidents. Cut away from your body on a self-healing mat or a sacrificial piece of wood.
Step-by-Step Construction: Building the Literacy Engine
Phase 1: Preparing the Chassis
First, ensure your box is clean and free of old shipping labels. If you want a ‘rugged-elegant’ look, you can flip the box inside out so the plain brown side faces out. Use your hot glue gun to seal the bottom flaps securely. This creates a solid foundation for the drop mechanism.
Phase 2: Mapping the Slots
Using your metal ruler, mark out 26 horizontal lines. To keep it clean, create two columns of 13 slots. Each slot should be approximately 1.5 inches wide and 0.25 inches tall—just enough to accommodate your tokens without being too loose. Precision is key here; a well-measured box looks professional and functions flawlessly.
Phase 3: The Precision Cuts
- Incise the Slots: Use your utility knife to cut through the cardboard along your markings. If the cardboard is thick, you may need to make two passes.
- Labeling: Write one letter of the alphabet (A-Z) clearly above or below each slot. For a high-end look, use a stencil or a bold, thick-tipped marker.
- The Retrieval Hatch: On the back or side of the box, cut a larger ‘trap door’ or flap. This allows the child (or you) to retrieve the tokens once the ‘mail’ has been delivered. Secure it with a simple cardboard latch or a piece of velcro for that extra tactile ‘click’.
Crafting the Tokens: The Alphabet Currency
Creating Durable Disks
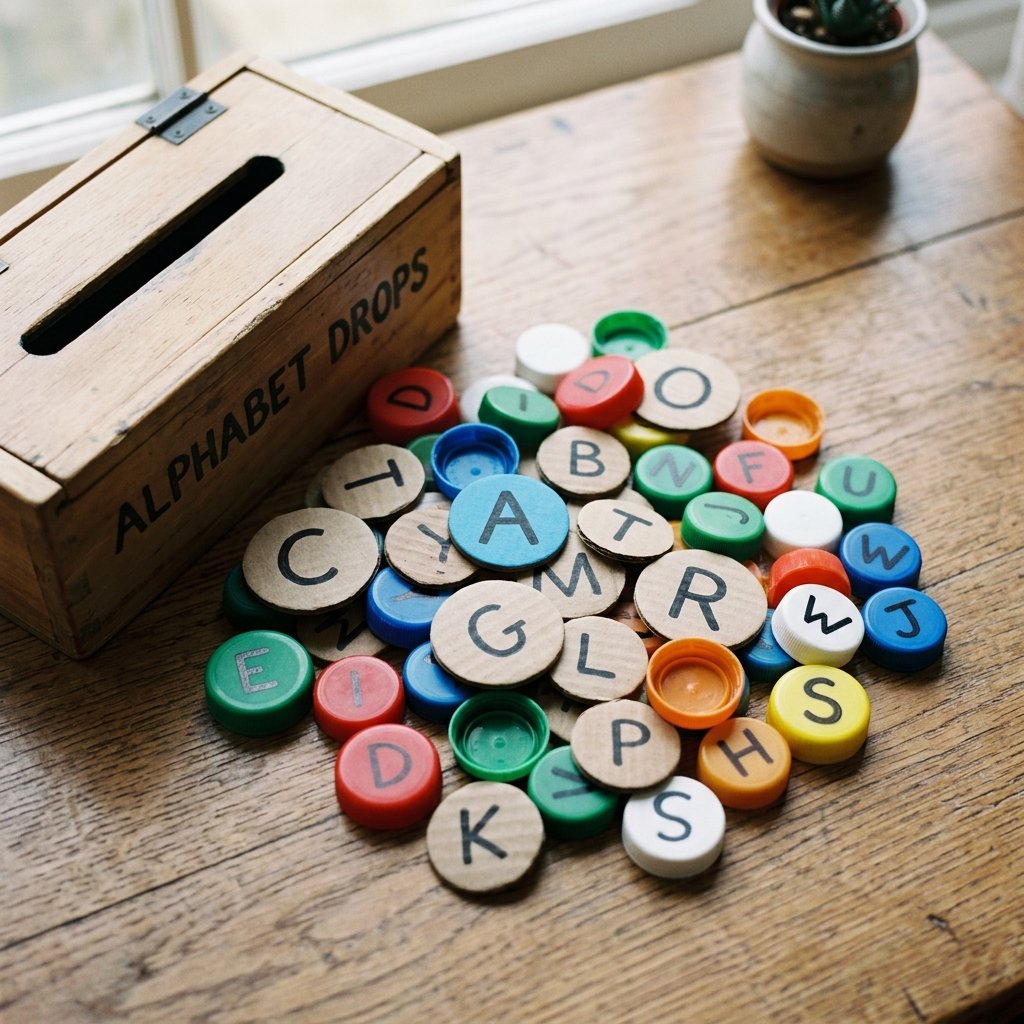
Your box is the machine, but the tokens are the fuel. You have two excellent frugal options here. Option A: Use plastic bottle caps. They are durable, colorful, and fit perfectly in small hands. Simply write the letter on the top of the cap. Option B: Cut 1.25-inch circles out of double-walled cardboard. This provides a uniform, aesthetic look that matches the box. To make them feel ‘premium,’ glue two circles together for a heavy, tactile weight.
The 5-Minute Learning Launch
Once your tokens are labeled A-Z, you are ready for the 5-minute launch. Start with just three letters (e.g., A, B, and C). Show your child how the ‘A’ token matches the ‘A’ slot. The sound of the token hitting the bottom of the box—the ‘clunk’—provides immediate auditory feedback that the task is complete. This is the ‘hook’ that keeps them engaged for hours.
Pro-Tip: For advanced learners, write the uppercase letter on one side of the token and the lowercase letter on the other. This encourages ‘letter case’ recognition during play.
Advanced Play Modes: Scaling for Growth
From Toddler to Preschooler
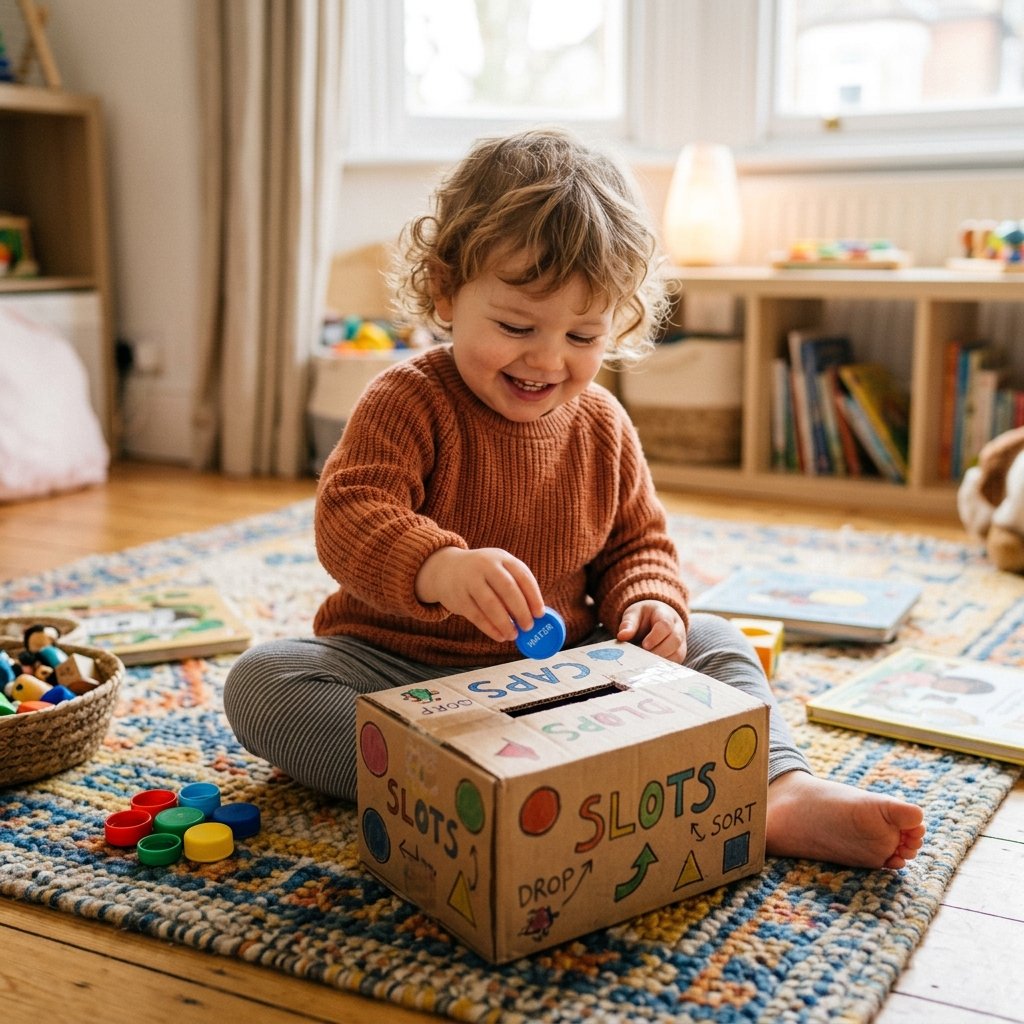
This DIY toy isn’t a one-hit wonder. As your child grows, the Alphabet Slot Drop Box evolves with them. You can use this single piece of cardboard ‘equipment’ for multiple educational drills:
- Phonics Challenge: Instead of saying the letter name, say the letter sound (e.g., ‘Find the letter that says /b/’).
- Color Sorting: If you used colored bottle caps, ask the child to find the ‘red letter’ or the ‘blue letter’.
- Spelling Sprints: For older kids, give them three tokens that spell a simple word like ‘CAT’ and have them find the slots in the correct order.
- Timed Trials: For the competitive child, see how fast they can ‘mail’ the entire alphabet. This builds speed and visual scanning skills.
Conclusion
The Power of Purposeful Upcycling
Building this DIY Cardboard Alphabet Slot Drop Box proves that you don’t need a massive budget to provide a world-class education for your children. With a bit of resourcefulness, a sharp blade, and five minutes of your time, you’ve created a tool that fosters independence, boosts literacy, and keeps ‘trash’ out of the landfill. This is the heart of the frugal DIYer’s mission: creating value where others see waste. So, grab that next shipping box that lands on your porch and start cutting. Your child’s favorite new toy—and their first steps into reading—are just a few slots away. Happy crafting!

Makenzie is the founder and lead writer at MoneyHackTips.com — a personal finance blog dedicated to delivering street-smart financial wisdom for real people on real budgets. With 300+ published articles covering everything from debt management to investing fundamentals, Makenzie’s mission is to make every dollar work harder. When not writing about money hacks, Makenzie is testing frugal living strategies, optimizing side hustles, and helping readers build financial freedom from scratch.