
The Magic of the Cardboard Box Reimagined
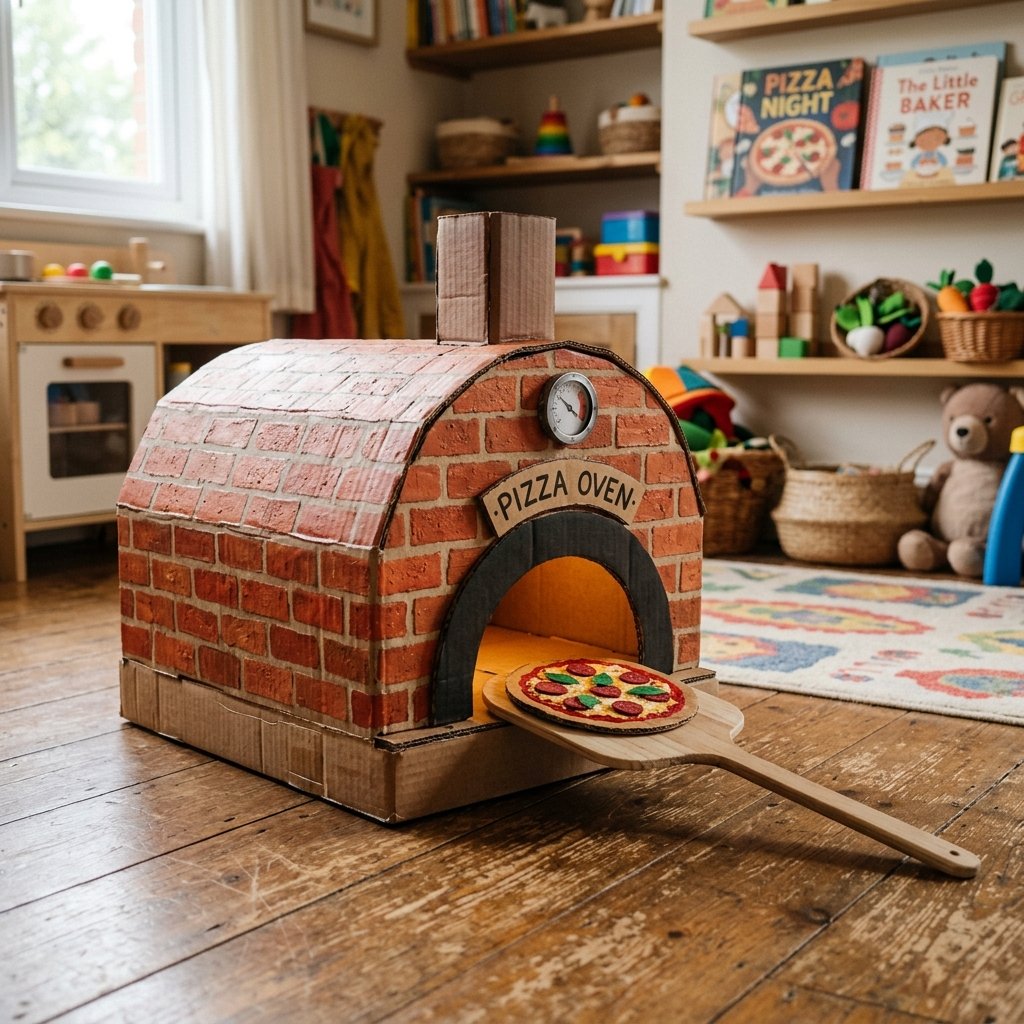
Let’s be honest: we’ve all spent $100 on a high-end wooden toy only to find our toddlers playing with the shipping box it came in for three days straight. There is something primal and infinitely creative about cardboard. It is the ultimate blank canvas for a resourceful parent. Today, we are leaning into that reality by engineering a rugged, masculine-elegant pizza oven that looks like it belongs in a rustic Italian bistro but costs exactly $0 in raw materials. This isn’t just a toy; it’s a lesson in upcycling, structural integrity, and imaginative play. By the time you finish this build, you’ll have a play center that keeps the kids engaged for hours, allowing you to reclaim your afternoon while they master the art of the perfect (cardboard) Margherita. We aren’t just making a box; we are building memories with clever, budget-savvy engineering.
The Scavenger’s Inventory: Sourcing Your Build Materials
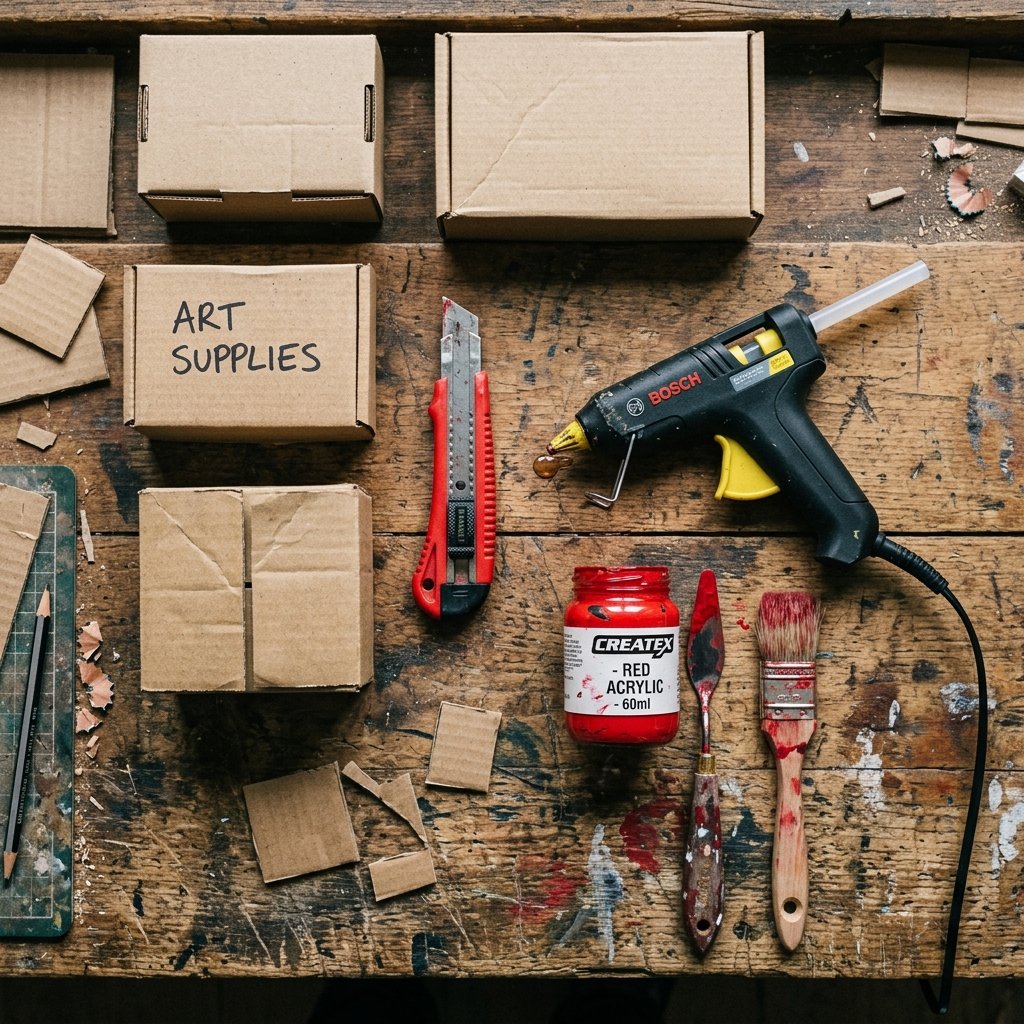
Before we start cutting, we need to gather our supplies. The beauty of this project is that most of these items are already in your garage or recycling bin. We are looking for heavy-duty, double-walled cardboard for the main structure to ensure it survives the ‘enthusiasm’ of a three-year-old chef. Think appliance boxes or those sturdy shipping containers from your last bulk order.
| Material | Source | Estimated Cost |
|---|---|---|
| Large Cardboard Box | Recycling Bin / Appliance Store | $0.00 |
| Duct Tape / Packing Tape | Toolbox | $0.00 |
| Hot Glue Gun & Sticks | Craft Drawer | $2.00 |
| Box Cutter / Utility Knife | Workshop | $0.00 |
| Acrylic Paint (Red, Grey, Black) | Dollar Store | $3.75 |
| Total Investment | Resourceful Scavenging | Under $6.00 |
Choosing the Right Foundation
When selecting your box, look for one that is roughly 20 inches wide and 15 inches deep. This provides enough internal volume for the ‘pizza’ to slide in comfortably without the whole unit tipping over. If the cardboard feels flimsy, don’t worry—we will use reinforcement tactics later to make it as solid as a real brick hearth.
Structural Integrity: Framing the Hearth and Dome
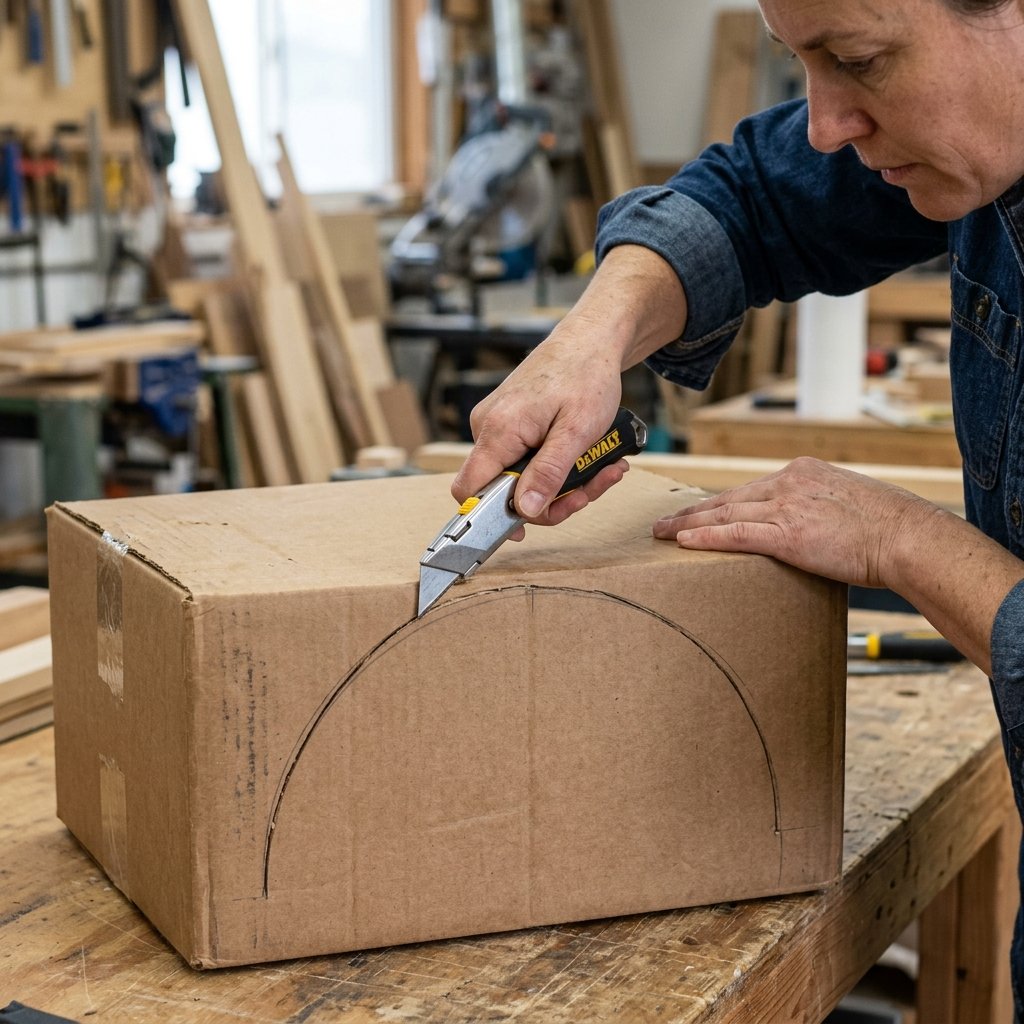
The secret to a great pizza oven toy is the ‘mouth’—the opening where the pizza goes. We want to create a classic arched look. This requires a bit of crafty engineering. Start by marking the center of your box’s front face. Use a string and a pencil to trace a perfect semi-circle. This is where the magic happens.
Pro-Tip: When cutting cardboard, always make three light passes with your utility knife rather than one heavy one. This ensures clean, professional edges and prevents the cardboard from tearing.
- Cut the Opening: Using your utility knife, carefully cut out the arched opening. Save the scrap piece; we will use it for the chimney later!
- The Internal Shelf: Cut a flat piece of cardboard the exact width of the box. Secure it 5 inches from the bottom using hot glue and reinforced tape. This creates the ‘baking stone’ level where the pizza sits.
- The Dome Ceiling: To give the oven a realistic interior, take a flexible piece of thin cardboard (like a cereal box) and curve it inside the top of the box. Glue it along the sides to create a vaulted ceiling. This adds immense structural strength.
By following these steps, you are moving away from a simple box and toward a handcrafted architectural piece. Your toddler will notice the difference in ‘feel’ when they slide their pizza into a curved, realistic-looking chamber.
The Artisan’s Finish: Creating Realistic Brick and Stone Textures
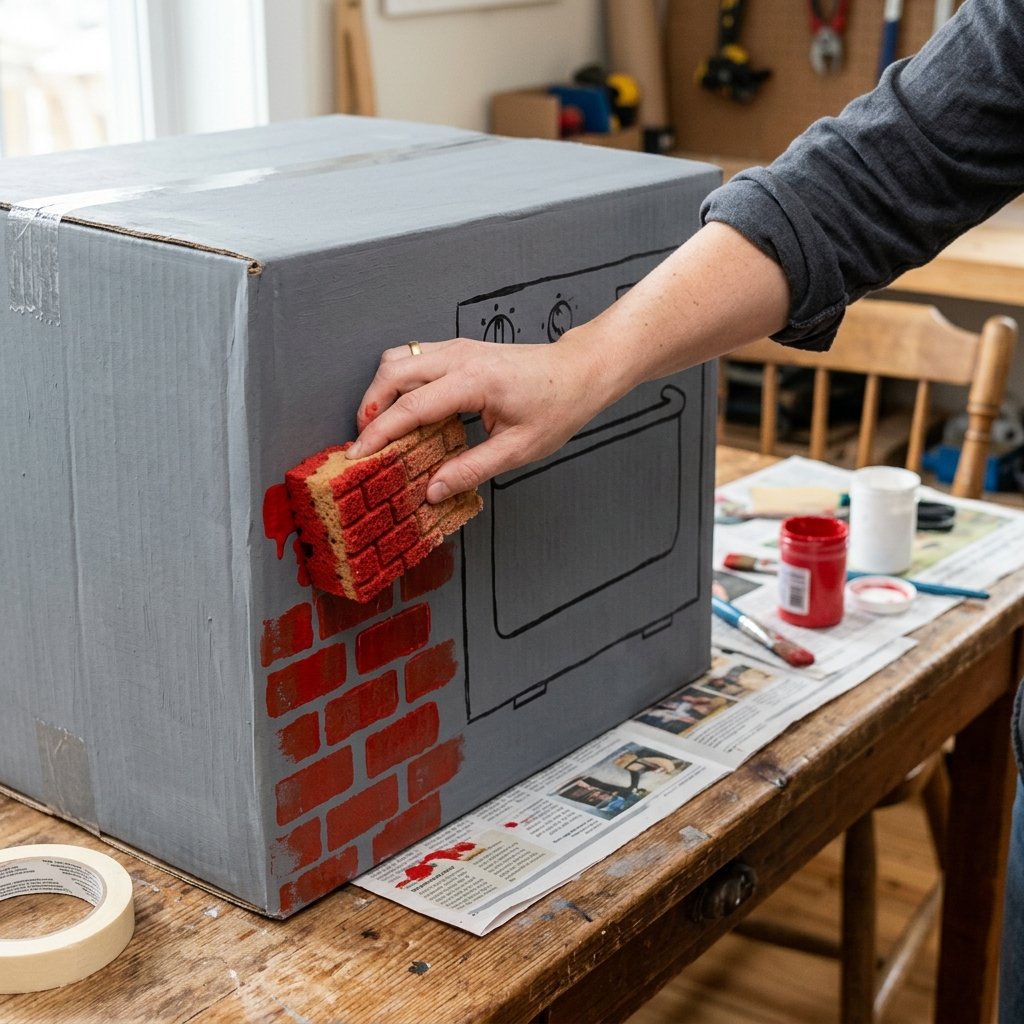
Now that the structure is sound, we need to move from ‘shipping container’ to ‘rustic pizzeria.’ This is where your creative gift-giving skills shine. We want a finish that looks expensive but costs pennies. We will use the ‘sponge-stamping’ technique to create a brick facade.
The Brick-Layer’s Method
- Base Coat: Paint the entire exterior in a matte grey or charcoal. This acts as the ‘mortar’ between your bricks. Let it dry for 20 minutes.
- The Sponge Stamp: Cut a standard kitchen sponge into a rectangle (roughly 2×4 inches).
- Stamping: Dip the sponge into terracotta or deep red paint. Press it firmly onto the grey base coat in a staggered pattern. This creates an instant, realistic brick look.
- Weathering: For a rugged, masculine-elegant touch, take a nearly dry brush with a tiny bit of black paint and lightly flick it over the bricks to simulate soot and age.
This process is incredibly satisfying and gives the toy a high-end aesthetic that looks great in any living room. You aren’t just making a toy; you’re making a piece of functional decor that sparks the imagination.
The Pizzeria Toolkit: Crafting the Peel, Cutter, and Pies
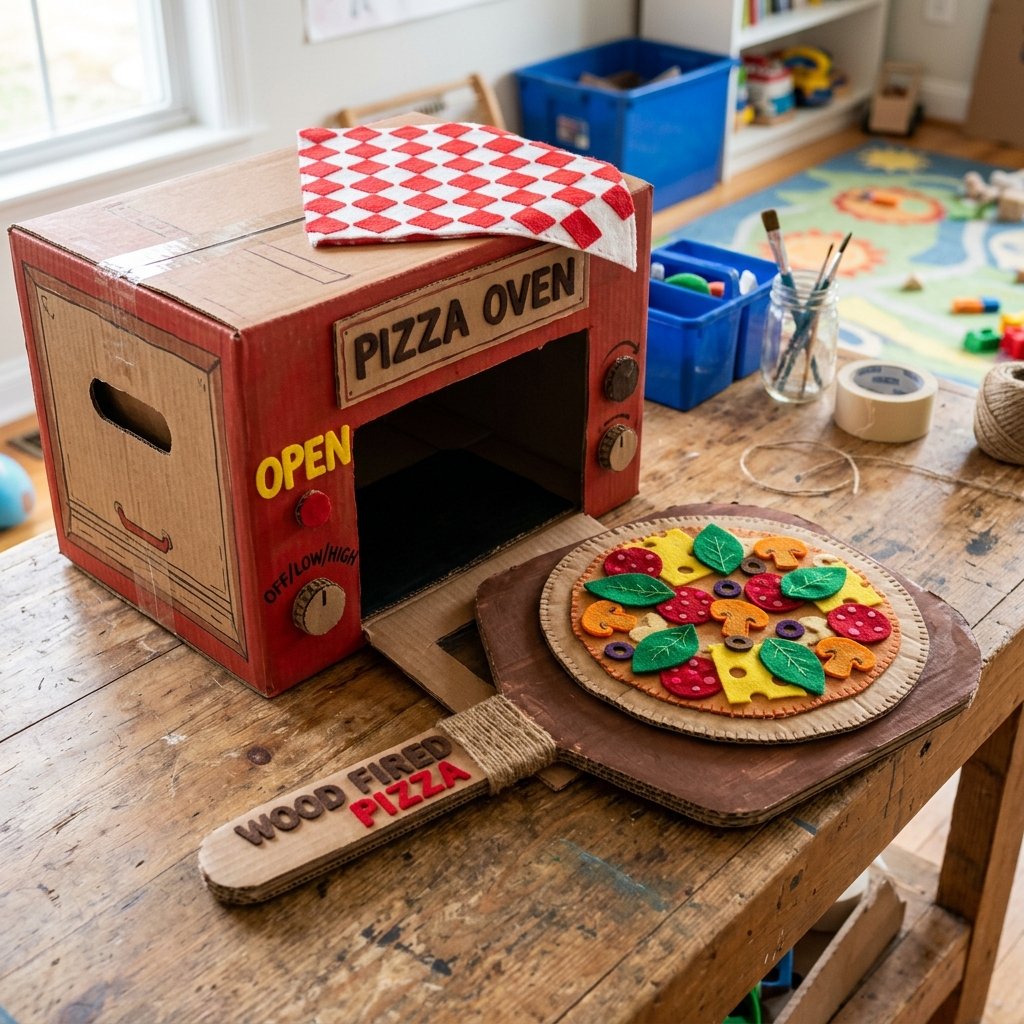
An oven is useless without the tools of the trade. To keep a toddler playing for hours, they need accessories. We are going to build a pizza peel (the long-handled paddle) and the pizzas themselves using the same upcycled materials.
| Accessory | Material Used | Build Time |
|---|---|---|
| Pizza Peel | Cardboard + Old Broom Handle | 10 minutes |
| Pizza Rounds | Cardboard Circles | 5 minutes |
| Toppings | Felt Scraps or Colored Paper | 15 minutes |
| Pizza Cutter | Cardboard + Brass Fastener | 5 minutes |
Building the Peel
The peel is essential for the ‘theatre’ of pizza making. Cut a large flat paddle shape out of triple-thick cardboard. If you have an old dowel or even a sturdy stick from the yard, tape it securely to the back. This allows the toddler to slide the pizza into the oven from a distance, mimicking a real chef.
Mantra: The joy is in the details. A handle makes it a tool; a tool makes it a job; a job makes it play.
For the toppings, cut small circles of red felt for pepperoni, green for peppers, and white for mozzarella. This provides a tactile, sensory experience that keeps little hands busy and developing fine motor skills.
Battle-Tested Durability: Reinforcing for Heavy Play
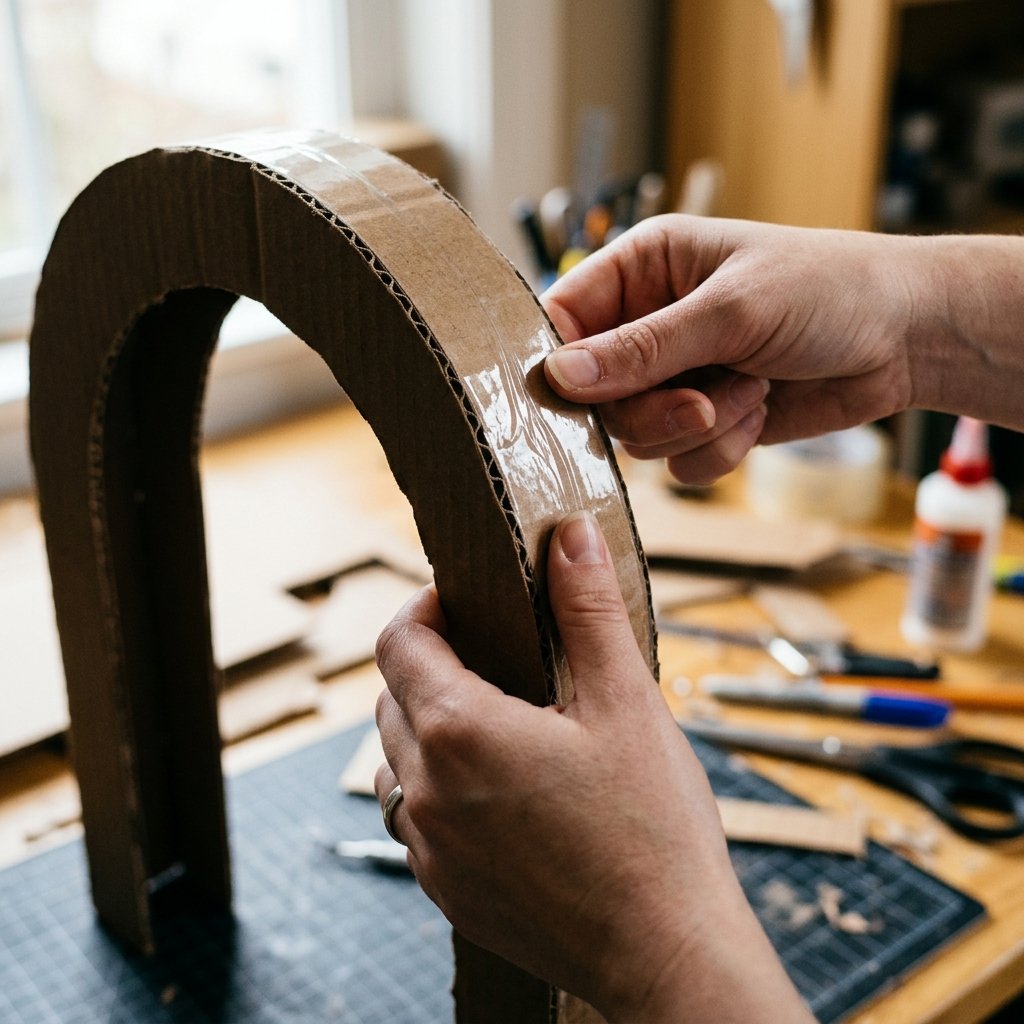
Toddlers are not known for being gentle. To ensure your budget-savvy masterpiece lasts longer than a week, we need to apply some ‘ruggedization’ techniques. Cardboard’s biggest enemy is moisture and joint stress.
- Edge Banding: Run a strip of clear packing tape along every exposed cardboard edge. This prevents the ‘layers’ of the cardboard from peeling apart over time.
- The Triple-Glue Method: For the main shelf (the hearth), use hot glue for the initial bond, then follow up with a bead of white wood glue along the seam. Once dry, it will be rock solid.
- Weighting the Base: If your oven feels top-heavy, glue a few flat stones or a small bag of sand to the very bottom (inside the base). This lowers the center of gravity and prevents the oven from sliding across the floor during a high-intensity pizza rush.
By taking these extra 10 minutes to reinforce the structure, you are guaranteeing a toy that can be passed down or at least survive the rigorous ‘testing’ of a determined two-year-old. It’s practical, it’s smart, and it’s 100% frugal.
Conclusion
A Masterpiece from the Recycling Bin
Building a DIY cardboard pizza oven is more than just a money-saving hack; it’s an act of resourceful creativity that shows your children the value of making over buying. For a total investment of nearly $0 and about two hours of your time, you’ve created a playroom centerpiece that rivals the most expensive boutique toys. Your toddler now has a rugged, functional stage for their imagination, and you have the satisfaction of knowing you built it with your own two hands. So, the next time a large box arrives at your door, don’t see it as trash—see it as the next great adventure in frugal DIY crafting. Now, who’s ready for a slice?

Makenzie is the founder and lead writer at MoneyHackTips.com — a personal finance blog dedicated to delivering street-smart financial wisdom for real people on real budgets. With 300+ published articles covering everything from debt management to investing fundamentals, Makenzie’s mission is to make every dollar work harder. When not writing about money hacks, Makenzie is testing frugal living strategies, optimizing side hustles, and helping readers build financial freedom from scratch.