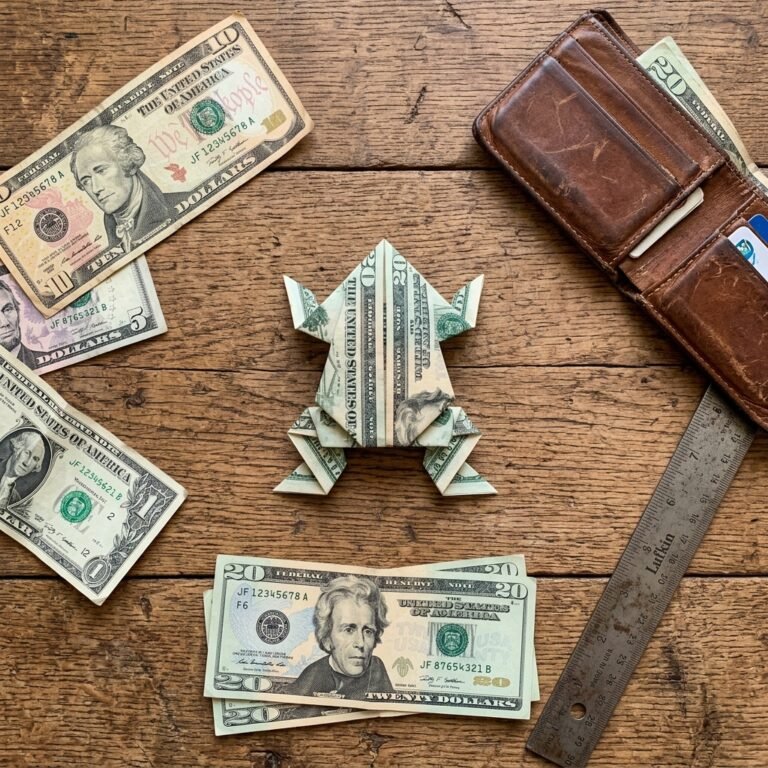

Let us be entirely honest: handing over a flat twenty-dollar bill inside a generic, store-bought greeting card lacks a certain… swagger. When wedding season hits, our wallets take a beating, and the pressure to give a memorable gift can feel overwhelming. You want to be generous, but you also want your hard-earned cash to stand out in a sea of identical white envelopes. Enter the ultimate frugal-yet-fancy solution: the Money Origami Tuxedo.
This resourceful, clever, and budget-savvy technique transforms standard currency into a miniature masterpiece of masculine elegance. It is the perfect blend of crafty expertise and practical gifting. By taking just 10 minutes of your time to master a few precise folds, you elevate a simple cash donation into a highly personalized, thoughtful keepsake that the bride and groom will genuinely hesitate to unfold.
Whether you are a handy parent looking to impress at a family wedding, a budget-savvy guest wanting to make a modest cash gift look incredibly high-end, or just a creative gift-giver who appreciates the rugged art of paper folding, this guide is your blueprint. We are going to ditch the overpriced $8 hallmark cards and turn your cash into a tailored suit. Grab a crisp bill, clear off your workbench, and let us fold some serious style.
The Art of Cash Gifting: Why the Origami Tuxedo Wins
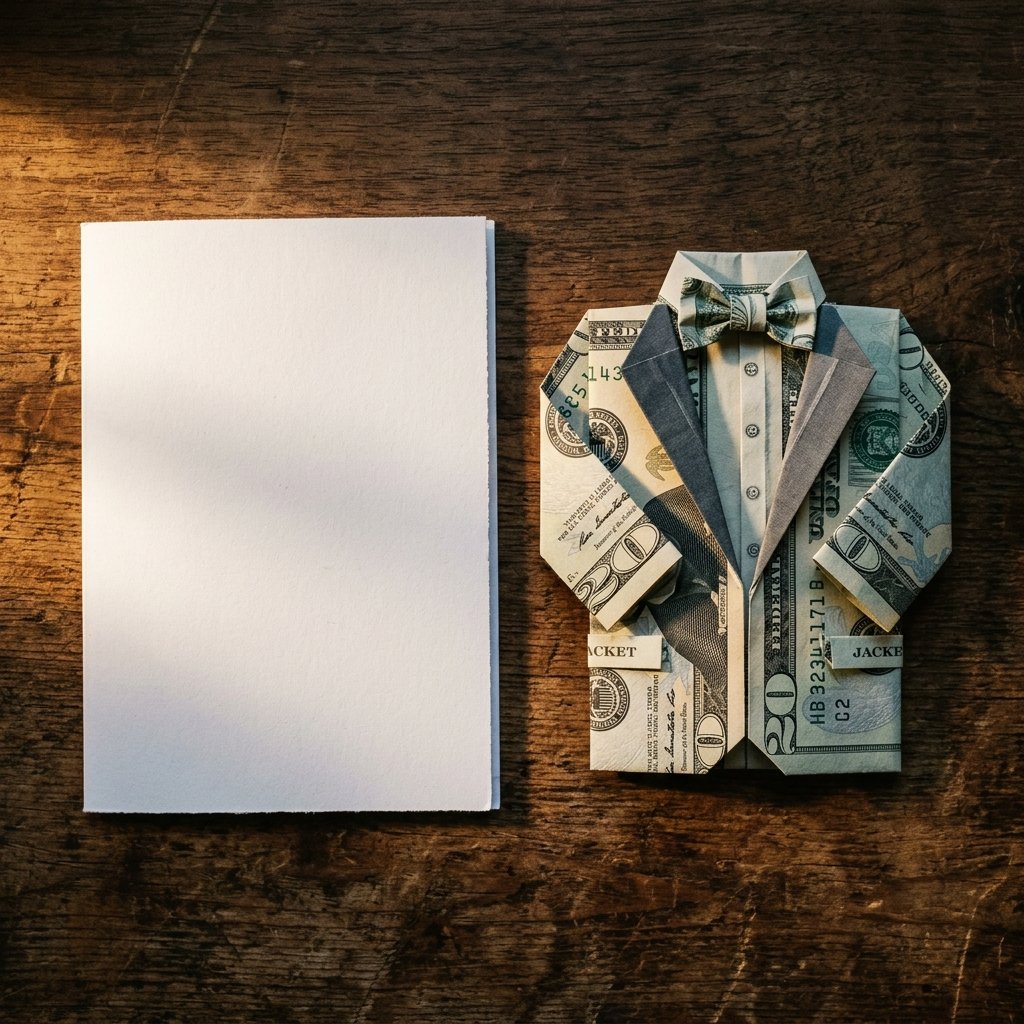
There is a persistent myth that giving cash is impersonal. But when you apply a little DIY ingenuity, cash becomes the most versatile and appreciated gift a newlywed couple can receive. They do not need another toaster; they need funds for their honeymoon, their first home, or simply to recoup the costs of the wedding itself. The challenge is presentation.
Folding your cash into a tuxedo adds immediate, undeniable value. It shows you invested time—the one resource more precious than money. The tuxedo fold specifically exudes a classic, masculine elegance that perfectly suits the formality of a wedding. It is a brilliant conversation starter at the gift table and serves as a testament to your crafty resourcefulness.
The Psychology of the Fold
When you present a money origami tuxedo, you are engaging the recipient on multiple levels. First, there is the visual delight of the miniature garment. Second, there is the tactile appreciation of the crisp, geometric folds. Finally, there is the realization of the monetary value. This multi-sensory experience makes a $20 bill folded into a tuxedo feel infinitely more special than a $50 bill hastily shoved into an envelope.
Remember: The goal of frugal gifting isn’t to be cheap; it’s to maximize the emotional impact of every dollar spent. A beautifully folded bill is the epitome of high-end upcycling.
Preparing Your “Fabric”: Selecting and Prepping the Bills
Just as a master tailor requires premium wool for a bespoke suit, a money origami artist requires the right “fabric.” You cannot execute a crisp, elegant tuxedo fold with a crumpled, soft bill that has been through the washing machine. Preparation is critical.
Choosing the Right Denomination
While you can fold any U.S. bill, the denomination you choose affects the final look due to the placement of the portraits and the intricate scrollwork on the currency. Here is a breakdown to help you plan your budget and visual impact:
| Bill Denomination | Visual Impact & Best Use Case | Estimated Cost to Gift |
|---|---|---|
| $1 Bill | Great for practice runs or creating a “groomsmen” entourage alongside a larger bill. | $1 |
| $5 Bill | Lincoln’s portrait centers nicely. Good for modest gifts or a bouquet of tuxedos. | $5 |
| $20 Bill | The classic choice. The green hue is vibrant, and the scrollwork makes excellent lapels. | $20 |
| $50 Bill | The subtle color variations (red/blue) add a high-end, custom-tailored look to the suit. | $50 |
| $100 Bill | The ultimate flex. The blue security ribbon creates a stunning, modern “tie” effect down the center. | $100 |
The Ironing Technique: Achieving the Perfect Crispness
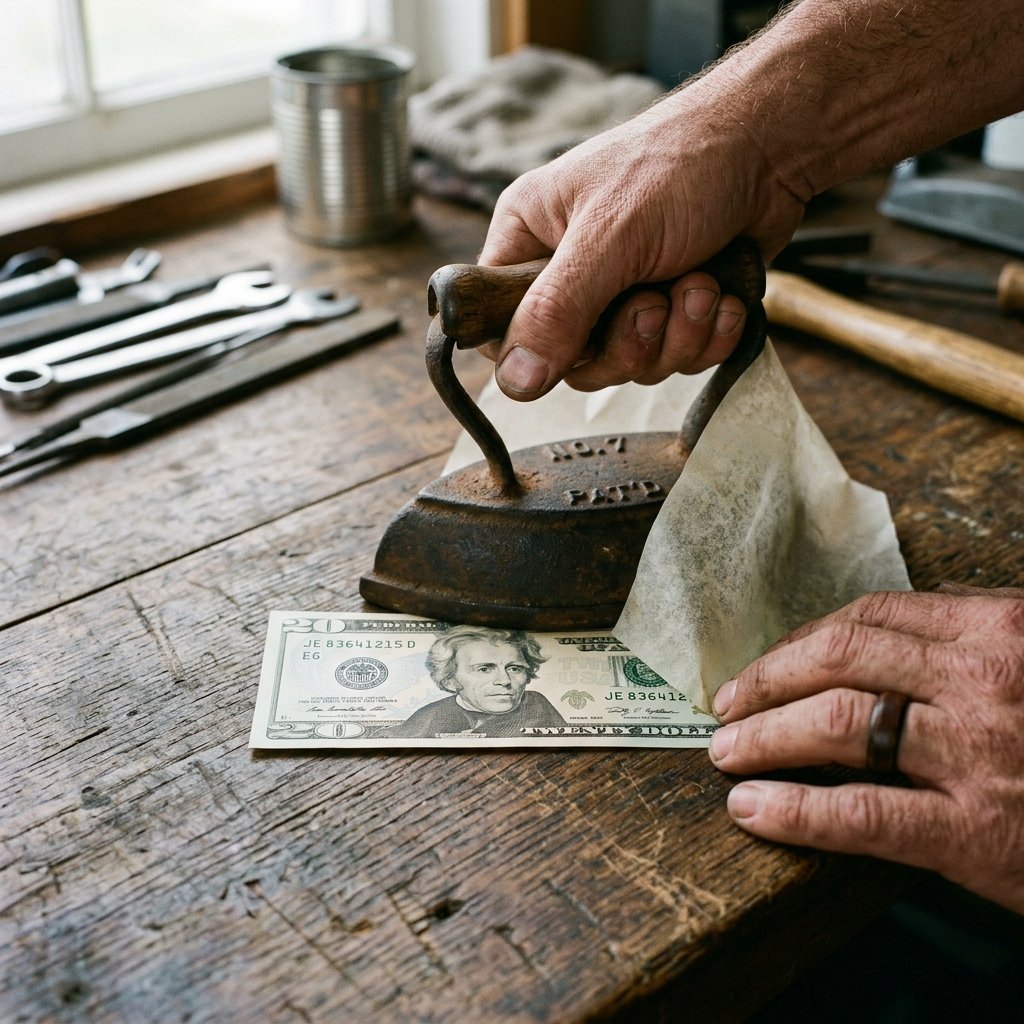
If you cannot secure uncirculated bills from the bank teller (always ask nicely!), you must “iron” your money. Yes, you read that right. Currency is made of a cotton-linen blend, meaning it can handle a little heat.
- Place your slightly worn bill flat on a clean, dry ironing board.
- Set your iron to a low-medium heat setting (the “cotton” setting without steam).
- Place a thin cotton cloth or a piece of parchment paper over the bill to protect it from direct heat.
- Press firmly for 3 to 5 seconds. Do not use steam, as moisture will warp the fibers.
- Flip the bill and repeat. Your bill should now be as stiff as a heavily starched collar, ready for precision folding.
Step-by-Step Folding Guide: Crafting the Tuxedo Jacket
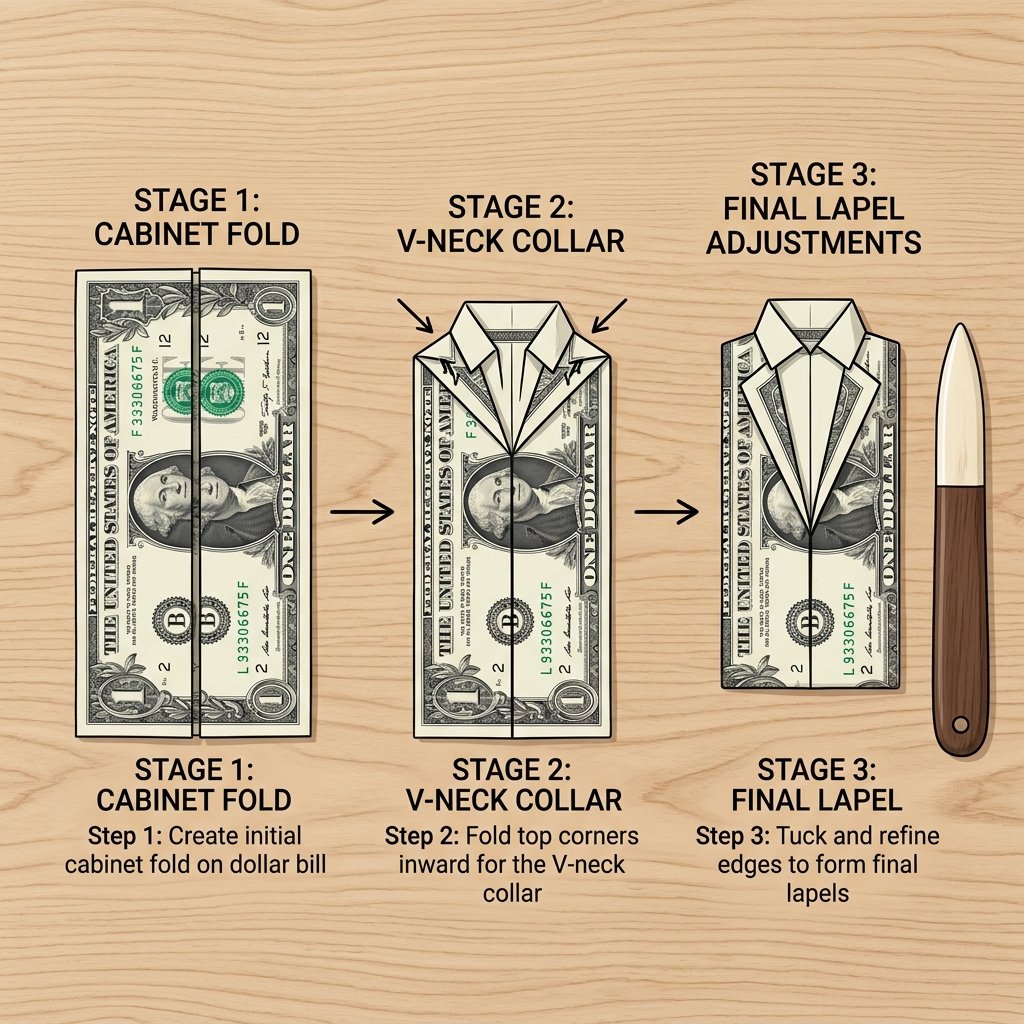
Now for the main event. Clear your workspace, ensure your hands are clean (oil transfers easily to crisp bills), and grab a bone folder if you have one. If you are a true resourceful crafter, the edge of a credit card or a smooth guitar pick works perfectly to crease the edges.
Phase 1: The Foundation Folds
The foundation sets the symmetry of the entire suit. Take your time here; precision is paramount.
- The Center Crease: Lay the bill flat, face up. Fold the bill in half lengthwise (hotdog style) to create a sharp center crease. Unfold it completely.
- The Cabinet Fold: Fold the top and bottom long edges inward so they meet exactly at the center crease you just made. Your bill should now look like a long, narrow rectangle.
- The Collar Prep: Flip the folded bill over. Fold one of the short ends down by approximately 1/4 inch. This small band will become the collar of your tuxedo shirt.
Phase 2: Forming the Collar and Shoulders
This is where the magic happens and the garment begins to take shape.
- The Neckline: Flip the bill back over to the front. Take the two corners of the end where you just made the 1/4-inch fold. Fold them diagonally inward so the tips meet at the center crease. You should now see a distinct “V” shape—this is the collar of the tuxedo shirt peeking through the jacket.
- The Jacket Length: Look at the opposite short end of the bill. Fold this end up, bringing it right to the base of the collar you just created. Tuck the edge neatly under the collar flaps to hold it securely in place.
Pro Tip: Run your bone folder over every single crease. A masculine, elegant fold relies entirely on sharp, geometric lines. No soft edges allowed!
Phase 3: The Lapels and Sleeves
To turn this basic shirt shape into a formal tuxedo jacket, we need to add the lapels and the illusion of sleeves.
- Creating the Lapels: Carefully unfold the bottom section you just tucked under the collar. On the front layers of the folded-in edges, fold the inner corners diagonally outward, starting from about a third of the way down. This creates the iconic “V” opening of the tuxedo jacket.
- Forming the Sleeves: At the bottom edge of the bill (the part you will tuck back up), fold the outer edges slightly outward at an angle. When you fold the bottom section back up and tuck it under the collar, these angled pieces will stick out from the sides, resembling the sleeves of the jacket.
Step-by-Step Folding Guide: The Trousers and Bow Tie (Optional Enhancements)

A true craftsman knows that the details make the design. While the tuxedo jacket alone is a fantastic gift, pairing it with matching trousers or a tiny bow tie takes your presentation from “clever” to “absolute masterclass.” This is how you win the title of Best Wedding Gift.
The Trousers (Requires a Second Bill)
If you are gifting a larger amount, splitting it into two bills allows you to create a full suit.
- Take your second crisp bill and fold it in half lengthwise, just like the foundation of the jacket.
- Fold the edges into the center crease (the cabinet fold).
- Fold the entire strip in half widthwise. The two open ends will serve as the legs of the trousers.
- To attach, simply slide the folded crease of the trousers up into the bottom opening of the tuxedo jacket before you make the final tuck under the collar. The friction of the crisp folds will hold the suit together perfectly.
The Micro Bow Tie (Requires a Third Bill or Scrap Paper)
For the ultimate budget-savvy upcycler, you can create a tiny bow tie using a $1 bill or even a piece of high-quality black construction paper to add contrast.
- Cut a small rectangle (about 1 inch by 0.5 inches). If using a bill, fold a small section to these dimensions.
- Pinch the center of the rectangle tightly to create a bow shape.
- Wrap a tiny sliver of paper around the pinched center and secure it with a microscopic dot of glue or double-sided tape.
- Slide the completed bow tie right at the apex of the tuxedo shirt collar. The result is ruggedly handsome and undeniably clever.
Presentation & Display Ideas for the Big Day
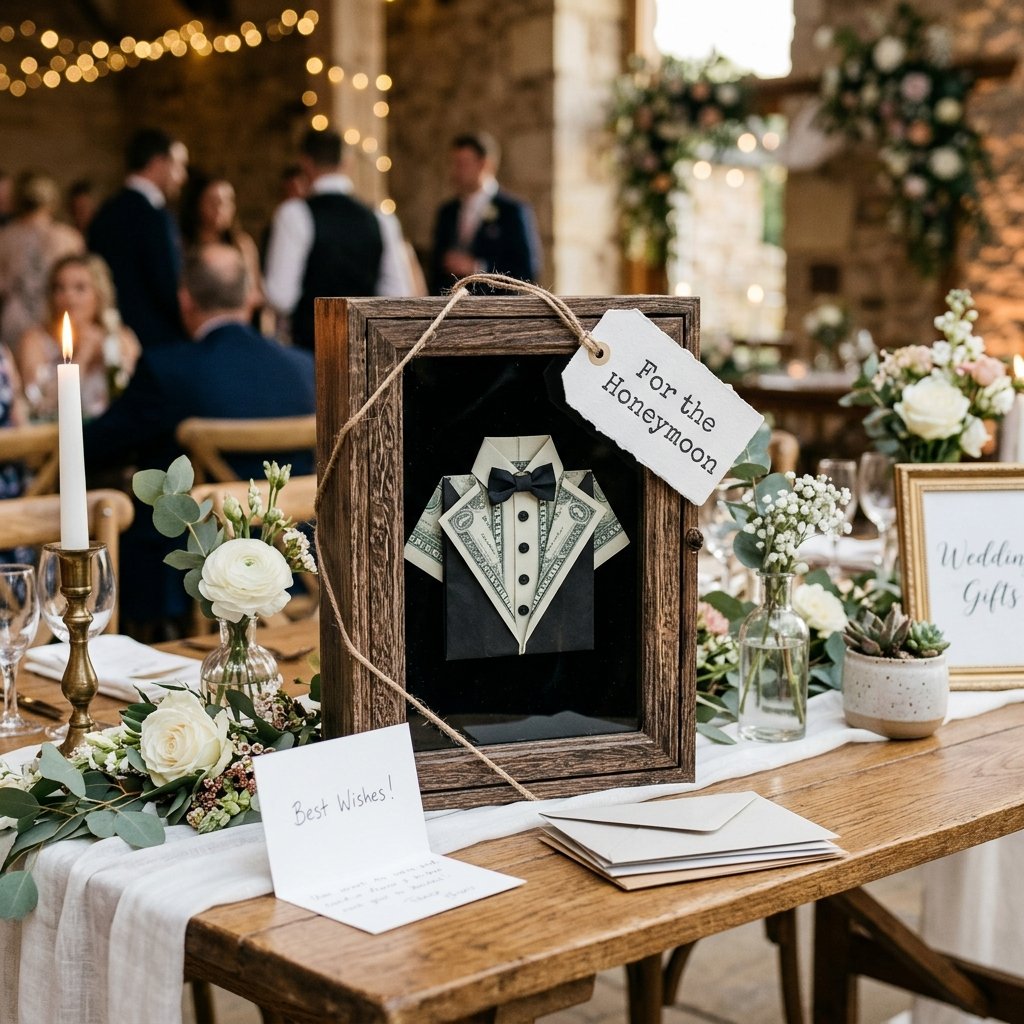
You have just spent time crafting a gorgeous origami tuxedo; do not ruin the effect by tossing it into a cheap paper envelope. The presentation is the final step in this frugal DIY masterclass. By utilizing some Dollar Tree hacks and a bit of upcycling, you can create a display that looks like it came from a high-end boutique.
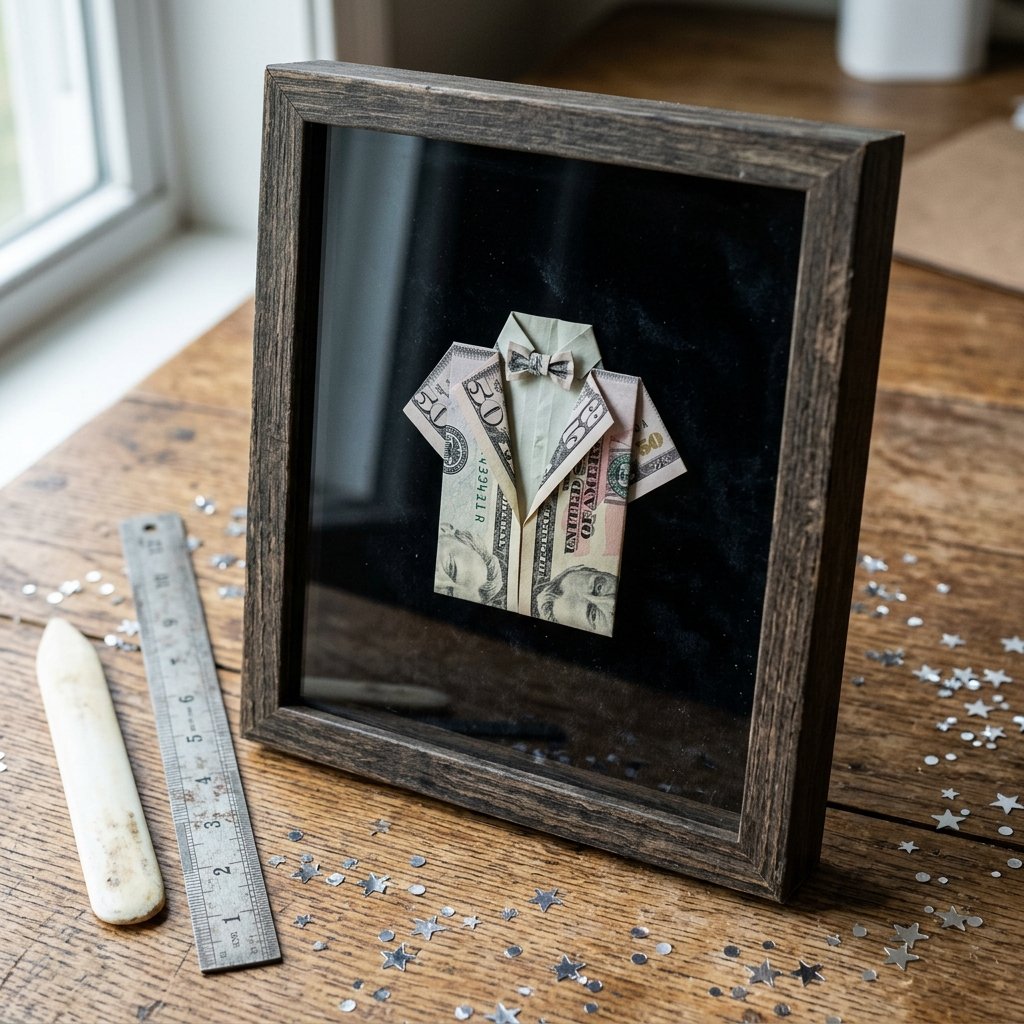
The Shadow Box Display
A small shadow box elevates your folded cash into a piece of art. The couple can display it on their shelf until they are ready to spend the money.
| Materials Needed | Estimated Cost | Where to Source |
|---|---|---|
| Small Shadow Box Frame | $1.25 – $3.00 | Dollar Tree or Thrift Store |
| Black Velvet or Felt Scrap | $0.00 – $1.00 | Craft stash or old clothing |
| Double-Sided Tape (Removable) | $1.00 | Hardware store or craft bin |
| Miniature Hanger (Wire) | $0.00 | DIY from a paperclip |
- The Setup: Remove the backing of the shadow box and wrap it in the black velvet scrap. This provides a luxurious, high-contrast background that makes the green of the currency pop.
- The Mount: Bend a standard paperclip into the shape of a miniature clothing hanger. Hook the tuxedo jacket onto the hanger.
- The Securing: Use a tiny piece of removable double-sided tape to stick the hanger to the velvet backing. Close the shadow box. You now have a miniature, high-end garment display!
The “Emergency Fund” Glass Jar
For a more rugged, practical aesthetic, use a small mason jar. Roll up a piece of rustic Kraft paper and slip it inside to create a background. Suspend the tuxedo from the lid using a piece of twine. Add a clever label to the outside that reads: “In Case of Matrimonial Emergency, Break Glass (or just unscrew the lid).” It is humorous, resourceful, and looks fantastic on a gift table.
Troubleshooting Folds & Budget-Savvy Tips
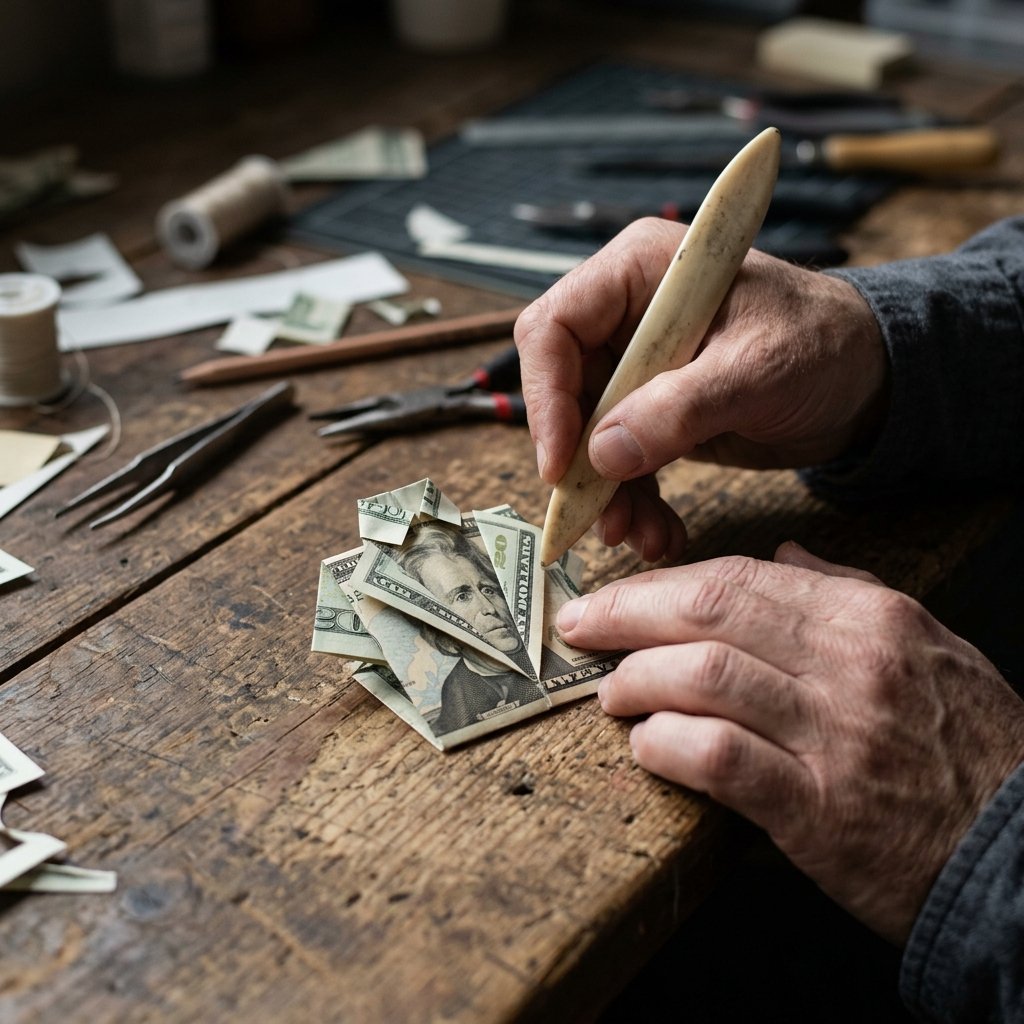
Even the most experienced handy parents and crafters run into snags. Paper folding requires patience, and currency can sometimes be stubborn. Here is your practical troubleshooting guide to ensure your money origami tuxedo looks sharp and professional.
Common Origami Issues and Fixes
- Uneven Lapels: If one side of your jacket looks wider than the other, your initial center crease was likely off. The Fix: Unfold completely and remeasure. Even a millimeter of difference at the start multiplies by the final step.
- The Collar Won’t Stay Tucked: This happens when the bill is too soft or the bottom fold is too thick. The Fix: Re-iron the bill to stiffen it. If it still pops out, use a single, tiny paperclip hidden on the backside to hold the tension. Never use glue or permanent tape on currency!
- Tears in the Bill: Older bills can split along heavy creases. The Fix: Stop immediately. Do not try to tape it, as this ruins the bill for the recipient. Swap it out for a crisper bill and use the torn one for your next grocery run.
Safety/Disclaimer: When ironing currency, never leave the iron unattended, and never use high heat or steam. The synthetic security threads in modern high-denomination bills can melt if exposed to excessive temperatures. Always use a protective pressing cloth.
Maximizing the Frugal Factor
If your budget for the wedding gift is strict—say, exactly $20—do not feel pressured to fold a larger bill just for the aesthetic. A pristine $20 bill folded flawlessly looks far better than a crumpled $100 bill folded poorly. To add volume to your gift without adding cost, consider folding a fleet of smaller bills. Five $1 bills folded into tiny tuxedos and arranged in a handmade, upcycled cardboard “closet” is an incredibly creative, show-stopping gift that costs exactly $5.
Ultimately, the power of the money origami tuxedo lies in your hands. It is the perfect intersection of practical gifting and resourceful crafting. By taking a few minutes to master these folds, you guarantee that your gift will be the one the newlyweds talk about long after the reception ends.
Conclusion
There you have it—the ultimate frugal, crafty, and undeniably clever way to upgrade your wedding cash gift. By trading in the boring, overpriced greeting card for a few minutes of precise folding, you have created a Money Origami Tuxedo that speaks volumes. It shows the happy couple that you respect their practical need for cash, but you care enough to present it with masculine elegance and thoughtful artistry.
The next time you are invited to a wedding, a graduation, or even a milestone birthday, skip the stationery aisle. Head to the bank for some crisp bills, fire up the iron, and let your hands do the talking. You are not just giving money; you are giving a memorable, upcycled masterpiece that proves the best gifts are built, not bought. Now, go fold some swagger into that cash!

Makenzie is the founder and lead writer at MoneyHackTips.com — a personal finance blog dedicated to delivering street-smart financial wisdom for real people on real budgets. With 300+ published articles covering everything from debt management to investing fundamentals, Makenzie’s mission is to make every dollar work harder. When not writing about money hacks, Makenzie is testing frugal living strategies, optimizing side hustles, and helping readers build financial freedom from scratch.