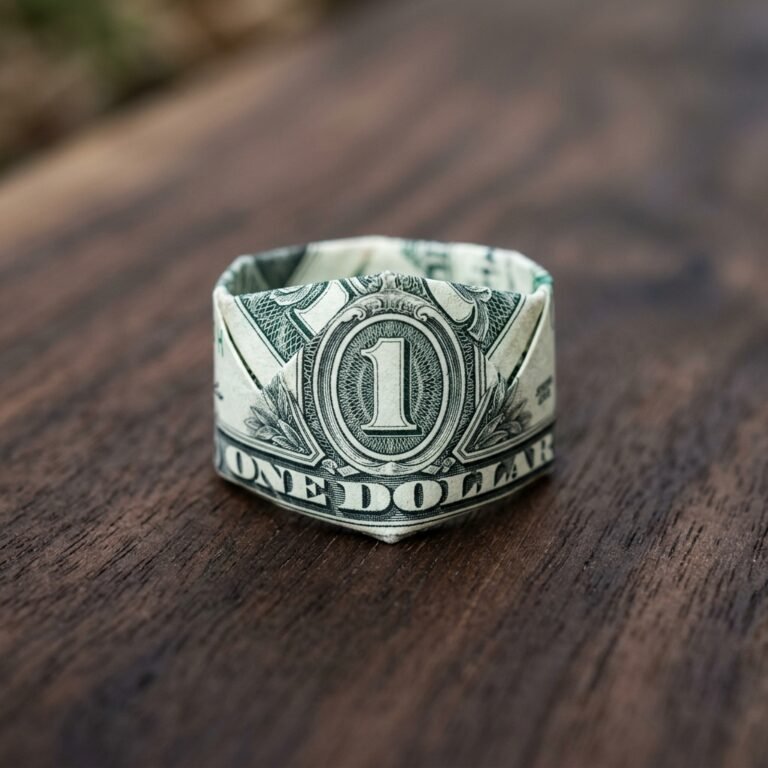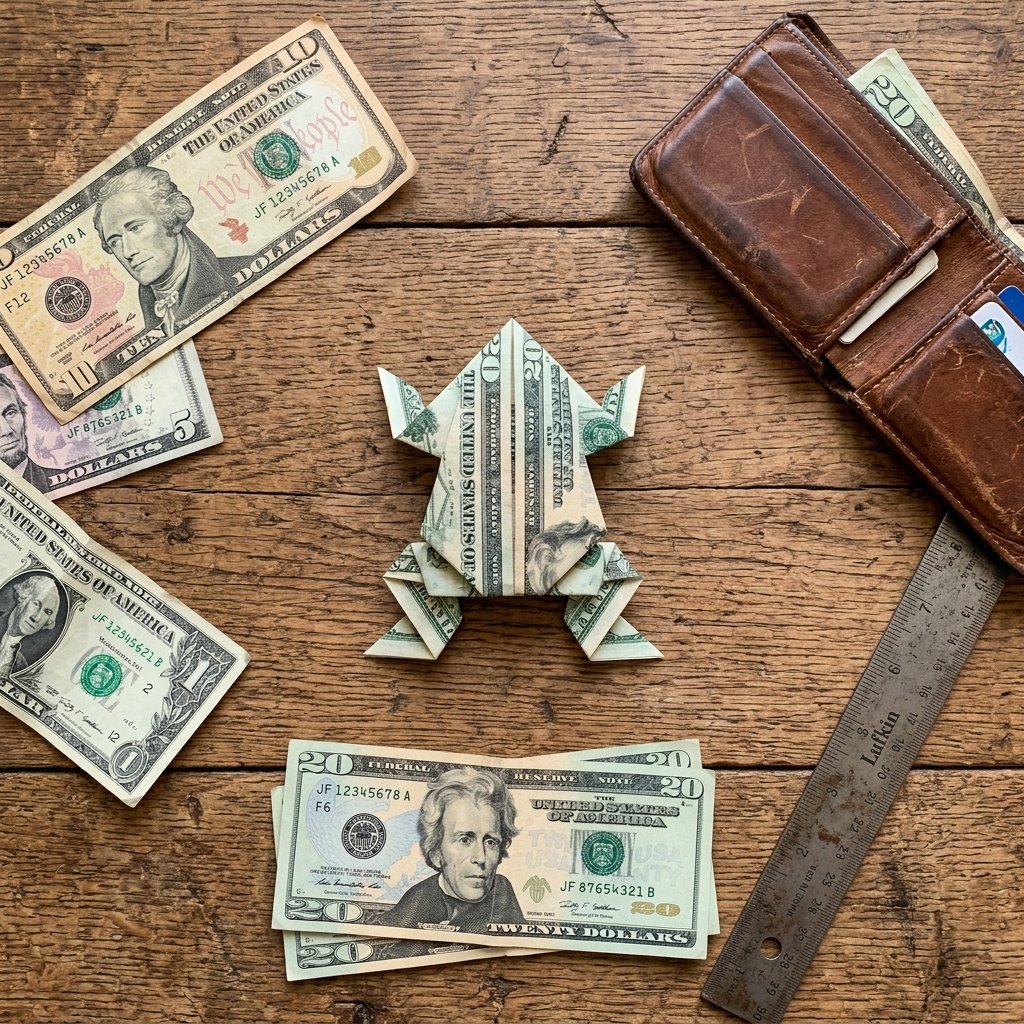

Let us face the facts: handing someone a flat, lifeless paper bill in a generic greeting card is practical, but it lacks imagination. Whether you are a frugal DIYer looking to add a priceless touch to a budget gift, a handy parent trying to entertain restless kids at a diner, or a crafty gift-giver wanting to impress at the next graduation party, cash is always appreciated—but the presentation is where you become a legend.
Enter the ultimate resourcefully-creative party trick: The Money Origami Jumping Frog. This is not just a static piece of folded paper; it is a fully functional, kinetic toy that leaps across the table with a simple flick of the finger. Best of all? It costs exactly the face value of the bill you use, requires absolutely zero specialized tools, and takes under 5 minutes to master.
In this comprehensive guide, we are going to channel our inner origami artist and practical craftsman to turn standard currency into an unforgettable, interactive experience. Grab a crisp bill from your wallet, clear off a spot on your workbench or kitchen table, and let us fold some magic.
The Anatomy of a Perfect Fold: Prepping Your Currency

Before we dive into the geometry of the folds, we need to talk about materials. A true craftsman knows that the quality of the final product is heavily dependent on the raw materials. In the world of money origami, the condition of your currency dictates the structural integrity and the “spring” of your frog’s jump.
The Importance of the “Crisp” Bill
A wallet-worn, soft, and crinkled bill simply will not hold the kinetic energy required for a good jump. You need a bill with snap. If you only have worn bills, do not panic. Here is a handy, budget-savvy upcycler’s trick to resurrect tired currency:
“To revive a limp bill, place it under a slightly damp cotton cloth and press it with a household iron on a low heat setting for 15 seconds. The heat and steam will reactivate the starch in the cotton-linen paper, giving you a crisp, workable canvas.”
Once your currency is prepped and ready, you need to decide what statement you want to make. Different denominations carry different weights—both literally and figuratively. Here is a breakdown of how different bills perform and when to use them:
| Bill Denomination | Visual Impact & Occasion | “Jump” Factor & Foldability |
|---|---|---|
| $1 Bill | The Classic Bar Trick / Kids’ Reward / Tooth Fairy | High (Crisp 1s are easy to find, great for practice) |
| $2 Bill | The Rare Collector’s Frog / Unique Stocking Stuffer | Medium (Often older paper; fold with care to avoid tearing) |
| $20 Bill | The “Cool Uncle” Birthday Gift / Graduation Bonus | High (Modern paper holds sharp creases exceptionally well) |
| $100 Bill | The Ultimate High-Roller Wedding Gift / Milestone Anniversary | Very High (Slightly thicker ink layers create explosive jumps) |
Step-by-Step: Folding the Money Origami Jumping Frog
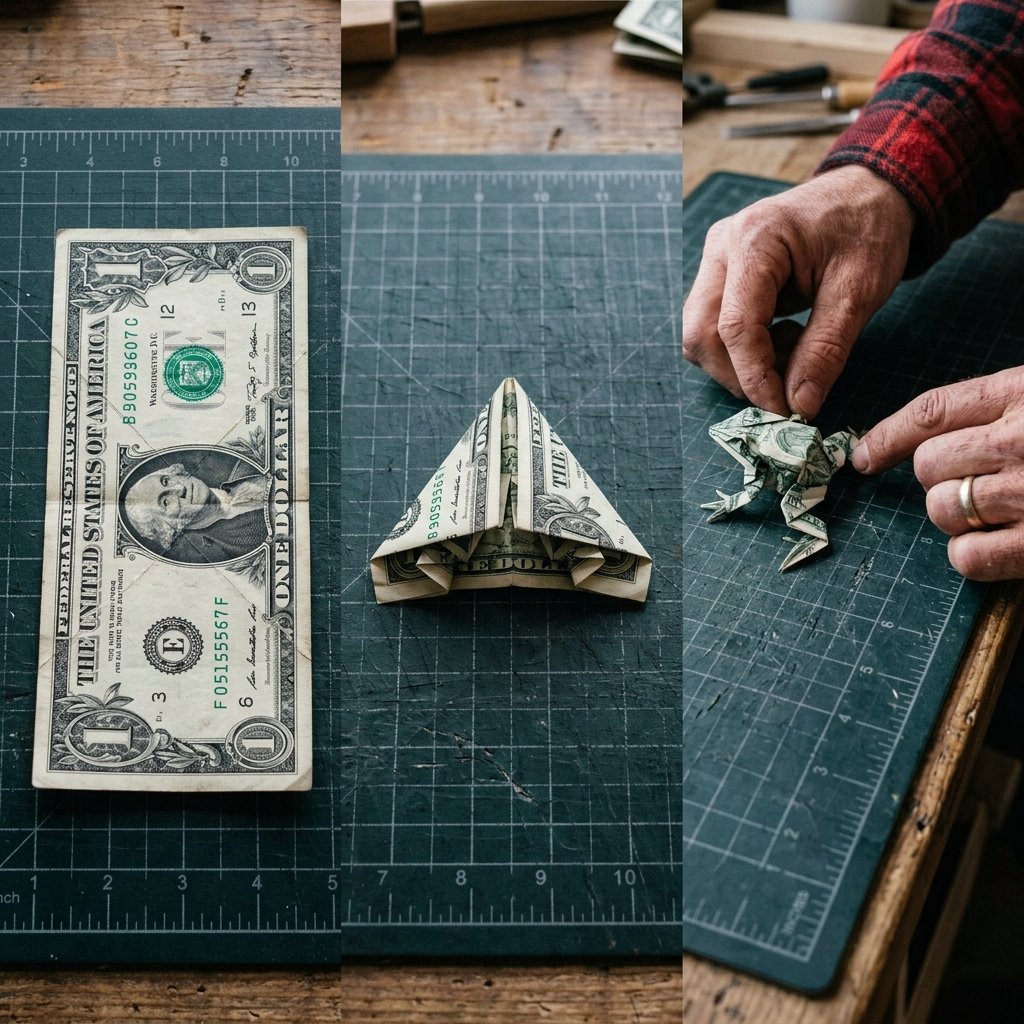
Now it is time to get our hands busy. The beauty of this design lies in its engineering. We are going to create a “Waterbomb Base” to form the head and front legs, taper the body for aerodynamics, and engineer a Z-fold spring in the rear. Follow these steps meticulously. Remember, precision is your best friend here.
“Crease with confidence, fold with finesse. Use your thumbnail, a guitar pick, or the edge of a credit card to lock in every single fold. A sharp crease is the foundation of a high jump.”
Phase 1: The Waterbomb Base (The Head)
- Position the Bill: Lay your crisp bill flat on the table horizontally (landscape orientation). Choose which side you want facing out. For a classic look, keep George Washington (or the respective president) facing up.
- The Half-Fold: Fold the bill in half vertically (bringing the right edge to the left edge) to find the exact center. Crease it firmly, then unfold it. You now have a center guideline.
- The First Diagonal: Take the top left corner and fold it down so the top edge aligns perfectly with the bottom edge. Crease sharply and unfold.
- The Second Diagonal: Take the bottom left corner and fold it up so the bottom edge aligns with the top edge. Crease sharply and unfold. You should now have an “X” creased into the left side of the bill.
- The Collapse: Here is where the magic happens. Flip the bill over. Fold the straight left edge inward so the fold runs exactly through the center of your “X”. Unfold and flip the bill back over. Now, gently push the centers of the “X” inward. The top and bottom edges will collapse toward each other, allowing you to press the top down into a perfect triangle. This is your Waterbomb Base.
Phase 2: The Legs and Torso
- Front Legs: Look at the triangle you just made. It has two top flaps. Fold the bottom point of the left flap up to the top point of the triangle. Repeat with the bottom point of the right flap. Your frog now has two front legs pointing forward!
- Tapering the Torso: Now focus on the long rectangular part of the bill sticking out to the right. Fold the bottom edge of this rectangle up to meet the center line of the bill. Fold the top edge down to meet the center line. The body is now streamlined.
- The Torso Push: Fold the entire right side of the bill inward, tucking the straight edge directly underneath the back flaps of the front legs you created in step 6. The bill is now much shorter and resembles a geometric shield.
- Hind Legs: Take the top layer of the rectangular section you just folded inward and fold its top edge diagonally downward and outward. Repeat on the bottom edge, folding it diagonally upward and outward. These point away from the center and form the back legs.
Phase 3: The Kinetic Spring (The Z-Fold)
- The Hinge: Fold the entire back half of the frog (the part with the hind legs) up toward the head, folding it right at the point where the torso meets the back of the front legs. Crease this extremely well.
- The Spring: Now, take that section you just folded up, and fold it back down upon itself in half. You are creating a “Z” shape or an accordion fold at the rear of the frog. This is the engine of your amphibian.
- The Test Launch: Flip the frog over so it sits on its four legs. Press your finger down on the folded spring at the back and slide your finger off backward. If folded correctly, the frog will launch forward, flipping in the air!
Congratulations! In under 5 minutes, you have turned a piece of paper into a kinetic masterpiece.
Troubleshooting Your Amphibian: Why Won’t It Jump?

Even the most seasoned handy moms and dads occasionally run into mechanical failures. If your frog is doing a pathetic belly-flop instead of a majestic leap, do not throw in the towel. Let us diagnose the issue like a mechanic looking under the hood of a classic car.
Issue 1: The Flat Tire (No Spring)
The Symptoms: You press down on the back of the frog, but it just slides backward or barely lifts off the table.
The Fix: The issue is in your final Z-fold. If the Z-fold is too wide or not creased sharply enough, it acts like a blown shock absorber. Go back and reinforce the Z-fold. Use the handle of a heavy pair of scissors to press the creases absolutely flat. The tighter the “Z”, the more kinetic tension is stored for the jump.
Issue 2: The Sideways Hopper (Asymmetry)
The Symptoms: The frog jumps, but it aggressively veers to the left or right, or barrel-rolls uncontrollably.
The Fix: Your chassis is out of alignment. This happens when the initial “X” fold was not perfectly symmetrical, causing the Waterbomb base to be lopsided. Check your hind legs—are they the exact same width? Adjust the legs so they mirror each other perfectly. Balance is key to a straight trajectory.
Issue 3: The Heavyweight (Too Thick to Fold)
The Symptoms: The back of the frog is incredibly bulky, making the final folds nearly impossible to crease without tearing the bill.
The Fix: This is common if you are using brand new, uncirculated bills or higher denominations that have thicker security threads. If the rear is too thick, try slightly adjusting the torso taper (Step 7). Leave a millimeter of space between the edges and the center line to reduce bulk when it is folded over. A resourceful crafter knows when to leave a little breathing room in tight tolerances.
Rugged & Creative Presentation Ideas for Your Cash Frog
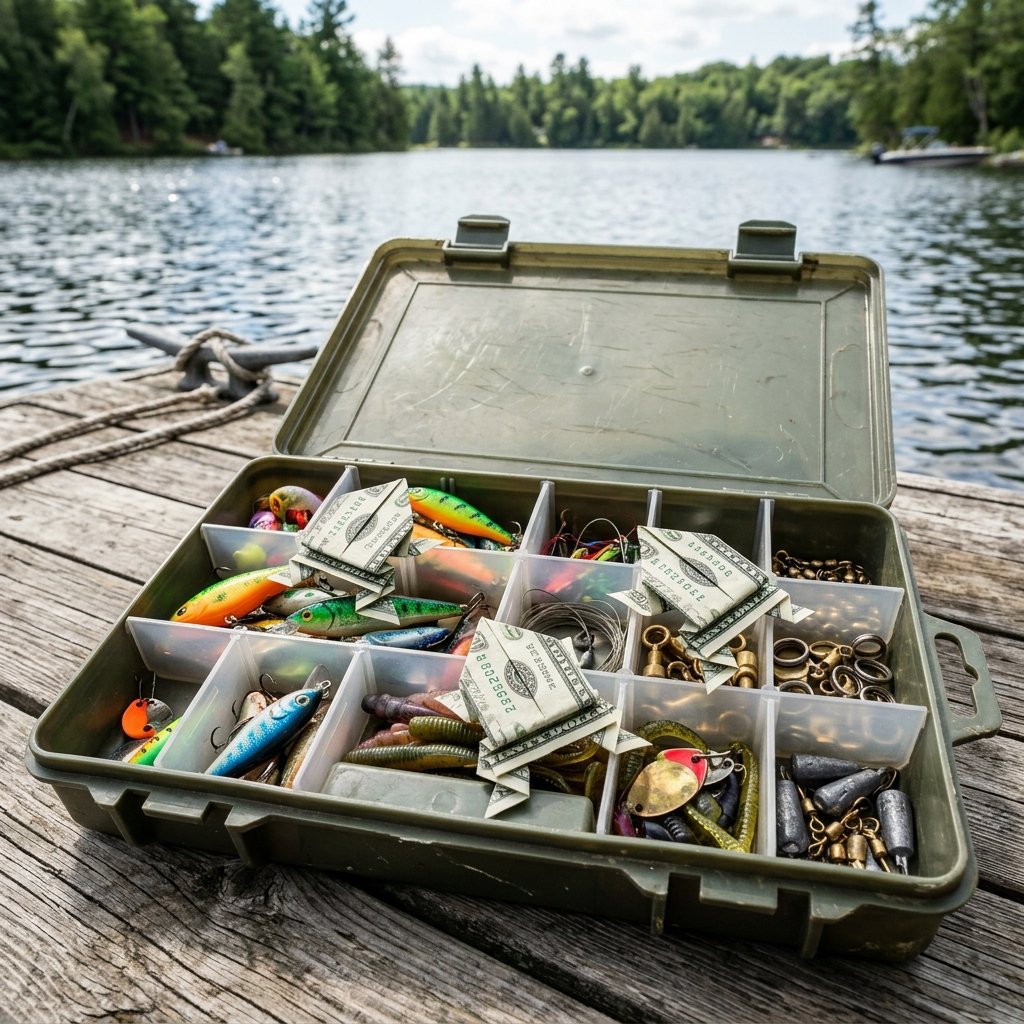
You have mastered the fold. Now, let us talk presentation. Handing someone a folded frog is great, but creating an entire scene elevates you to the status of a crafty-expert. Here are a few budget-savvy, highly creative ways to gift your money frogs for maximum impact:
The Father’s Day Tackle Box
For the rugged dad who loves fishing, skip the generic gift card to the outdoor store. Buy a cheap, clear plastic tackle box organizer from the Dollar Tree. Fill the compartments with a few real fishing lures, some bobbers, and nestle 3 or 4 money origami frogs into the largest compartment. It is a masculine, practical gift that perfectly blends a hobby with cold, hard cash.
The Graduation “Pond” Shadow Box
Graduations are the prime time for cash gifts. Hit up a thrift store or a dollar store for a cheap 8×10 shadow box frame. Remove the glass and line the back with blue construction paper or a piece of scrap fabric to represent water. Cut out a few green felt “lily pads” and use a tiny loop of painter’s tape to secure your money frogs to the pads. Add a bold, stenciled label that says, “Leap Into Your Future!” It costs under $5 to make, but looks like a premium, custom-crafted gift.
The Ultimate Restaurant Tip
Want to make a server’s night? Instead of leaving a flat pile of bills under a coffee cup, fold your tip into a family of frogs. Leave them poised around the salt and pepper shakers. Not only does it show immense appreciation, but it guarantees you will be remembered as the coolest patron of the night. (Safety note: Always ensure the tip amount is generous and clearly visible as cash so it doesn’t accidentally get swept into the trash by a busser!)
Conclusion: Leap Into Your Next Gifting Opportunity
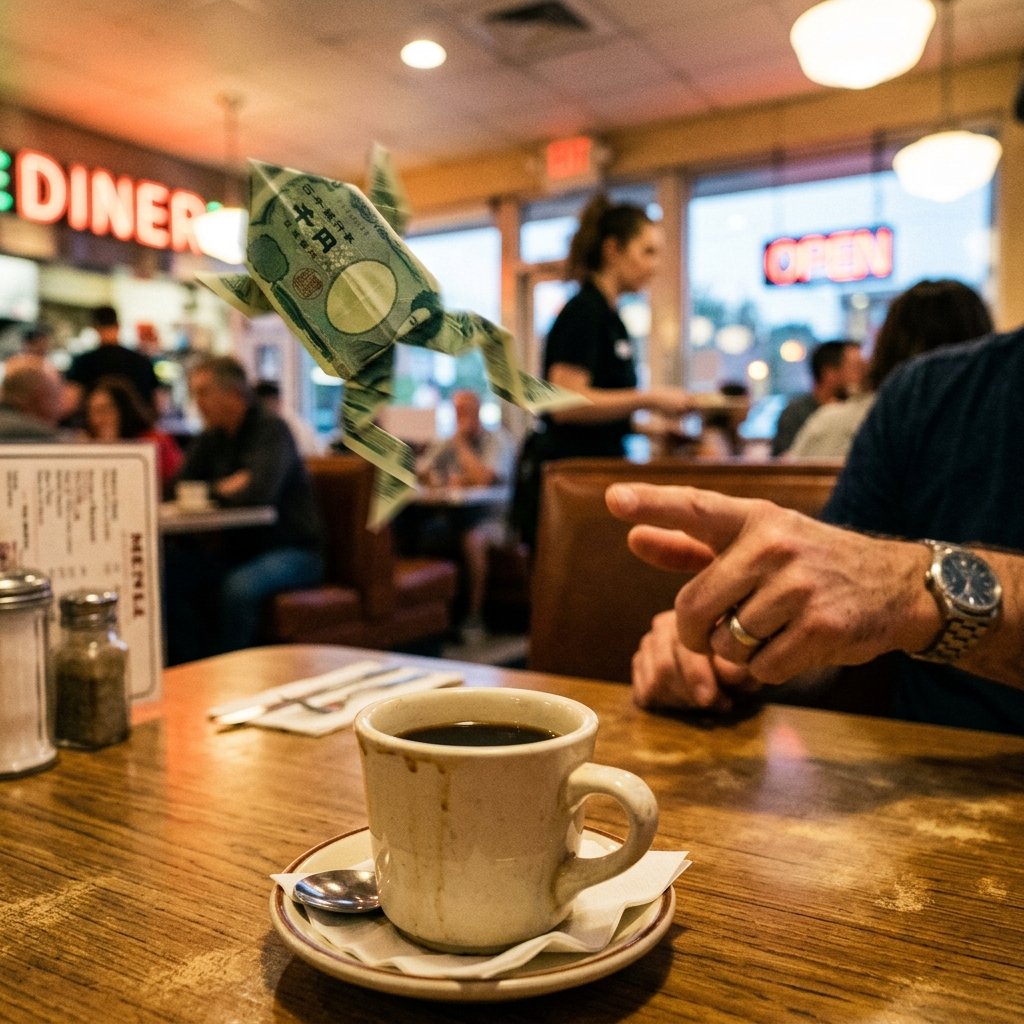
There you have it—a masterclass in turning everyday currency into an interactive, unforgettable piece of art. The money origami jumping frog is the perfect intersection of frugal DIY, clever upcycling, and practical gifting. It requires no glue, no scissors, and no expensive trips to the craft store. All it takes is a crisp bill, your two hands, and under 5 minutes of focus.
By mastering this simple but impressive party trick, you will never have to settle for a boring cash envelope again. You are now equipped to delight kids, impress bartenders, and give the most memorable graduation and birthday gifts in your circle. So, dig into your wallet, find a crisp bill, and start practicing your folds. Crease with confidence, and let your creativity leap to new heights!
Conclusion
There you have it—a masterclass in turning everyday currency into an interactive, unforgettable piece of art. The money origami jumping frog is the perfect intersection of frugal DIY, clever upcycling, and practical gifting. It requires no glue, no scissors, and no expensive trips to the craft store. All it takes is a crisp bill, your two hands, and under 5 minutes of focus.
By mastering this simple but impressive party trick, you will never have to settle for a boring cash envelope again. You are now equipped to delight kids, impress bartenders, and give the most memorable graduation and birthday gifts in your circle. So, dig into your wallet, find a crisp bill, and start practicing your folds. Crease with confidence, and let your creativity leap to new heights!

Makenzie is the founder and lead writer at MoneyHackTips.com — a personal finance blog dedicated to delivering street-smart financial wisdom for real people on real budgets. With 300+ published articles covering everything from debt management to investing fundamentals, Makenzie’s mission is to make every dollar work harder. When not writing about money hacks, Makenzie is testing frugal living strategies, optimizing side hustles, and helping readers build financial freedom from scratch.