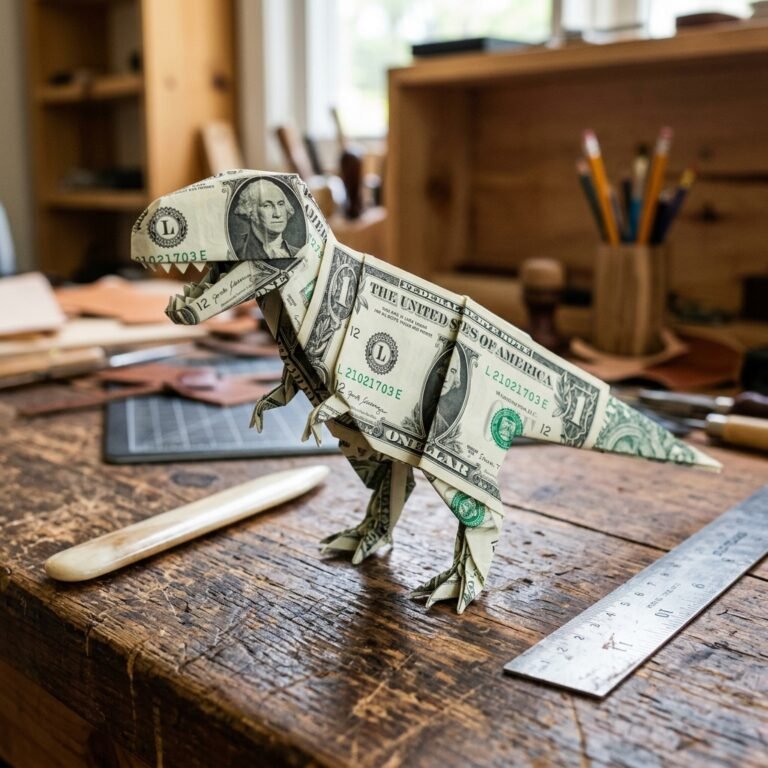
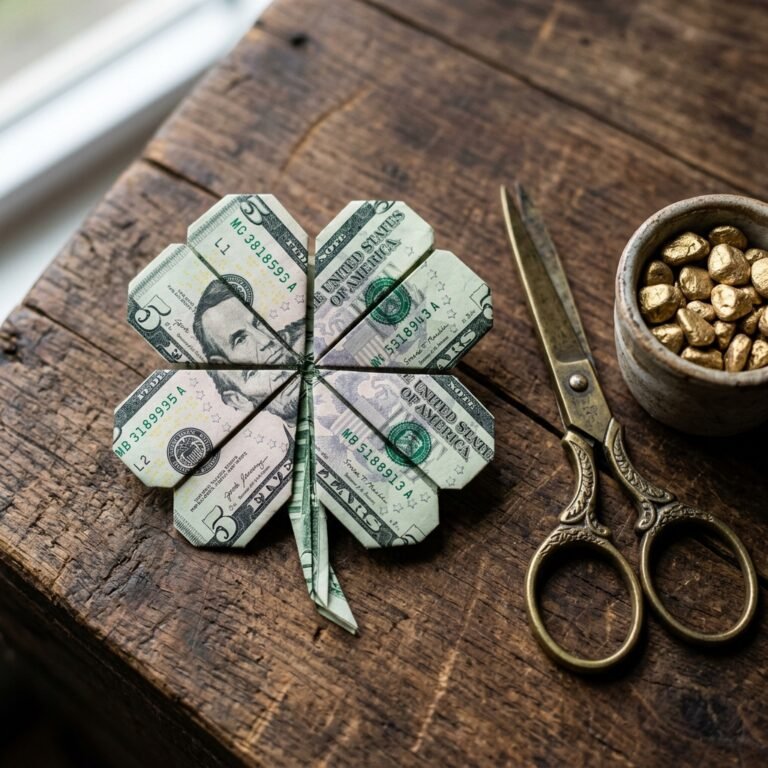
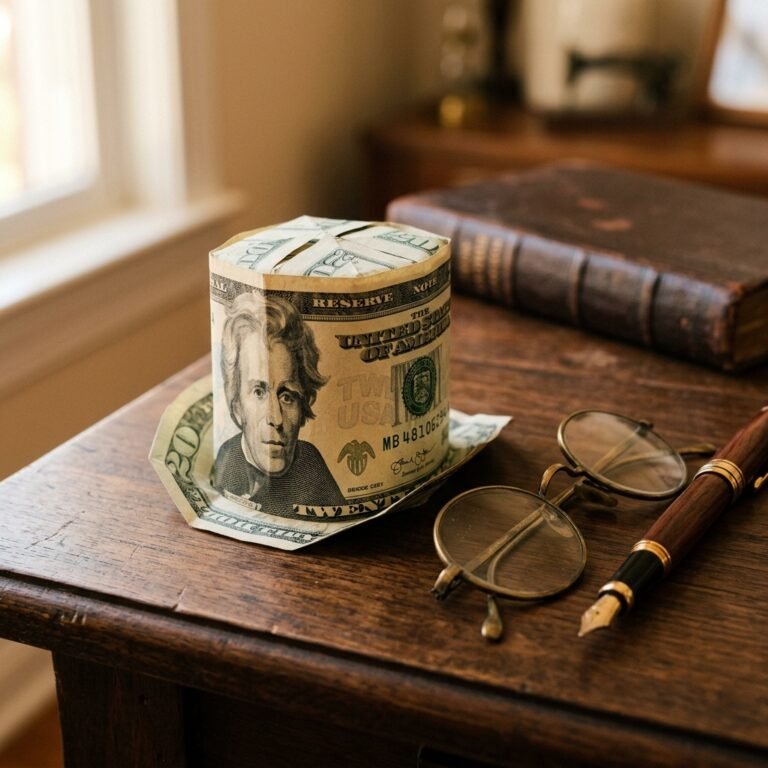
The Art of the High-Value Hand-Off
Let’s be honest: every graduate wants cash. It is the ultimate fuel for their next chapter, whether they are heading to a dorm room or their first apartment. However, sliding a few $20 bills into a generic store-bought card feels a bit… uninspired. As a resourceful DIYer, you know that the presentation is where the real value lies. By transforming currency into a 3D Money Origami Lucky Star, you are not just giving money; you are giving a symbol of luck, a testament to your effort, and a piece of art that they will actually hesitate to spend. This is the ultimate ‘Trash-to-Treasure’ move, except we are starting with the treasure itself and making it look like a million bucks. In this guide, we will master the precise geometry required to turn a flat, rectangular bill into a sturdy, tactile star that stands out in a sea of envelopes. We are talking about rugged elegance meets practical gifting.
“A gift of money is a resource; a gift of handmade art is a memory. Combine them, and you have the perfect graduation tribute.”
The Currency Matrix: Choosing Your Denominations
Strategic Bill Selection
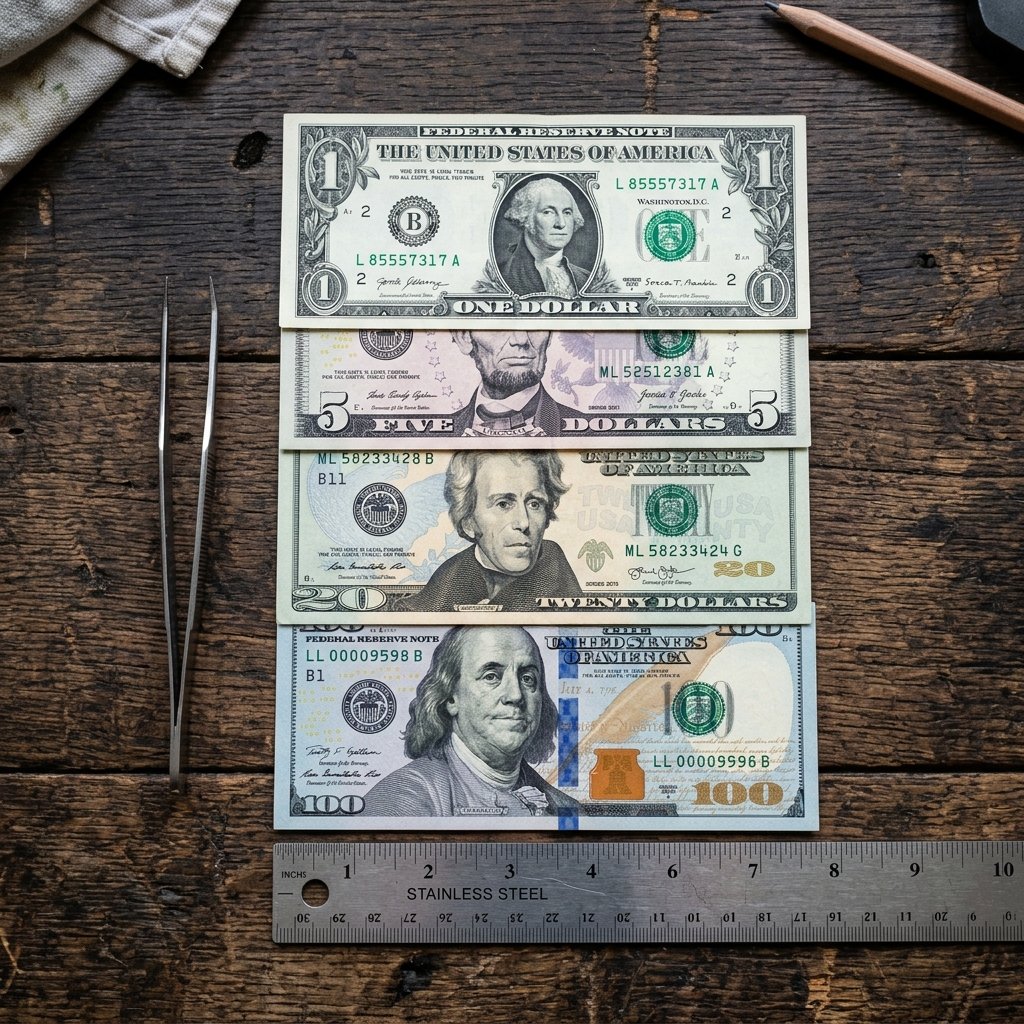
Before we make our first crease, we need to talk strategy. Not all bills are created equal when it comes to origami. For a 3D Lucky Star, the ‘crispness’ factor is non-negotiable. A limp, circulated bill will not hold the 3D ‘puff’ and will likely result in a sad, flattened pentagon. You want bills that feel like fresh stationery. Visit your local bank teller and specifically request uncirculated bills. Not only do they fold better, but the visual impact of a stack of fresh, sequential bills is significantly higher. Below is a breakdown of how different denominations impact the ‘perceived value’ and visual aesthetic of your gift.
| Denomination | Visual Impact | Best For… | Difficulty Level |
|---|---|---|---|
| $1 Bill | Classic & High-Volume | Filling a large jar with 50+ stars | Easy (Soft paper) |
| $2 Bill | Unique & Rare | Adding a ‘lucky’ novelty factor | Easy |
| $5 Bill | Subtle & Sophisticated | A smaller, thoughtful desk ornament | Moderate |
| $10/$20 Bill | High-Value & Bold | The main graduation ‘payout’ | Moderate (Thicker ink) |
| $50/$100 Bill | Ultimate Luxury | A singular, high-impact centerpiece | Advanced (High stakes!) |
When planning your budget, consider the quantity over quality ratio. A jar filled with fifty $1 stars ($50 total) often looks more impressive than a single $50 star. However, if you are short on time, a few high-denomination stars in a beautiful wooden box offer a more masculine-elegant appeal.
The Masterclass: Precision Step-by-Step Folding Guide
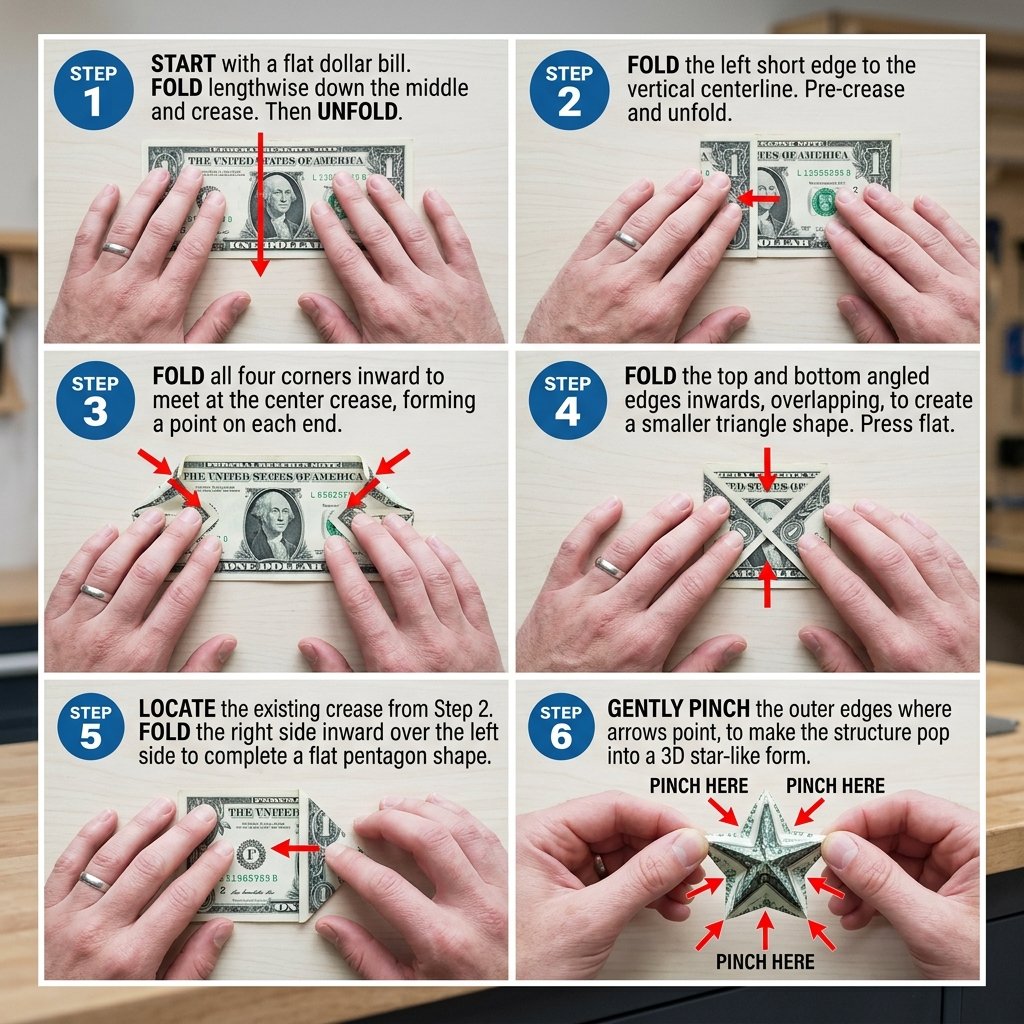
Architecting the Star
The money origami lucky star is a variation of the traditional paper ‘hoshizora’ star, but because a bill is a fixed rectangle (roughly 6.14 x 2.61 inches), the proportions require a specific ‘long-strip’ preparation. Follow these steps with crafty-expert precision.
Safety Note: While paper cuts are the only real danger here, remember that crisp bills can be surprisingly sharp. Work on a clean, dry surface to avoid staining the currency.
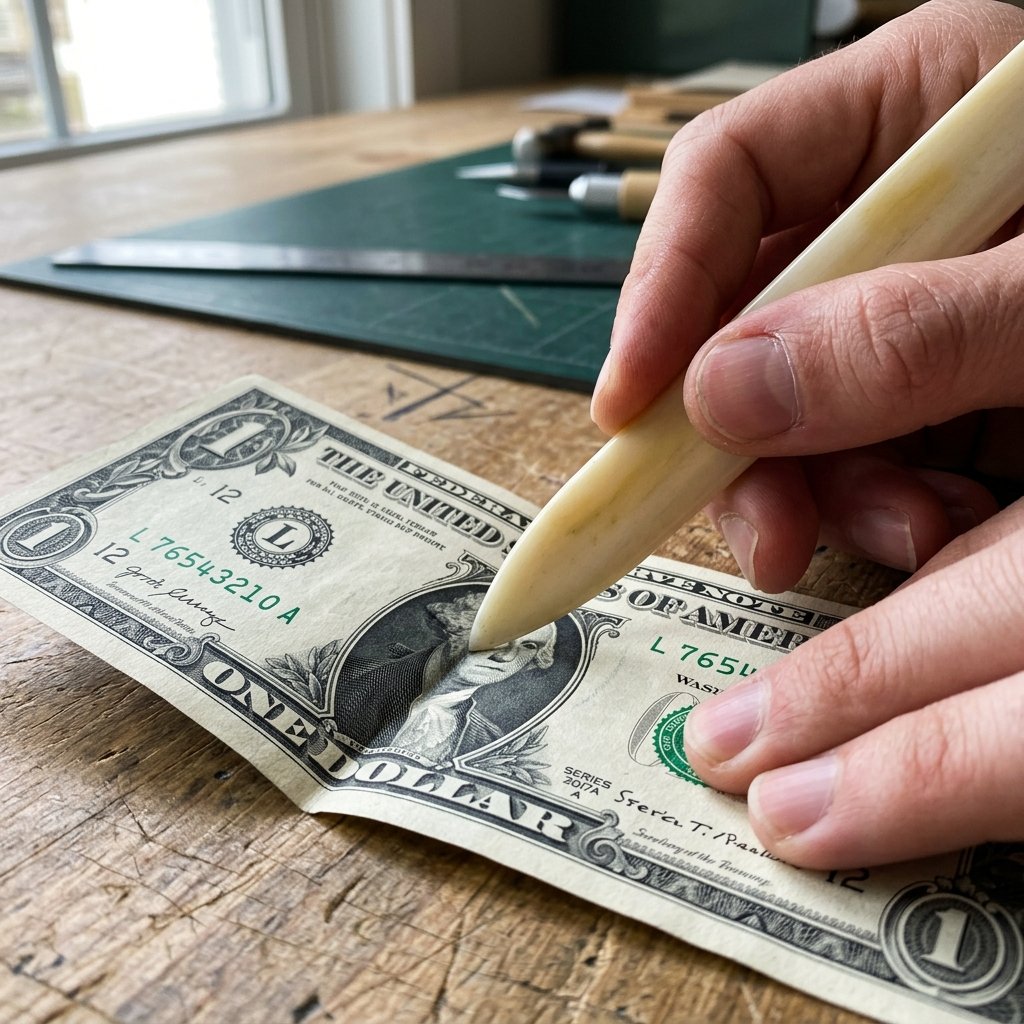
- The Lengthwise Fold: Lay the bill flat. Fold it in half lengthwise, then fold it in half lengthwise again. You should now have a long, thin strip of money. Use your fingernail or a bone folder to make these creases extra sharp.
- The Initial Knot: At one end of the strip, create a loop. Tuck the short end of the bill through the loop to form a basic knot. Do not pull tight yet.
- Flattening the Pentagon: Gently wiggle the knot tighter until it forms a flat, neat pentagon shape at the end of the strip. The short ‘tail’ should be tucked into the fold of the pentagon. If it’s too long, trim it (not recommended for money!) or simply fold it back into the pocket.
- The Wrapping Phase: You now have a long tail extending from a pentagon. Wrap the strip around the pentagon, following the natural edges. The strip will naturally want to wrap across the opposite sides. Keep your wraps firm but not crushing.
- The Final Tuck: Once you reach the end of the strip, tuck the remaining bit into the last fold of the pentagon. You should now have a flat, thick pentagon.
- The Inflation (The 3D Secret): This is where the magic happens. Hold the pentagon between your thumb and forefinger. Use your other thumbnail to press into the center of one of the five flat edges. This will ‘puff’ the star outward. Repeat for all five sides.
The result is a sturdy, 3D star that feels substantial in the hand. If the star collapses, your initial lengthwise folds weren’t crisp enough or your wraps were too loose. Practice on a strip of printer paper cut to the same dimensions (1 x 6 inches) before moving to the real currency.
Presentation Masterclass: From Cash to Keepsake
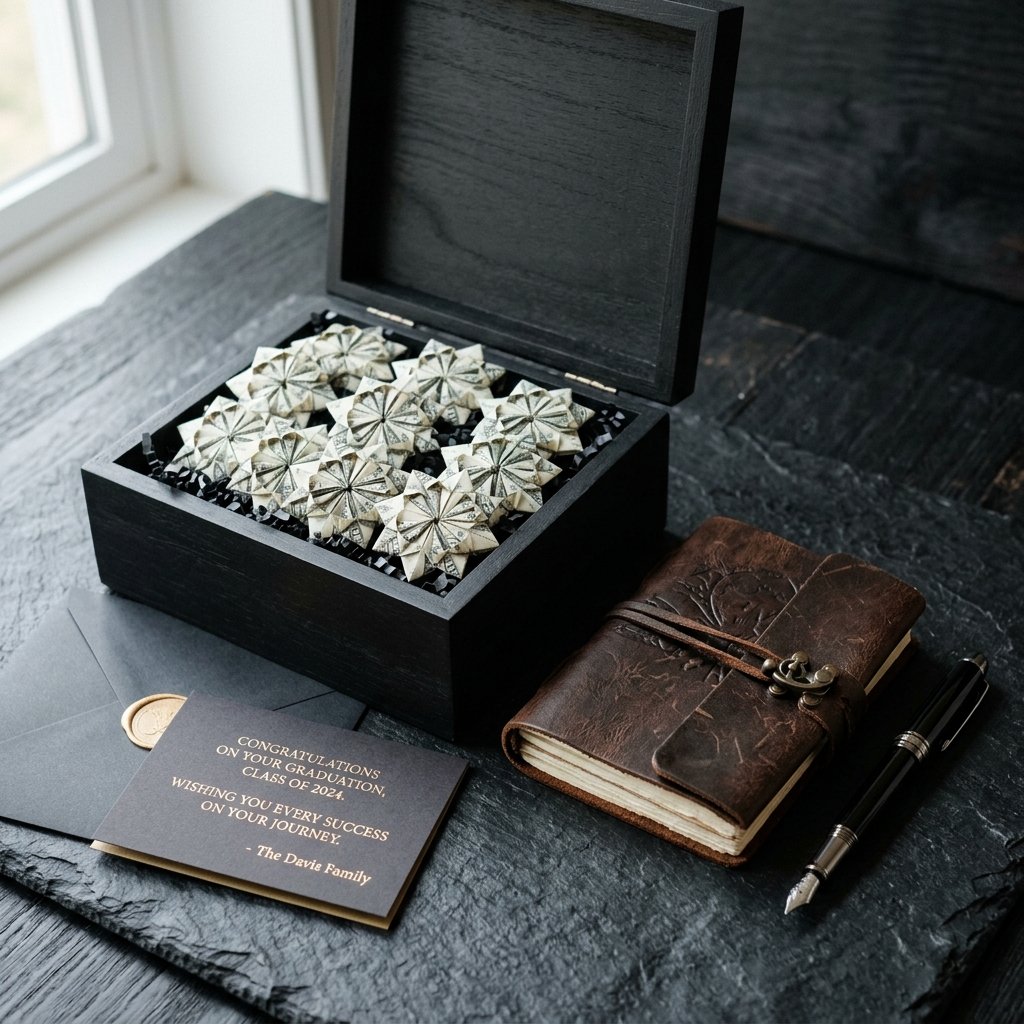
Elevating the Gift Experience
Now that you have your stars, how do you present them? A budget-savvy crafter knows that the vessel is just as important as the contents. We want to avoid the ‘money in a jar’ cliché and move toward ‘curated collection’.
- The Apothecary Jar: Find a vintage-style glass jar at a thrift store or Dollar Tree. Fill it with the stars and add a custom label that says ‘Reach for the Stars’ or ‘Your Future is Bright’. Total Cost: ~$1.25.
- The Shadow Box: Arrange the stars in a geometric pattern inside a shadow box. This turns the gift into a piece of 3D wall art. You can use a bit of removable glue dot on the back of the star (ensure it won’t damage the bill). Total Cost: ~$5.00.
- The Graduation Lei: For a more traditional graduation feel, string the stars together using a needle and fishing line (be careful to go through the folds, not the center of the bill to avoid ‘mutilating’ the currency). Total Cost: ~$2.00.
For a rugged and practical look, consider a small wooden treasure chest or a matte black metal tin. This appeals to the graduate’s sense of adventure and provides them with a reusable container for their desk or dresser.
Troubleshooting & Pro-Tips for the Frugal Guru
Perfecting the Fold
Even the most crafty-expert can run into issues with the unique texture of US currency. Here is a quick guide to solving common money origami hurdles.
| Problem | The Clever Solution |
|---|---|
| Star Won’t ‘Puff’ | The bill is too soft or old. Use a brand new bill or use a hair straightener on low heat to ‘crisp’ up an older bill (be careful!). | You are applying too much pressure during the pinch. Use the side of your thumb rather than the tip of your nail. | If using certain international currencies, the ratio might be different. You can tape two strips together (not recommended for gifts) or fold the bill thinner. |
Pro-Tip: If you are giving a very high-value gift (e.g., $500), don’t fold every single bill into a star. Fold five $20 stars as the ‘showpieces’ and place the remaining $400 in crisp, flat bills at the bottom of the container. This saves you hours of folding while maintaining the high-value aesthetic.
Conclusion
The Final Flourish
Folding a 3D Money Origami Lucky Star is more than just a clever way to hand over a graduation present; it is a demonstration of your resourcefulness and care. By taking the time to master this fold, you’ve turned a simple financial transaction into a thoughtful, hand-crafted experience. Whether you’ve filled a jar with fifty $1 stars or created a singular, stunning $100 star, the result is the same: a gift that stands out and honors the graduate’s hard work. Remember, the best gifts are those that combine practical utility with creative soul. Now, go grab those crisp bills and start folding your way to the best gift at the graduation party!

Makenzie is the founder and lead writer at MoneyHackTips.com — a personal finance blog dedicated to delivering street-smart financial wisdom for real people on real budgets. With 300+ published articles covering everything from debt management to investing fundamentals, Makenzie’s mission is to make every dollar work harder. When not writing about money hacks, Makenzie is testing frugal living strategies, optimizing side hustles, and helping readers build financial freedom from scratch.