
The Art of the Trash-to-Treasure Galleon
In an era of flashing plastic toys and subscription-based entertainment, there is a rugged, masculine elegance in returning to the basics. As a resourceful DIYer, you know that the most profound adventures don’t come in a box from a big-box retailer—they are built out of the box itself. This project isn’t just about making a toy; it is about engineering a vessel for the imagination using nothing but the ‘scraps’ of modern life. We are talking about zero-waste, high-impact craftsmanship that costs $0 and provides endless hours of engagement. By upcycling corrugated cardboard into a sturdy pirate ship, you are teaching your children the value of resourcefulness, the beauty of hand-crafting, and the thrill of the high seas. Grab your utility knife and your cleverest instincts; we are about to turn yesterday’s delivery into today’s flagship.
Scavenging the Shipyard: Materials and Tools
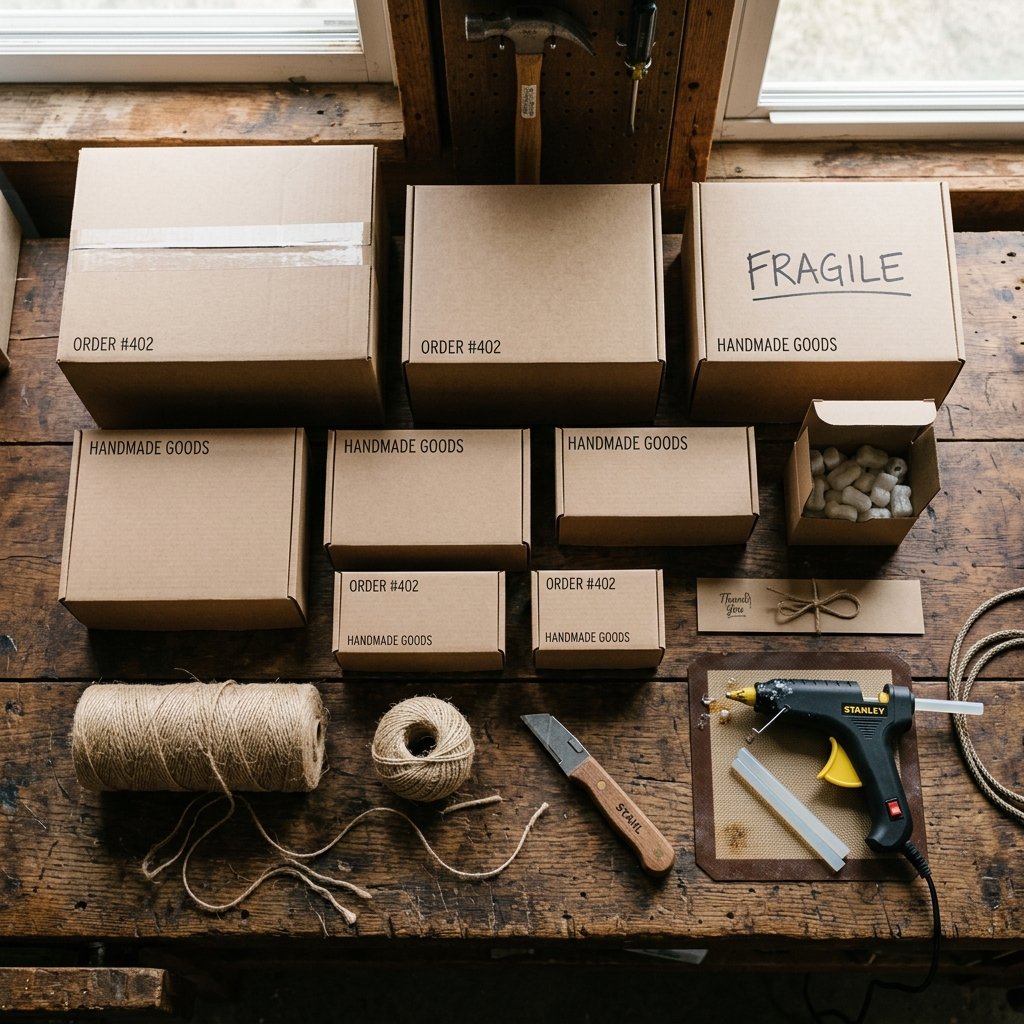
The Captain’s Inventory
To build a ship capable of weathering the living room rug, you need the right grade of ‘timber.’ We aren’t looking for flimsy cereal boxes here; we need the heavy-duty stuff. Scavenging is part of the craft. Look for double-walled corrugated cardboard for the structural ribs and single-walled for the curved hull sections. This is the ultimate budget-savvy move: sourcing professional-grade building materials from your own recycling bin.
Essential Supplies
- Large Shipping Boxes: At least two or three large boxes (approx. 24×24 inches).
- Cardboard Tubes: From paper towels, wrapping paper, or shipping posters for the masts.
- Twine or Jute: For the rigging (adds a rugged, nautical aesthetic).
- Adhesives: A high-temp hot glue gun and heavy-duty masking tape or ‘muck’ (a mixture of flour and water for paper-mache reinforcement).
- Cutting Tools: A sharp utility knife or a box cutter (always keep the blade fresh for clean lines).
| Material | Store-Bought Equivalent | Our DIY Cost |
|---|---|---|
| Hull Structure | $45.00 (Plastic) | $0.00 |
| Masts & Rigging | $15.00 (Molded Parts) | $0.00 |
| Decorative Details | $20.00 (Decals) | $0.00 |
| Total Investment | $80.00+ | $0.00 |
Safety Note: When using utility knives, always cut away from your body. If the little ones are helping, let them handle the tape and the ‘painting’ while you manage the structural cuts.
Phase One: Engineering the Hull for Maximum Durability

Laying the Keel
The secret to a cardboard toy that lasts more than a week is structural integrity. We start with the base. A pirate ship needs a pointed bow and a flat, sturdy stern. By using a clever ‘V’ fold technique, you can create a hydrodynamic look without needing complex curves.
Step-by-Step Hull Construction
- The Base: Cut a long rectangle of cardboard about 12 inches wide and 36 inches long. This is your floor.
- The Bow: Take two side panels and taper them toward the front. Score the cardboard (cutting halfway through) to allow it to bend smoothly without snapping.
- The Stern: Create a raised ‘Poop Deck’ at the back. This provides a high vantage point for the captain and adds verticality to the play.
- Reinforcement: Use triangular ‘gussets’ (small cardboard triangles) glued into the corners of the hull. This prevents the ship from collapsing when a toddler inevitably tries to climb inside.
By focusing on these rugged engineering principles, you ensure the ship can handle the ‘rough seas’ of a playdate. Remember, 5 minutes of extra reinforcement now saves an hour of repair later.
Phase Two: Masts, Rigging, and the Crow’s Nest
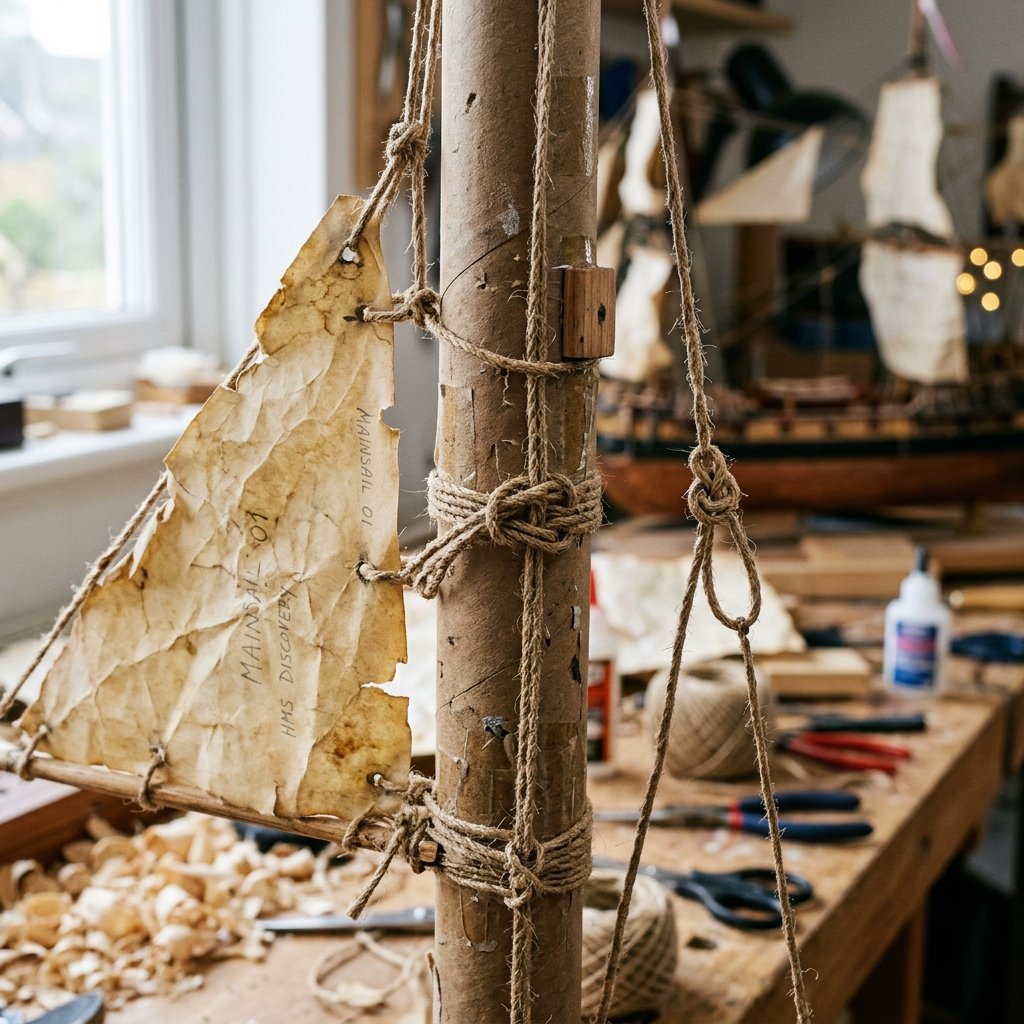
Reaching for the Skies
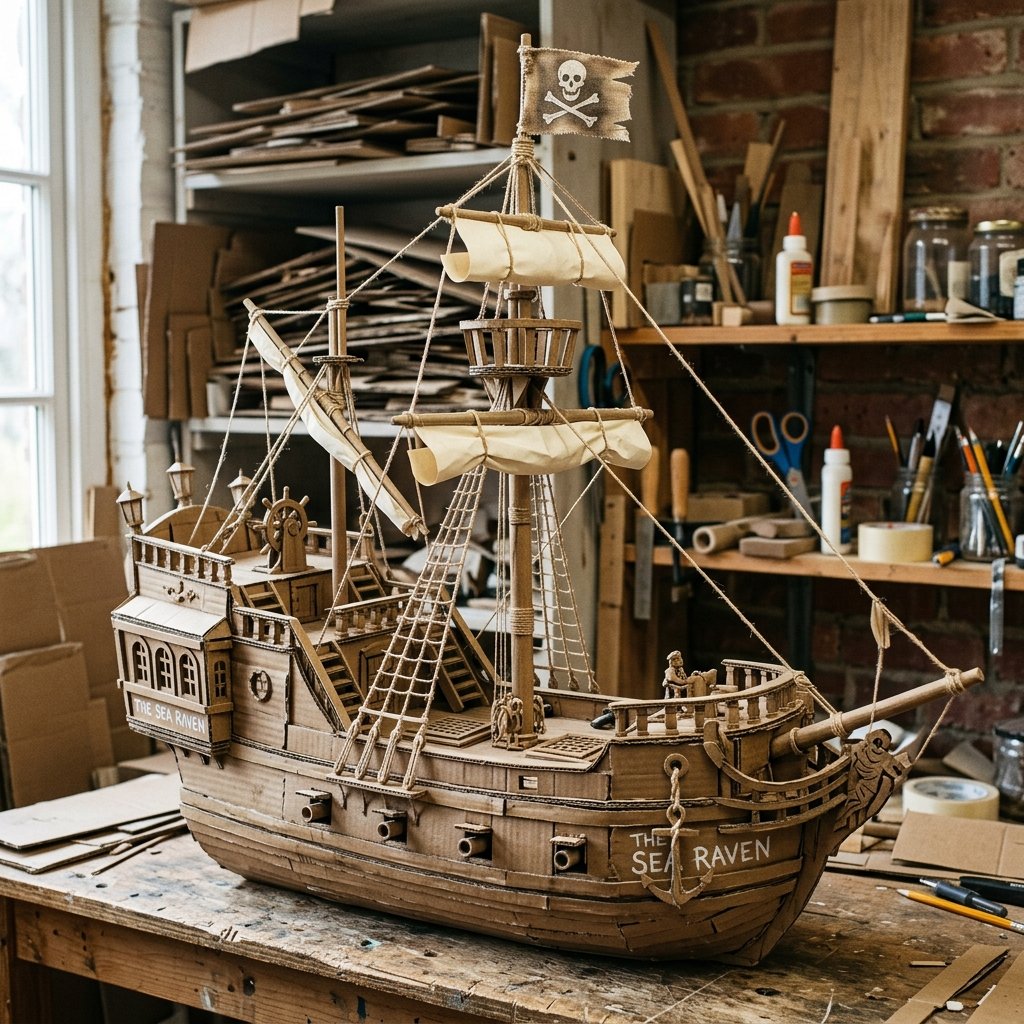
A ship is just a box until it has its masts. This is where the masculine-elegant design truly shines. We aren’t just sticking tubes in a hole; we are creating a functional rigging system. This adds a level of tactile detail that keeps kids curious.
The Mast Assembly
- The Main Mast: Use your thickest cardboard tube. Cut a circular hole in the center of your deck and the base. Sliding the tube through both layers creates a rock-solid anchor.
- The Yardarms: Use thinner tubes or rolled-up cardboard to create horizontal beams. Secure these with twine using a ‘square lash’ knot—a classic scout technique that looks incredibly professional.
- The Sails: Upcycle old brown paper bags or white packing paper. Crumple them up and smooth them out to give them a weathered, canvas-like texture.
Crafty Pro Tip: To make the sails look like they are catching the wind, glue a thin wire or a piece of bent cardboard along the edges to hold a curved shape.
Phase Three: The Captain’s Details and Armaments

High-End Details on a Dime
Now we move from engineering to artistry. This is where you can replicate high-end toy aesthetics using clever tricks. A pirate ship needs cannons, a steering wheel (the helm), and perhaps a plank for mutineers to walk.
The Finishing Touches
- The Cannons: Use toilet paper rolls painted black or dark grey. Glue them into ‘portholes’ cut into the side of the hull.
- The Helm: Cut a circle of cardboard and glue small ‘spokes’ (strips of cardboard) around the edge. Attach it to a post using a brass fastener (brad) so it actually spins.
- The Texture: Use a black marker to draw ‘plank’ lines across the deck. This simple visual cue adds immense depth and realism.
| Feature | DIY Method | Benefit |
|---|---|---|
| Wood Grain | Marker or Diluted Coffee Paint | Rustic, realistic look |
| Portholes | Circular cut-outs | Allows for ‘cannon fire’ play |
| The Plank | Extra strip of double-wall board | Interactive storytelling element |
These details aren’t just for show; they are interactive elements that encourage roleplay. A wheel that spins and cannons that can ‘fire’ (if you toss a crumpled paper ball through them) turn a model into a world.
Navigating the Sea of Play: Storage and Longevity
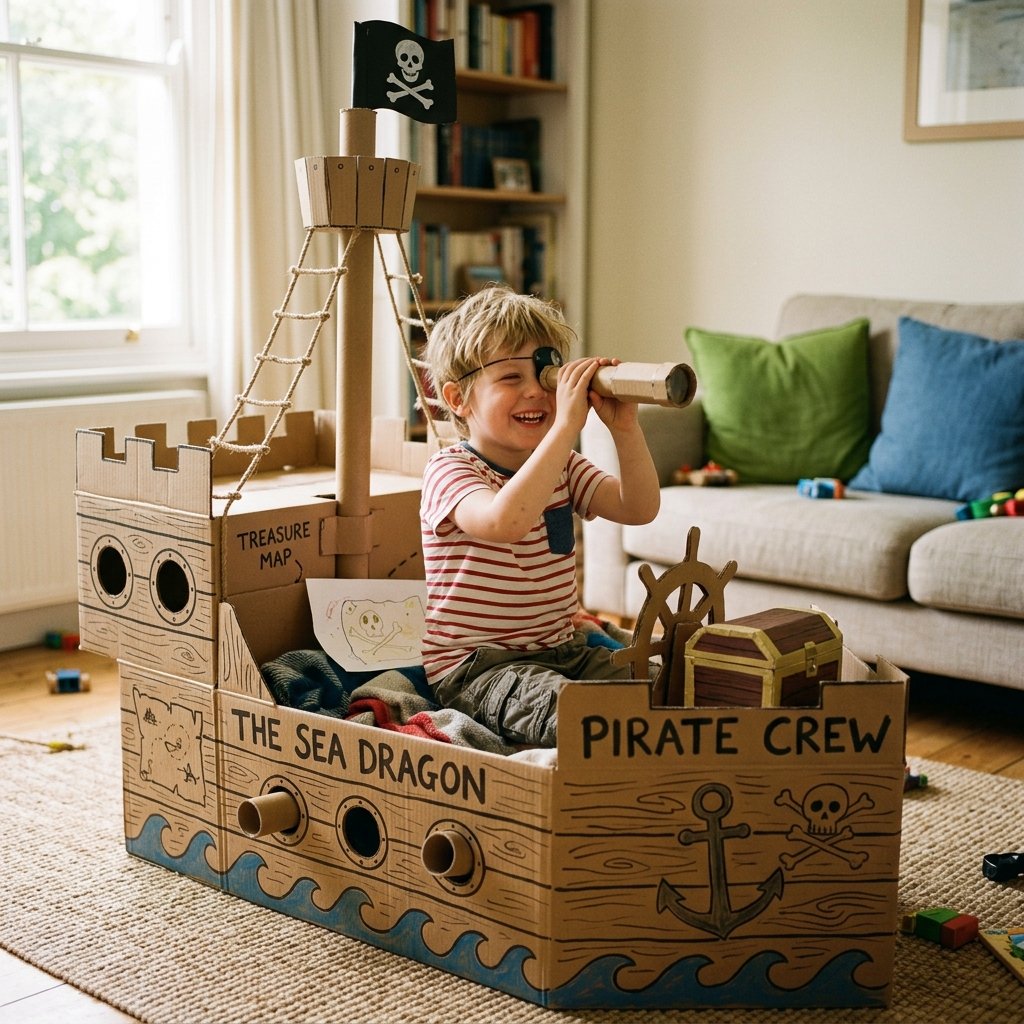
Practicality for the Handy Parent
As a crafty expert, you know that play is messy. A cardboard pirate ship is large, but it doesn’t have to be a permanent fixture in the middle of the room. Design your ship with modularity in mind. If you used the ‘mast-through-deck’ method mentioned earlier, the masts should be removable for flatter storage.
Maintenance and Upgrades
- Patching: If a side panel gets crushed, don’t toss the ship. ‘Sister’ the joint by gluing a new piece of cardboard over the tear. It looks like a ‘battle scar’ and adds to the ship’s history.
- Expansion: The beauty of zero-waste cardboard is that you can always add on. Need a jail cell? Tape on a small box. Need an anchor? Cut one out and attach it with twine.
- Zero Waste Exit: When the kids finally outgrow the ship, or it has seen one too many krakens, simply remove any tape or metal fasteners and toss the cardboard into the recycling bin. 100% eco-friendly.
By building this yourself, you’ve saved $80, kept plastic out of the landfill, and given your children a memory of something their parent built with their own two hands. That is the ultimate ‘Trash-to-Treasure’ win.
Conclusion
The Final Voyage
Building a DIY cardboard pirate ship is more than just a rainy-day activity; it is an exercise in resourceful creativity. You have taken items destined for the bin and transformed them into a rugged, masculine-elegant toy that rivals any store-bought plastic equivalent. You’ve saved money, reduced waste, and provided a platform for hours of imaginative play. Remember, the best toys aren’t the ones that do everything for the child, but the ones that require the child (and the parent) to bring the magic to life. Now, hoist the sails and let the adventure begin!

Makenzie is the founder and lead writer at MoneyHackTips.com — a personal finance blog dedicated to delivering street-smart financial wisdom for real people on real budgets. With 300+ published articles covering everything from debt management to investing fundamentals, Makenzie’s mission is to make every dollar work harder. When not writing about money hacks, Makenzie is testing frugal living strategies, optimizing side hustles, and helping readers build financial freedom from scratch.