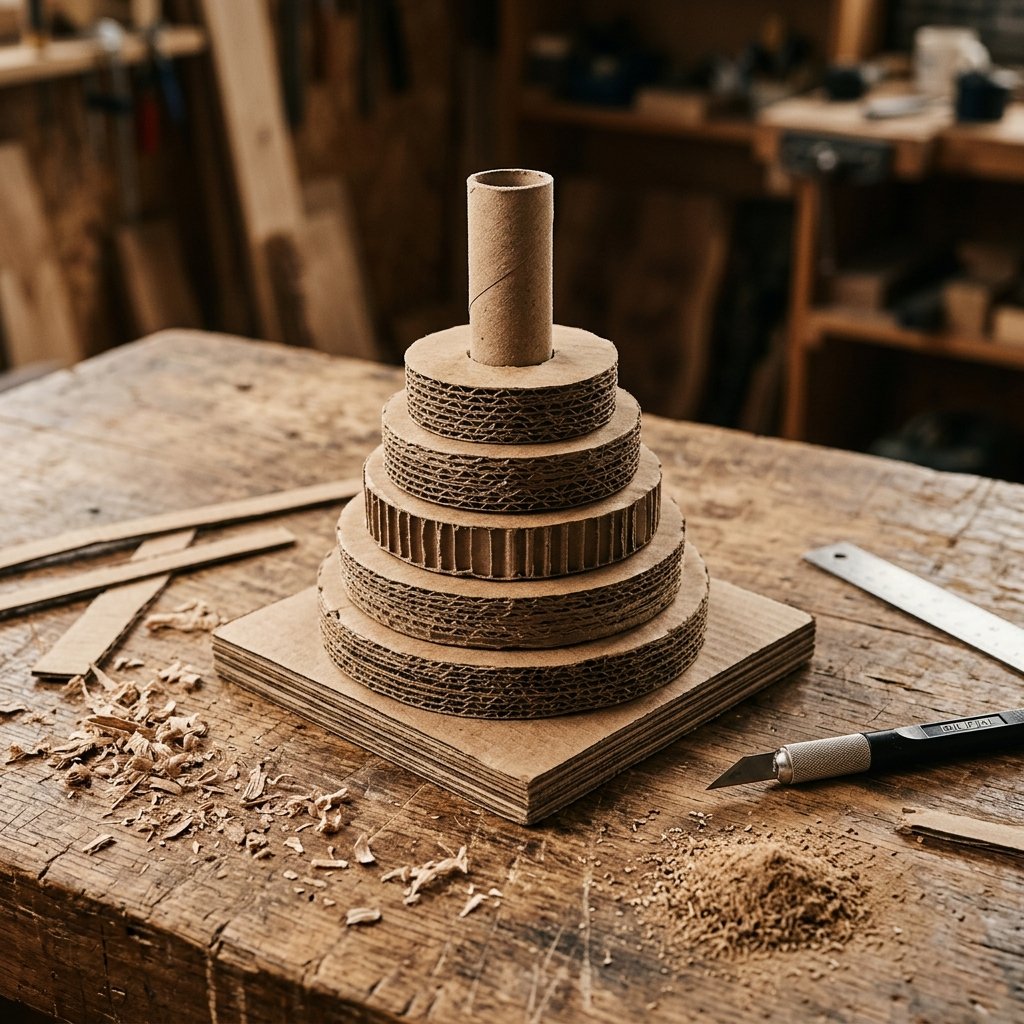

In an era dominated by flashing lights, cheap plastic, and endless battery replacements, there is something profoundly satisfying about returning to the basics. As a frugal DIYer, you know that the best tools for development aren’t found in a big-box toy aisle—they are currently sitting in your recycling bin. Today, we are going to stop the cycle of consumption and start a cycle of creation. We are building a DIY Cardboard Ring Stacker that isn’t just a toy; it is a piece of rugged, masculine-elegant engineering for the next generation.
This project is the epitome of trash-to-treasure. We are taking the mundane shipping boxes from your last online order and transforming them into a classic developmental tool that rivals any high-end wooden alternative. Why spend $25 to $40 on a designer eco-toy when you can craft one for $0 with better structural integrity and a story to tell? Let’s roll up our sleeves and get to work.
The Strategic Blueprint: Why Cardboard Wins

Before we cut our first piece of stock, we must understand why cardboard is the superior medium for this project. Unlike brittle plastic, cardboard offers a tactile, high-friction surface that helps toddlers develop fine motor skills more effectively. It’s lightweight, yet when laminated correctly, it achieves a rugged durability that can withstand years of play.
The Economic Advantage
Let’s look at the cold, hard numbers. When you choose to upcycle, you aren’t just saving money; you are reclaiming it. Below is a comparison of what you are actually getting when you buy versus when you build.
| Feature | Store-Bought Plastic | DIY Cardboard Stacker |
|---|---|---|
| Initial Cost | $15.00 – $30.00 | $0.00 |
| Environmental Impact | High (Landfill) | Zero (Biodegradable) |
| Customization | None | Infinite |
| Repairability | Impossible | 5 Minutes with Glue |
“The most sophisticated toy in the world is a box, and the most sophisticated tool is the hand that shapes it. Never underestimate the power of raw materials.”
Gathering Your Arsenal: Materials and Tools

To build a stacker that lasts, you need the right grade of materials. We aren’t looking for flimsy cereal boxes here; we want the heavy-duty corrugated stock used for shipping appliances or furniture. This provides the ‘heft’ required for a satisfying stacking experience.
Required Materials List
- Double-Wall Corrugated Cardboard: Enough for 10-15 large circles.
- Heavy-Duty Cardboard Tube: A paper towel core or, better yet, a thick mailing tube.
- Non-Toxic Wood Glue or School Glue: Essential for child safety.
- Utility Knife or Precision Blade: Ensure the blade is fresh and sharp for clean edges.
- Sandpaper (120-220 grit): For smoothing the ‘rugged’ edges into a ‘masculine-elegant’ finish.
Safety Note: Always cut away from your body. When laminating cardboard layers, ensure the glue is spread thinly and evenly to avoid warping. If using a hot glue gun for speed, ensure no beads of glue are exposed where a child could pick them off.
Phase 1: Engineering the Core and Base
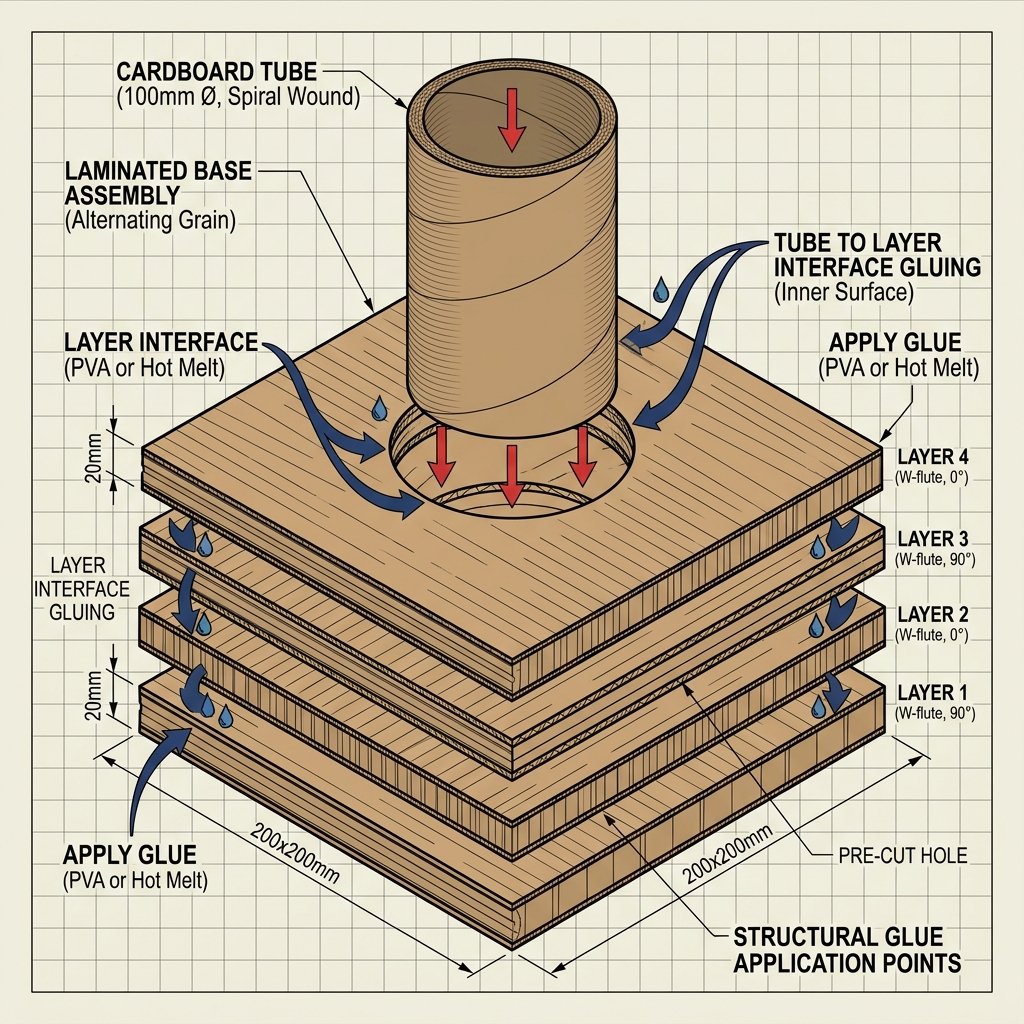
The foundation of your stacker determines its longevity. If the center post wobbles, the toy fails. We will use a laminated base technique to ensure the center of gravity remains low and stable.
Step-by-Step Base Construction
- Cut the Base Plates: Cut four 6×6 inch squares of heavy cardboard.
- Laminate: Apply a thin layer of glue between each square, rotating the grain of the cardboard 90 degrees for each layer. This creates a ‘plywood’ effect that is incredibly strong.
- Center the Post: Trace the diameter of your cardboard tube in the center of the top square.
- Excavate: Carefully cut out the circle from the top two layers only. This creates a ‘socket’ for your post to sit in, rather than just gluing it to the surface.
- Set the Post: Apply glue to the bottom of the tube and inside the socket. Press firmly and let it cure for 30 minutes.
By ‘socketing’ the post, you increase the surface area for the glue, making it nearly impossible for a toddler to snap it off during enthusiastic play.
Phase 2: Crafting the Graduated Rings
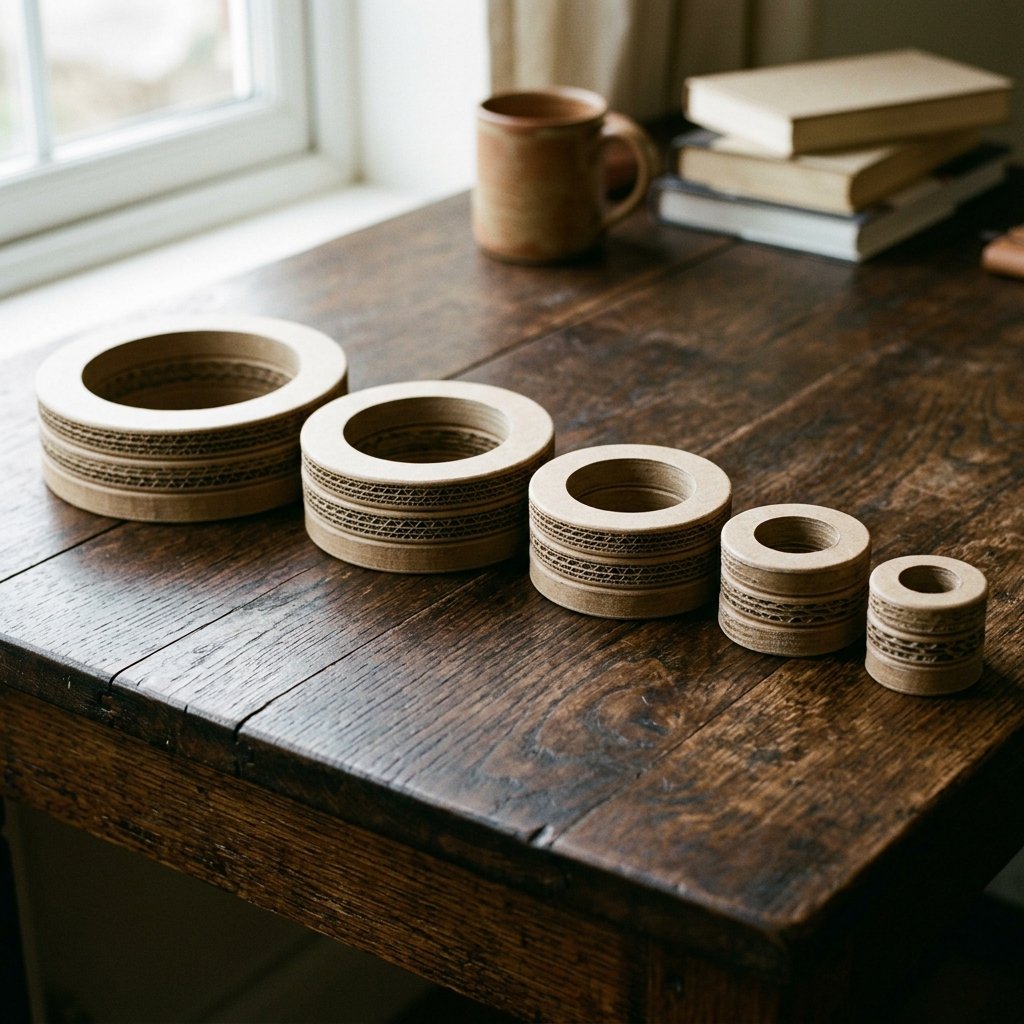
Now for the satisfying part: creating the rings. To achieve that high-end aesthetic, we will create five rings of decreasing size. Each ring will be composed of three layers of cardboard glued together to give them a chunky, tactile feel.
The Measurement Matrix
| Ring Level | Outer Diameter | Inner Diameter (Post Fit) |
|---|---|---|
| Bottom (Largest) | 5.5 inches | Tube Diameter + 1/8″ |
| Large-Mid | 4.75 inches | Tube Diameter + 1/8″ |
| Middle | 4.0 inches | Tube Diameter + 1/8″ |
| Small-Mid | 3.25 inches | Tube Diameter + 1/8″ |
| Top (Smallest) | 2.5 inches | Tube Diameter + 1/8″ |
Pro Tip: Use a compass or find bowls and jars in your kitchen that match these dimensions. When cutting the inner hole, add an extra 1/8 inch to the diameter of your post. This ensures the rings slide on and off smoothly without sticking, preventing frustration for the little ones.
Phase 3: The Refined Finish (Sanding and Sealing)
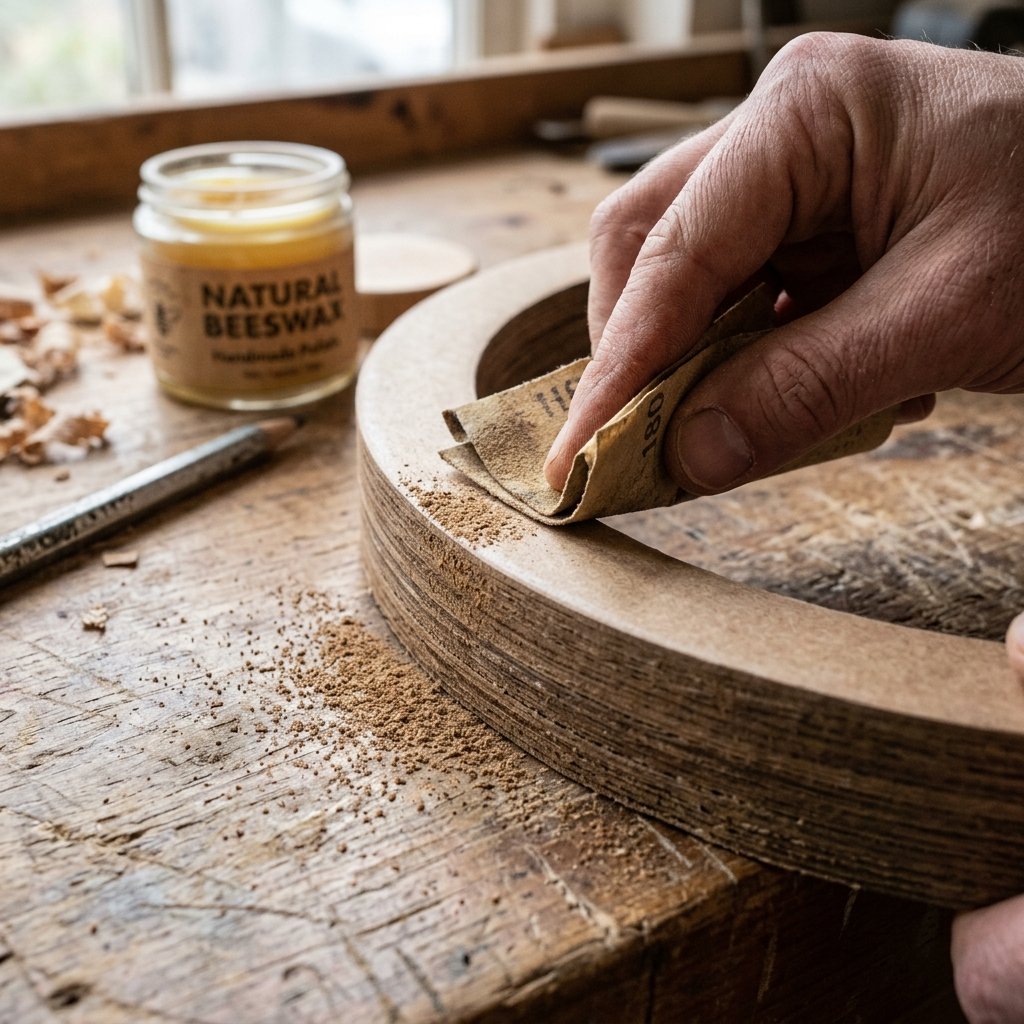
This is where we separate the ‘trash’ from the ‘treasure.’ A raw cardboard edge can be scratchy. By sanding the edges, you compress the corrugated fluting and create a surface that feels almost like suede.
The Finishing Process
- Step 1: Once the glue is fully dry, take your 120-grit sandpaper and sand the outer edges of the rings in a circular motion.
- Step 2: Switch to 220-grit for a polished feel. The edges will begin to look solid rather than layered.
- Step 3 (Optional): If you want a pop of color, use homemade flour paint or food-grade beeswax to seal the cardboard. This keeps the toy 100% non-toxic and eco-friendly.
The result is a rugged, practical toy that looks like it belongs in a high-end boutique or a minimalist nursery. It’s a testament to what a crafty expert can do with a little patience and a sharp blade.
Developmental Play: More Than Just Stacking
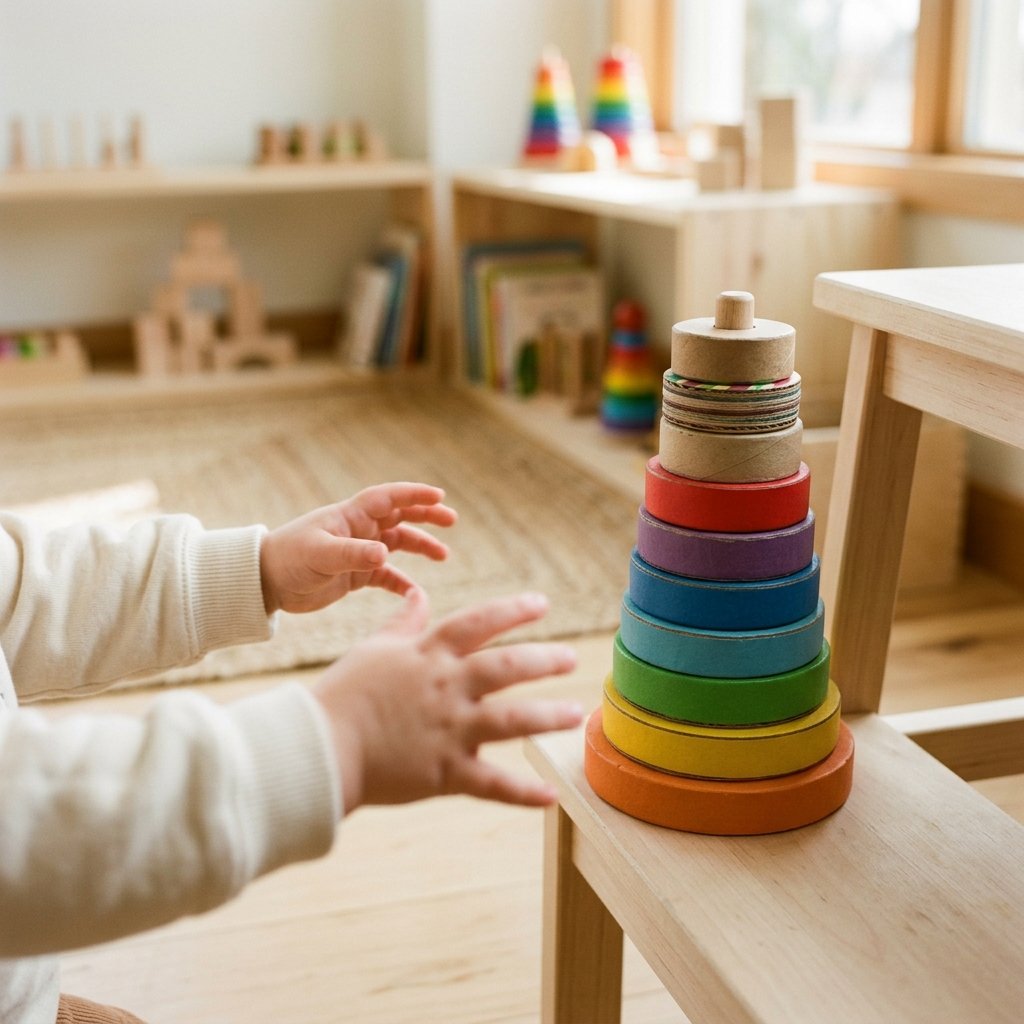
Your DIY stacker isn’t just a budget-saver; it’s a powerhouse for cognitive development. Because you made it from cardboard, you can even write numbers or letters on the rings to add an educational layer as the child grows.
Skills Targeted
- Hand-Eye Coordination: Precisely lining up the hole with the post.
- Size Discrimination: Understanding the concepts of ‘larger’ and ‘smaller.’
- Problem Solving: Figuring out the correct order to achieve the ‘pyramid’ shape.
- Tactile Sensory Input: Feeling the unique texture of the sanded cardboard.
As a handy parent, you’ve provided a tool that encourages focus and quiet play, all while keeping plastic out of your home and money in your pocket.
Conclusion
Building your own toys is a radical act of resourceful creativity. By choosing to make this cardboard ring stacker, you’ve proven that you don’t need a massive budget to provide high-quality, engaging, and beautiful items for your family. You’ve saved $20 or more, kept waste out of the landfill, and practiced the fine art of masculine-elegant crafting.
Remember, the goal isn’t perfection; it’s the process. Your child won’t care if the circles aren’t perfectly symmetrical—they will care that you built something specifically for them. So, the next time you see a shipping box, don’t see trash. See the potential for your next trash-to-treasure masterpiece. Stay crafty, stay frugal, and keep building!

Makenzie is the founder and lead writer at MoneyHackTips.com — a personal finance blog dedicated to delivering street-smart financial wisdom for real people on real budgets. With 300+ published articles covering everything from debt management to investing fundamentals, Makenzie’s mission is to make every dollar work harder. When not writing about money hacks, Makenzie is testing frugal living strategies, optimizing side hustles, and helping readers build financial freedom from scratch.