
The Art of the Trash-to-Treasure Playtime
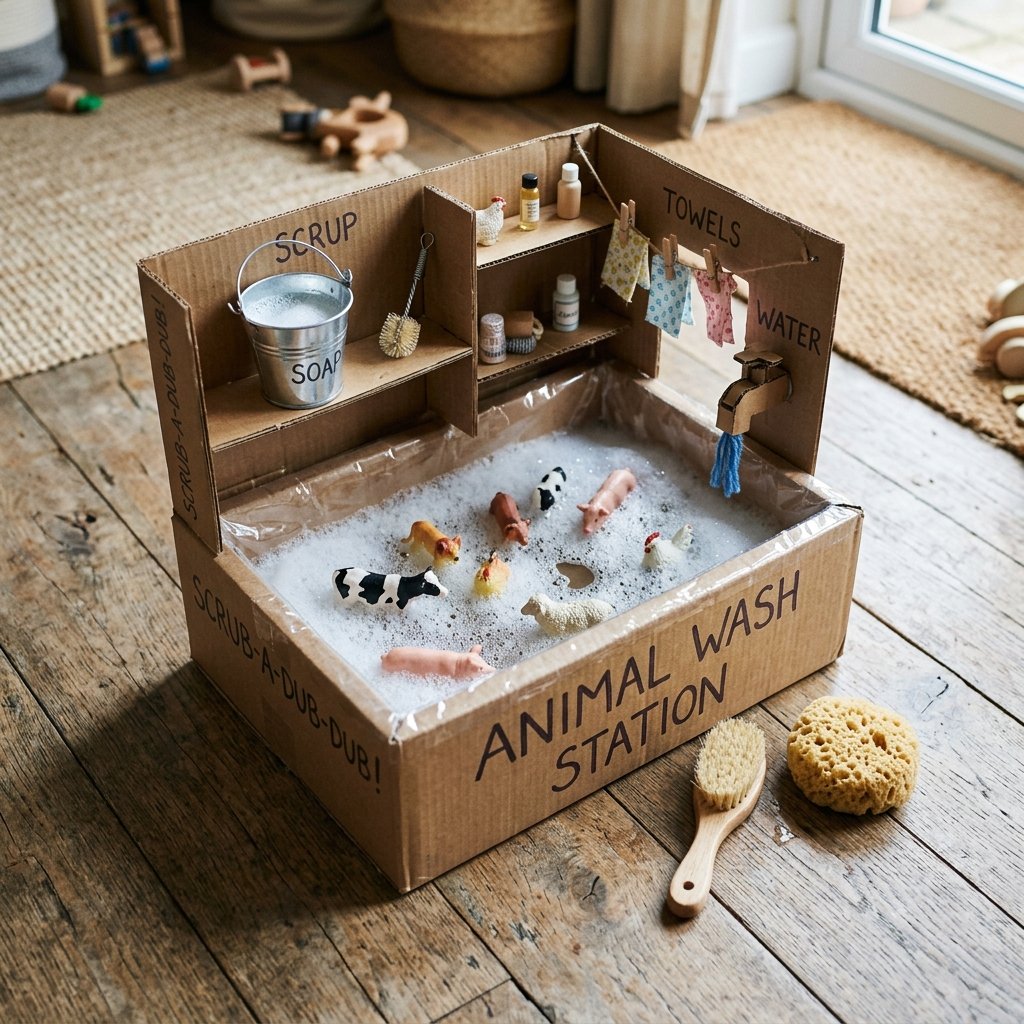
Let’s be honest: you could spend $40 or $60 on a flashy, battery-operated plastic sensory table that will inevitably end up gathering dust in the corner of the playroom. Or, you could tap into your inner craftsman and build something far superior using nothing but the remnants of your latest delivery boxes. As a resourceful DIYer, you know that the best toys aren’t bought; they are engineered with a bit of grit, a sharp utility knife, and a vision for upcycling. This DIY Cardboard Animal Washing Sensory Toy is more than just a distraction—it is a rugged, tactile experience that engages a toddler’s curiosity while keeping your wallet heavy. We are talking about 100% free entertainment sourced directly from your recycling bin. In this guide, we will walk through the architectural steps to create a waterproofed, durable washing station that can handle the suds, the splashes, and the high-energy play of a busy toddler.
The Blueprint: Scavenging Your Supplies from the Recycling Bin
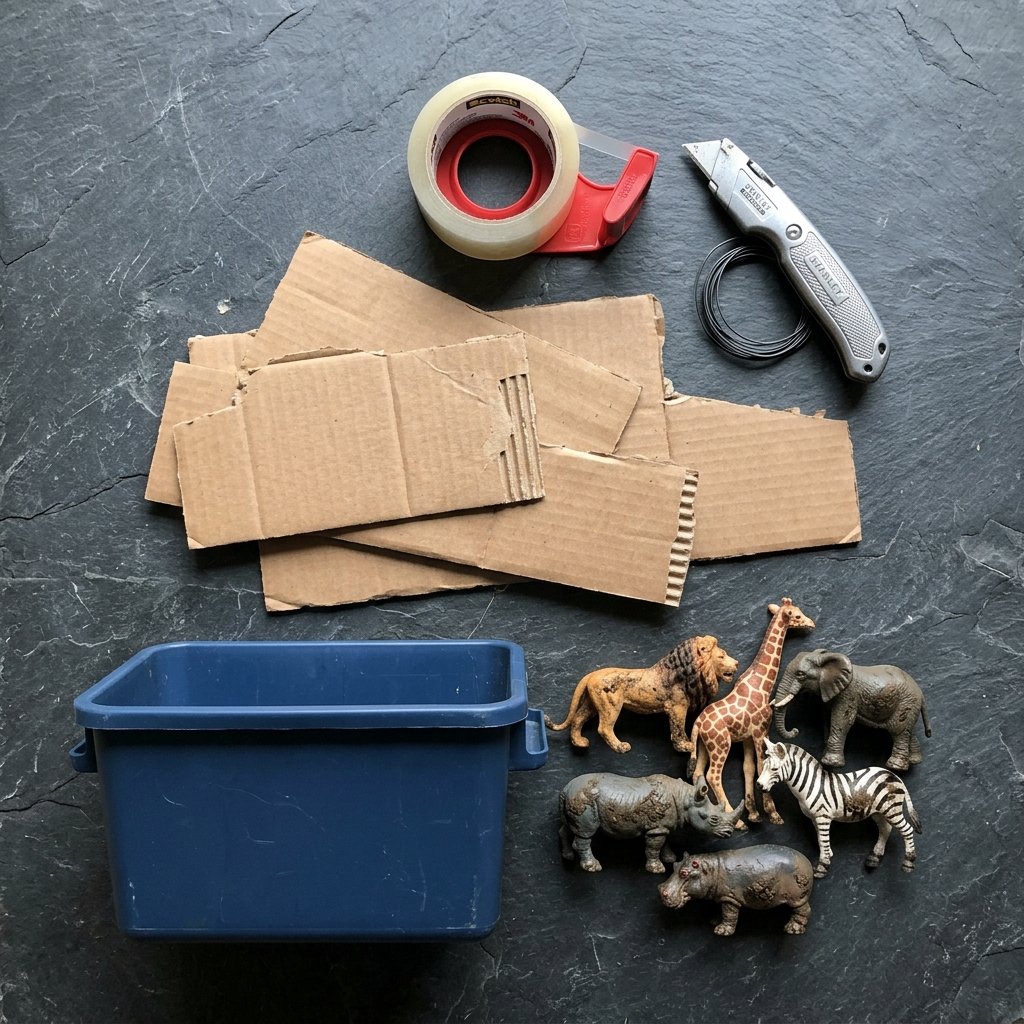
Every great project begins with a solid inventory of materials. We aren’t looking for high-end lumber here; we are looking for high-quality refuse. The goal is to create a station that is sturdy enough to hold a basin of water but light enough to be moved easily. You likely already have these items sitting in your garage or pantry.
| Material | Source | Estimated Cost |
|---|---|---|
| Heavy-Duty Cardboard Box | Shipping Deliveries | $0.00 |
| Clear Contact Paper or Packing Tape | Junk Drawer / Dollar Store | $1.25 |
| Plastic Basin or Tupperware | Kitchen Cabinet | $0.00 |
| Dish Soap & Water | Kitchen Sink | $0.05 |
| Plastic Animals / Dinosaurs | Toy Box | $0.00 |
| Total Investment | N/A | ~$1.30 |
The Essential Tool Kit
- Utility Knife: For clean, masculine-elegant cuts through thick corrugated cardboard.
- Heavy-Duty Glue Gun: To reinforce the structural joints of your wash station.
- Permanent Marker: For sketching your architectural layout before you cut.
- Sponge or Old Toothbrush: The ‘detailing’ tools for the animals.
Architecting the Wash: Cutting, Folding, and Waterproofing
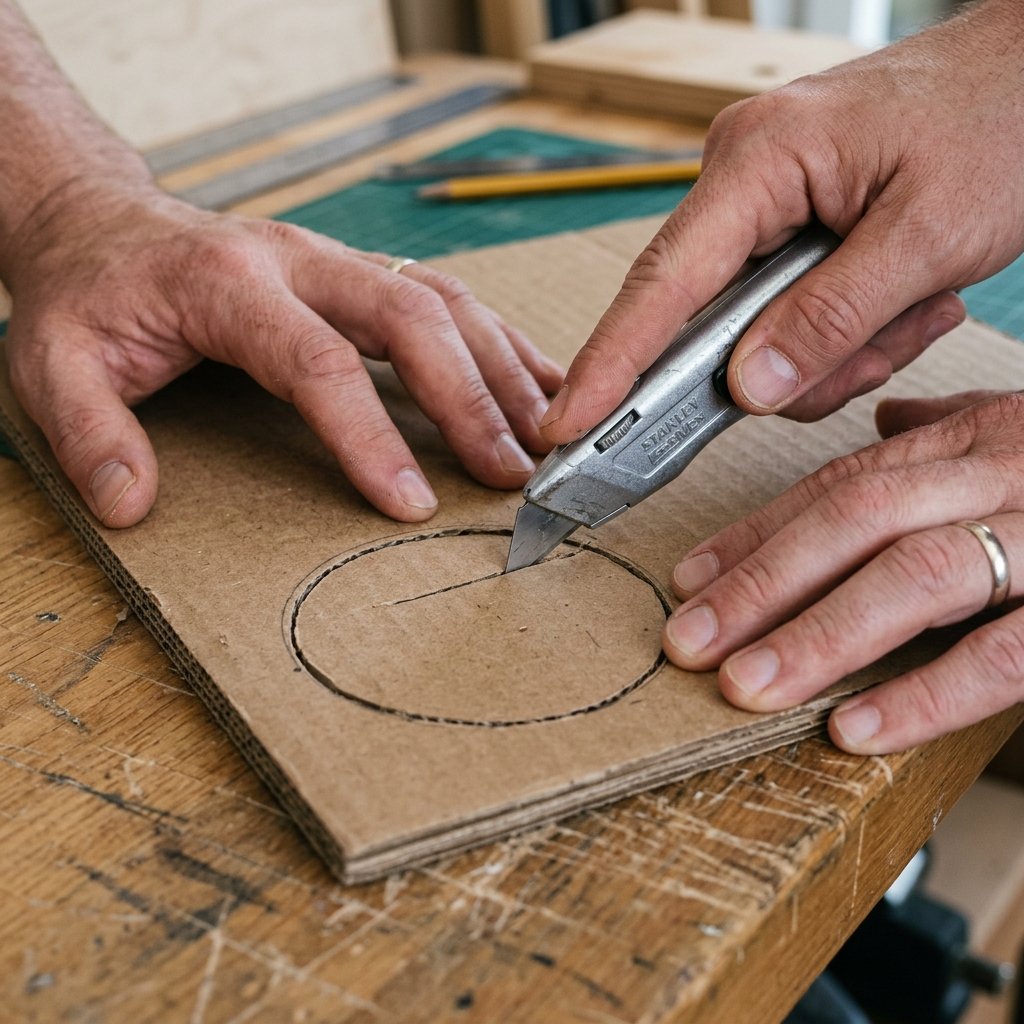
Construction is where the magic happens. We want to build a frame that houses our ‘wash basin’ securely. Start by selecting a large, shallow box to serve as the base. This will act as the ‘splash zone’ to catch any stray suds. Inside this base, we will build the elevated washing platform.
The Master Builder’s Fold: When working with cardboard, score the outer layer of the paper without cutting all the way through. This allows for a crisp, professional 90-degree bend that looks like it came off a factory floor.
- Measure the Basin: Place your plastic Tupperware in the center of your cardboard. Trace its footprint.
- Create the Inset: Cut a hole slightly smaller than the lip of the Tupperware so the basin hangs securely without falling through.
- Waterproofing (Critical Step): Cardboard and water are natural enemies. To make this toy last, you must laminate the surfaces. Cover every inch of the exposed cardboard with clear packing tape or contact paper. This creates a rugged, water-resistant barrier.
- The Drainage Slope: If you are feeling particularly crafty, angle the base cardboard slightly so any spilled water drains toward a single point for easy cleanup.
The Suds and the Science: Why Sensory Washing Works
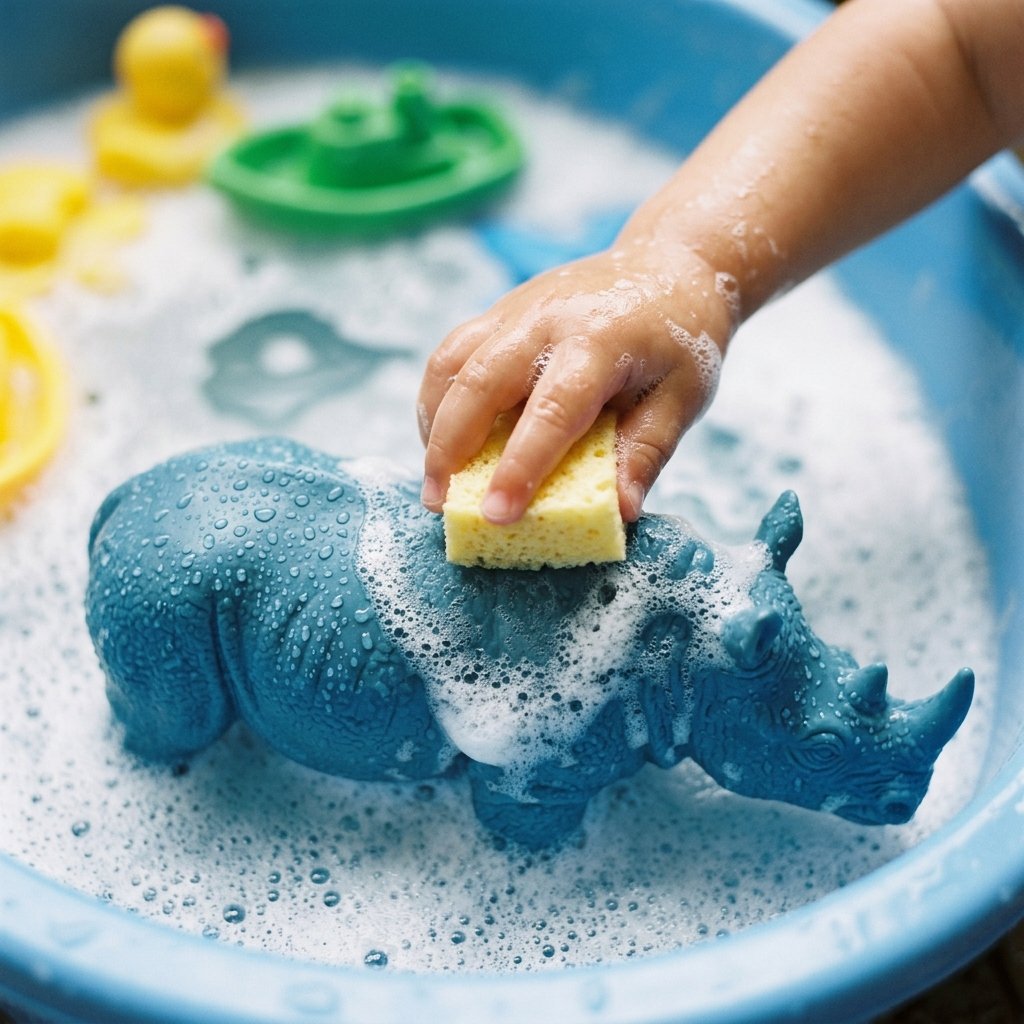
This isn’t just about getting plastic cows clean; it’s about developmental milestones. Sensory play is the ‘work’ of the toddler. By scrubbing, pouring, and drying, they are refining their fine motor skills and hand-eye coordination. As a savvy parent, you are providing a $50 Montessori-style experience for the cost of a squirt of dish soap.
| Skill Developed | Activity Action | Developmental Benefit |
|---|---|---|
| Fine Motor Control | Scrubbing with a brush | Prepares hands for writing and tool use |
| Cause and Effect | Adding soap to water | Understanding chemical reactions and bubbles |
| Focus & Concentration | Drying the animals | Building ‘deep work’ habits in early childhood |
| Tactile Processing | Feeling the water/suds | Sensory integration and calming effects |
To maximize the engagement, introduce ‘mud’ (a mixture of cocoa powder and water) to the animals before the wash begins. This adds a level of visual satisfaction as the animals go from ‘filthy’ to ‘pristine’ under the toddler’s care.
Level Up: Rugged Customizations for Future Engineers
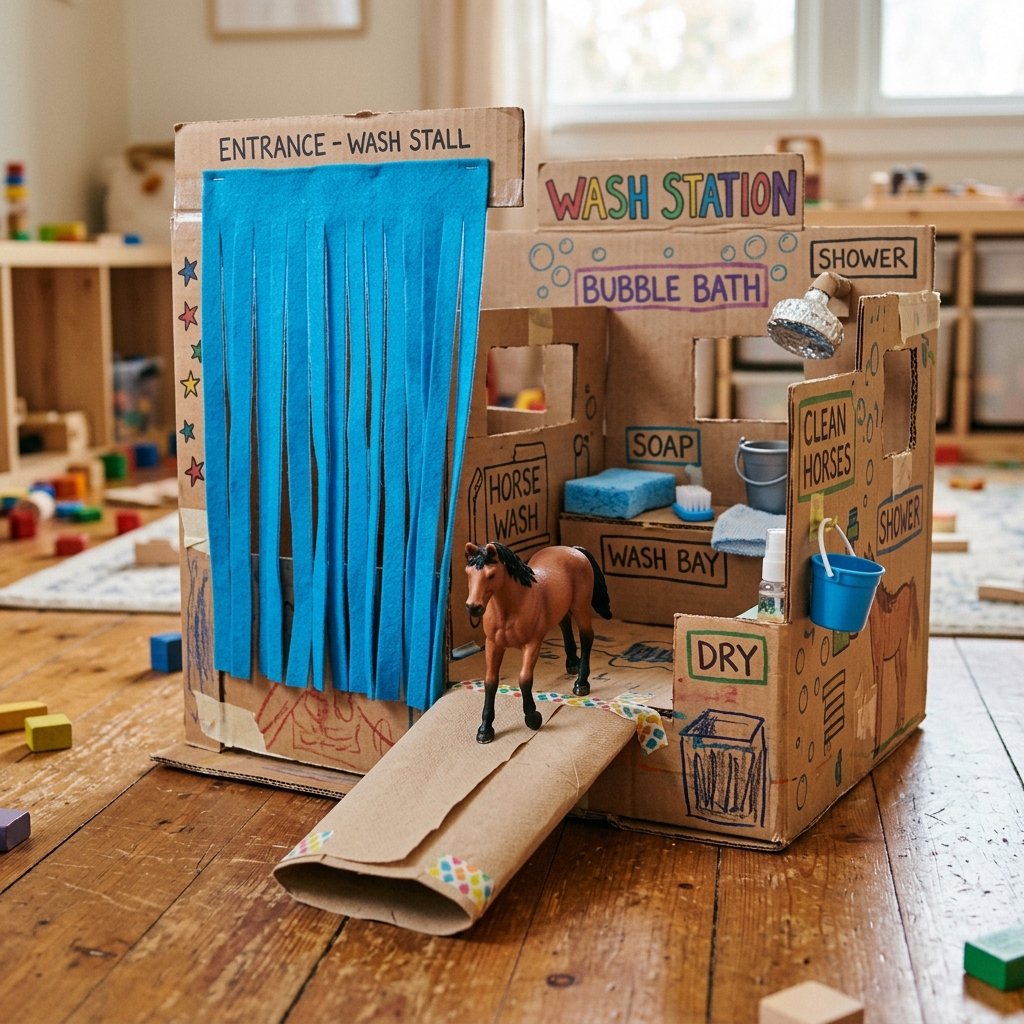
Once you have the basic structure down, it’s time to add the ‘masculine-elegant’ details that turn a simple box into a professional-grade play center. Think of this as the ‘trim package’ on a custom truck.
Advanced Upgrades
- The Drying Station: Glue a small piece of an old towel to a separate cardboard platform. This teaches the child a multi-step process: Wash, Rinse, Dry.
- Ramps and Tunnels: Use cardboard tubes (from paper towels) to create ‘entry chutes’ where the animals can slide into the soapy water.
- The ‘Car Wash’ Fringe: Cut strips of blue felt or old rags and hang them over the entrance of the wash station. It adds a tactile ‘curtain’ for the animals to pass through.
- Tool Organization: Use small cardboard dividers to create a dedicated space for the ‘detailing kit’ (brushes, sponges, and towels).
Budget Mantra: “A piece of tape and a bit of imagination can replace any plastic toy ever made.”
The Exit Strategy: Mess-Free Cleanup and Storage
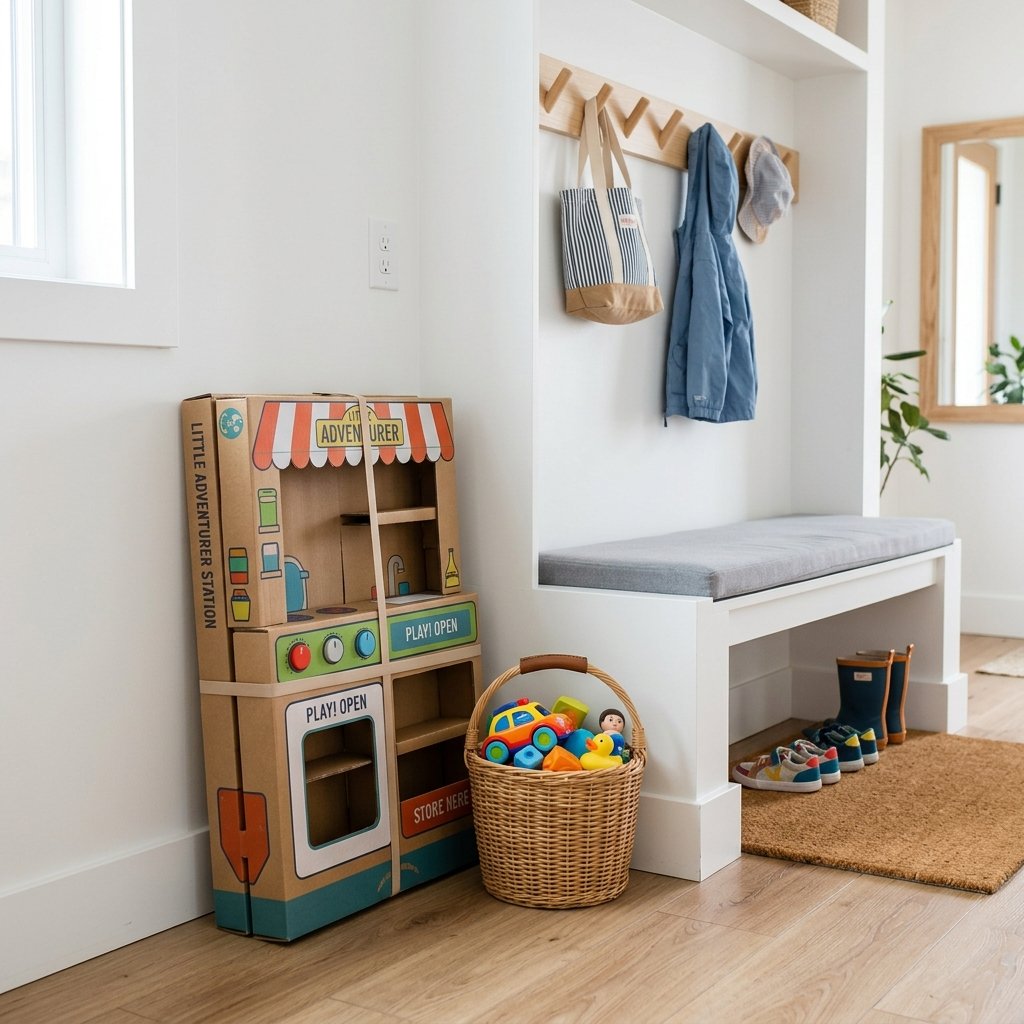
A truly clever DIYer always thinks about the cleanup. Since we have waterproofed our cardboard with tape, the cleanup is remarkably efficient. The entire station can be wiped down with a dry cloth in under 2 minutes. If you used a modular design, the plastic basin can be removed, emptied, and placed in the dishwasher.
Pro-Tips for Longevity
- Air Dry: Always leave the station in a well-ventilated area after play to ensure no moisture trapped in the joints causes the cardboard to soften.
- Collapsible Design: If you used ‘tab-and-slot’ construction rather than hot glue, you can fold the entire station flat and slide it behind a dresser or under a bed.
- Recycle and Rebuild: The beauty of cardboard is that when the child outgrows the toy, or it eventually wears out, you can simply toss it in the recycling bin and build Version 2.0 with even better features.
Conclusion
The Resourceful Parent’s Victory
Building a DIY Cardboard Animal Washing Sensory Toy is a masterclass in frugal parenting. You’ve saved money, reduced waste, and provided your child with a high-value educational tool that encourages hours of independent play. There is a rugged satisfaction in looking at a pile of trash and seeing a world of possibility for your children. You didn’t just give them a toy; you showed them that creativity and craftsmanship are the most valuable tools in the shed. Now, grab that utility knife, find a box, and get to work—the ‘car wash’ is officially open for business!

Makenzie is the founder and lead writer at MoneyHackTips.com — a personal finance blog dedicated to delivering street-smart financial wisdom for real people on real budgets. With 300+ published articles covering everything from debt management to investing fundamentals, Makenzie’s mission is to make every dollar work harder. When not writing about money hacks, Makenzie is testing frugal living strategies, optimizing side hustles, and helping readers build financial freedom from scratch.