
The Revolution of Resourceful Play
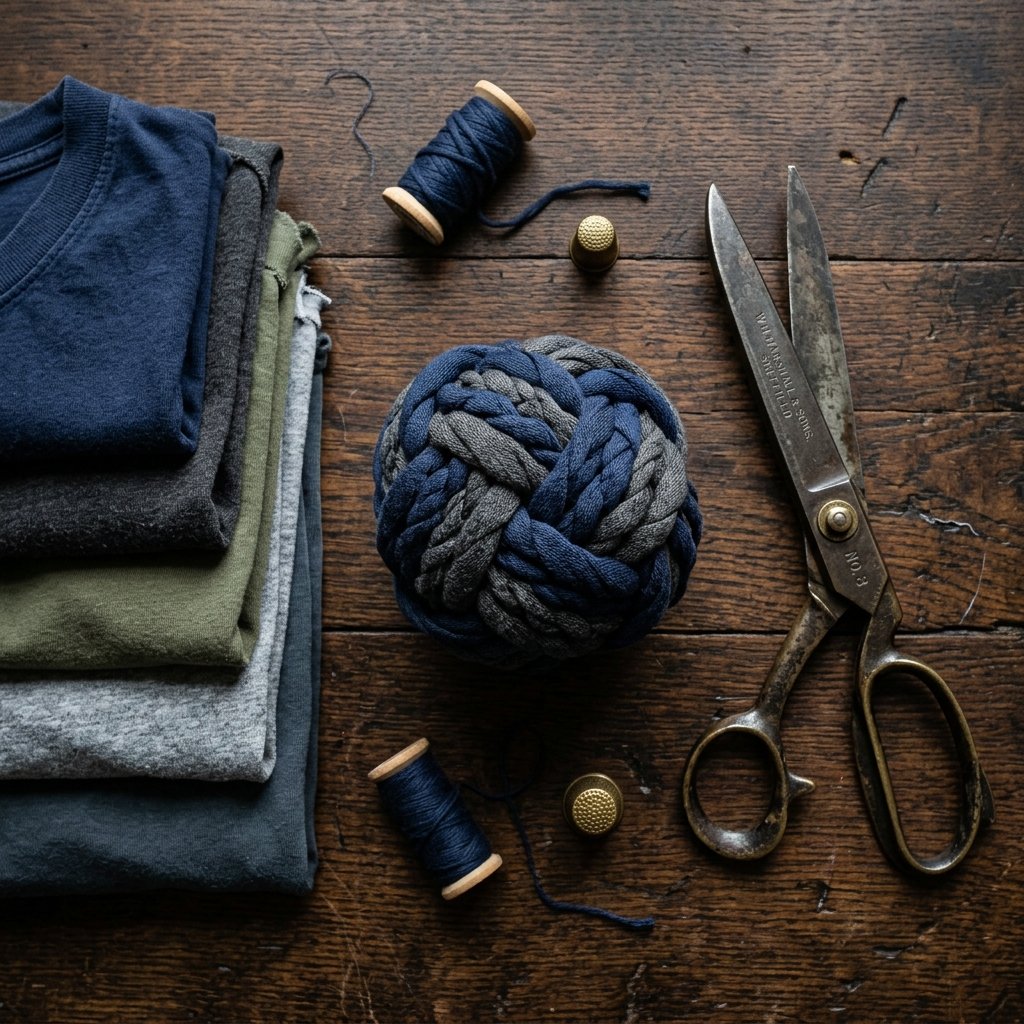
Let’s be honest: the modern nursery is often a graveyard of expensive, over-engineered plastic that chirps, blinks, and eventually ends up in a landfill. As a frugal DIYer, you know there’s a better way. You see the hidden potential in a worn-out navy henley or that 100% cotton promotional tee gathering dust in the back of your drawer. Today, we are reclaiming that fabric and engineering a sensory ball that isn’t just free—it’s superior. This isn’t just about saving $20 at a high-end toy boutique; it’s about the rugged satisfaction of creating something functional with your own two hands. We are going to dive into the physics of tactile play, the art of the ‘continuous loop’ cut, and the assembly of a toy that will survive the most vigorous teething sessions. This is upcycling at its most efficient: 10 minutes of your time for months of developmental play.
The Anatomy of a Zero-Cost Sensory Masterpiece
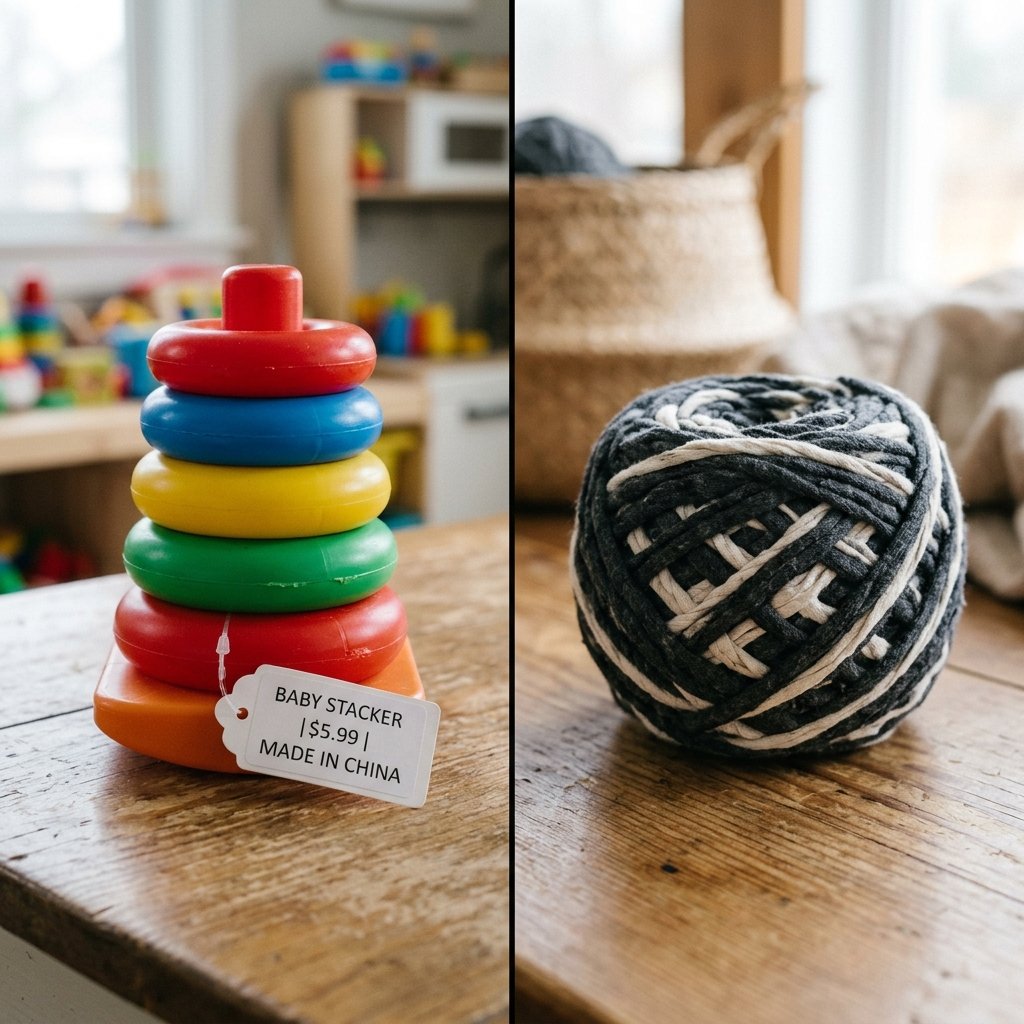
Why T-Shirt Yarn Wins the Playroom War
Before we pick up the shears, we need to understand why jersey knit (the stuff your t-shirts are made of) is the gold standard for infant development. Babies are in a constant state of tactile discovery. The natural ‘give’ and ‘grip’ of cotton yarn allow small fingers to develop fine motor skills far more effectively than slippery plastic. Furthermore, by using high-contrast colors—think dark blues against greys or whites—you are providing the visual stimulation necessary for early optical development.
When we compare this zero-budget project to store-bought alternatives, the winner is clear. Not only do you save money, but you also eliminate the risk of BPA, phthalates, and lead often found in cheaply manufactured imported toys.
| Feature | Store-Bought ‘Montessori’ Ball | DIY T-Shirt Yarn Ball |
|---|---|---|
| Cost | $15.00 – $35.00 | $0.00 (Upcycled) |
| Material | Polyester/Synthetic Blend | 100% Natural Cotton |
| Washability | Surface Clean Only | Machine Washable & Dryable |
| Production Time | Shipping (3-5 Days) | 10 Minutes |
| Durability | Standard Stitching | Rugged, Hand-Tensioned |
Sourcing and Prepping Your ‘Textile Gold’
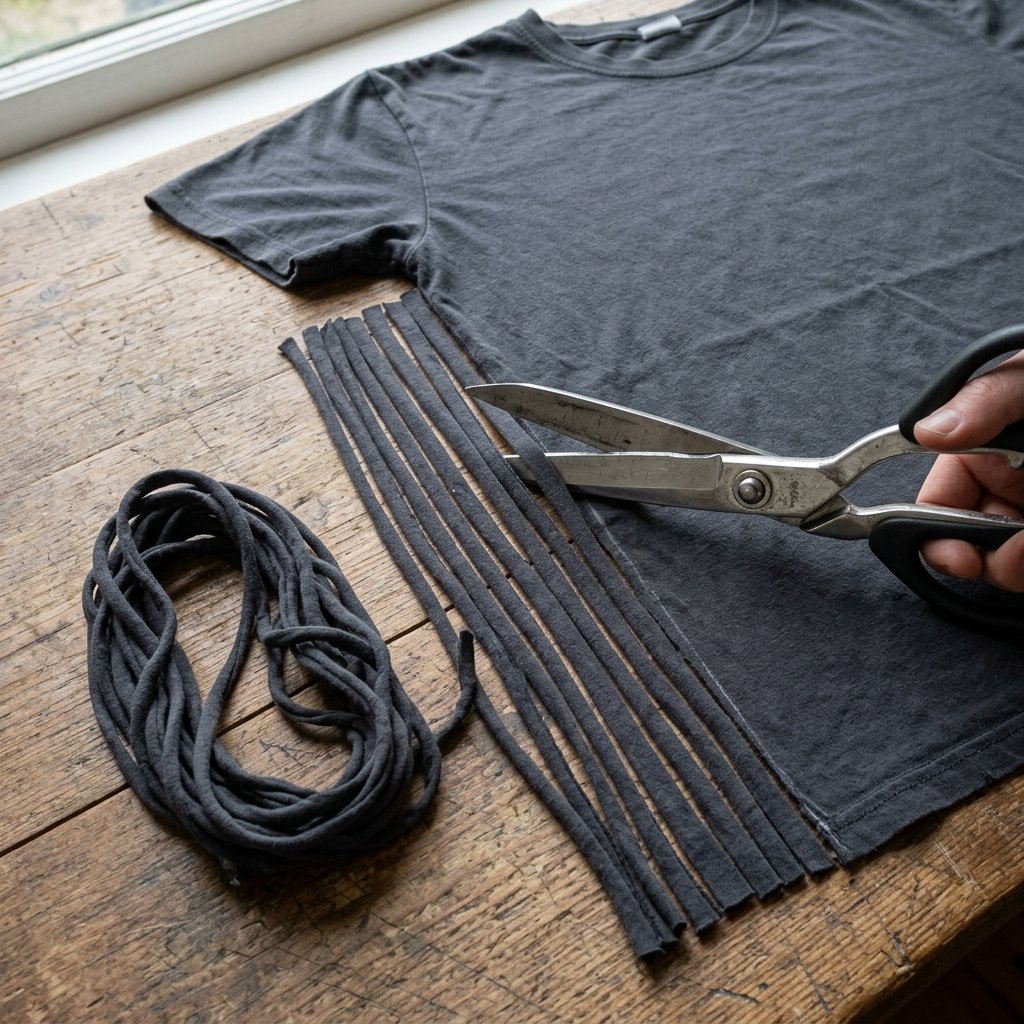
Selecting the Right Donor Fabric
Not all t-shirts are created equal. For a sensory ball that holds its shape and provides the best ‘curl,’ you want a shirt that is 100% cotton or a 95/5 cotton-spandex blend. Avoid shirts with heavy ‘screen prints’ or thick rubbery logos, as these will make the yarn stiff and difficult to manipulate. Look for shirts without side seams; these allow you to create one continuous strand of yarn without any knots.
The Tools of the Trade
- Sharp Fabric Shears: A clean cut prevents fraying.
- An Old T-Shirt: Size Large or XL provides the most yardage.
- A Tennis Ball or Wad of Scraps: This acts as the ‘core’ of your sensory ball.
Budget Guru Mantra: Use the sleeves and the hem of the shirt as the ‘stuffing’ for the core. In this workshop, we leave zero waste behind.
The 10-Minute Assembly: No-Sew Engineering

Step-by-Step Construction
This process is divided into two phases: creating the yarn and winding the ball. Follow these steps for a perfectly tensioned result.
- Create the Yarn: Lay the shirt flat. Cut off the bottom hem and the armpits. You now have a fabric tube. Cut 1-inch strips across the tube, stopping 1 inch before the opposite edge. Finally, cut diagonally across the ‘bridge’ you left to create one long, continuous strand.
- The Stretch: Take your long strip and pull it taut. Watch as the edges curl inward to create a rounded, durable cord. This is your t-shirt yarn.
- The Core: Take your fabric scraps (the sleeves and hem) and roll them into a tight, firm ball about the size of a lemon. This is the ‘engine’ of the toy.
- The Wrap: Secure the end of your yarn under your thumb against the core. Begin wrapping tightly, changing direction with every 3-4 passes. This creates the ‘basket weave’ texture babies love to grip.
- The Finish: Once the ball is the size of a grapefruit, use a crochet hook or your finger to tuck the final tail deeply under several layers of the wrap. Pull tight to lock it in place.
Customizing for Maximum Development
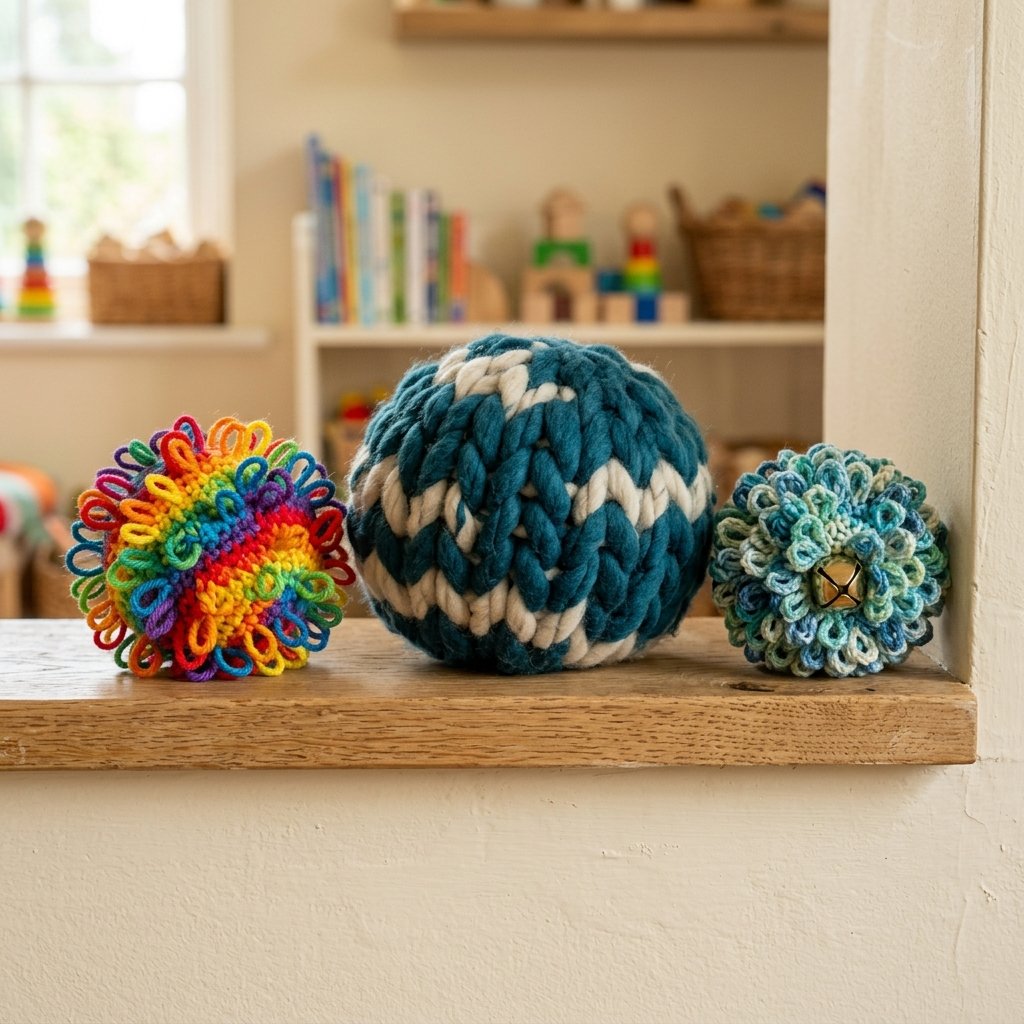
Advanced Upcycling Variations
Once you’ve mastered the basic ball, you can upgrade the design to suit different developmental stages. A clever crafter knows that variety is the spice of life—and learning.
- The ‘Jingle’ Ball: Insert a large craft bell (securely sewn inside a small fabric scrap) into the center of the core. This adds an auditory reward for the baby’s movements.
- The Multi-Texture Variant: Mix yarn made from an old flannel shirt with yarn from a jersey tee. The contrast between the fuzzy flannel and the smooth jersey provides a complex tactile experience.
- The ‘High-Contrast’ Target: Use three different colored shirts. Wrap the first layer in white, the second in black, and the final ‘open’ weave in red. This is scientifically proven to capture an infant’s attention.
| Modification | Benefit | Difficulty |
|---|---|---|
| Internal Bell | Auditory Tracking | Low |
| Mixed Fabrics | Tactile Discrimination | Medium |
| Braided Outer Layer | Fine Motor Grip | High |
Safety First: The Rugged Parent’s Checklist
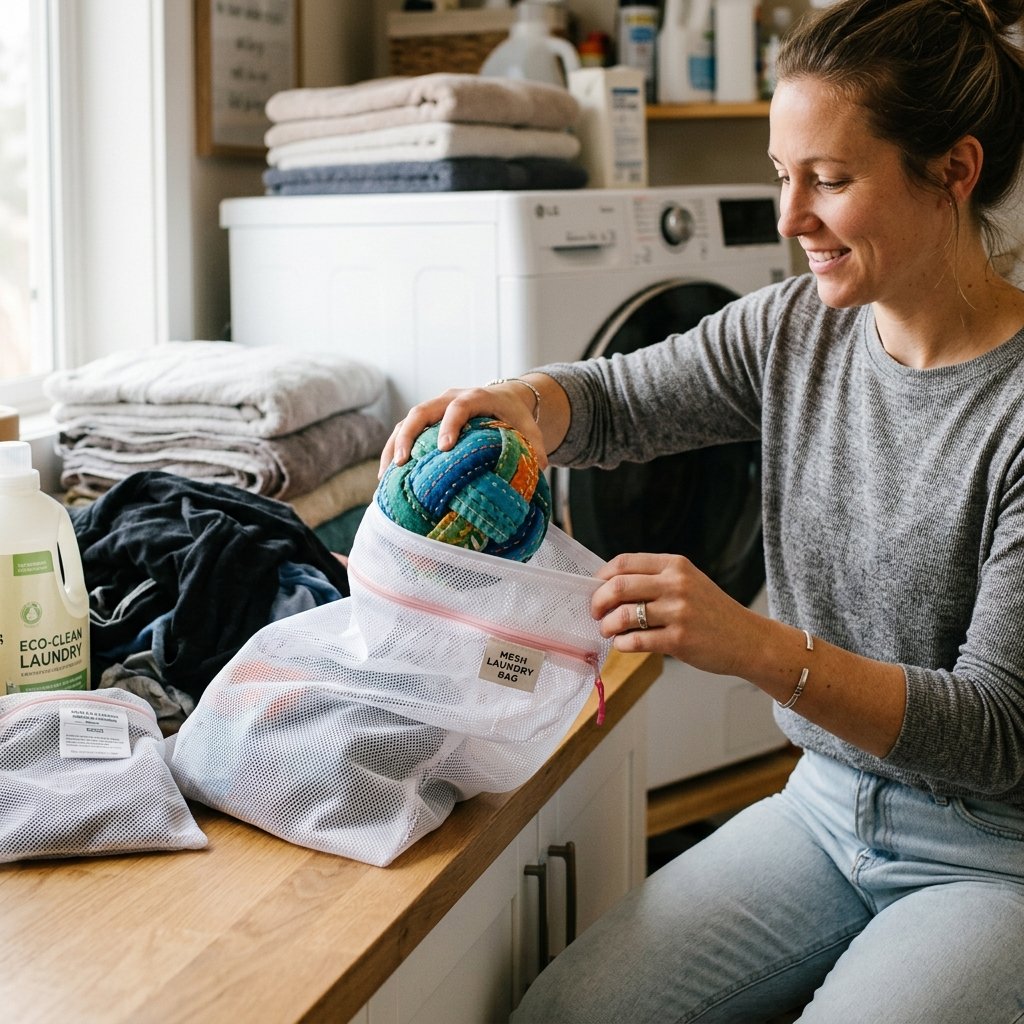
Maintenance and Durability
Because this is a toy for an infant, we must adhere to the highest safety standards. This ball is designed to be rugged, but regular inspection is key.
Safety Note: Periodically tug on the yarn loops to ensure the ‘tail’ hasn’t worked its way loose. If the ball becomes misshapen, simply give it a firm roll between your palms to redistribute the tension.
Cleaning Your Creation
One of the greatest perks of the t-shirt yarn ball is its hygiene. Unlike plastic toys that harbor bacteria in crevices, this ball can be tossed into a mesh laundry bag and washed with your regular towels. Use a fragrance-free detergent and tumble dry on low heat. The heat will actually help the cotton fibers ‘bloom’ and tighten the knots, making the ball even more durable over time.
Conclusion
The Wealth of Self-Reliance
In just 10 minutes, you’ve transformed a piece of ‘trash’ into a high-functioning developmental tool. You didn’t just save $20; you exercised your creativity and provided your child with a toy that is safe, sustainable, and infused with the effort of a parent’s hands. This is the heart of the frugal DIY movement—it’s not about having less, it’s about making more of what you already have. So, next time you’re cleaning out your closet, don’t just bag up those old tees. Look at them as the raw materials for your next great project. Happy crafting, and enjoy the peace and quiet that comes with a perfectly engaged, happy baby.

Makenzie is the founder and lead writer at MoneyHackTips.com — a personal finance blog dedicated to delivering street-smart financial wisdom for real people on real budgets. With 300+ published articles covering everything from debt management to investing fundamentals, Makenzie’s mission is to make every dollar work harder. When not writing about money hacks, Makenzie is testing frugal living strategies, optimizing side hustles, and helping readers build financial freedom from scratch.