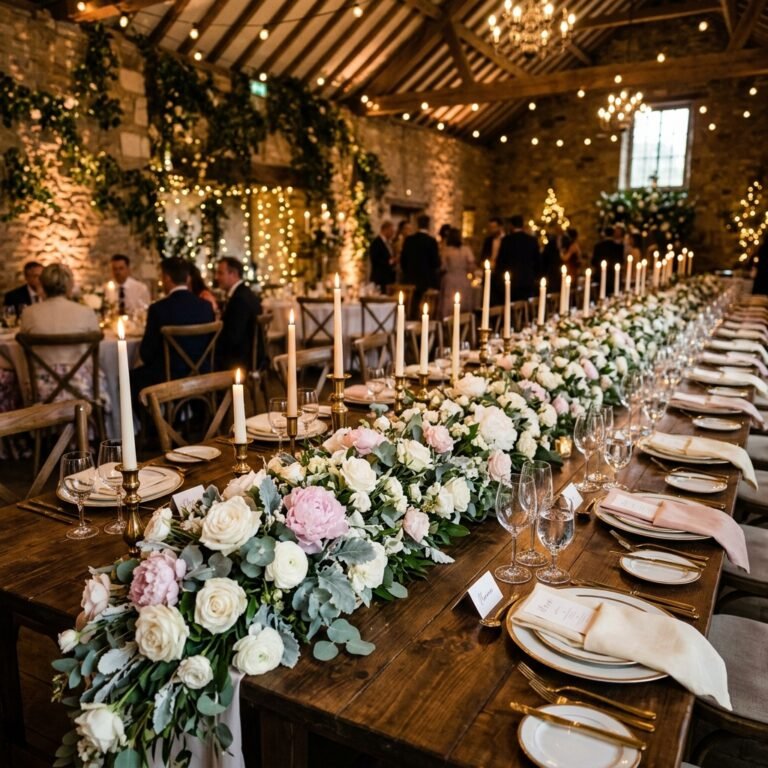
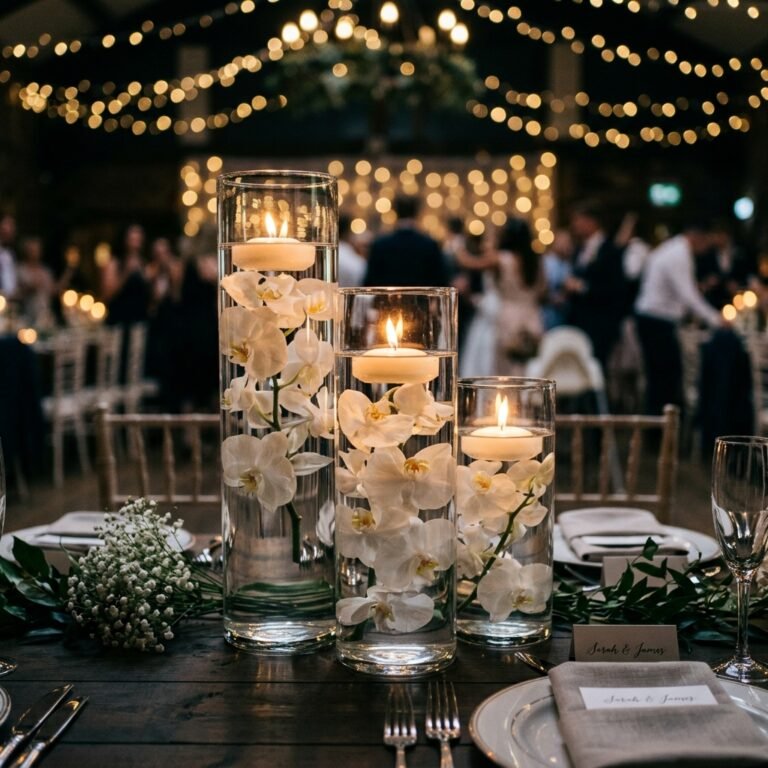
The Million-Dollar Wedding Look on a Ten-Dollar Budget
Planning a wedding often feels like a relentless pursuit of beauty while staring down a terrifying balance sheet. But here is a secret the high-end florists don’t want you to know: Style is not a price tag; it is a strategy. If you are a resourceful DIYer with a knack for detail and a desire to keep your savings account intact, paper flowers are your ultimate tactical advantage. We aren’t talking about grade-school tissue paper puffs. We are talking about sophisticated, architecturally stunning blooms that mimic the texture of expensive silk or the delicate nature of real ranunculus. By mastering the art of the paper flower, you can create centerpieces that won’t wilt under the reception lights and will cost you less than a single latte per table. This guide is your blueprint for turning $1.25 supplies into breath-taking centerpieces that your guests will mistake for professional floral arrangements.
The Raw Materials: Scavenging and Selecting the Best Paper
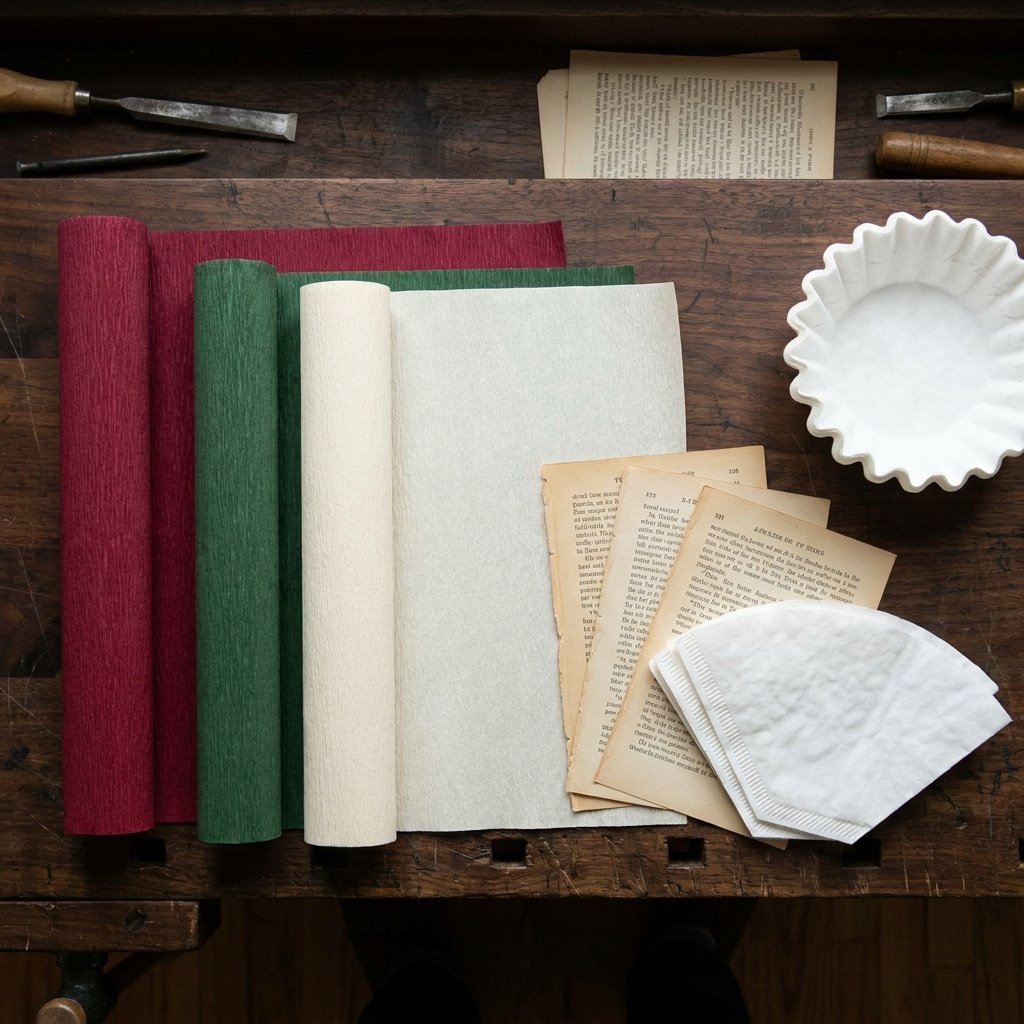
Your choice of paper is the foundation of your success. To achieve a masculine-elegant and high-end aesthetic, you must move beyond standard construction paper. We look for materials that offer texture, weight, and ‘memory’—the ability to hold a curl or a crease.
Top Paper Choices for Frugal Crafters
- Heavy Crepe Paper (180g): This is the gold standard. It has incredible stretch (up to 250%), allowing you to cup and mold petals into realistic shapes.
- Upcycled Book Pages: Perfect for a vintage or intellectual vibe. Sourcing old, yellowed books from thrift stores for $0.50 provides thousands of petals.
- Coffee Filters: The ultimate budget hack. A pack of 100 costs $1.00 and can be dyed with tea or food coloring for a soft, organic look.
- Cardstock: Best for structured, geometric flowers like succulents or large-scale dahlias.
| Material Type | Estimated Cost | Best For… |
|---|---|---|
| Heavy Crepe Paper | $2.50 per roll | Realistic Peonies & Roses |
| Upcycled Book Pages | $0.00 – $0.50 | Vintage/Literary Themes |
| Bulk Coffee Filters | $1.00 per pack | Soft Ranunculus & Carnations |
| Cardstock Scraps | $0.10 per sheet | Structural Succulents |
“The secret to realism is in the weight. Always choose a paper that has enough ‘tooth’ to catch the light and enough strength to hold its shape for a 6-hour reception.”
The Crafter’s Arsenal: Essential Tools Without the Premium Price Tag

You don’t need a professional studio to create high-end results. A clever and budget-savvy crafter knows that the right basic tools, used with precision, are all that’s required. Most of these items can be found in your kitchen junk drawer or at a local discount store.
The Basic Toolkit
- Sharp Detail Scissors: Precision is key for petal edges.
- Hot Glue Gun (Low Temp): Essential for quick assembly without burning your fingertips.
- Floral Wire (18-22 Gauge): This provides the ‘skeleton’ of your flower.
- A Wooden Skewer: Used for curling petal edges to create that organic, non-synthetic look.
- Floral Tape: To bind your paper stems to the wire for a seamless finish.
Pro-Tip: Instead of buying expensive floral foam, use dry sand or pebbles from your backyard to weight your vases. It’s 100% free and provides better stability for top-heavy paper blooms.
Mastering the Petal: Step-by-Step Anatomy of a Paper Rose
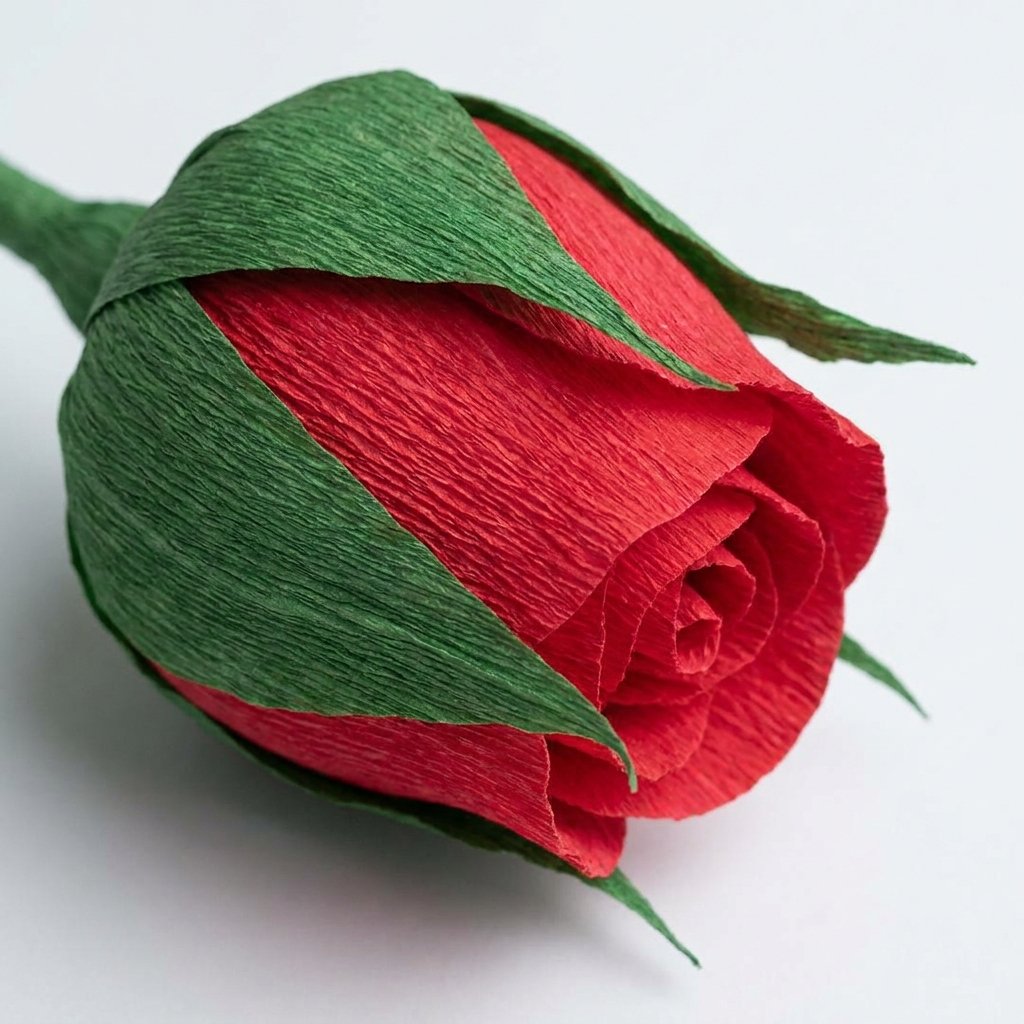
The rose is the anchor of any wedding centerpiece. Follow these steps to create a bloom that looks like it was plucked from a botanical garden.
The Construction Process
- The Core: Crumple a small scrap of paper into a ball (about 1 inch wide) and glue it to the top of your floral wire. This is your ‘bud’.
- The Heart Petals: Cut 3 small teardrop shapes. Glue them tightly around the core, overlapping them slightly.
- The Body Petals: Cut 5 medium heart-shaped petals. Before gluing, use your skewer to curl the top edges outward.
- The Flare: Cut 7 large petals. Stretch the center of each petal with your thumbs to create a ‘cup’ shape. This mimics the natural curve of a blooming rose.
- The Finishing Touch: Wrap the base of the flower and the wire stem with green floral tape, pulling tightly to activate the adhesive.
“To achieve a natural curl, take a wooden skewer or the edge of your scissors and gently pull the paper across the grain. This breaks the fibers just enough to create a realistic, organic curve without tearing the delicate sheet.”
Total time per flower: 8 minutes. Total cost: $0.12.
The Foundation: Upcycling Vessels for a Masculine-Elegant Finish
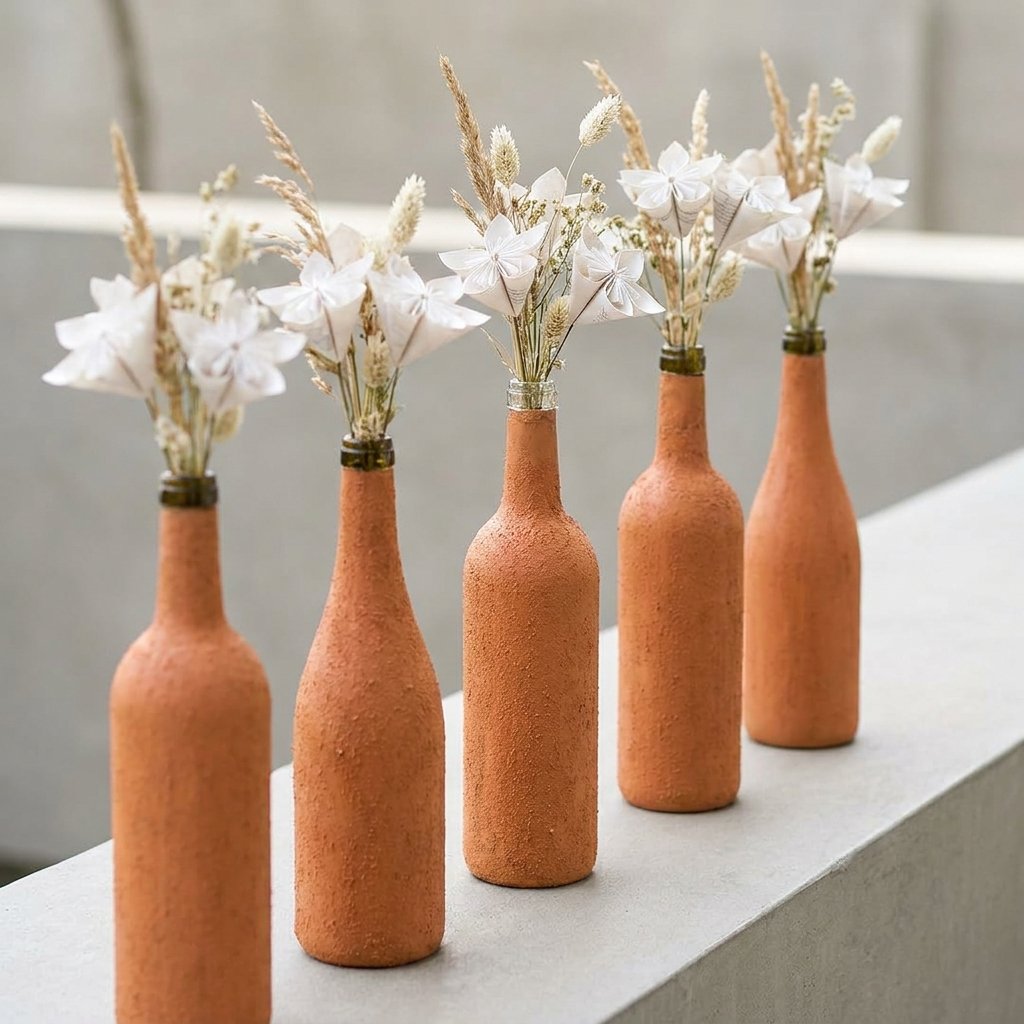
A breath-taking flower deserves a sophisticated home. Forget expensive crystal; we are going to upcycle household waste into high-end designer dupes using the ‘Baking Soda Paint’ trick.
Turning Trash to Treasure
Collect empty wine bottles, pasta sauce jars, or even large tin cans. By mixing 1 part baking soda with 2 parts acrylic paint, you create a thick, ceramic-like texture that hides the ‘cheap’ origin of the vessel.
| Vessel Source | DIY Treatment | Final Look |
|---|---|---|
| Wine Bottles | Matte Black + Baking Soda | Modern Obsidian Vase |
| Mason Jars | Chalk Paint + Sandpaper | Rustic Farmhouse Chic |
| Tin Cans | Copper Spray Paint | Industrial Elegance |
| Thrifted Glass | Frosted Glass Spray | Soft Romantic Glow |
Safety Note: When using spray paint or adhesives, always work in a well-ventilated area—ideally outdoors—to avoid inhaling fumes. Ensure all upcycled glass is thoroughly cleaned and dried before painting to ensure 100% adhesion.
The Grand Assembly: Arranging Your Masterpiece Like a Pro
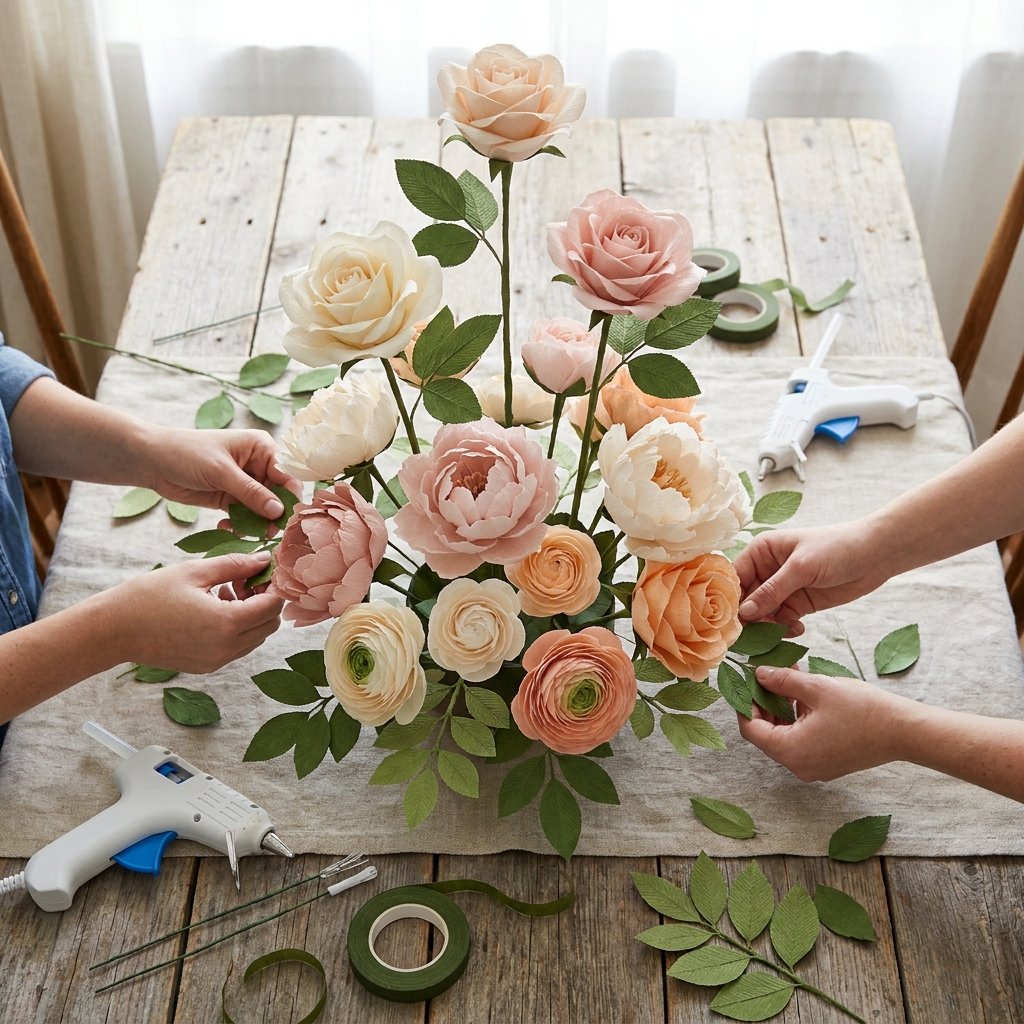
The difference between a ‘craft project’ and a ‘wedding centerpiece’ is in the composition. Use the ‘Rule of Three’ to ensure your arrangement looks balanced and professional.
Composition Guidelines
- Vary the Heights: Cut your floral wires at different lengths (8, 10, and 12 inches). This creates depth and prevents the arrangement from looking flat.
- Add Greenery: Don’t forget the leaves! Cut simple leaf shapes from dark green cardstock and score them down the middle for a realistic vein effect.
- Filler is Friend: Use ‘baby’s breath’ made from tiny white paper snips or even dried forage from your backyard to fill gaps.
- The Anchor: Place your largest, most intricate bloom slightly off-center to act as the focal point.
By following these steps, you can create a centerpiece that spans 12 inches in diameter for a total material cost of roughly $3.45.
The Financial Breakdown: Florist Dreams vs. DIY Reality
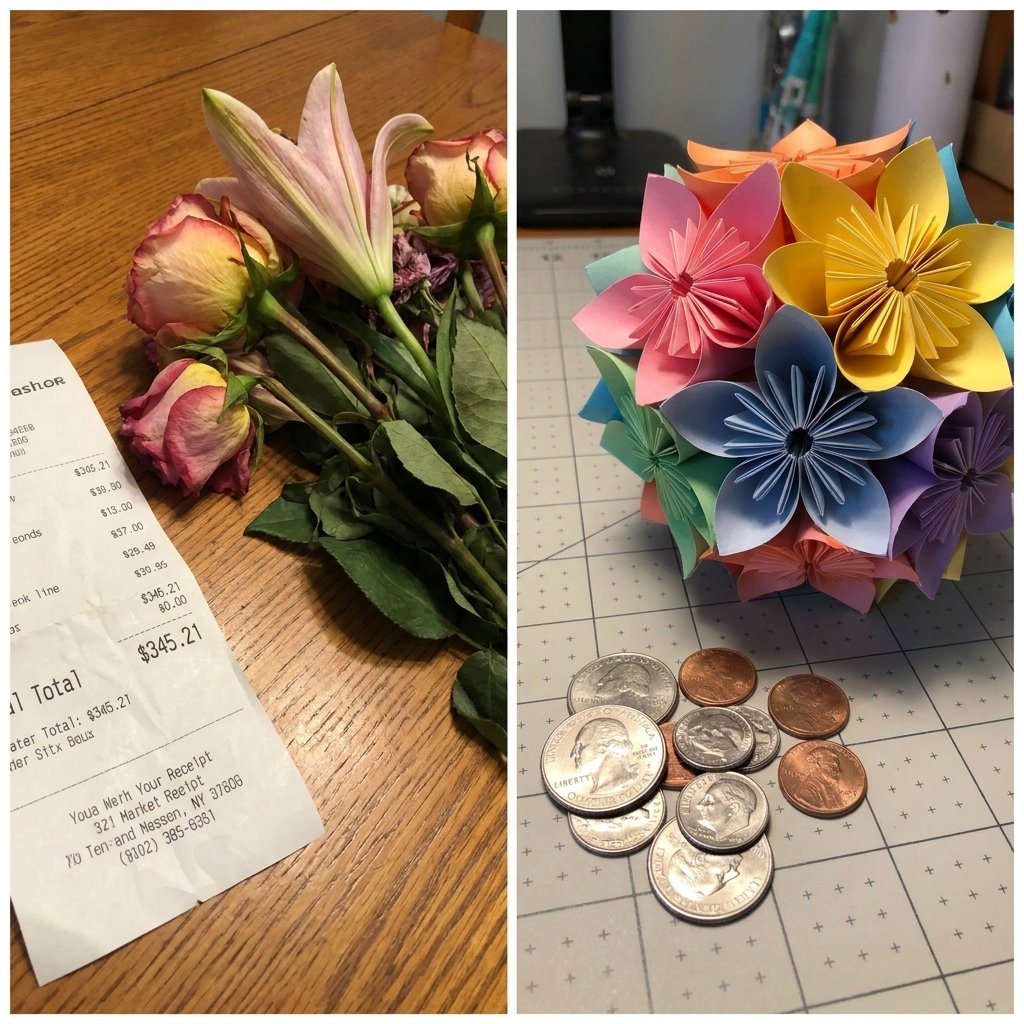
Let’s look at the cold, hard numbers. A typical wedding requires 15 to 20 centerpieces. When you compare the costs, the decision to go DIY becomes a ‘no-brainer’ for the budget-savvy couple.
| Expense Item | Professional Florist (Avg) | DIY Paper Method |
|---|---|---|
| Cost per Centerpiece | $150.00 | $4.50 |
| Total for 20 Tables | $3,000.00 | $90.00 |
| Longevity | 3-5 Days | Indefinite |
| Resale Value | $0 (Wilted) | $400+ (Post-Wedding Sale) |
Not only do you save over $2,900, but you also create a keepsake. Many brides actually sell their paper centerpieces on local marketplaces after the wedding, effectively making their decor free or even profitable.
Conclusion
A Celebration of Craft and Cleverness
Creating your own wedding centerpieces is more than just a way to save money—it’s a way to infuse your special day with intention, creativity, and a touch of rugged resourcefulness. By choosing paper over petals, you’ve opted for a solution that is as durable as it is beautiful. These flowers won’t wilt in the heat or sneeze on your guests; they stand as a testament to what can be achieved with a little bit of time and a lot of ingenuity. So, grab your scissors, fire up that glue gun, and start crafting. Your breath-taking, budget-friendly wedding is just a few folds away. Happy crafting!

Makenzie is the founder and lead writer at MoneyHackTips.com — a personal finance blog dedicated to delivering street-smart financial wisdom for real people on real budgets. With 300+ published articles covering everything from debt management to investing fundamentals, Makenzie’s mission is to make every dollar work harder. When not writing about money hacks, Makenzie is testing frugal living strategies, optimizing side hustles, and helping readers build financial freedom from scratch.