
The Secret to Designer Curb Appeal on a Shoestring Budget
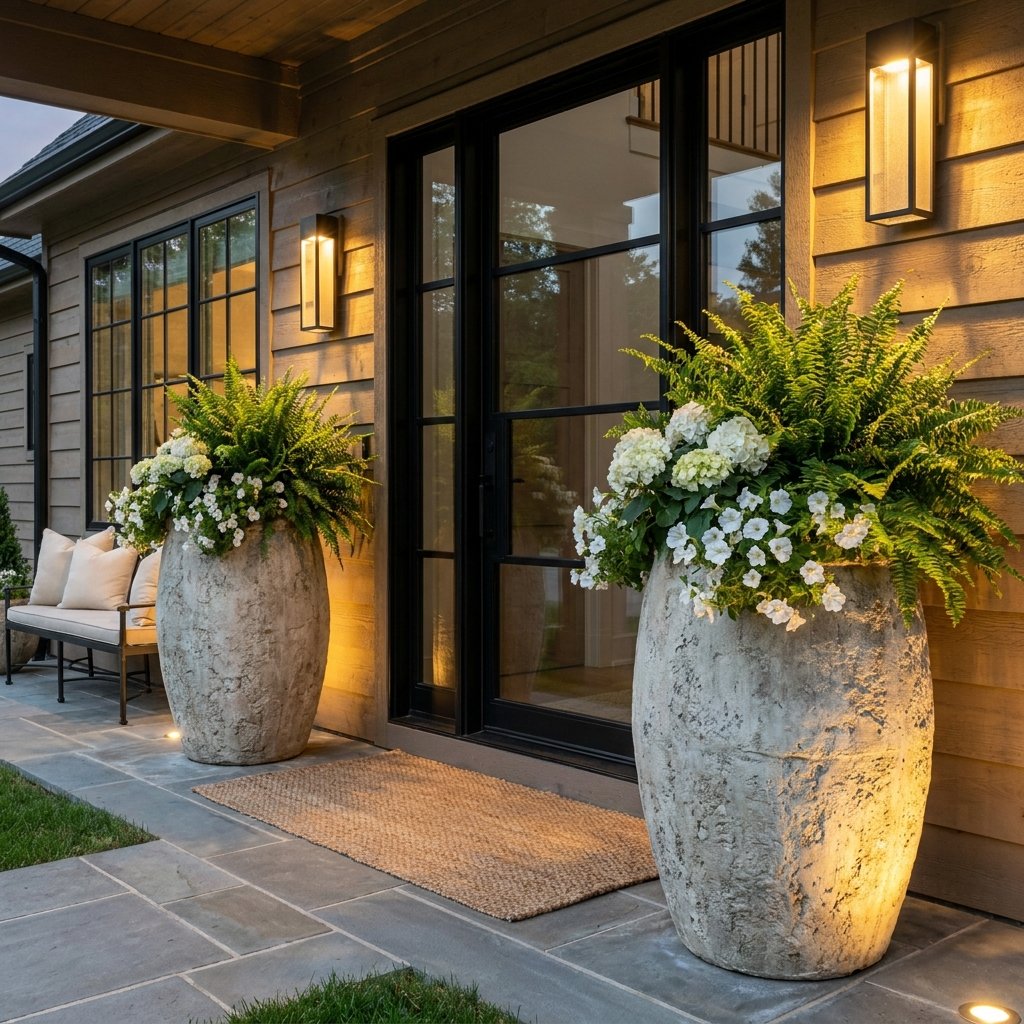
Let’s be honest: first impressions matter, and your front porch is the handshake of your home. However, if you have ever stepped into a high-end garden center or scrolled through a Pottery Barn catalog, you know that large, sophisticated planters can easily command prices upwards of $100 to $300 per piece. For the frugal DIYer, those prices aren’t just steep; they are an invitation to innovate. What if I told you that the secret to that rugged, masculine-elegant stone look is currently sitting in the cleaning aisle of your local Dollar Tree? By combining a bit of tactical resourcefulness with a clever ‘trash-to-treasure’ painting technique, you can create a $3 masterpiece that will have your neighbors convinced you spent a fortune at a boutique nursery. We are talking about taking a flimsy plastic wastebasket or bucket and transforming it into a heavy, weathered stone vessel that stands the test of time and weather. It is time to roll up your sleeves, grab your brush, and master the art of the high-end dupe.
Budget Mantra: Curb appeal isn’t about how much you spend; it’s about the cleverness of the execution. A $3 pot with a $100 finish is a victory for the wallet and the soul.
The Strategic Shopping List: Materials for the $3 Transformation
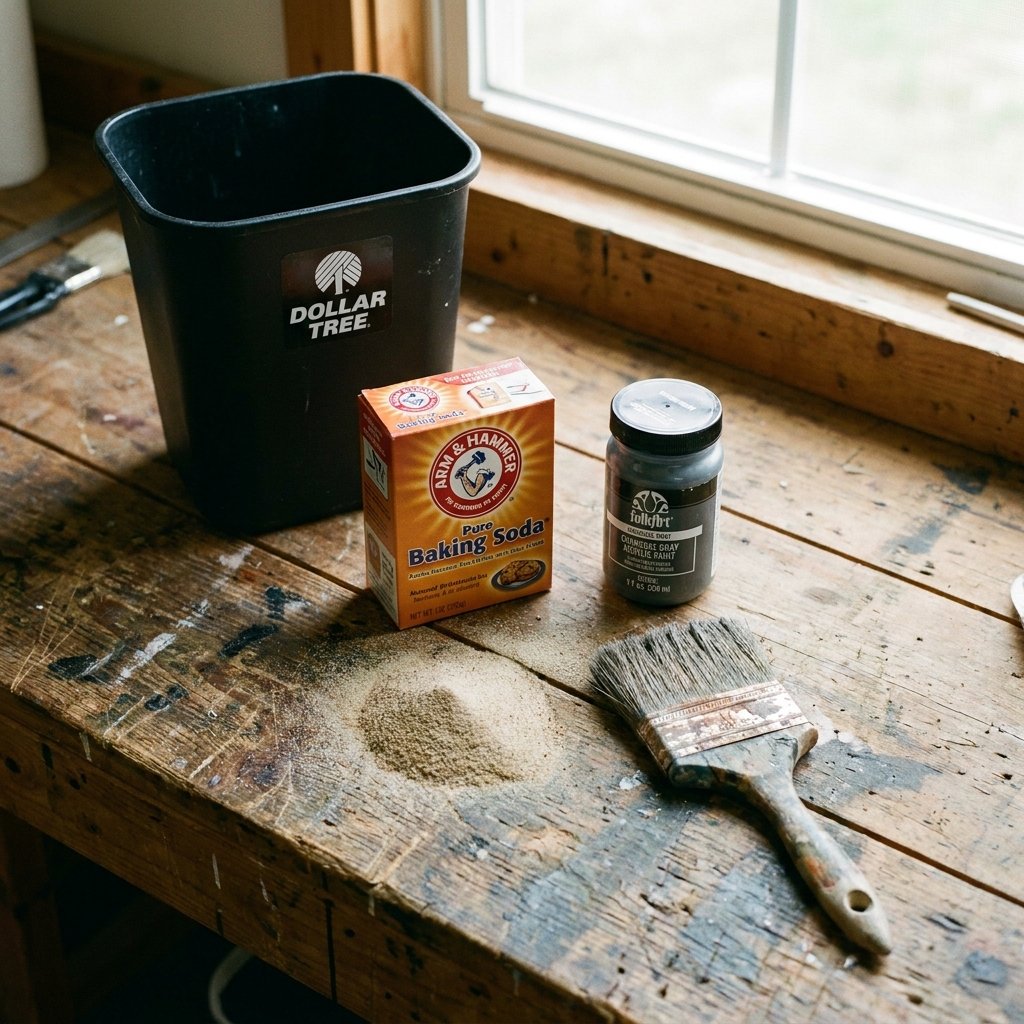
To pull off this high-stakes heist of style, you need to know exactly what to look for. Not all plastic is created equal, and the key to a convincing ‘stone’ look is the shape of the base container. We are looking for clean lines, tapered edges, or interesting ribbing that mimics classic masonry. You can find these in the form of plastic trash cans, mop buckets, or even large storage bins. The beauty of this project is its scalability; once you master the technique, you can apply it to any plastic vessel in your home.
The Essential Supplies
Below is the breakdown of what you will need. Note that while some items like paint might be in your garage already, the core structure comes straight from the dollar store.
| Item | Source | Estimated Cost |
|---|---|---|
| Plastic Wastebasket or Bucket | Dollar Tree | $1.25 |
| Matte Acrylic Paint (Black or Deep Gray) | Craft Store/Existing Stash | $0.50 (pro-rated) |
| Baking Soda or Plaster of Paris | Pantry/Dollar Tree | $0.25 (pro-rated) |
| Coarse Sand or Dirt (Optional for texture) | Backyard | $0.00 |
| Clear Matte Sealer | Hardware Store | $1.00 (pro-rated) |
Total Estimated Project Cost: $3.00
The Alchemy of Texture: Mastering the Faux-Stone Finish
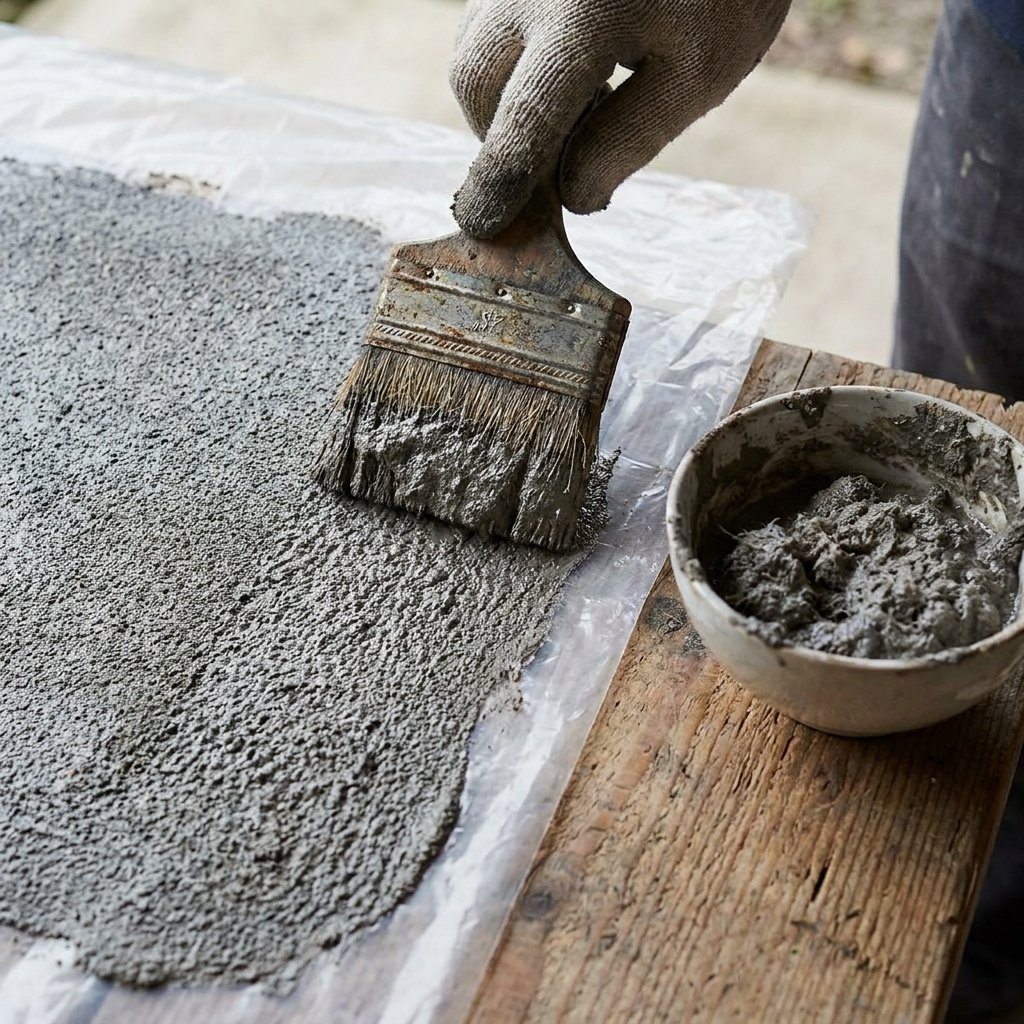
The biggest giveaway of cheap plastic is its sheen. To kill that ‘plastic’ look, we need to create a matte, gritty texture that mimics natural stone or cast concrete. This is where the ‘Baking Soda Paint Trick’ comes into play. By mixing a leavening agent into your paint, you create a chemical reaction that thickens the medium and leaves behind a beautiful, porous texture once dry.
The Recipe for Success
- Clean the Surface: Wipe down your plastic container with rubbing alcohol to remove any factory oils. This ensures the paint bonds for the long haul.
- The Mix: In a small container, mix 1 cup of matte acrylic paint with 1/2 cup of baking soda. Stir slowly. You will notice the paint becoming ‘fluffy’ and thick.
- The First Coat: Use a coarse brush or a sea sponge to ‘pounce’ the paint onto the plastic. Do not use smooth strokes; you want peaks and valleys.
- The Grit Factor: While the paint is still wet, lightly sprinkle a handful of fine sand or dry dirt onto the surface. This adds an authentic, rugged mineral look that neighbors will want to touch to believe.
Pro Tip: If you want a ‘cement’ look, use a medium gray paint. For a ‘basalt’ or ‘volcanic stone’ look, go with a deep charcoal or matte black.
Drilling and Drainage: Ensuring Plant Longevity
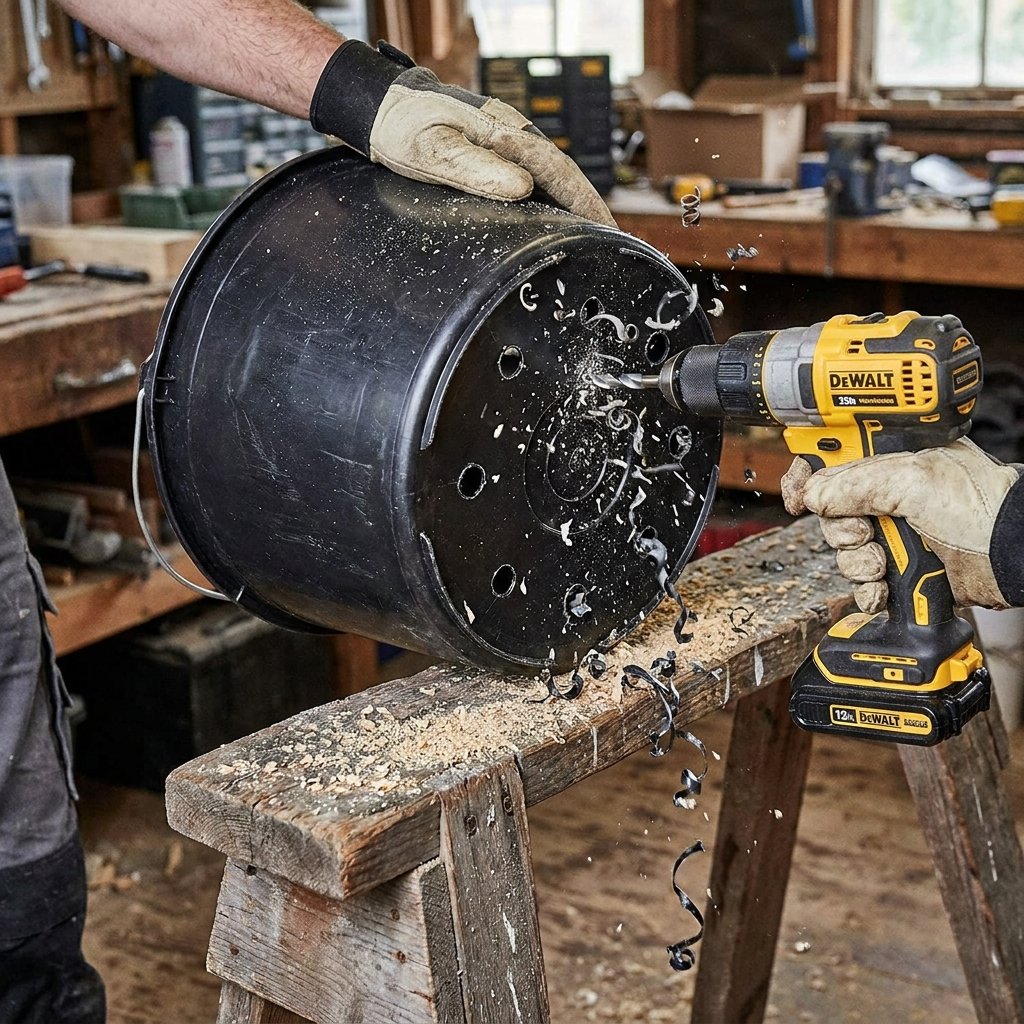
A beautiful planter is useless if it drowns your plants. Because we are using non-traditional containers (like trash cans), they lack drainage holes. This is a critical step for any handy parent or gardener. Without proper drainage, water pools at the bottom, leading to root rot and a very short lifespan for your greenery.
The Tactical Approach to Drainage
Flip your container upside down on a steady surface. Using a power drill with a 1/4 inch or 1/2 inch bit, drill at least 5 to 7 holes in the bottom. If you don’t have a drill, you can use a large nail and a hammer, or even a heated metal skewer (if working outdoors with proper ventilation).
| Container Size | Recommended Holes | Hole Diameter |
|---|---|---|
| Small (Wastebasket) | 3-5 | 1/4 inch |
| Medium (Mop Bucket) | 5-7 | 1/2 inch |
| Large (Storage Tub) | 8-10 | 1/2 inch |
Safety Note: Always wear eye protection when drilling into plastic, as small shards can fly off during the process. Work on a sacrificial piece of wood to avoid damaging your workbench.
Weatherproofing for the Rugged Outdoors
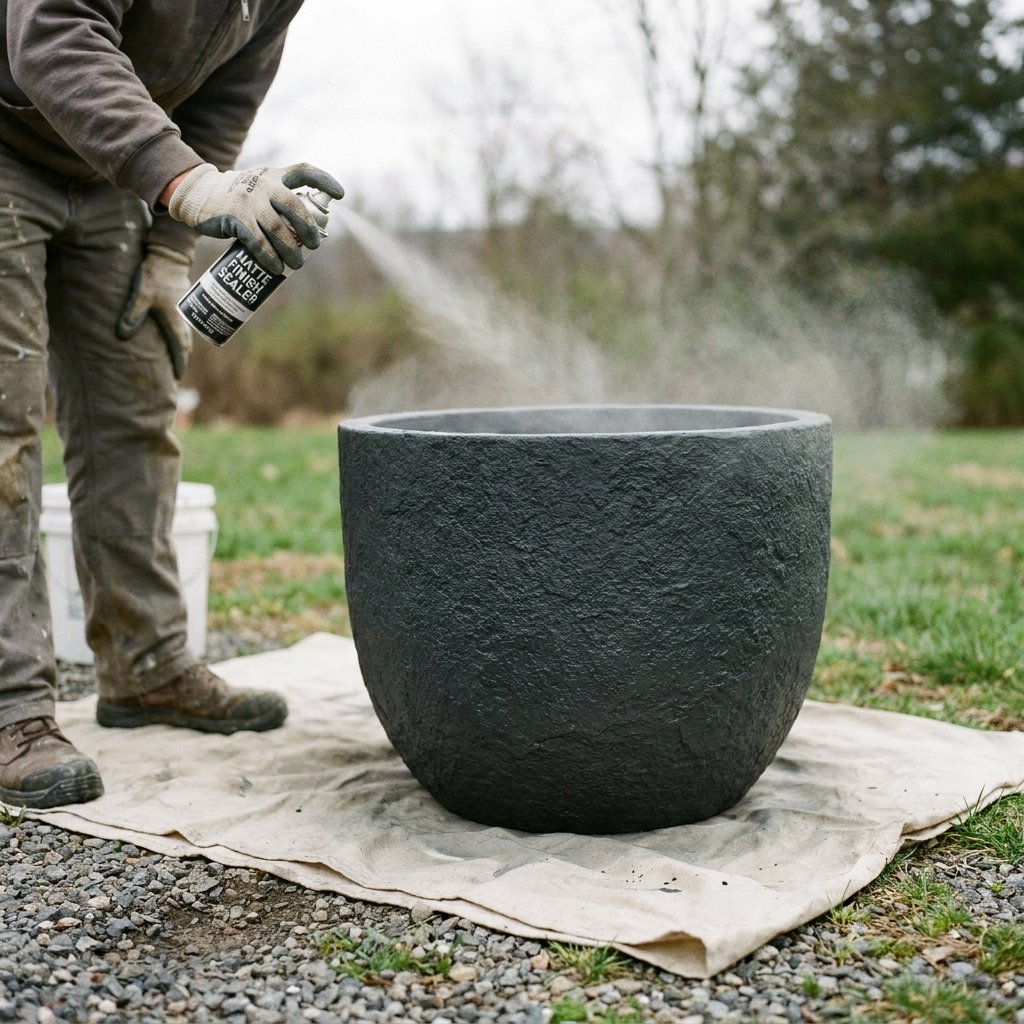
Your front porch is a battlefield of elements—sun, rain, and snow will all try to strip your hard work away. To ensure your $3 hack lasts for years rather than weeks, you must seal the finish. A matte clear coat is your best friend here. It preserves the ‘stone’ texture without adding a fake-looking shine.
The Sealing Process
- Wait at least 24 hours for your textured paint to fully cure.
- Apply a thin, even layer of matte outdoor-rated spray sealer.
- Focus extra attention on the top rim and the bottom inch of the planter, as these areas see the most moisture contact.
- Allow to dry for another 12 hours before adding soil.
By taking this extra step, you are moving from a ‘craft project’ to a ‘home improvement’ piece. The sealer locks in the sand and baking soda, preventing it from washing away during the first summer thunderstorm.
The Final Reveal: Styling Your Porch Like a Pro
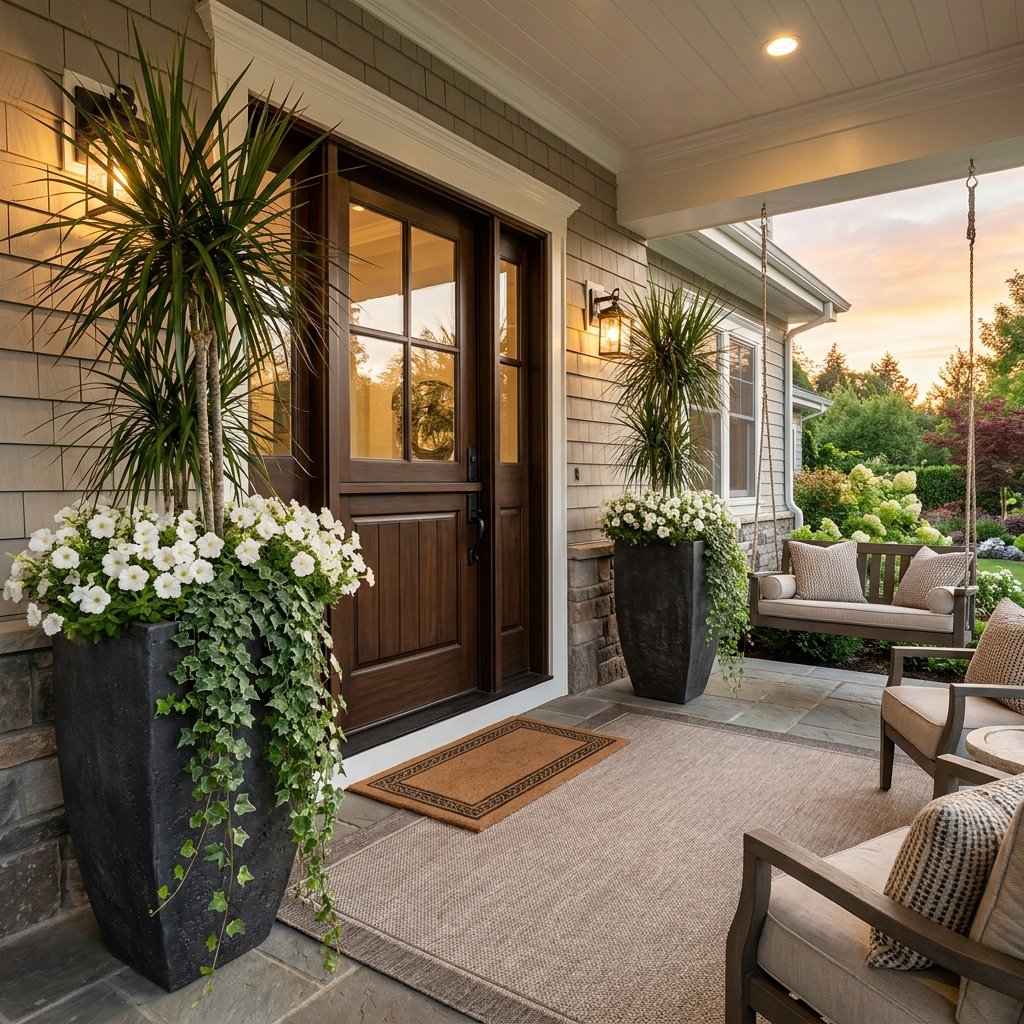
Now comes the most rewarding part: the styling. A high-end planter deserves high-end greenery. To truly fool the neighbors, you need to follow the ‘Thriller, Filler, Spiller’ rule of container gardening. This creates a professional, layered look that maximizes the visual impact of your new $3 vessels.
Curating Your Greenery
- The Thriller: A tall, structural plant in the center (e.g., a Snake Plant, a small Cedar, or a Canna Lily).
- The Filler: Mid-height plants with interesting foliage (e.g., Coleus, Geraniums, or Hostas).
- The Spiller: Plants that trail over the edge to soften the lines (e.g., English Ivy, Creeping Jenny, or Sweet Potato Vine).
| Style Archetype | Plants to Use | Vibe |
|---|---|---|
| Modern Minimalist | Snake Plant + Black River Rock | Sleek & Masculine |
| English Garden | Hydrangea + Ivy | Classic & Elegant |
| Desert Chic | Agave + Succulents | Rugged & Low-Maintenance |
Place your planters in pairs to flank your entryway. Symmetry is a classic design trick that instantly signals to the brain that a space is high-end and intentional. Even if the pots only cost you a few dollars, the symmetrical arrangement makes them look like a million bucks.
Conclusion
Upgrading your home doesn’t require a massive renovation budget or a trip to a luxury decor store. As we have seen, with a $1.25 plastic bin, a bit of pantry-staple baking soda, and a dash of creative grit, you can produce stunning, weather-resistant planters that redefine your home’s curb appeal. This $3 Dollar Tree hack is more than just a craft; it is a testament to the power of the frugal mindset. You have saved hundreds of dollars while creating something unique, rugged, and undeniably elegant. So, the next time you see a ‘boring’ plastic bucket, don’t see trash—see the potential for your next neighborhood-envy-inducing treasure. Happy crafting, and enjoy the view from your newly upgraded porch!

Makenzie is the founder and lead writer at MoneyHackTips.com — a personal finance blog dedicated to delivering street-smart financial wisdom for real people on real budgets. With 300+ published articles covering everything from debt management to investing fundamentals, Makenzie’s mission is to make every dollar work harder. When not writing about money hacks, Makenzie is testing frugal living strategies, optimizing side hustles, and helping readers build financial freedom from scratch.