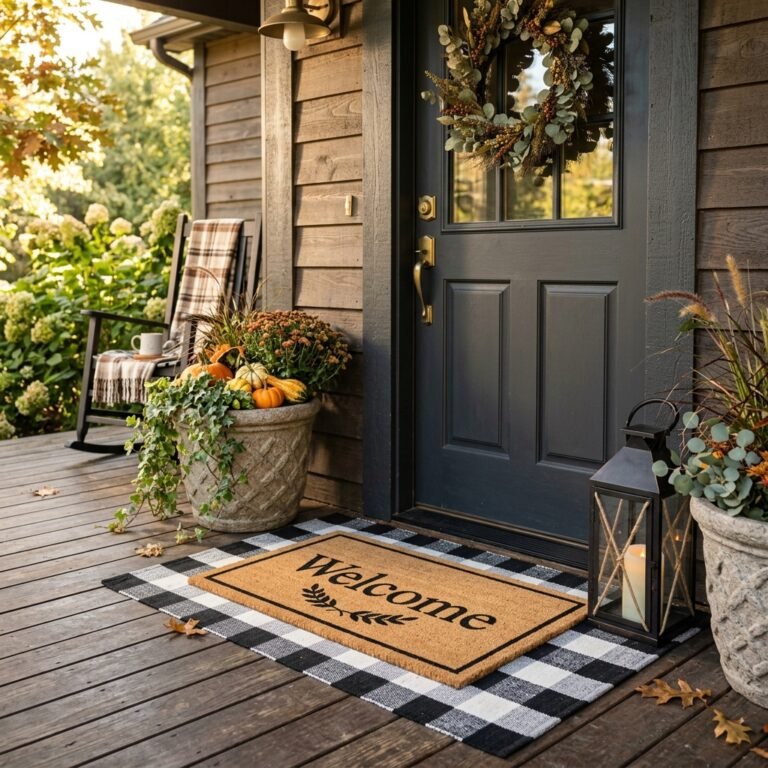
The Eyesore Problem: Why Your Trash Cans Are Killing Your Vibe
We’ve all been there. You spend hours manicuring the lawn, pressure washing the driveway, and painting the front door the perfect shade of ‘Midnight Navy,’ only for the entire aesthetic to be derailed by two massive, plastic, neon-green or industrial-black trash cans sitting right in plain sight. They are necessary for modern life, but they are the ultimate curb appeal killers. As a resourceful DIYer, you know that buying a pre-made cedar enclosure from a high-end catalog can easily set you back $300 to $500. That is simply not the way we roll. We want that rugged, masculine-elegant look without the premium price tag.
In this guide, I am going to show you how to channel your inner craftsman to build a Modern Wood Slat Screen that looks like it belongs in an architectural magazine, but costs less than a fancy steak dinner. We are talking about using budget-savvy materials like pine furring strips and basic 2x4s to create a sleek, horizontal slat design that breathes, lasts, and—most importantly—hides the ugly. Whether you are a handy parent looking to tidy up the yard or a frugal upcycler with a penchant for clean lines, this project is your ticket to a sophisticated front porch transformation.
The Budget Breakdown: Professional Look on a Penny-Pincher’s Budget

Before we pick up a saw, let’s talk numbers. The secret to this project’s success is using 1×2 furring strips. These are often found in the ‘rough’ lumber section of your local home improvement store. While they aren’t as perfectly finished as premium cedar, a little sanding and a high-quality stain will make them indistinguishable from the expensive stuff. By choosing these over dimensional lumber, you save nearly 70% on material costs.
| Material Item | Store-Bought / Premium Cost | DIY Savvy Budget |
|---|---|---|
| Lumber (Cedar vs. Furring Strips) | $150.00 | $35.00 |
| Hardware & Fasteners | $40.00 | $12.00 |
| Stain & Weatherproofing | $60.00 | $15.00 (Sample sizes) |
| Total Project Cost | $250.00+ | $62.00 |
By sourcing your wood carefully and using what you might already have in your garage—like leftover exterior screws or a half-can of stain—you can easily bring this project in under the $50 mark. That is the power of being a crafty expert.
Phase 1: Planning and Precision Cutting

Measuring Your ‘Ugly’
The first step is to measure your trash cans. You need to ensure the screen is tall enough to cover the lids but short enough to still look like a deliberate architectural feature. Most standard cans are about 42 to 45 inches tall. I recommend building your screen at 48 inches high to ensure total coverage. For the width, measure the total span of your cans and add 6 inches of ‘breathing room’ on each side so you can easily pull them in and out.
The Cut List
Grab your miter saw or a simple hand saw and box. You will need to cut your ‘skeleton’ first. For a standard two-can screen, you will need:
- 4 pieces of 2×2 or 2×4 lumber cut to 48 inches (The vertical posts).
- 24 pieces of 1×2 furring strips cut to 60 inches (The horizontal slats).
- 4 pieces of 2×2 lumber cut to 24 inches (The side support braces).
Pro Tip: When selecting furring strips at the store, look down the length of the board like you are aiming a rifle. If it bows or twists, put it back. You want the straightest ‘arrows’ in the pile for that crisp, modern look.
Phase 2: Assembling the Skeleton Frame
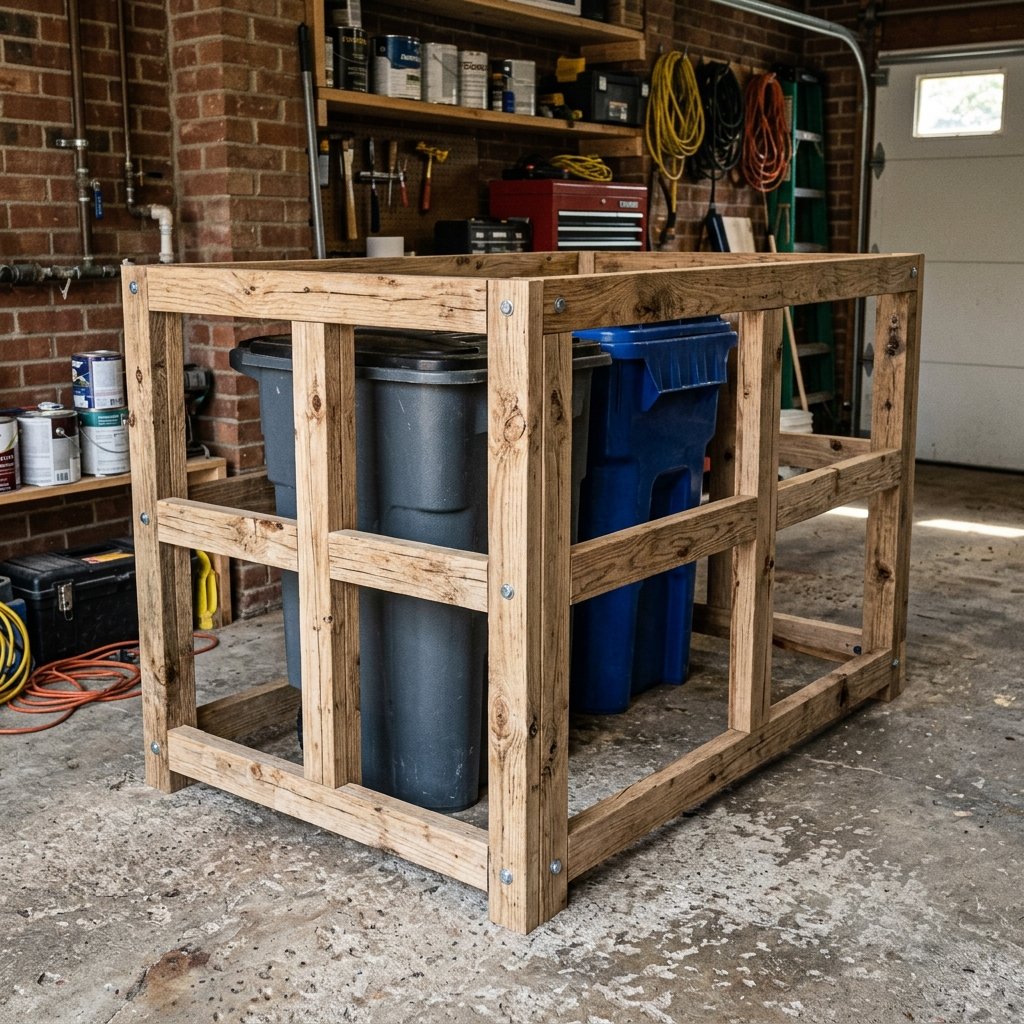
A screen is only as good as its bones. We are building a free-standing ‘L-shape’ or ‘U-shape’ depending on where your cans sit. If they are against a wall, an L-shape is perfect. We will start by creating two identical side panels and one large front panel.
- Lay two of your 48-inch posts parallel on the ground.
- Connect them at the top and bottom with your 24-inch braces using 2.5-inch exterior wood screws.
- Pre-drill your holes! Furring strips and 2x2s are notorious for splitting. Taking 30 seconds to pre-drill will save you 30 minutes of frustration later.
- Repeat for the second side panel.
- Join the side panels to the front vertical posts to create your ‘caddy’ frame.
Safety Note: Always wear eye protection when using power drills or saws. If you are working with pressure-treated lumber, wear a mask to avoid inhaling treated sawdust.
Phase 3: The Slat-Wall Magic (The Modern Look)
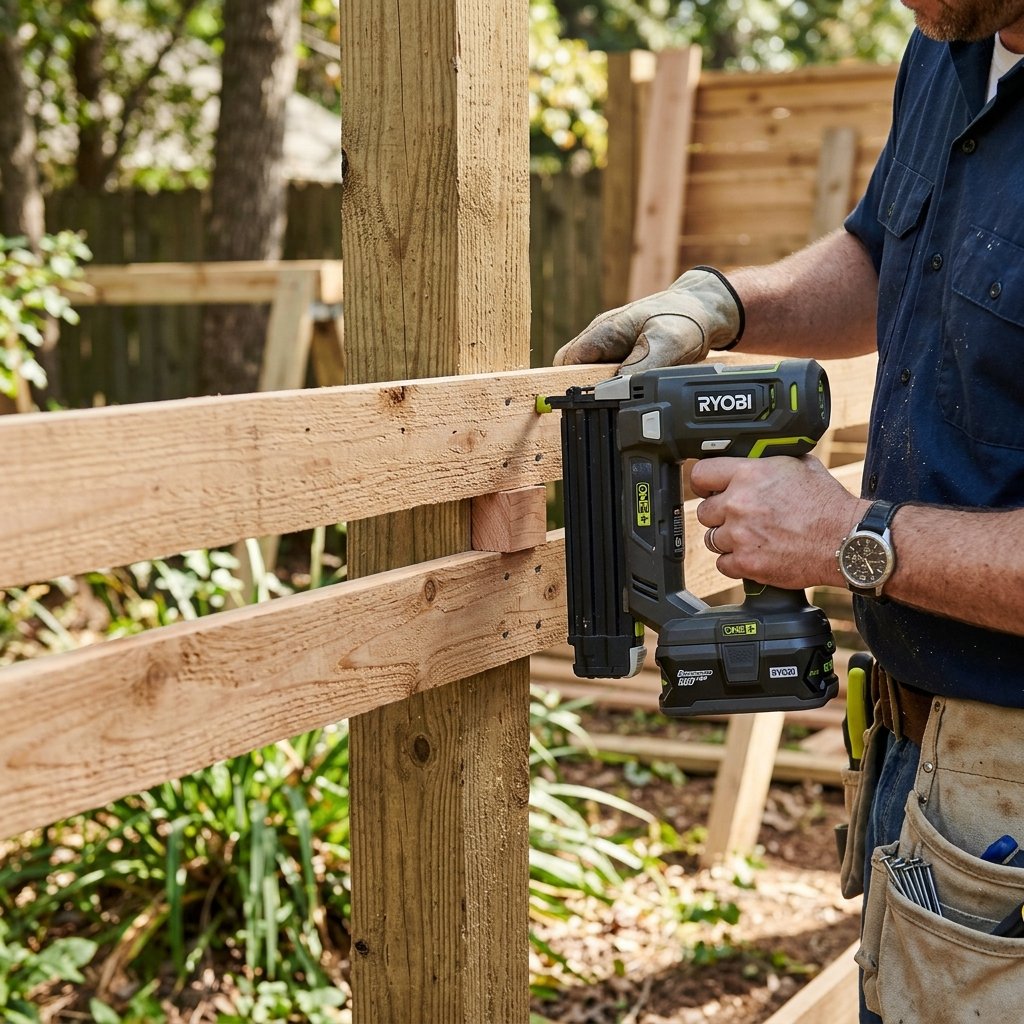
This is where the ‘Modern’ in ‘Modern Wood Slat Screen’ comes to life. The key to this aesthetic is consistent spacing. We aren’t building a solid wall; we want small gaps that allow wind to pass through (so the screen doesn’t blow over) and create those beautiful shadow lines.
The Spacer Trick
Don’t try to eyeball the gaps. Instead, use a ‘spacer block.’ Take a small scrap piece of your 1×2 wood. This will give you a perfect 3/4-inch gap between every slat.
- Start from the top and work your way down. This ensures the top edge—the part everyone sees—is perfectly flush.
- Apply a bead of exterior wood glue to the post where the slat will sit.
- Secure the slat with 1.25-inch brad nails or trim screws.
- Place your spacer block on top of the secured slat, rest the next slat on the spacer, and repeat.
- Check for level every 3 or 4 slats to ensure you aren’t drifting into a slant.
By the time you reach the bottom, you will have a gorgeous, rhythmic pattern of wood and shadow that looks incredibly expensive.
Phase 4: Finishing for Longevity and Style

To get that ‘Pottery Barn’ or ‘West Elm’ finish, the sanding and staining phase is non-negotiable. Since we used budget furring strips, they will have some rough patches and stamps from the lumber yard.
The Sanding Sequence
Use a 120-grit sandpaper to knock down the rough texture and remove any ink stamps. You don’t need it to be smooth as glass—it’s an outdoor piece—but you want it to be splinter-free and clean.
The ‘Masculine-Elegant’ Stain Choice
For a modern look, I recommend one of three color profiles:
- Ebony/Black: Gives a high-contrast, architectural look that hides the grain of cheap wood.
- Dark Walnut: A classic, rugged look that feels established and expensive.
- Clear Teak Oil: If you want a more ‘Scandi-boho’ vibe, a clear coat will celebrate the natural pine color while protecting it from graying in the sun.
Apply the stain with a lint-free rag or a foam brush, making sure to get into the gaps between the slats. Use an exterior-grade sealant to ensure your hard work survives the rain and snow for years to come.
Installation and Styling: Boosting the Curb Appeal
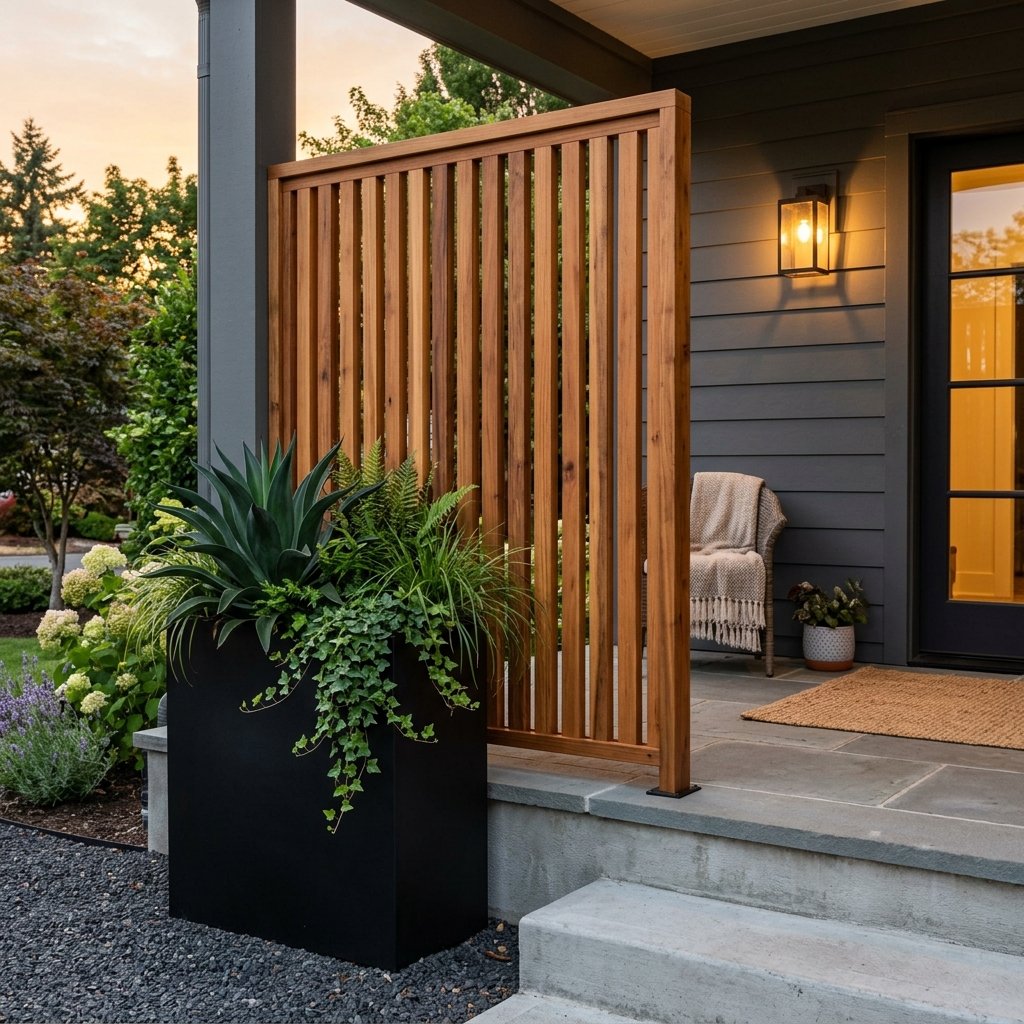
Now that your screen is built and dried, it’s time for the ‘reveal.’ Move your trash cans into their new home. Because this screen is made of wood, it has some weight, but in high-wind areas, you may want to anchor it. You can use L-brackets to secure the posts to your porch or use rebar stakes if it’s sitting on mulch or dirt.
The Final Flourish
To really sell the ‘high-end’ look, don’t just stop at the screen. Add a few styling elements to integrate it into your porch:
- Modern House Numbers: Screw some oversized black metal house numbers onto the front of the screen.
- Greenery: Place a large concrete or faux-stone planter (a great Dollar Tree DIY trick!) next to the screen with some tall grass or a snake plant.
- Solar Lighting: Attach a small solar-powered LED ‘downlight’ to the top slat to illuminate the wood texture at night.
You have just turned a functional necessity into a design feature. Your neighbors won’t be looking at your trash; they’ll be asking where you bought that custom enclosure.
Conclusion
From Trashy to Classy: The Power of a Weekend Project
Building this Modern Wood Slat Screen is more than just a way to hide your bins; it is a testament to the power of resourceful DIYing. By choosing humble materials, applying a bit of ‘crafty expert’ precision, and finishing it with a sophisticated eye, you’ve added significant value and beauty to your home for a fraction of the cost of a professional installation. This project proves that you don’t need a massive budget to have a home that looks curated and intentional. Now, every time you pull into your driveway, you won’t see an eyesore—you’ll see a piece of handmade craftsmanship that makes your front porch truly shine. Happy building!

Makenzie is the founder and lead writer at MoneyHackTips.com — a personal finance blog dedicated to delivering street-smart financial wisdom for real people on real budgets. With 300+ published articles covering everything from debt management to investing fundamentals, Makenzie’s mission is to make every dollar work harder. When not writing about money hacks, Makenzie is testing frugal living strategies, optimizing side hustles, and helping readers build financial freedom from scratch.