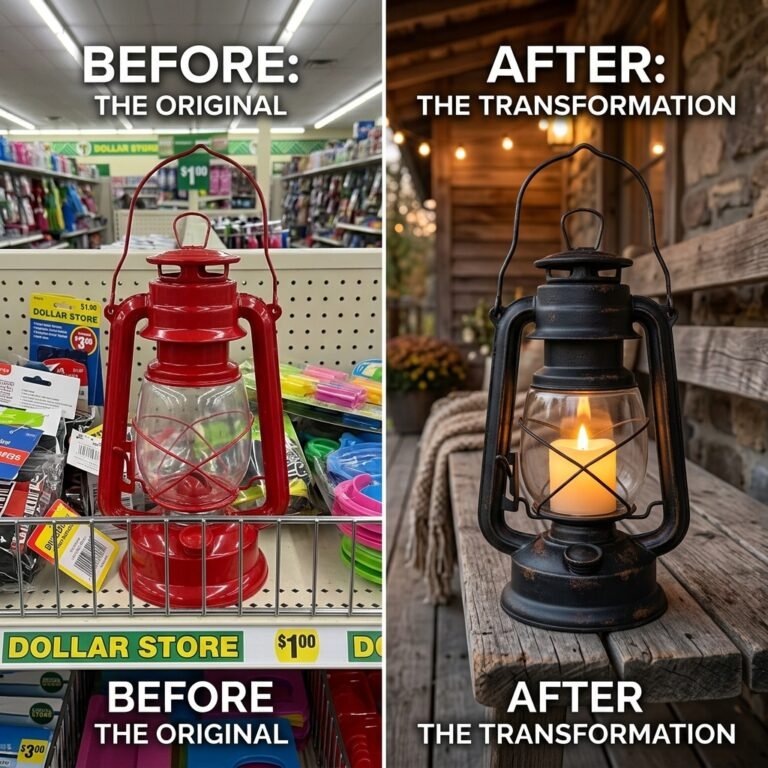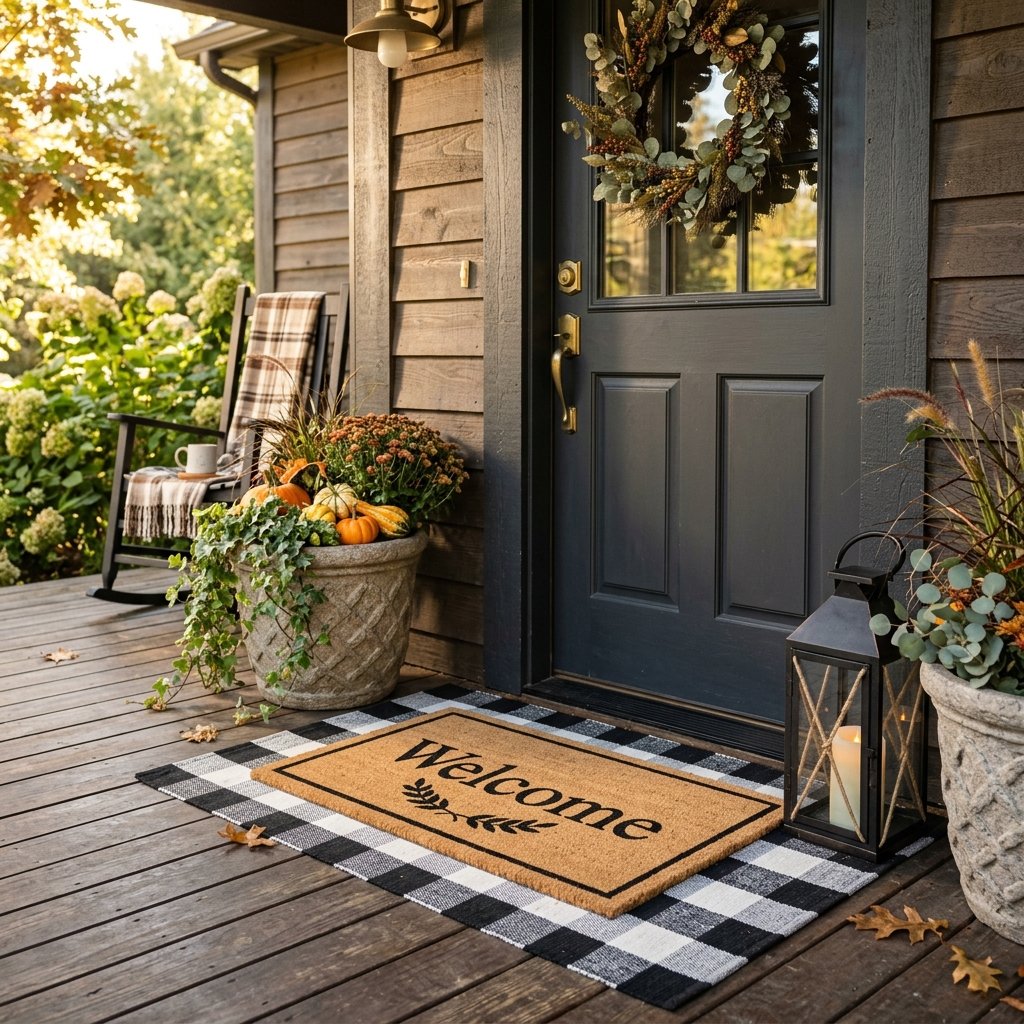

There is something undeniably satisfying about walking up to a beautifully styled front porch. It sets the tone for your entire home, whispering a warm, inviting hello before you even turn the knob. If you have ever flipped through a high-end home decor catalog like Pottery Barn or Anthropologie, you have likely seen the quintessential layered doormat look. It is that effortlessly chic combination of a textured, natural coir mat resting handsomely atop a larger, patterned woven rug. It looks rich. It looks intentional. And if you buy it directly from those catalogs, it looks incredibly expensive.
But here is the secret that frugal DIYers, handy upcyclers, and budget-savvy home decorators know: you absolutely do not need to spend $80 to $150 to achieve this luxurious curb appeal. Welcome to the ultimate Dollar Store porch makeover. We are going to utilize a resourcefully-creative, crafty-expert approach to replicate this exact high-end aesthetic using humble materials from your local discount store.
In this comprehensive masterclass, we are not just throwing two cheap rugs together. We are going to engineer a weather-resistant, custom-stenciled, heavily textured masterpiece. We will cover the clever hacks to seamlessly expand the footprint of small budget rugs, the practical, rugged techniques for sealing outdoor paint so it survives muddy boots, and the masculine-elegant styling rules that give your front door that coveted designer weight. Whether you are a handy parent trying to spruce up the family home on a dime, or a creative gift-giver looking to craft a personalized housewarming present, this layered doormat trick is your golden ticket to a million-dollar porch for under $10.
Curb appeal doesn’t require a contractor’s budget; it simply requires a crafter’s ingenuity. Layering isn’t just about putting one rug over another; it’s about building a foundation of texture that welcomes you home.
The Anatomy of the Layered Look: Why It Works

Before we dive into the paint and glue, we need to understand the design psychology behind the layered doormat. Why does putting one rug over another suddenly make a standard front door look like a boutique hotel entrance? It all comes down to three core design principles: contrast, framing, and texture.
1. The Power of Visual Framing
A standard doormat often looks like a tiny postage stamp floating in a massive sea of concrete or wood decking. By adding a larger under-rug, you are creating a visual frame. This expands the footprint of your entryway, making the door itself appear wider and more grand. The under-rug acts as a matboard in a picture frame, drawing the eye directly to the center.
2. Textural Contrast
Luxury design thrives on the juxtaposition of textures. A coir doormat is incredibly rugged, bristly, and utilitarian—perfect for scraping mud off heavy work boots. When you pair this rough, masculine texture with a soft, woven cotton or synthetic blend under-rug, the contrast is visually stimulating. It marries the practical with the elegant.
3. Pattern and Solid Balance
Typically, the under-rug features a bold, geometric pattern—think buffalo check, cabana stripes, or a vintage distressed motif. The top coir mat is usually a solid natural tan with a simple, stark black graphic or welcoming phrase. This balance ensures the porch looks styled but not chaotic.
The Ultimate Dollar Store Supply Run: Gathering Your Arsenal
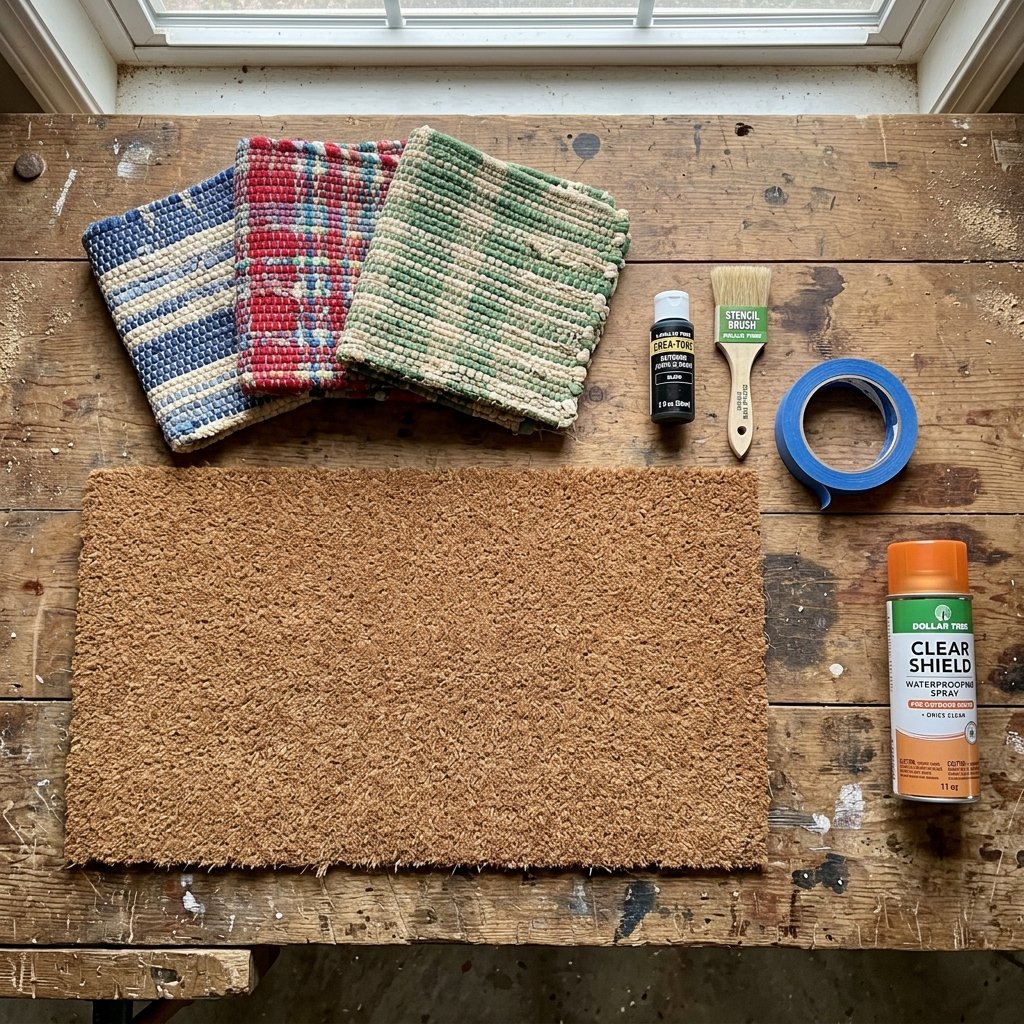
To pull off this high-end dupe, you need to know exactly what to look for in the aisles of your local Dollar Tree or discount craft store. The beauty of this project is that we are taking items that cost $1.25 to $5.00 and elevating them through clever execution.
Your Shopping List:
- 2-3 Small Woven Rag Rugs: Dollar stores often sell small woven rugs (usually 2×3 feet or smaller). To get that oversized luxury look, we will be buying multiple and seamlessly joining them.
- 1 Plain Coir Doormat: You can often find thin coir mats at discount stores or hardware stores for around $5.00. If your dollar store only has rubber mats, look for the ones with a textured fabric top.
- Outdoor Acrylic Paint or Black Flex-Seal: For stenciling your design. Standard craft paint will wash away, so look for multi-surface or outdoor-rated acrylics.
- Stencil Brushes or Sponges: A stiff-bristled brush is essential for pushing paint into the rough coir fibers.
- Heavy-Duty Waterproofing Spray: This is the secret weapon for longevity. (You may need to grab this at a hardware store if the dollar store is out).
- Painter’s Tape & Craft Knife: For creating crisp, clean lines and custom stencils.
- Heavy-Duty Needle and Upholstery Thread (or Hot Glue): For our rugged rug-joining technique.
Let’s take a look at the budget breakdown to see exactly how much money this clever hack is saving you.
| Item / Material | High-End Retail Cost | Our Clever DIY Cost | Total Savings |
|---|---|---|---|
| Oversized Patterned Under-Rug | $45.00 | $3.75 (3 Dollar Store Rugs joined) | $41.25 |
| Custom Typography Coir Mat | $60.00 | $5.00 (Blank mat + craft paint) | $55.00 |
| Waterproofing & Sealant | Included/N/A | $4.00 (Clear spray enamel) | -$4.00 |
| Total Entryway Makeover | $105.00 | $12.75 | $92.25 Saved! |
Always check the automotive or hardware aisle of the dollar store. You can often find heavy-duty tapes, adhesives, and utility knives that perform just as well as the name brands for a fraction of the cost.
Crafting the Oversized Under-Rug: The Seamless Join Hack
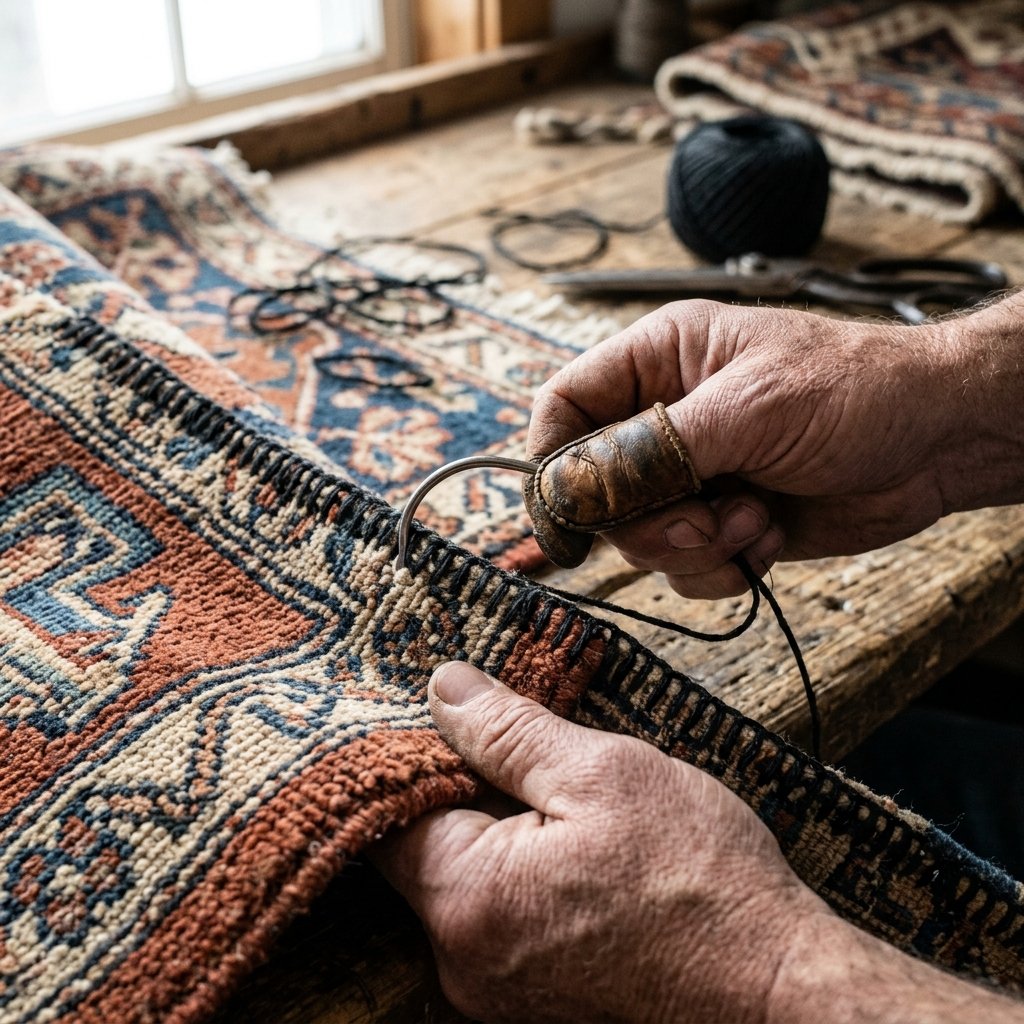
The biggest hurdle frugal DIYers face when shopping for rugs at discount stores is the size. Dollar store rugs are notoriously tiny. If you put a tiny woven rug under a standard doormat, you lose the framing effect entirely. Here is the crafty-expert solution: we are going to seamlessly join three small rugs to create one massive, luxurious under-layer.
Step 1: Pattern Matching and Layout
Take your two or three small woven rugs and lay them face down on a flat surface. If they have a pattern (like stripes or checks), take 5 minutes to carefully align the edges so the pattern flows continuously from one rug to the next. Use heavy books or weights to hold them perfectly still.
Step 2: The Rugged Joining Technique
You have two options here, depending on your skill level and how heavily trafficked your porch is.
- The Hand-Sewn Method (Most Durable): Thread a heavy-duty needle with thick upholstery thread or waxed canvas thread. Use a tight whipstitch or a baseball stitch to pull the edges of the rugs together. Because the rugs are woven, the thick thread will blend right into the texture. This creates a rugged, masculine bond that can withstand heavy boots and washing machines.
- The Industrial Adhesive Method (Quickest): If sewing isn’t your forte, run a thick bead of industrial-strength hot glue or fabric adhesive along the seam. Immediately press a strip of heavy-duty canvas or duct tape over the glued seam to act as a binding bridge. Press firmly and let it cure for 24 hours.
Step 3: Fray Prevention
Dollar store rugs are prone to fraying at the edges. To ensure your new oversized rug lasts, run a very thin line of clear superglue or fabric fray-check along the outer perimeter. This invisible barrier stops loose threads in their tracks.
Customizing the Coir Mat: Crisp Lines on a Rough Surface
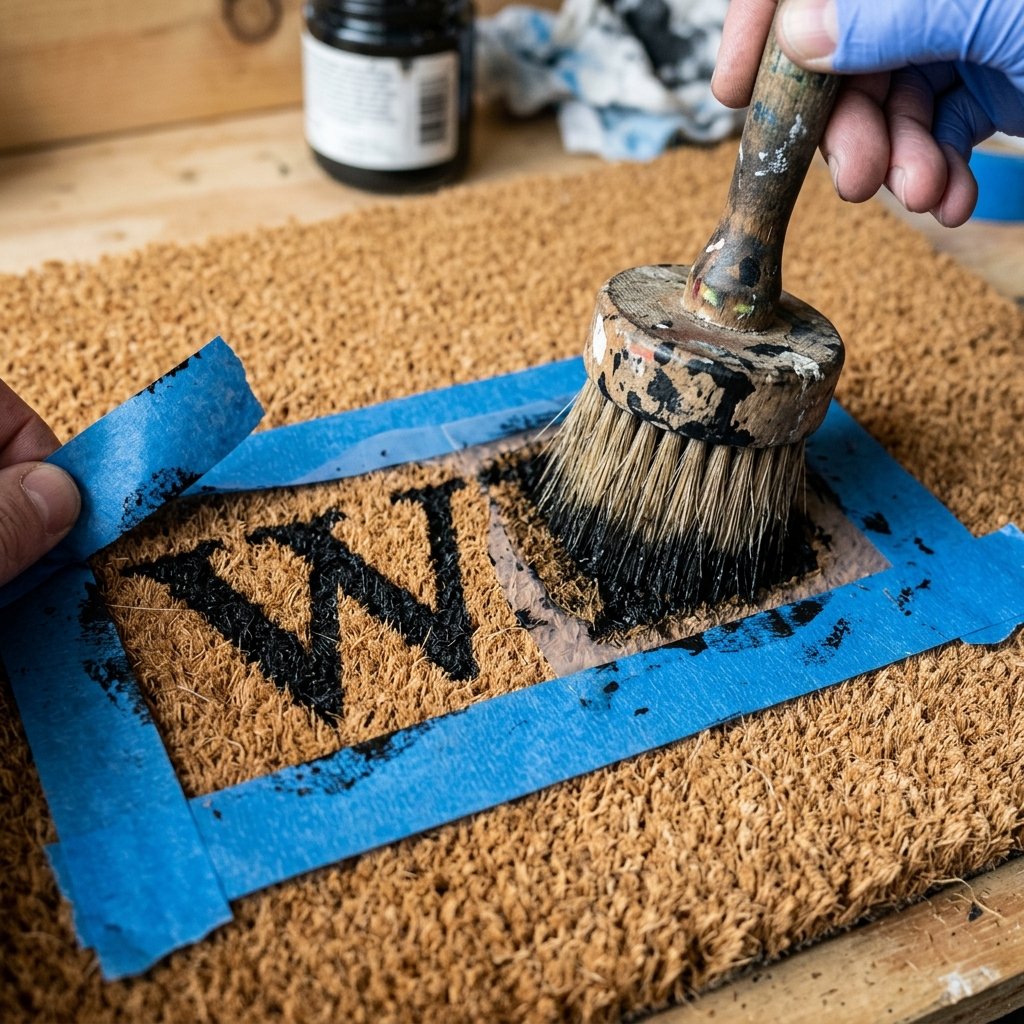
Now that your luxurious under-rug is built, it is time to tackle the coir mat. Coir is made from coconut husks; it is highly textured, bristly, and notoriously difficult to paint if you don’t know the right technique. Forget standard brush strokes—we are going to use the stipple method.
Step 1: Designing Your Stencil
You can use a pre-cut plastic stencil from the craft aisle, or you can make your own. For a modern, elegant look, use blue painter’s tape to tape off a bold geometric border around the edge of the mat. If you want a custom word like “Welcome,” “Home,” or your family name, print the word on thick cardstock, carefully cut out the letters with a craft knife, and pin the paper tightly to the mat using sewing pins.
Step 2: The Stippling Paint Technique
This is where the magic happens. Pour your black outdoor acrylic paint onto a paper plate. Dip your stiff-bristled stencil brush into the paint, and then dab most of it off onto a paper towel. You want the brush to be almost dry.
Do not brush side-to-side! The bristles of the coir will flick the paint under your stencil, causing massive bleed-outs. Instead, hold the brush perfectly vertical and firmly dab (stipple) the paint directly down into the fibers.
Work your way across the stencil. It is much better to do three light coats than one heavy, sloppy coat. Take your time. This process should take about 15 to 20 minutes.
Step 3: The Heat Set
Once you pull the stencil away (do this while the paint is still slightly tacky to get the crispest lines), you need to set the paint. Let it air dry for 2 hours. Then, take a hairdryer on the highest heat setting and blast the painted areas for a few minutes. This helps the acrylic bind to the natural coconut fibers.
Weatherproofing: Protecting Your Investment
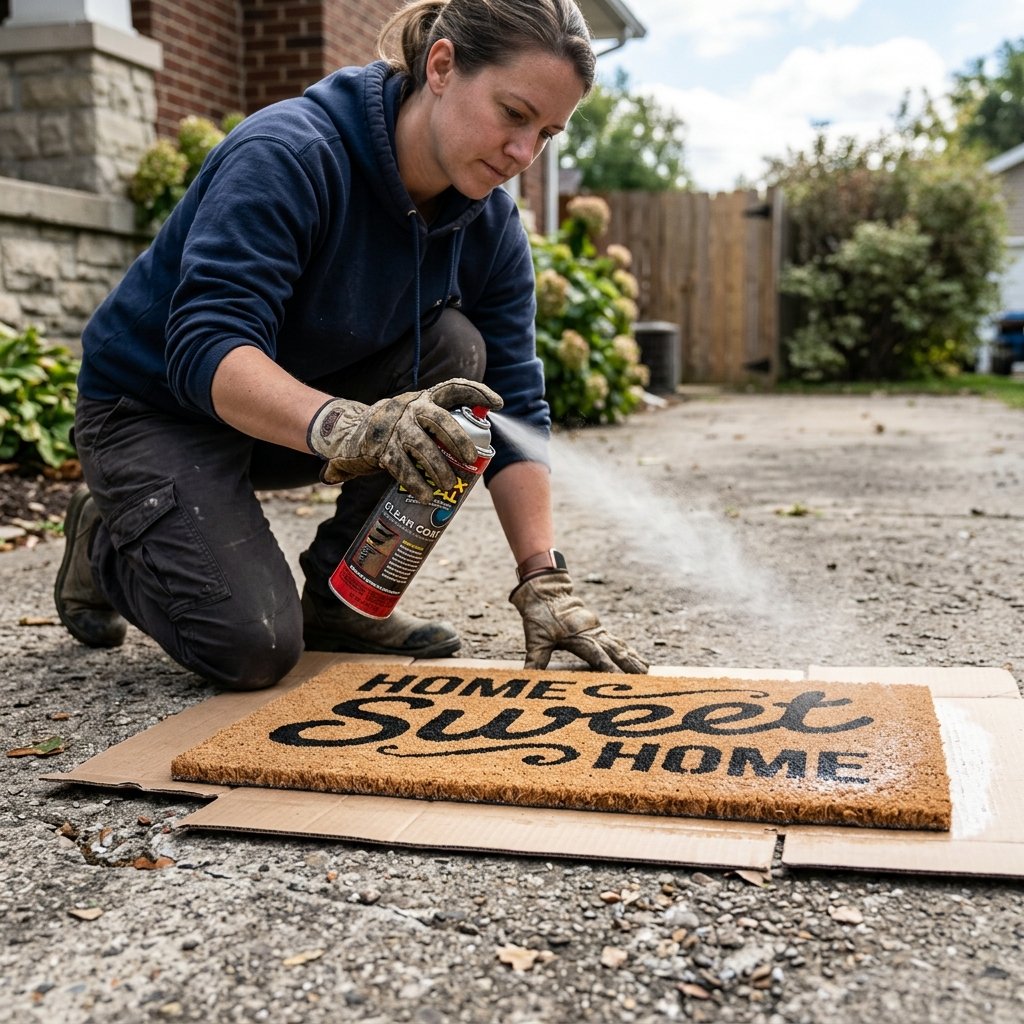
A beautiful porch setup is useless if it washes away during the first spring rainstorm. Upcycling and frugal DIYing isn’t just about making things cheap; it’s about making things last. Weatherproofing is the most critical step in this entire process.
Sealing the Coir Mat
Coir mats naturally shed and hold onto moisture, which can lead to fading and rot. To protect your custom paint job and the mat itself, take it to a well-ventilated outdoor area. Spray the entire surface with a heavy-duty clear UV-resistant acrylic sealer or a dedicated outdoor fabric waterproofing spray.
- Coat 1: Apply a light, even mist across the whole mat. Let it dry for 10 minutes.
- Coat 2: Focus heavily on the painted areas to lock that pigment in. Let it dry for 30 minutes.
- Coat 3: Do a final sweeping pass over the edges to prevent excessive shedding.
Treating the Under-Rug
Since your woven under-rug is likely made of cotton or a cheap synthetic blend, it will soak up water like a sponge. To prevent it from becoming a soggy mess, spray it generously with a water-repellent spray (the kind used for camping tents or rugged work boots). This will cause rainwater to bead up and roll off rather than soaking into the fibers.
| Material | Recommended Budget Sealant | Drying Time | Reapplication Frequency |
|---|---|---|---|
| Painted Coir Mat | Clear Matte Acrylic Spray Paint | 24 hours full cure | Every 6 months |
| Woven Cotton Rug | Camp/Tent Silicone Water Repellent | 12 hours full cure | Every 3-4 months |
| Rubber Backed Mats | None required for the base | N/A | N/A |
Safety Note: Always apply aerosol sealants outdoors or in a highly ventilated garage. Wear a basic dust mask to avoid inhaling the aerosolized particles, and keep the mats away from pets until fully cured.
Styling the Porch: The Finishing Touches on a Dime
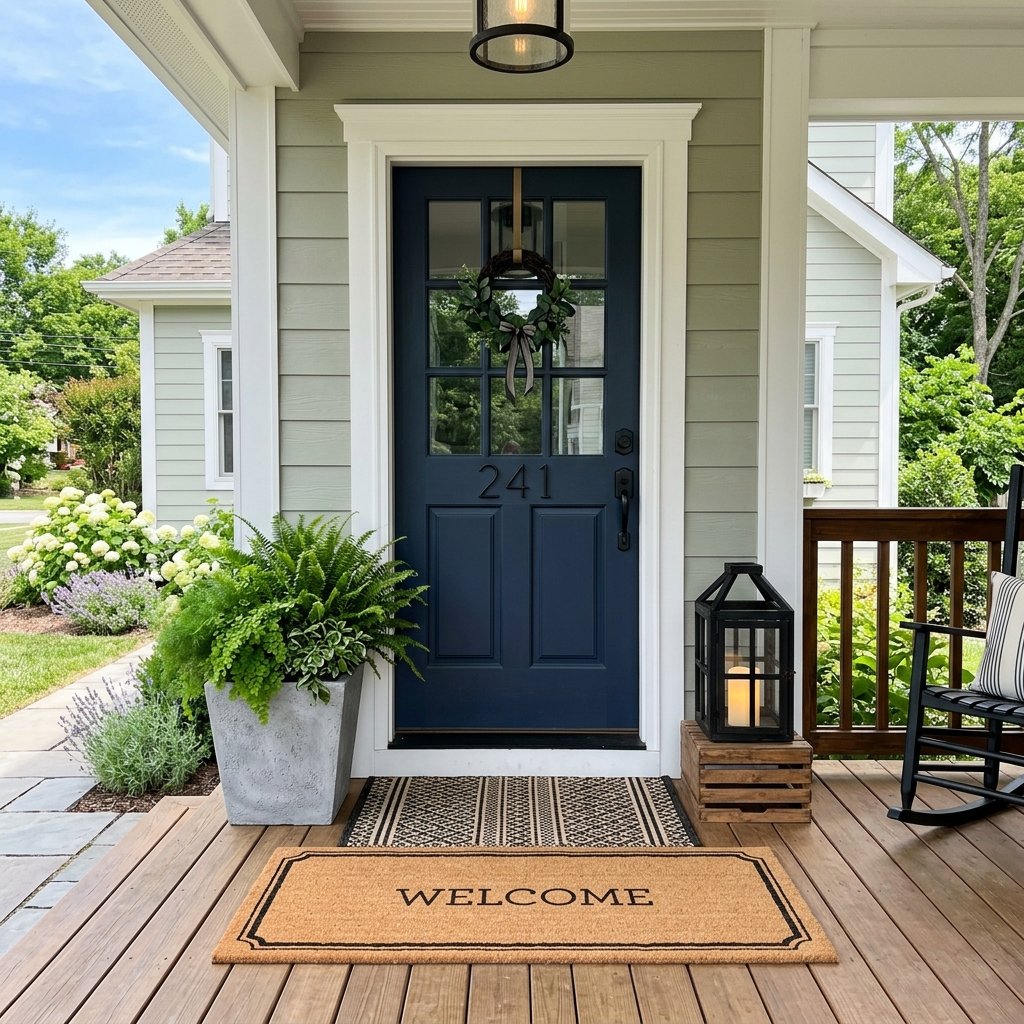
You have successfully built the foundation. The layered doormat is in place, looking thick, textured, and incredibly expensive. But a truly luxurious front door doesn’t stop at the floor. To complete this Dollar Store porch makeover, we need to add a few flanking elements to ground the space.
1. Faux-Concrete Planters
Buy two cheap, brightly colored plastic planters from the dollar store. Take them home and mix up a batch of “baking soda paint” (mix 1 cup of leftover house paint with 1/4 cup of baking soda). Slather this thick, gritty mixture onto the plastic planters. As it dries, it creates an incredible matte, chalky texture that looks exactly like heavy, expensive cast concrete. Flank your new layered mat with these planters and fill them with seasonal greenery.
2. The Broomstick Lantern Hack
Every high-end porch features ambient lighting. You can build a rugged, rustic lantern using dollar store picture frames! Glue four 5×7 wooden picture frames together into a box shape (remove the glass first). Paint the wood black. Re-insert the glass, and place a cheap battery-operated LED pillar candle inside. It looks like a $60 piece of ironwork, but it costs exactly $6.00 to make.
3. Proportion and Placement
When placing your mats, ensure the under-rug is perfectly centered with your doorframe. The coir mat should sit exactly in the middle of the under-rug, leaving an even 3 to 4-inch border of the patterned rug visible on all sides. This symmetry is the hallmark of professional exterior design.
Conclusion
Who knew that a handful of cheap woven rugs, a basic coir mat, and a little bit of acrylic paint could completely transform the curb appeal of your home? By applying a bit of crafty-expert ingenuity and understanding the design principles of texture and layering, you have bypassed the exorbitant retail markups and created something truly custom, durable, and luxurious.
This Dollar Store layered doormat trick is more than just a frugal craft; it is a testament to the fact that beautiful, welcoming homes are built on creativity, not just cash. Every time you step over that threshold, you can take pride in knowing you engineered that high-end aesthetic with your own two hands. So grab your heavy-duty needle, tape off your stencils, and get ready to welcome your guests in style. Your porch—and your wallet—will thank you.

Makenzie is the founder and lead writer at MoneyHackTips.com — a personal finance blog dedicated to delivering street-smart financial wisdom for real people on real budgets. With 300+ published articles covering everything from debt management to investing fundamentals, Makenzie’s mission is to make every dollar work harder. When not writing about money hacks, Makenzie is testing frugal living strategies, optimizing side hustles, and helping readers build financial freedom from scratch.