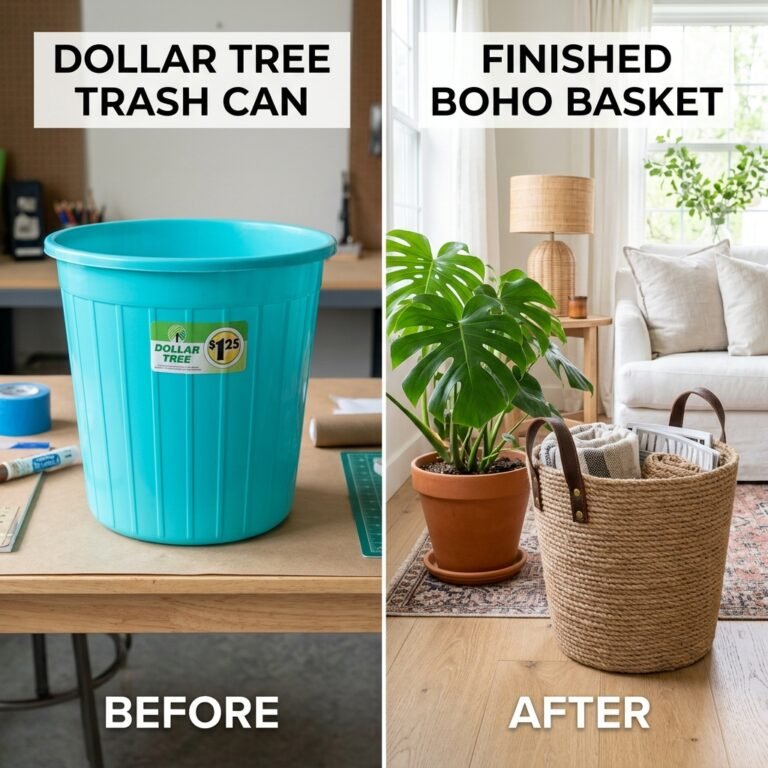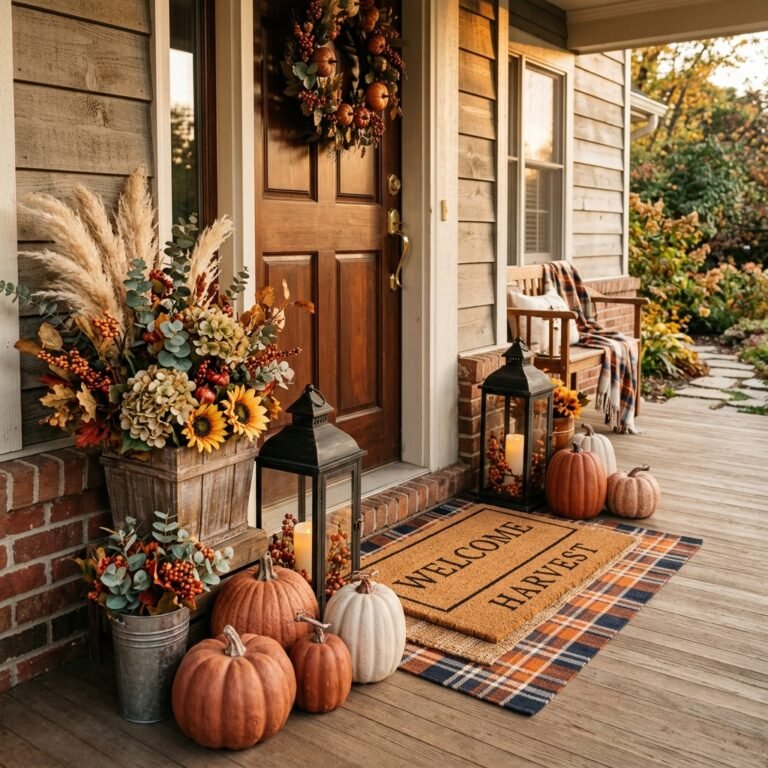

The Magic of the Matte Black Makeover
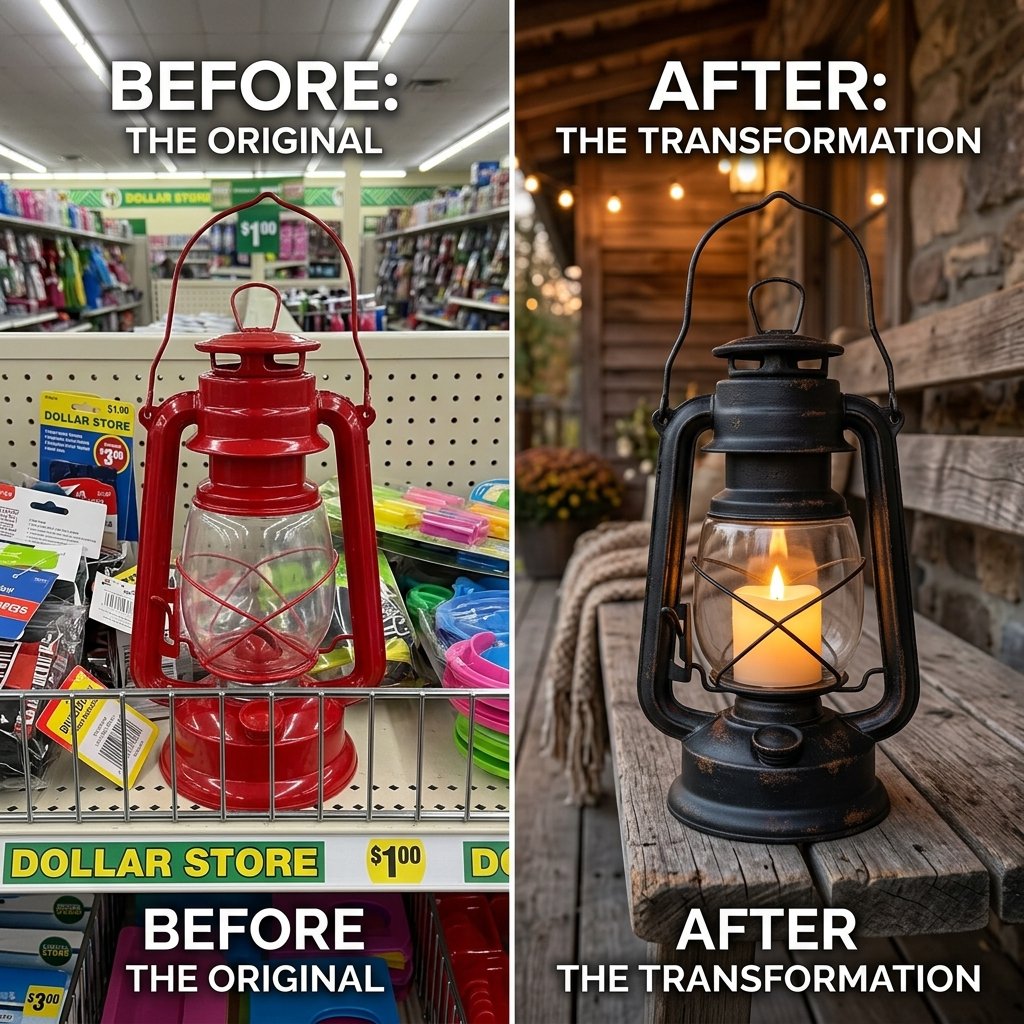
Welcome, frugal DIYers, crafty upcyclers, and budget-savvy home stylists! If you have ever walked down the aisles of a high-end home decor store and balked at the $80 to $150 price tags attached to outdoor porch lanterns, you are in the right place. We are about to embark on a resourcefully-creative journey that proves you do not need a massive budget to achieve rugged, masculine-elegant, and sophisticated outdoor lighting. We are going to take those flimsy, shiny, $1.25 plastic lanterns from the Dollar Store and transform them into stunning matte black masterpieces that look like they were hand-forged in an artisan blacksmith shop.
This is the ultimate trash-to-treasure project. It requires minimal investment, a free afternoon, and the budget-savvy crafter’s secret weapon: matte black spray paint. Whether you are looking to flank your front door with welcoming seasonal decor, create a moody atmosphere for a backyard patio, or assemble ultra-elegant budget wedding centerpieces, this Dollar Tree porch makeover will fool everyone into thinking you spent a fortune.
“A single can of matte black spray paint is the frugal DIYer’s magic wand—capable of turning cheap, shiny plastic into heavy, wrought-iron elegance with just a few sweeps of the wrist.”
In this comprehensive masterclass, we will cover everything from prepping the notoriously difficult plastic canvas for maximum paint adhesion, to mastering the baking soda trick for a cast-iron texture, to adding hidden weight so your newly forged lanterns do not blow away in the first autumn breeze. Roll up your sleeves, grab your drop cloths, and let us turn cheap plastic into high-end porch luxury!
The Anatomy of a High-End Dupe: Materials & Mindset
Gathering Your Budget-Savvy Arsenal
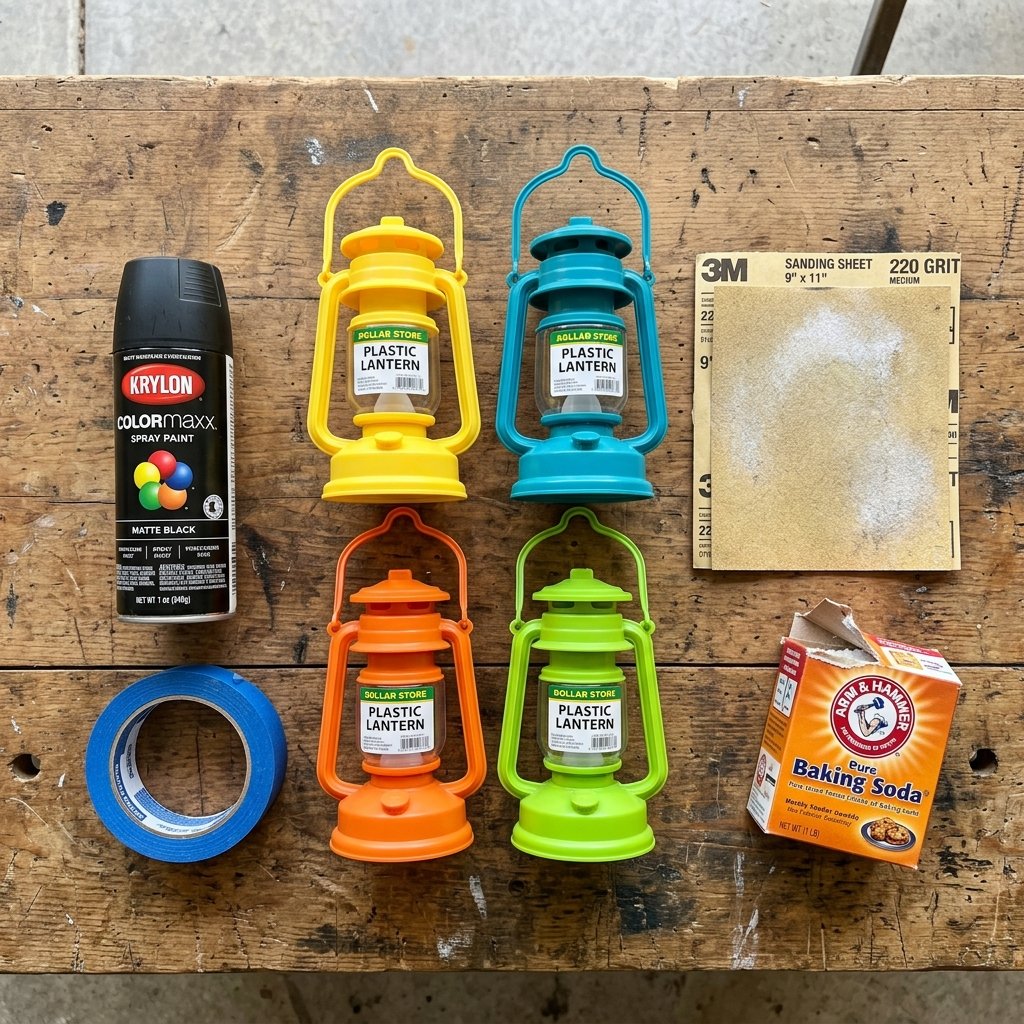
Before we start spraying, we need to gather our materials. The beauty of this project lies in its extreme affordability. You might even have most of these supplies sitting in your garage or craft room right now. The star of the show is, of course, the plastic lantern. During various seasons (Halloween, summer, Christmas), dollar stores stock an abundance of these lightweight, battery-operated plastic lanterns. They often come in garish colors or cheap-looking faux metallic finishes. Do not let the ugly exterior deter you; look at the shape and the bones of the piece.
Essential Materials List
- Dollar Store Plastic Lanterns: Grab as many as you need for your porch display. Look for ones with removable glass or plastic panes if possible.
- Matte Black Spray Paint + Primer: Do not skimp here. Spend $6 on a high-quality brand formulated specifically for plastic (like Rust-Oleum Painter’s Touch 2X or Krylon Fusion).
- Fine Grit Sandpaper: 220-grit is perfect for roughing up the plastic.
- Painter’s Tape: For masking off the panes if they cannot be removed.
- Rubbing Alcohol or TSP: For degreasing the plastic before painting.
- Clear Matte UV-Resistant Top Coat: Essential for outdoor weatherproofing.
- Optional Texturizing Agents: Baking soda or fine craft sand for that cast-iron look.
The Cost Breakdown: DIY vs. Store-Bought
Let us look at the hard numbers. The savings are not just encouraging; they are absolutely massive. When you scale this up to a set of four lanterns for your porch steps, the budget-savvy approach keeps hundreds of dollars in your pocket.
| Item / Material | High-End Retail Cost | Our Frugal DIY Cost |
|---|---|---|
| Base Lantern (Set of 4) | $240.00 ($60 each) | $5.00 ($1.25 each) |
| Paint & Primer Supplies | $0.00 (Pre-finished) | $8.00 (1 can black, 1 can clear) |
| Lighting Element (LED) | $0.00 (Included) | $5.00 (Dollar store tea lights) |
| Sandpaper & Prep Materials | $0.00 (N/A) | $2.00 (From the scrap bin) |
| Total Estimated Cost | $240.00+ | $20.00 (For all four!) |
“Safety Note: Always use spray paint outdoors in a well-ventilated area. Wear a respirator mask to protect your lungs from fumes, and use nitrile gloves to keep your hands clean. Crafting is fun, but safety is paramount!”
Prepping the Plastic Canvas for Maximum Adhesion
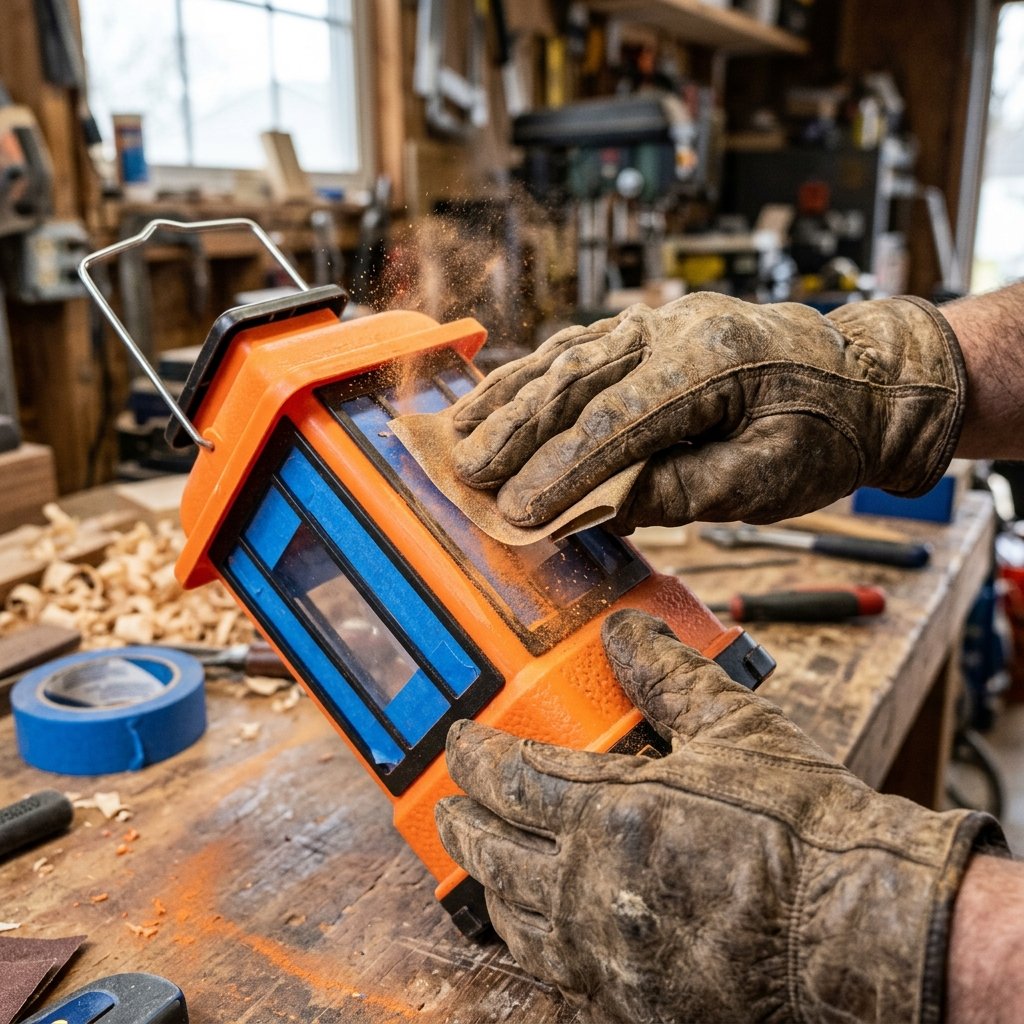
Why Prep Work is the Secret to Durability
If there is one mistake that eager DIYers make, it is rushing straight to the painting phase. Plastic is notoriously difficult to paint. It is non-porous, smooth, and often coated in manufacturing oils or mold-release agents that will cause spray paint to bead up, peel, or scratch off with the slightest bump. If you want your lanterns to survive the rugged outdoor elements—sun, rain, and fluctuating temperatures—you must prep the surface meticulously.
Step-by-Step Plastic Preparation
- Disassembly (The Clever Approach): First, try to dismantle the lantern. If the clear plastic or glass panes pop out, remove them! This saves you 30 minutes of tedious taping. Remove the battery compartment cover and any existing cheap LED bulbs if possible.
- The Scuff Sand: Take your 220-grit sandpaper and lightly scuff every square inch of the plastic frame. You are not trying to change the shape; you are simply creating microscopic scratches (called a “mechanical profile”) that the spray paint can grip onto. The plastic should look dull and cloudy when you are done.
- Degreasing and Cleaning: Once sanded, wipe away all the plastic dust. Dip a microfiber cloth in rubbing alcohol (or a diluted TSP substitute) and scrub the lantern. This removes the dust and any lingering oils from your fingerprints. Let it air dry completely for 5 minutes.
- Masking the Panes: If the panes are permanently glued in, you must mask them. Use high-quality blue painter’s tape and a craft knife to carefully tape over the clear sections. Press the edges of the tape down firmly with your thumbnail to prevent paint bleeding.
The Primer Rule
Even if you bought a “Paint + Primer in One” spray can, a dedicated plastic adhesion promoter (like a clear plastic primer) is a fantastic extra step for items living outdoors. It acts as double-sided sticky tape between the slick plastic and your matte black topcoat. Apply one light, dusty coat and let it flash dry for 15 minutes before moving to the color stage.
The Art of the Matte Black Finish & The Cast Iron Trick
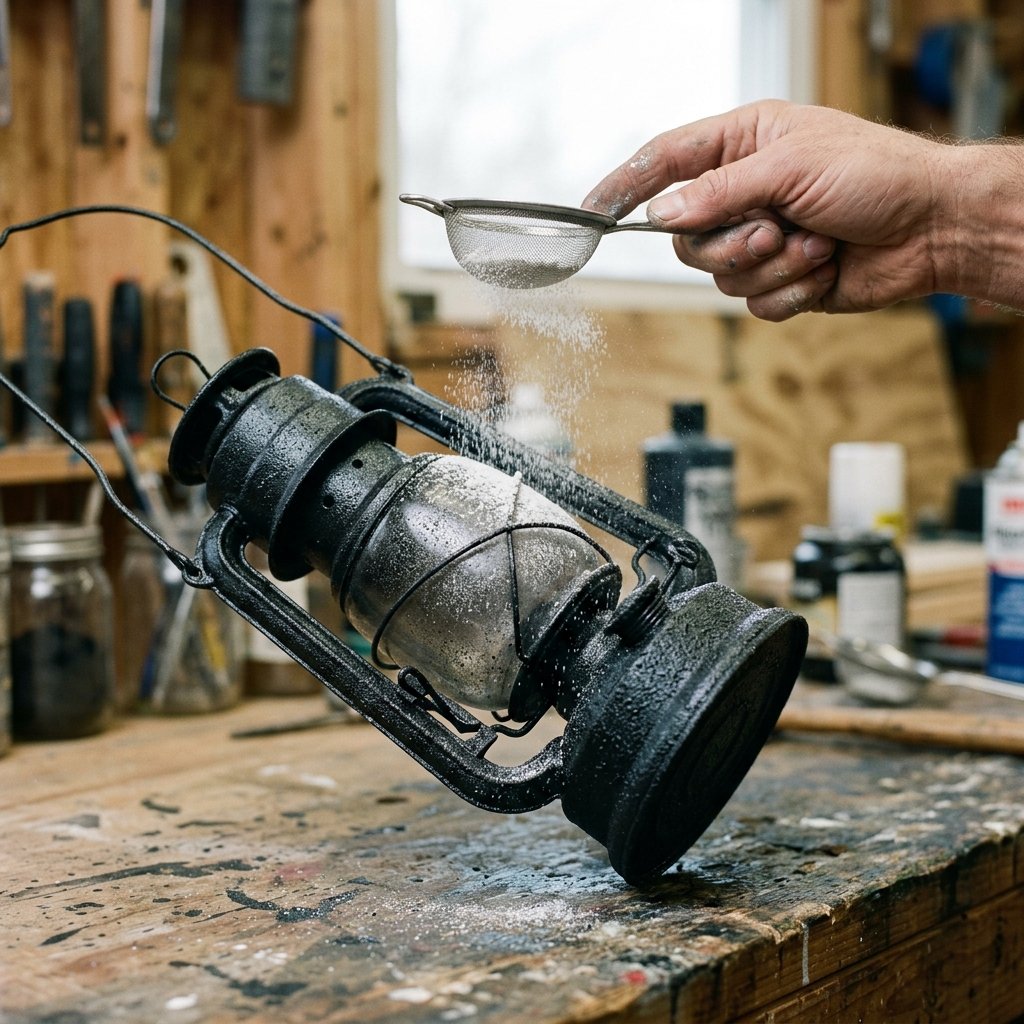
Mastering the Spray Can
Now comes the transformative magic. Matte black is the great equalizer of DIY decor. It absorbs light, hides imperfections, and instantly imparts a masculine-elegant, forged-metal aesthetic. However, technique is everything. Heavy, dripping coats will ruin the illusion of metal.
The Sweep and Spray Technique
- Shake Vigorously: Shake the can for a full 2 minutes after the mixing ball begins to rattle. The matting agents in the paint settle at the bottom and need to be thoroughly dispersed.
- Distance is Key: Hold the can 10 to 12 inches away from the lantern.
- Light, Dusty Coats: Start spraying slightly off the edge of the lantern, sweep across it in a smooth motion, and release the nozzle after you have passed the other edge. Your first coat should only cover about 50% of the original color. It will look terrible—this is normal!
- Patience Between Coats: Wait 10 to 15 minutes between coats. Apply 3 to 4 ultra-light coats until fully covered.
The Crafty-Expert “Baking Soda” Cast Iron Trick
If you want to elevate your lanterns from “painted plastic” to “heavy wrought iron,” you need texture. Real forged metal is not perfectly smooth; it has a slight grit and pitting to it. Here is the ultimate budget-savvy hack to replicate that look:
- Spray a slightly heavier coat of matte black paint onto the lantern.
- While the paint is still wet and tacky, take a pinch of standard kitchen baking soda (or incredibly fine craft sand) and sprinkle it lightly from about a foot above the lantern. Let the dust fall naturally onto the wet paint, concentrating on the corners and edges.
- Let it dry completely for 30 minutes.
- Brush off any loose, unadhered baking soda with a soft, dry paintbrush.
- Seal the texture by applying two more light coats of matte black spray paint over the top. The result is a stunning, gritty, cast-iron texture that completely masks the plastic origins!
“Texture is the enemy of cheap plastic. By introducing a micro-grit like baking soda between your paint layers, you trick the eye and the hand into believing the piece has genuine weight and history.”
Rugged Upgrades: Weighting, Weatherproofing & Hardware
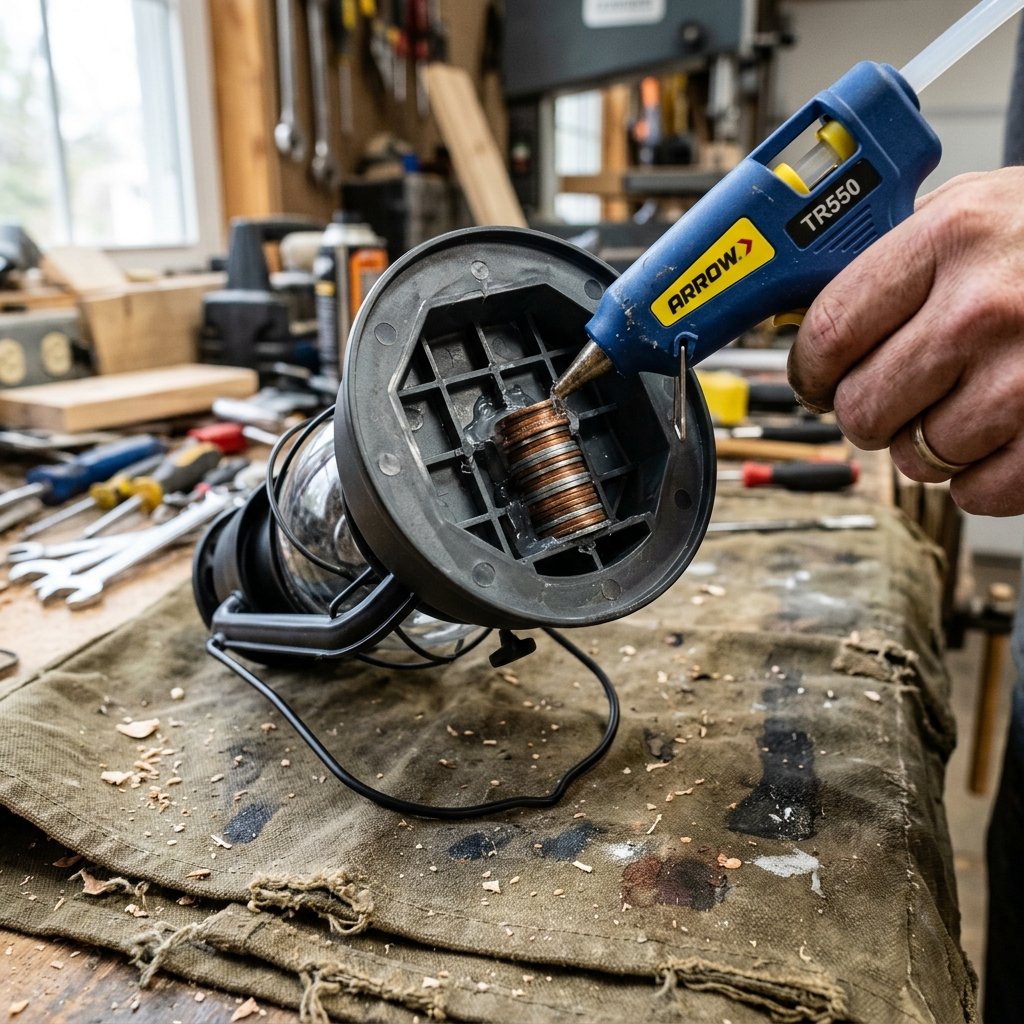
Adding Hidden Weight (The Anti-Wind Solution)
One of the dead giveaways that your stunning new porch lanterns are actually from the Dollar Store is their weight. At less than a few ounces, a stiff autumn breeze will send them tumbling across your yard, scratching your beautiful new paint job. A handy upcycler knows how to add hidden ballast.
Methods for Weighting Your Lanterns
Turn the lantern upside down. Most plastic lanterns have a hollow base or a battery compartment that can be modified. Here are the best frugal methods to add serious heft to your decor:
| Weighting Material | Cost | Application Method | Best For |
|---|---|---|---|
| Plaster of Paris | $7.00 (Large box) | Mix with water, pour into the hollow base cavity, and let set for 24 hours. | Permanent, heavy-duty weighting. |
| Pennies / Washers | $0.50 | Stack inside the base and secure heavily with hot glue or epoxy. | Quick fixes, utilizing pocket change. |
| Aquarium Gravel | $3.00 | Fill small ziplock bags, stuff into the base, seal with duct tape. | Lanterns with large hollow bottoms. |
| Concrete Patch | $5.00 | Trowel into the underside gaps, smooth flat, let cure. | Ultimate rugged, masculine weight. |
Weatherproofing for the Elements
Matte paint is beautiful, but its porous nature makes it susceptible to holding onto dirt, pollen, and water spots. To protect your hard work, you must apply a clear topcoat. Purchase a Matte or Dead Flat Clear Enamel spray. Do not use gloss or satin, or you will ruin the cast-iron illusion! Apply two light coats of the clear sealer, allowing 1 hour of dry time in between. This seals the baking soda texture, protects against UV fading from the sun, and creates a washable surface.
Hardware Enhancements
To further sell the high-end illusion, consider upgrading the hanging ring. If the lantern came with a flimsy plastic ring at the top, snip it off with wire cutters. Replace it with a genuine metal key ring, a loop of rugged jute twine, or a small carabiner. Mixing real metal or natural fibers with your painted plastic adds a layer of authenticity that is impossible to ignore.
Illuminating the Porch: Lighting Hacks & Styling
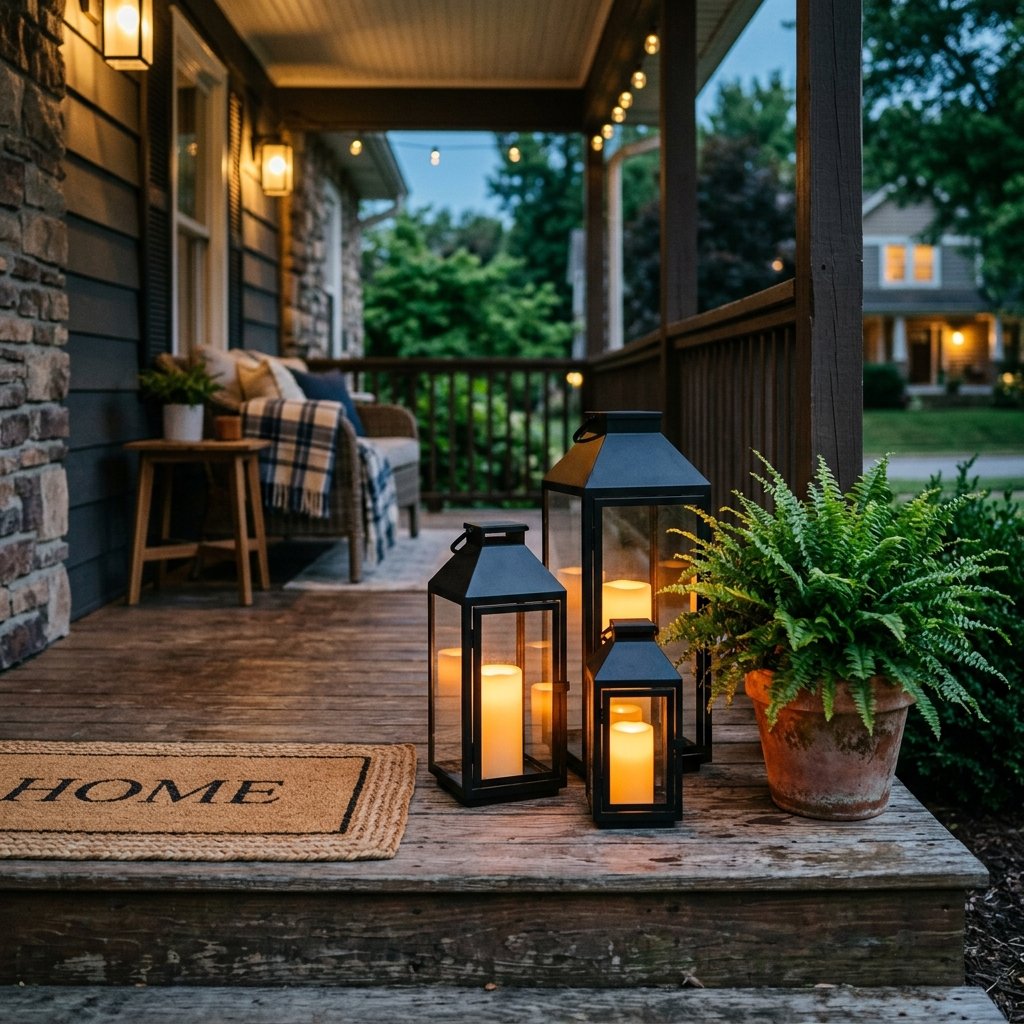
Upgrading the Illumination
The final step in our transformation is the lighting itself. The cheap, flickering yellow LED that comes pre-installed in dollar store lanterns often looks incredibly fake. To elevate the masculine-elegant vibe of your porch, we need to upgrade the glow.
- Fairy Light Bundles: Purchase a cheap pack of copper-wire fairy lights. Wad them up into a loose ball and stuff them inside the lantern. This creates a magical, modern “firefly” effect that looks stunning through the glass panes.
- High-End LED Pillar Candles: Invest $10 in a set of realistic, wax-coated LED pillar candles with moving wicks. The contrast between the heavy black “iron” frame and the soft, realistic wax candle inside is pure Pottery Barn aesthetic.
- The Solar Hack: For the ultimate handy dad upgrade, remove the top of the lantern entirely. Buy a cheap $2 solar pathway light, remove the stake, and epoxy the solar disc directly onto the top of your lantern. Now you have a self-sustaining, auto-on porch light that requires zero battery changes!
Styling Your Forged Masterpieces
Now that your lanterns are weighted, weatherproofed, and illuminated, it is time to style them. The key to high-end Dollar Tree home decor is grouping and context. A single lantern might look lonely, but a clustered group looks intentional and expensive.
- The Staggered Step Display: If you have porch stairs, place lanterns in pairs on alternating steps. Mix the sizes if you upcycled different types of lanterns.
- Texture Mixing: Place your matte black lanterns next to a natural coir welcome mat, a galvanized metal watering can, or a rustic wooden crate. The contrast of the matte black against natural wood grain and green foliage (like ferns or mums) makes the black pop.
- Shepherd’s Hooks: Because you upgraded the hanging ring and added weight, you can now confidently hang these from wrought iron shepherd’s hooks lining your front walkway. They will gently sway in the breeze without flying away.
By surrounding your budget-savvy DIY with real, natural elements, the eye assumes the lanterns are just as authentic as the wood and plants around them. You have successfully hacked the system!
Conclusion
Enjoying Your High-End Porch on a Dime
And there you have it! With a little bit of elbow grease, a resourceful mindset, and the transformative power of matte black spray paint, you have completely elevated your outdoor space. You took a flimsy, $1.25 piece of plastic destined for the landfill and upcycled it into a rugged, weatherproof, heavy-duty piece of porch lighting that rivals anything found in a luxury home catalog.
This project is the perfect testament to the frugal crafter’s philosophy: it is not about how much money you spend, but how creatively you can use the materials at your disposal. By mastering the prep work, utilizing the baking soda texture trick, and adding hidden weight, you have built something truly durable and beautiful. So wait for the sun to set, turn on those upgraded LED lights, grab a cup of coffee, and admire your stunning new porch display. You earned it, and your wallet thanks you!

Makenzie is the founder and lead writer at MoneyHackTips.com — a personal finance blog dedicated to delivering street-smart financial wisdom for real people on real budgets. With 300+ published articles covering everything from debt management to investing fundamentals, Makenzie’s mission is to make every dollar work harder. When not writing about money hacks, Makenzie is testing frugal living strategies, optimizing side hustles, and helping readers build financial freedom from scratch.