Bringing the Enchanted Forest to Your Table
There is something inherently magical about the forest floor—the damp, earthy scent, the vibrant tapestry of greens, and the soft, tactile nature of moss. In the world of high-end event design, a custom moss table runner is the gold standard for ‘woodland chic’ or ‘enchanted garden’ themes. However, if you were to commission a professional florist to create one of these botanical masterpieces, you could easily find yourself staring at a bill for $150 to $300 per table. As a resourceful crafter, you know better. We aren’t just making a decoration; we are engineering an atmosphere. By using clever upcycling techniques and sourcing materials with a tactical eye, we can replicate that million-dollar aesthetic for the price of a few lattes. Whether you are a budget bride, a host looking to impress at a dinner party, or a DIYer who just loves the rugged elegance of nature, this guide will show you how to build a durable, reusable, and breathtaking moss runner from scratch.
The Tactical Budget: Materials and Cost Breakdown

Before we get our hands dirty, we need to gather our supplies. The secret to a professional look is layering textures. Don’t just buy one type of moss; mix and match to create depth. We will be using a sturdy, flexible base to ensure the runner can be rolled up and stored for future use, making this a one-time investment for years of style.
| Material Item | Sourcing Strategy | Estimated Cost |
|---|---|---|
| Preserved Moss Sheets | Bulk Craft Store (with coupon) | $12.00 |
| Felt or Burlap Backing | Upcycled old fabric or $1.25 roll | $1.25 |
| Hot Glue Sticks | Dollar Tree / Bulk pack | $2.00 |
| Natural Elements | Foraged (Twigs, acorns, stones) | $0.00 |
| Total Project Cost | DIY Resourcefulness | $15.25 |
“The difference between ‘crafty’ and ‘couture’ lies in the details. Don’t just glue moss; sculpt a landscape.”
The Foundation: Prepping Your Runner Base
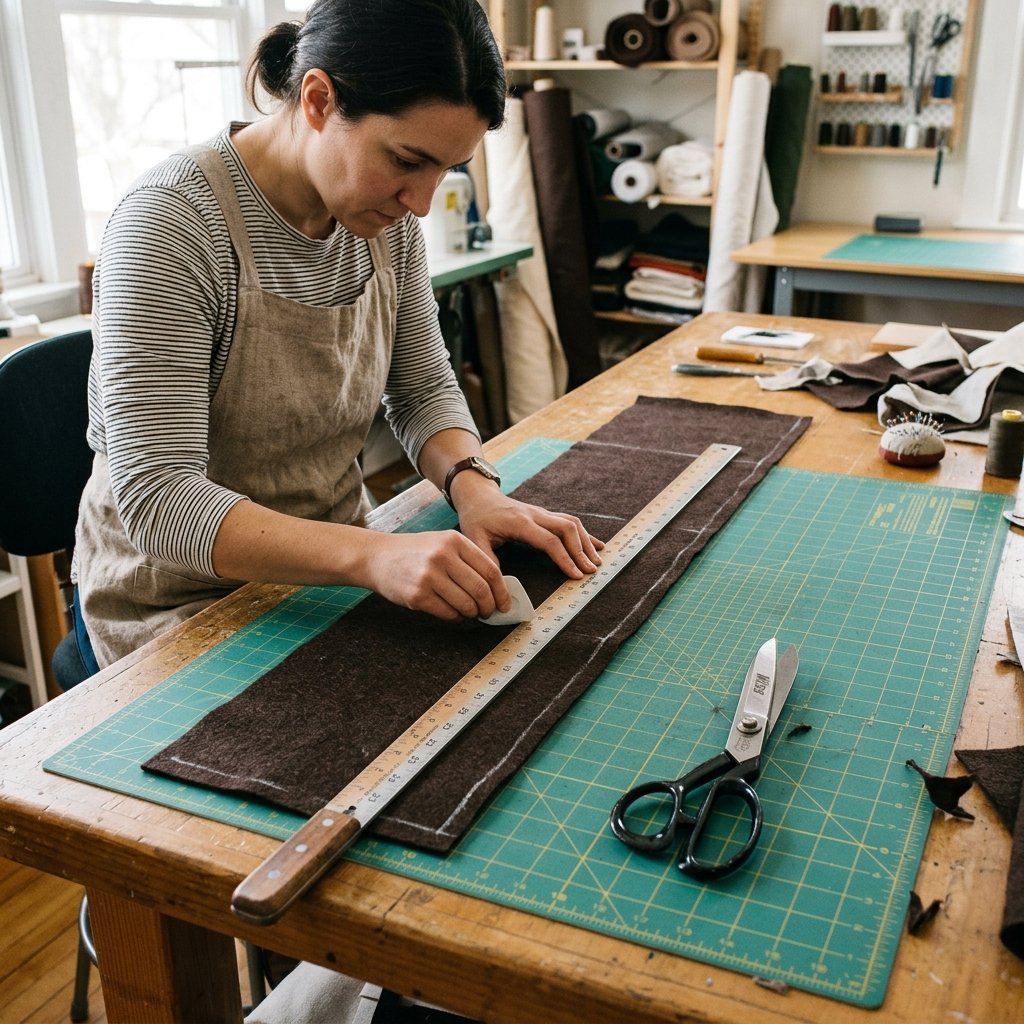
A common mistake in DIY moss runners is glueing the moss directly to a plastic tablecloth or, heaven forbid, the table itself. To make this a piece of rugged, masculine-elegant decor that lasts, you need a textile base. I recommend using dark brown felt or heavyweight burlap. The dark color hides any small gaps between the moss clumps, creating the illusion of deep, rich soil.
- Measure Twice: Measure your table length and add 12-18 inches if you want the runner to drape over the edges (the ‘waterfall’ effect).
- Cut the Width: A standard runner is 12 to 14 inches wide. For a more modern, minimalist look, go slightly narrower at 10 inches.
- Weight the Ends: If you are using a lightweight fabric, glue a small wooden dowel or a few flat river stones to the underside of the ends to keep it from sliding.
The Art of Moss Layering: A Step-by-Step Guide
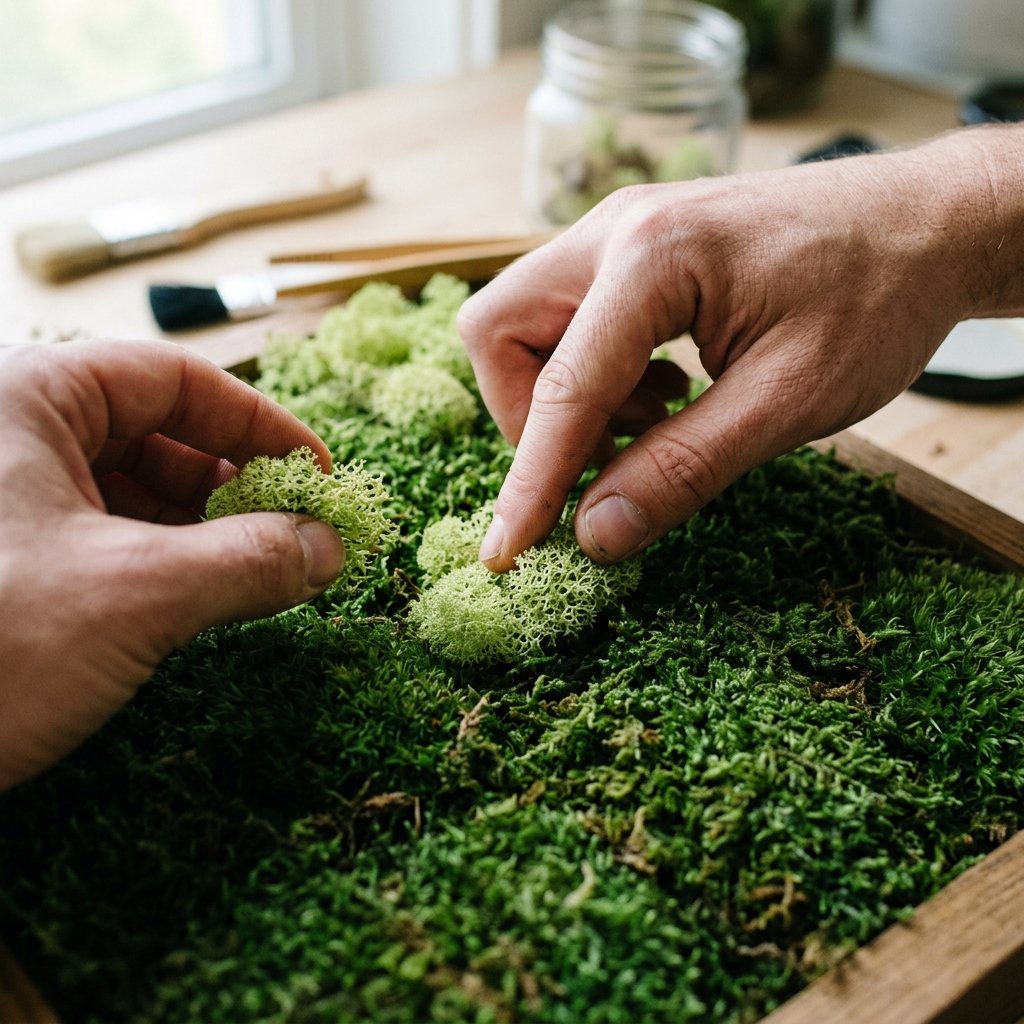
This is where the magic happens. We aren’t just laying down a carpet; we are building a miniature ecosystem. Follow these steps for a realistic, lush finish:
- The Anchor Layer: Start with your largest sheets of moss. Apply hot glue in a zigzag pattern to a 6-inch section of the base and press the moss down firmly. Safety Note: Use a silicone spatula or a popsicle stick to press the moss into the glue to avoid burning your fingertips.
- The Texture Shift: Once the base layer is down, take your ‘accent’ moss—like reindeer moss (which is more tufted and colorful) or mood moss (which is clumpy and round). Glue these on top of the base layer to create topographical height.
- The Edge Softening: Avoid straight lines. Let small bits of moss overhang the edge of the fabric base to create an organic, growing-in-the-wild appearance.
- The Gap Fill: Hold the runner up. If you see any brown felt peeking through, fill it with small scraps of ‘Spanish moss’ or lichen.
Mantra for the Maker: “Nature is imperfectly perfect. Avoid symmetry; embrace the organic chaos of the woods.”
Foraging for the ‘Forest Floor’ Finish
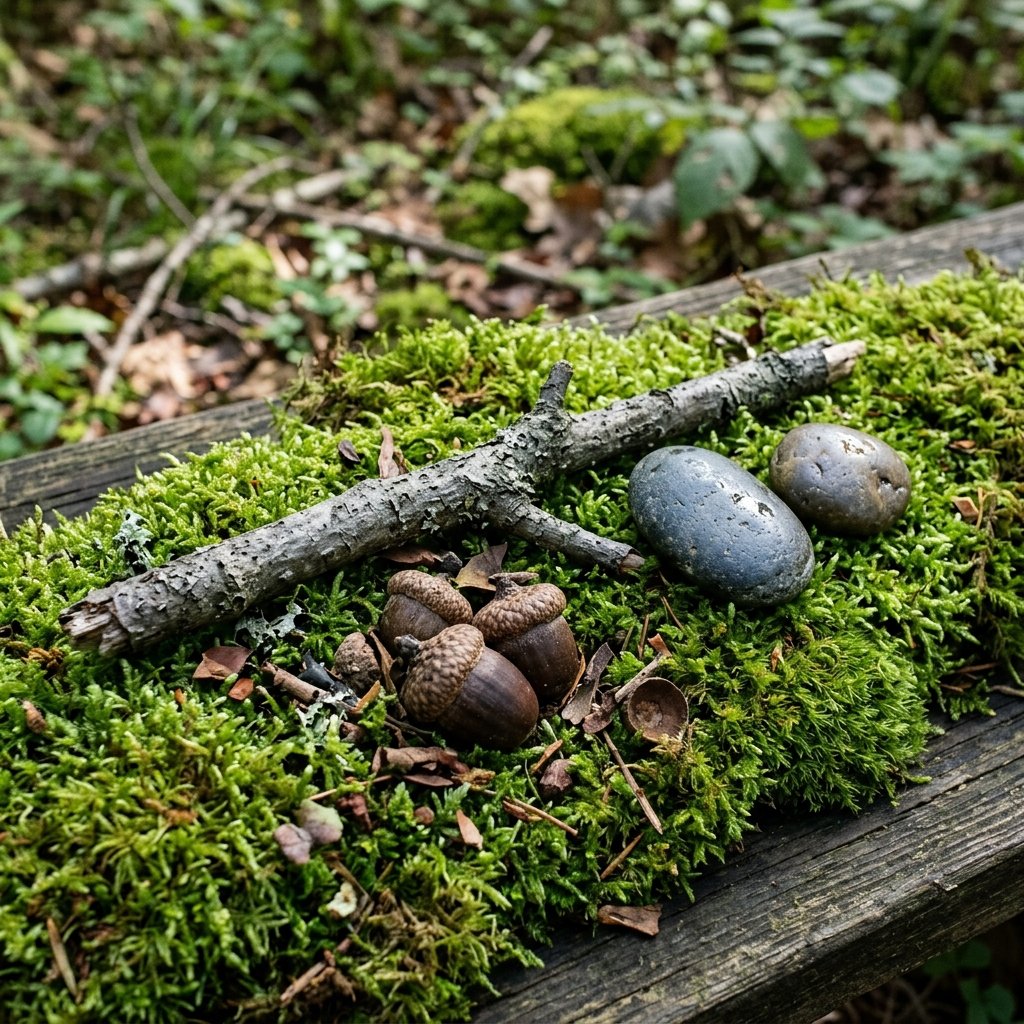
To truly sell the ‘Million Buck’ look, you need to incorporate authentic forest elements. This is the ultimate budget-savvy move because the best materials are 100% free in your own backyard or local park. Adding these elements provides the rugged and practical aesthetic that elevates the piece from a simple craft to a designer centerpiece.
| Natural Element | Visual Impact | Placement Tip |
|---|---|---|
| Dried Twigs | Adds structural ‘skeleton’ | Tuck into the moss lengthwise |
| River Stones | Adds weight and ‘cool’ tones | Group in clusters of three |
| Acorn Caps | Intricate detail | Glue in small ‘colonies’ |
| Pinecones | Adds seasonal warmth | Nestle into the taller moss clumps |
When adding these, think about visual weight. Place larger items like stones or large pinecones first, then fill in with smaller details like acorns or sprigs of dried eucalyptus. This creates a sense of discovery for your guests as they sit at the table.
Styling and Versatility: From Wedding to Winter
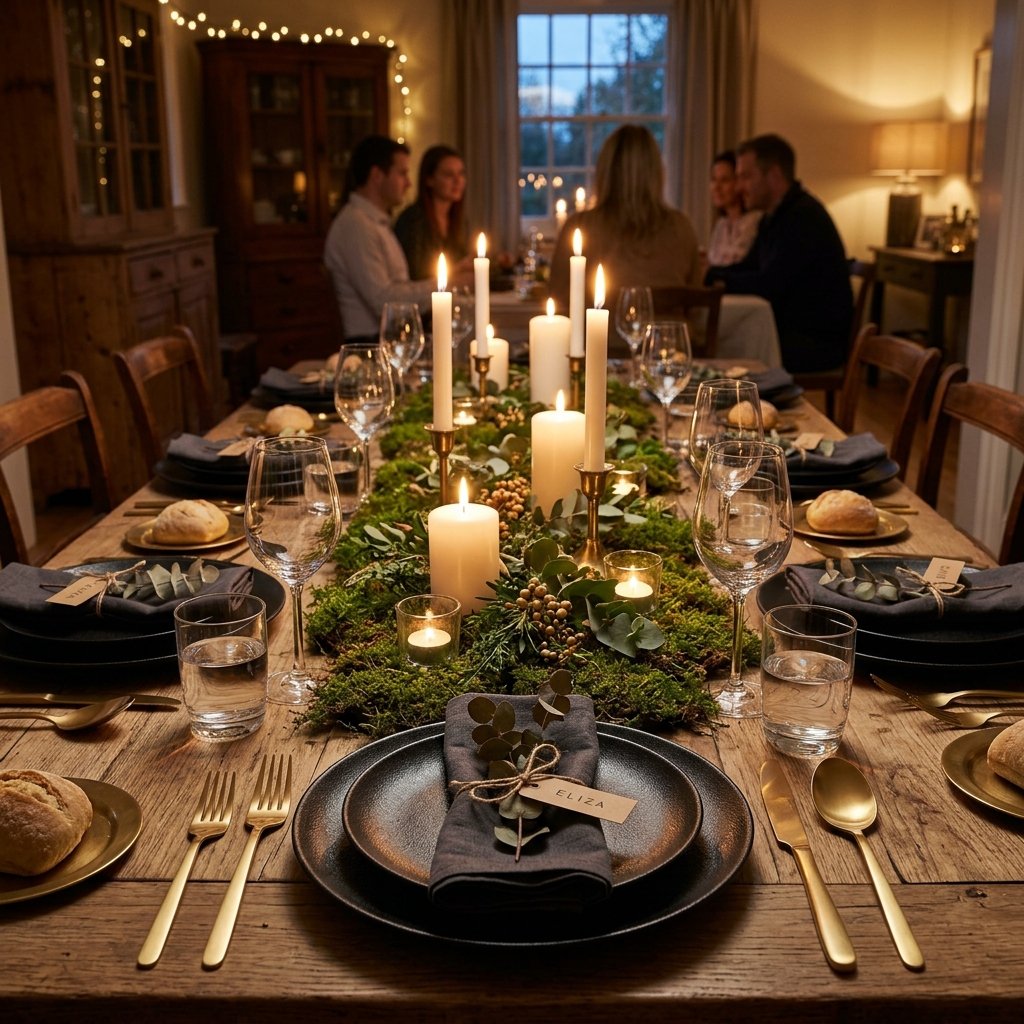
The beauty of this DIY moss runner is its versatility. Because we used preserved moss and a fabric base, it is not a ‘single-use’ item. Here is how to style it for different vibes:
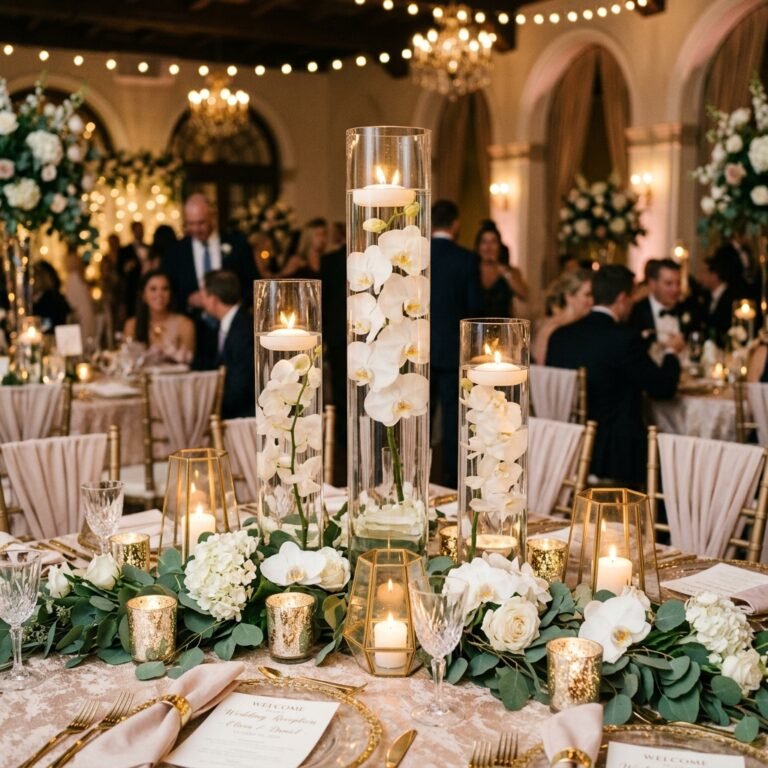
- The Elegant Wedding: Pair the runner with gold-toned cutlery, white linen napkins, and tall glass cylinder vases with floating candles. The reflection of the flame against the green moss is breathtaking.
- The Rugged Holiday: For Christmas or Thanksgiving, nestle dried orange slices, cinnamon sticks, and red berries into the moss.
- The Masculine Study: Place the runner on a dark wood desk or sideboard, topped with vintage brass compasses, old leather-bound books, and a single crystal decanter.
Pro-Tip: If the moss looks a bit dusty after storage, do not use water. Use a hairdryer on the ‘cool’ and ‘low’ setting to gently blow away any debris without damaging the delicate fibers.
Conclusion
Your Masterpiece is Complete
You have successfully taken basic craft supplies and foraged finds and turned them into a show-stopping centerpiece that rivals the work of elite event stylists. By focusing on texture, layering, and organic movement, you’ve created a piece of decor that feels alive and luxurious. This project proves that you don’t need a massive budget to create a high-end atmosphere; you just need a little bit of resourcefulness and the willingness to get your hands a little mossy. Roll up your runner, store it in a cool, dry place, and get ready for the compliments to roll in at your next gathering. Happy crafting!

Makenzie is the founder and lead writer at MoneyHackTips.com — a personal finance blog dedicated to delivering street-smart financial wisdom for real people on real budgets. With 300+ published articles covering everything from debt management to investing fundamentals, Makenzie’s mission is to make every dollar work harder. When not writing about money hacks, Makenzie is testing frugal living strategies, optimizing side hustles, and helping readers build financial freedom from scratch.