Let’s face it: high-end outdoor furniture is an absolute racket. You walk into a designer showroom and see a minimalist bench made of wood and stone with a price tag that rivals a used car. But as a resourceful DIYer, you know a secret that the big-box retailers don’t want you to realize. You don’t need a thousand-dollar budget to achieve a rugged, masculine-elegant aesthetic for your porch. In fact, you can build a structural masterpiece using the most humble material in the construction world: the cinder block.
This isn’t your grandma’s garden bench. We are taking raw industrial materials—concrete blocks and 4×4 pressure-treated lumber—and elevating them through clever finishing techniques. This budget-savvy hack is perfect for anyone who wants a weekend project that delivers immediate curb appeal without the sweat of complex joinery or expensive power tools. Whether you are a handy parent looking to spruce up the backyard or a frugal crafter aiming for that Pottery Barn look on a Dollar Tree budget, this guide is your blueprint to success.
The Anatomy of a Budget Masterpiece: Materials and Cost Breakdown
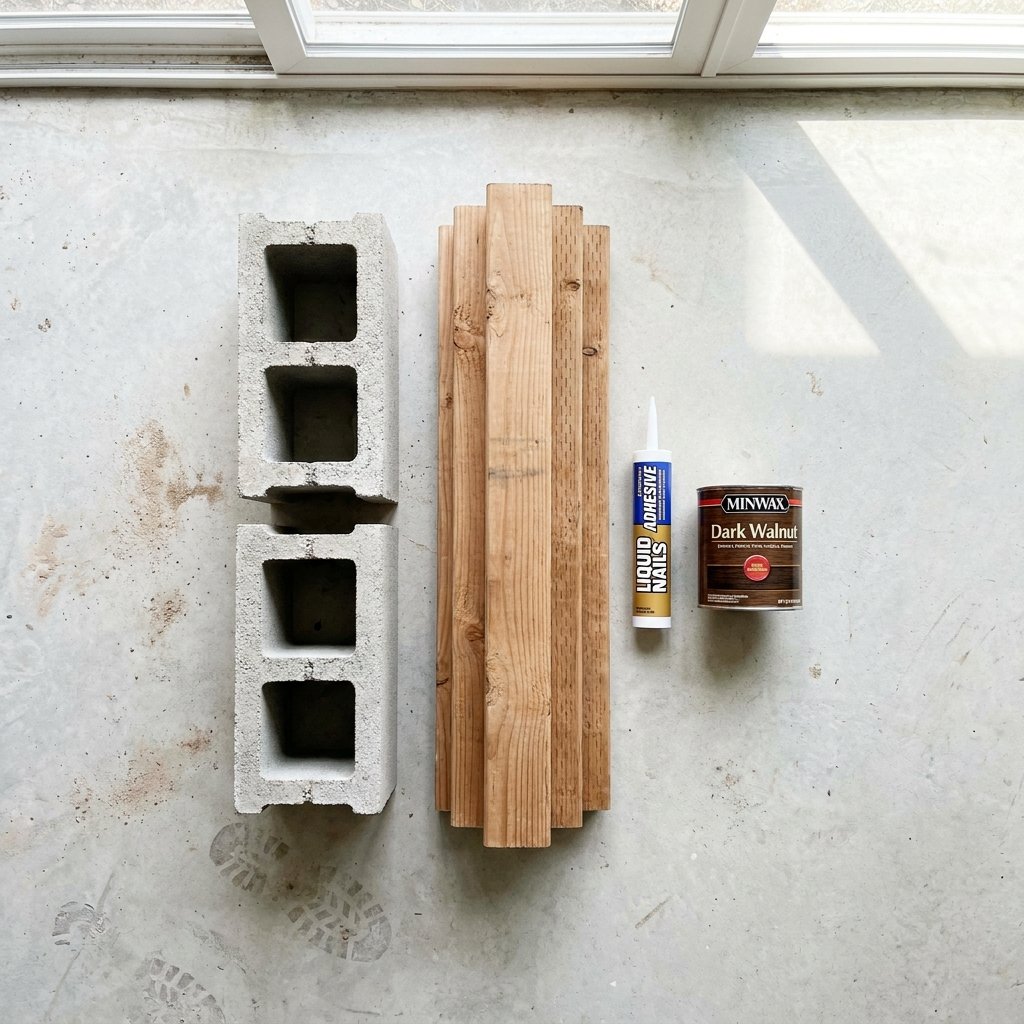
The beauty of the concrete block bench lies in its simplicity. We are utilizing the natural voids in standard cinder blocks to act as the ‘mortise’ for our wooden ‘tenon.’ Before we head to the hardware store, let’s look at the numbers. While a similar bench at a luxury outdoor store might cost $450 to $800, our build comes in at a fraction of that.
| Material Item | Quantity | Estimated Cost |
|---|---|---|
| Standard 8x8x16 Cinder Blocks | 12-14 Blocks | $25.00 |
| 4×4 Pressure-Treated Beams (8ft) | 4 Beams | $40.00 |
| Construction Adhesive (Heavy Duty) | 2 Tubes | $12.00 |
| Exterior Stain/Sealant | 1 Quart | $15.00 |
| Concrete Paint/Masonry Sealer | 1 Quart | $15.00 |
| Total Estimated Investment | – | $107.00 |
Budget Guru Tip: Check local marketplaces or construction sites for ‘free’ cinder blocks. People often give them away just to get them off their property, potentially bringing your cost down to under $50.
Preparation: Choosing Your Materials Like a Pro
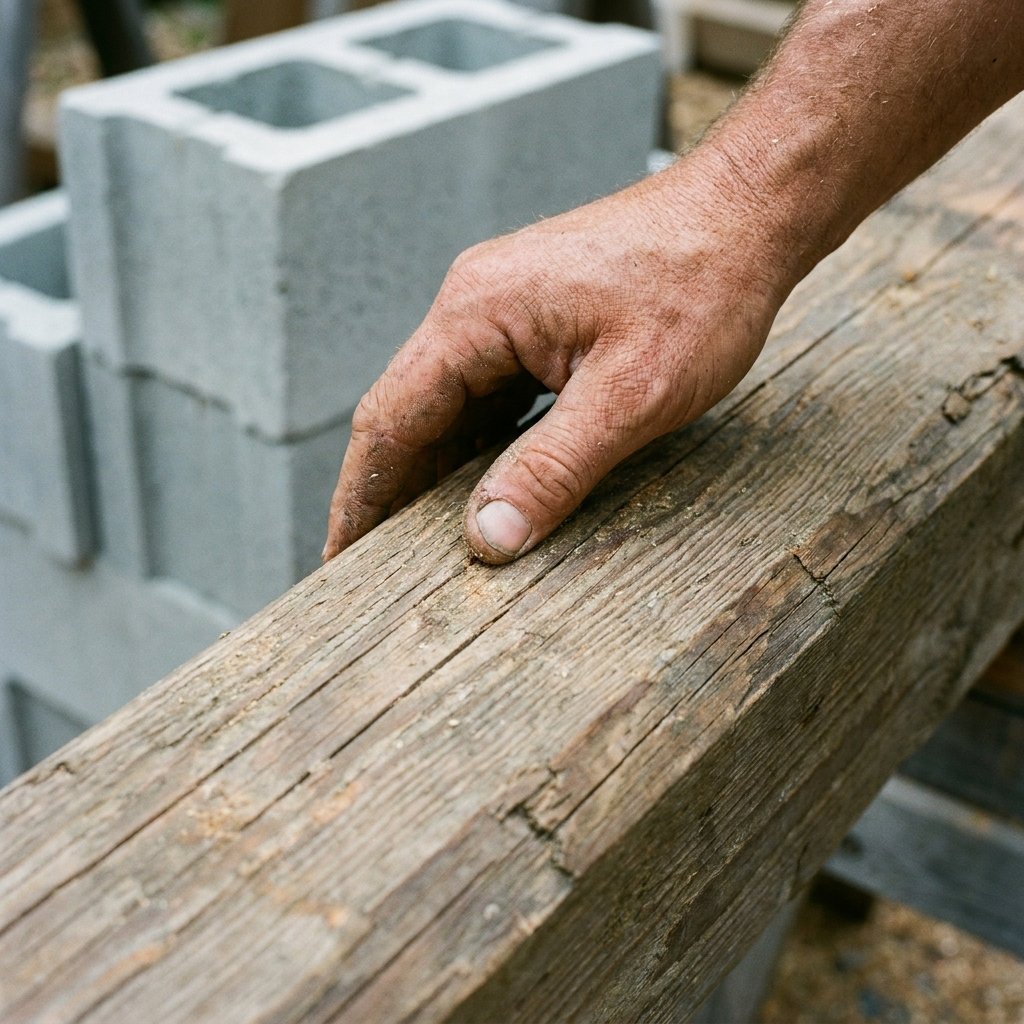
Not all cinder blocks are created equal. For a high-end look, you want to avoid blocks with chipped corners or heavy salt efflorescence (that white powdery stuff). Look for ‘precision’ blocks if your budget allows, as they have cleaner edges. For the lumber, 4×4 pressure-treated pine is the standard choice for durability, but if you want to go extra rugged and elegant, consider cedar or redwood—though these will increase your budget.
Wood Selection Criteria
- Straightness: Sight down the length of the 4×4 to ensure there is no ‘crowning’ or twisting. A twisted beam will make the bench unstable.
- Moisture Content: If the wood feels heavy and wet (common with pressure-treated lumber), let it dry for 2-3 weeks before staining.
- Surface Quality: Choose beams with fewer knots for a modern, clean aesthetic.
Concrete Block Preparation
Before assembly, scrub your blocks with a stiff wire brush to remove loose grit. If you want a truly ‘expensive’ finish, consider using a masonry filler to smooth out the porous texture of the concrete before painting it a sleek charcoal or matte black.
The Assembly: Step-by-Step Structural Build
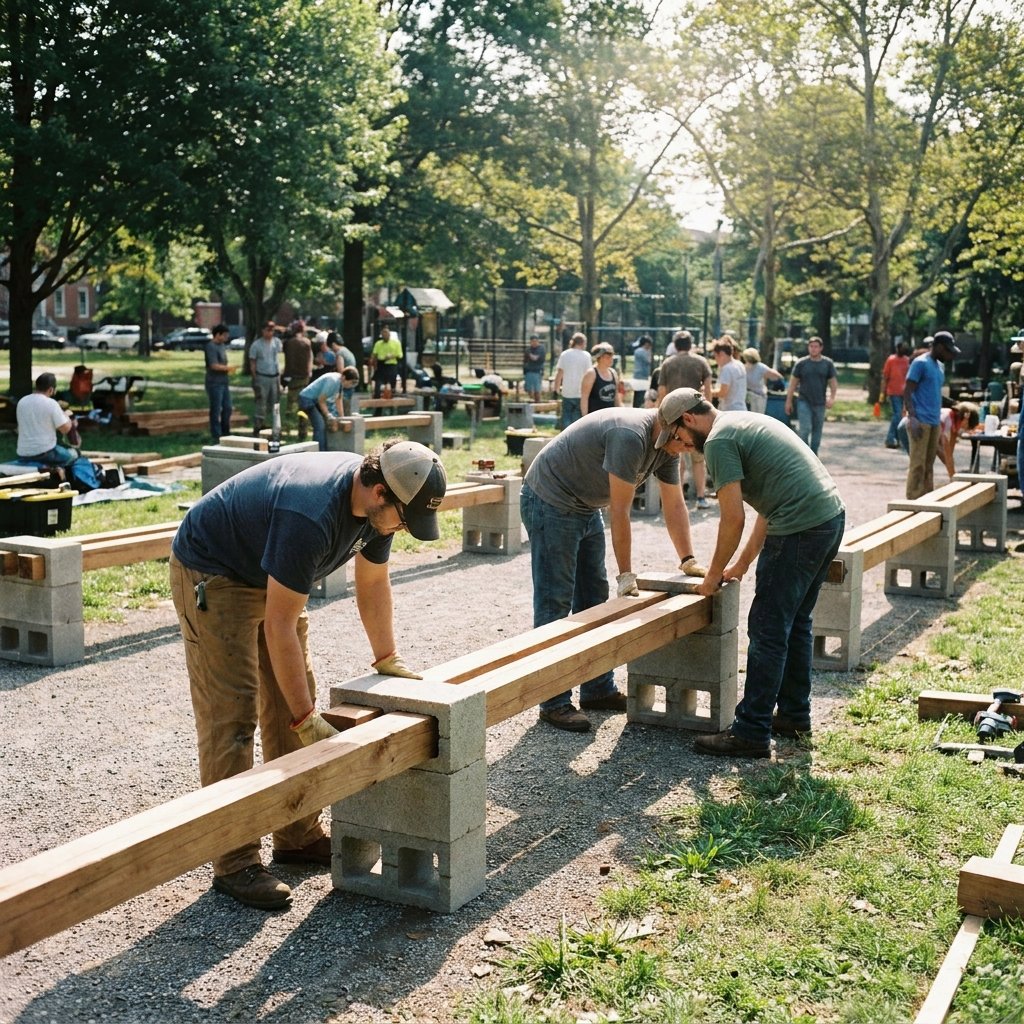
This is where the magic happens. We are going to create two vertical pillars of concrete that will support the weight of the beams. No screws or nails are required for the main structure, making this an accessible project for all skill levels.
- Level the Ground: Ensure your porch or patio surface is perfectly level. If building on grass, lay down a few concrete pavers first to prevent sinking.
- Stack the Base: Place two cinder blocks vertically, side-by-side. Use heavy-duty construction adhesive between the layers to ensure they don’t shift.
- Create the ‘Slot’: For the second layer, turn the blocks horizontally. The holes in the blocks should be facing the opposite pillar. This is where the 4x4s will slide through.
- Repeat for the Second Pillar: Mirror the process exactly 6 to 7 feet away, depending on the length of your beams.
- Slide the Beams: Gently slide the 4×4 beams through the openings. Ensure you have at least 4-6 inches of overhang on each side for visual balance.
Safety Note: Concrete blocks are heavy! Always lift with your legs, not your back, and wear work gloves to protect your hands from the abrasive texture. If you have small children, always use the adhesive to prevent the blocks from being tipped over.
Elevating the Aesthetic: The ‘High-End’ Finish
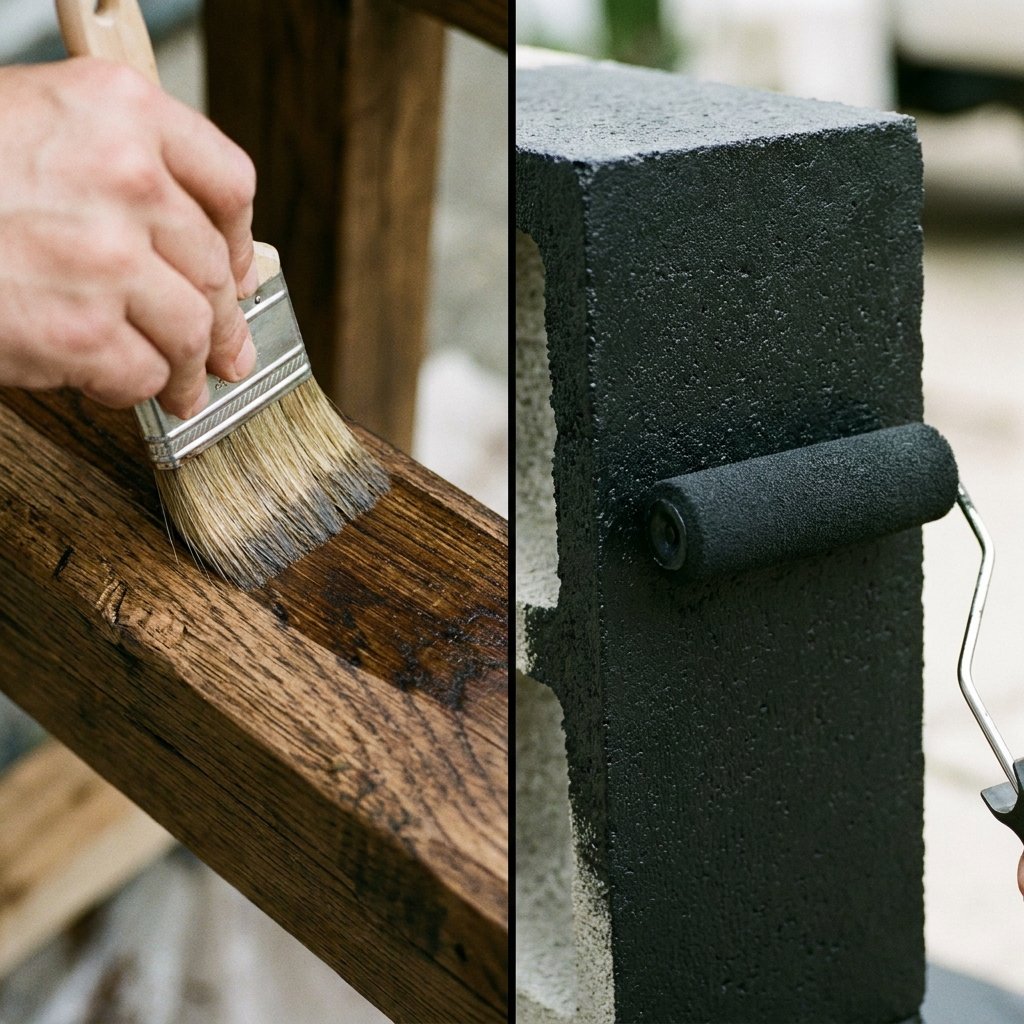
The difference between a ‘construction site’ bench and a ‘high-end’ bench is in the finish. We want to contrast the cool, industrial grey of the concrete with the warm, rich tones of stained wood. This juxtaposition is the hallmark of modern architectural design.
| Style Goal | Concrete Treatment | Wood Finish |
|---|---|---|
| Modern Industrial | Matte Black Masonry Paint | Clear Natural Sealant |
| Rustic Farmhouse | Natural Grey (Sealed) | Dark Walnut or Espresso Stain |
| Coastal Chic | White-Wash Paint | Weathered Grey Stain |
| Rugged Minimalist | Charcoal Grey Stain | Raw Linseed Oil Finish |
Apply two coats of exterior-grade stain to your wood beams, sanding lightly between coats with 220-grit sandpaper. This will give the wood a smooth, professional feel. For the concrete, use a high-quality masonry sealer to prevent water absorption and staining over time.
Styling and Comfort: The Final Flourish
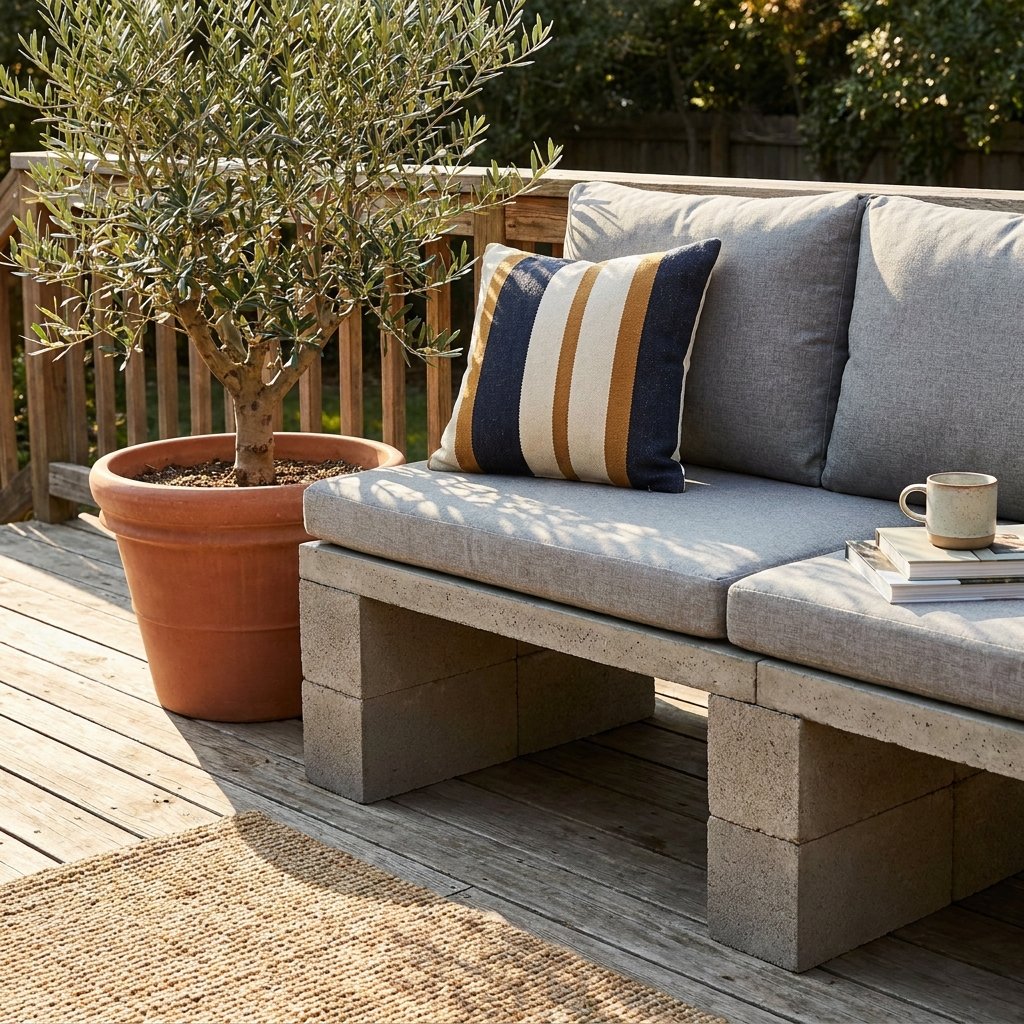
A bench is only as good as its comfort. To truly replicate a high-end look, you need to add textiles. Look for outdoor-rated cushions in neutral tones like oatmeal, slate, or navy. If you are a crafty gift-giver or sewer, you can make your own box-edge cushions using Sunbrella fabric for a fraction of the retail price.
Pro Styling Tips
- Greenery: Place a large terracotta or concrete planter next to one of the pillars with a structural plant like a snake plant or a small agave.
- Lighting: Drape high-quality Edison-style string lights above the seating area to create a masculine-elegant evening ambiance.
- Textiles: Add a chunky knit outdoor throw blanket for those chilly evening conversations.
By focusing on these small details, you transform a collection of hardware store staples into a bespoke furniture piece that looks like it was curated by an interior designer.
Conclusion
Building your own high-end furniture doesn’t require a master’s degree in carpentry or a bottomless bank account. With a little resourcefulness and grit, you’ve turned $100 worth of materials into a porch centerpiece that will last for decades. This concrete block bench is a testament to the power of the frugal DIY spirit—it’s functional, ruggedly beautiful, and incredibly satisfying to build. So, grab your gloves, head to the local yard, and start building. Your porch (and your wallet) will thank you.

Makenzie is the founder and lead writer at MoneyHackTips.com — a personal finance blog dedicated to delivering street-smart financial wisdom for real people on real budgets. With 300+ published articles covering everything from debt management to investing fundamentals, Makenzie’s mission is to make every dollar work harder. When not writing about money hacks, Makenzie is testing frugal living strategies, optimizing side hustles, and helping readers build financial freedom from scratch.