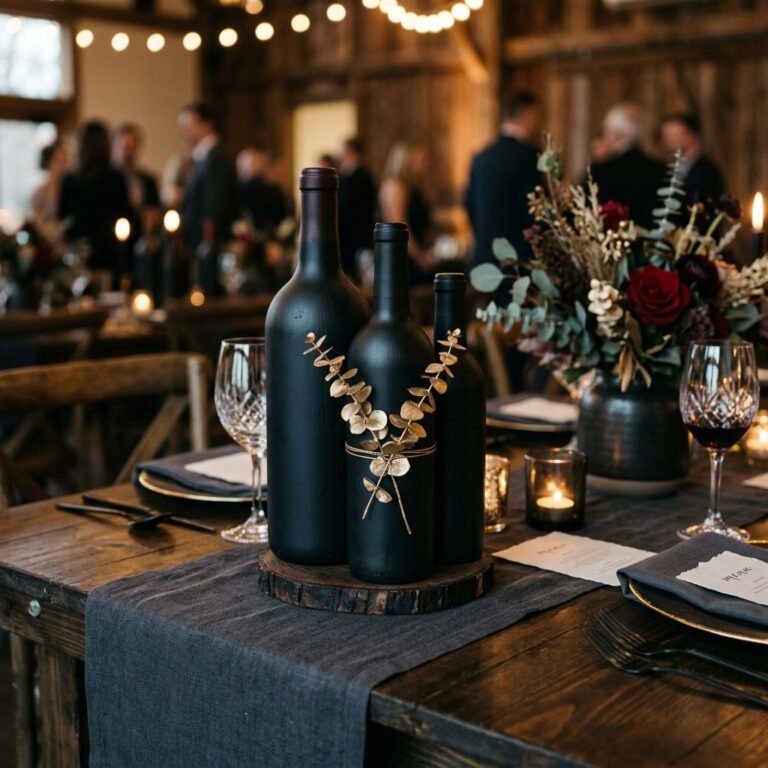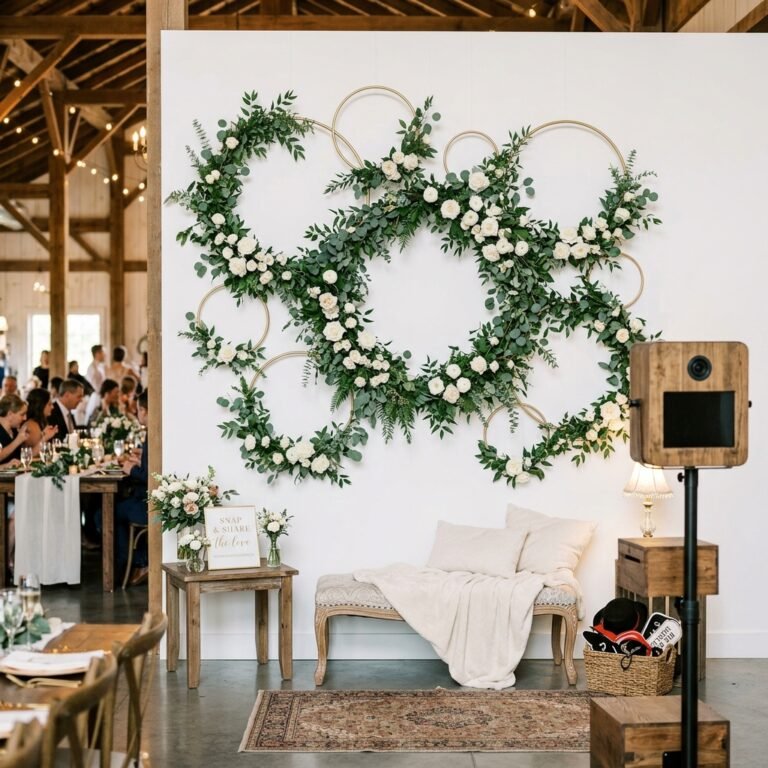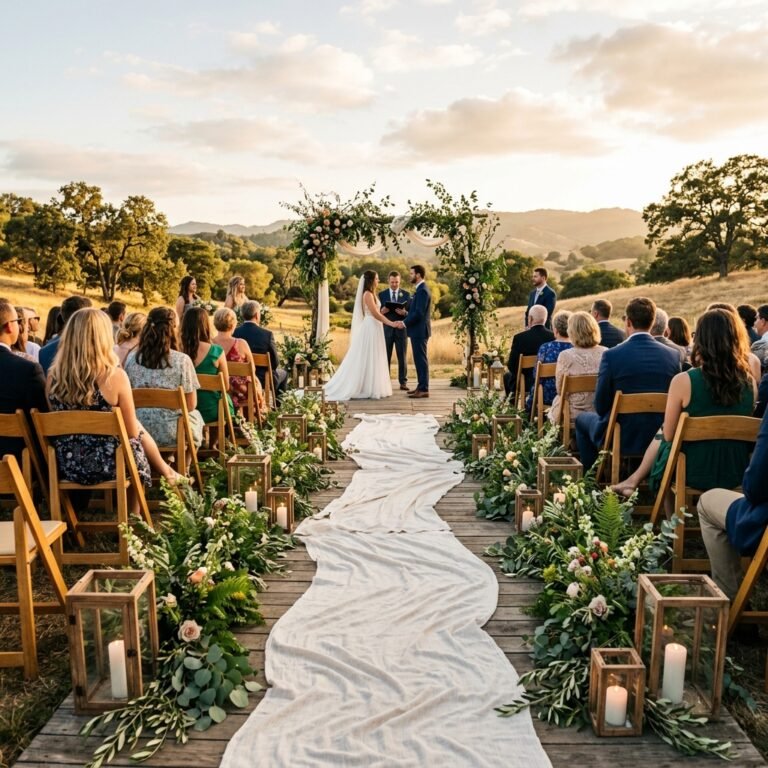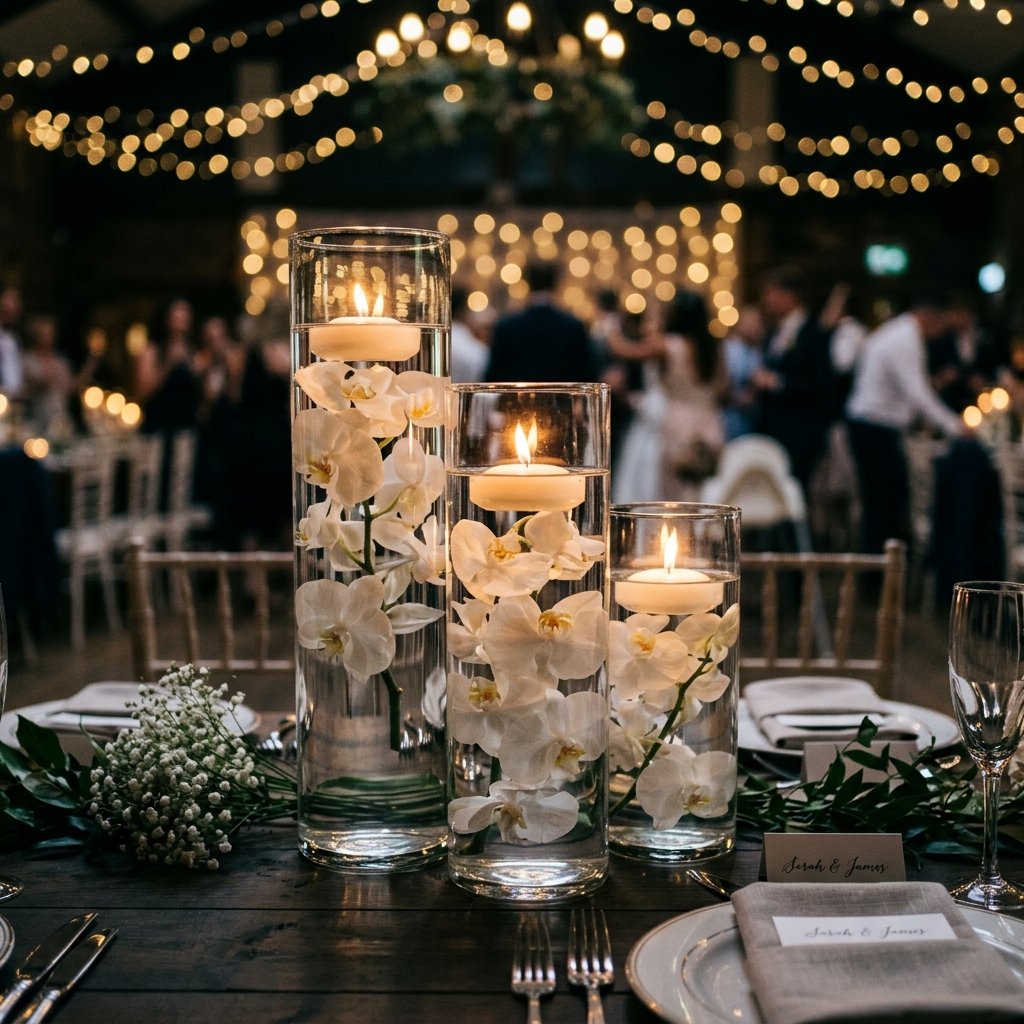

The Secret to High-End Wedding Elegance on a Shoestring Budget
Planning a wedding often feels like a series of tactical maneuvers to protect your bank account from the dreaded ‘wedding tax.’ When you mention the word ‘wedding’ to a florist, prices seem to triple instantly. But what if you could bypass the markup and create something so sophisticated, so ethereal, and so professional that your guests will assume you hired a high-end event stylist? Enter the DIY Floating Flower Centerpiece. This project is the ultimate ‘trash-to-treasure’ hack, utilizing simple glass vessels, water, and strategic blooms to create a visual masterpiece. As a frugal DIYer, you know that elegance isn’t about how much you spend; it’s about the cleverness of your execution. We are going to take basic components—many of which can be sourced for $1.25—and assemble them into a centerpiece that commands attention. Whether you are a handy bride, a budget-savvy groom, or a crafty friend helping out, this guide will walk you through the rugged practicality of building, transporting, and styling these liquid gems. Prepare to save thousands of dollars while achieving a look that belongs in the pages of a luxury bridal magazine.
The Tactical Sourcing Guide: Premium Materials for Pennies
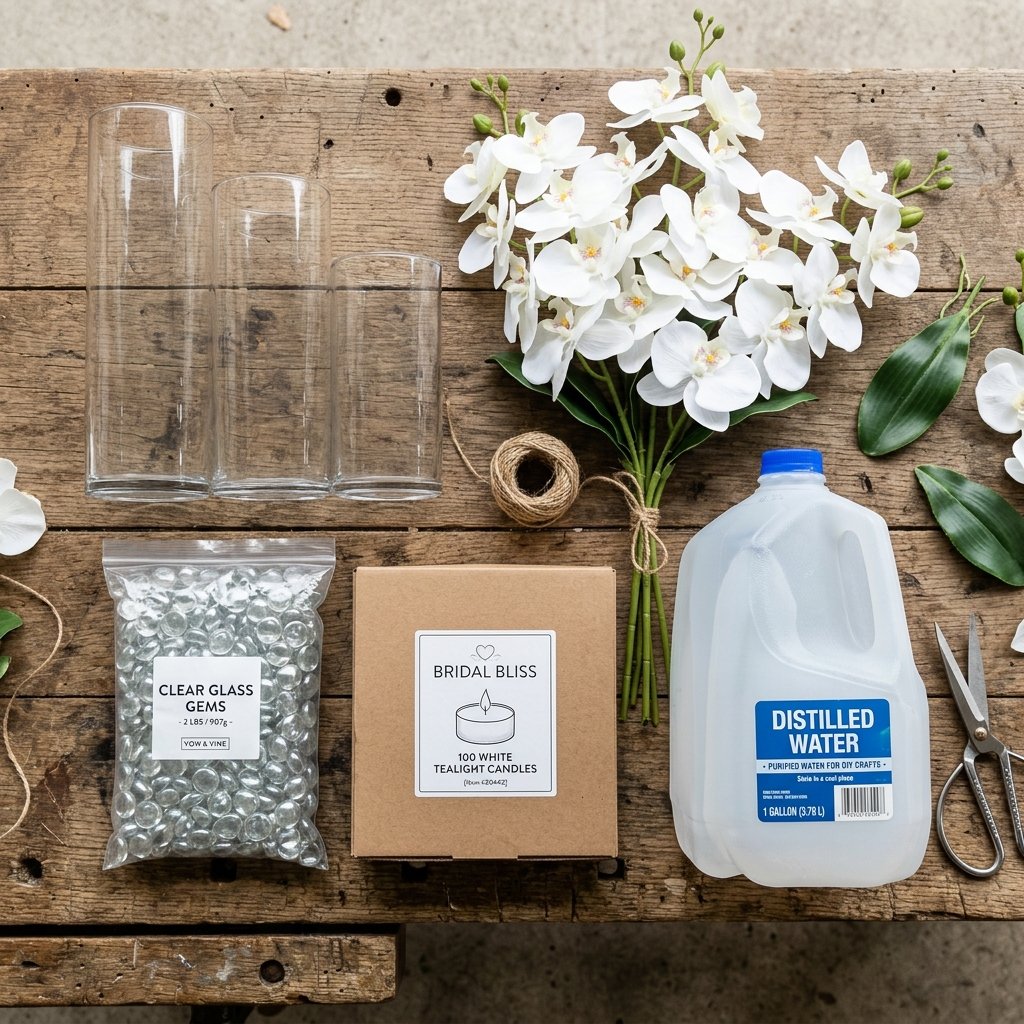
The foundation of a great DIY project is the hunt for materials. To keep costs low, we aren’t heading to a high-end boutique; we are heading to the dollar stores, thrift shops, and wholesale warehouses. For this project, the glass is your most important asset. You want clear, heavy-bottomed cylinder vases. In the world of professional event design, these are often rented for $10 to $15 each. We are going to own them for a fraction of that.
| Material Item | Store-Bought/Pro Price | DIY/Frugal Sourcing Price | Savings |
|---|---|---|---|
| Glass Cylinder Vases (Set of 3) | $45.00 | $3.75 (Dollar Tree) | 92% |
| Submerged Floral Stems | $25.00 | $2.50 (Wholesale/Faux) | 90% |
| Floating Tealights (Bulk) | $1.50 each | $0.20 each | 86% |
| Distilled Water (per gallon) | N/A | $1.20 | Priceless Clarity |
Why Glass Quality Matters
When sourcing glass, look for pieces without visible bubbles or heavy seams. If you find thrift store glass with ‘cloudiness,’ don’t pass it up! A quick soak in vinegar and warm water will strip away mineral deposits, making that $0.50 vase look brand new. You will need three different heights—typically 7-inch, 9-inch, and 10.5-inch—to create a dynamic, tiered visual effect that mimics professional compositions.
The Physics of the Float: Prepping Flowers for Submersion

The most common mistake beginners make is simply tossing a flower into a vase of water. Within minutes, the flower floats to the top, or worse, begins to disintegrate. To achieve the ‘suspended in time’ look, you must understand the physics of buoyancy. You have two choices: Fresh or Faux. Fresh flowers like Orchids, Calla Lilies, and Tulips submerge beautifully but require delicate handling. Faux flowers (silk) are budget-friendly and indestructible, but they must be weighted down.
The Pro Formula for Submerged Flowers: To keep a silk flower at the bottom, use a small dab of clear floral adhesive or a tiny piece of fishing line tied to a clear glass marble. This acts as an anchor, ensuring your bloom stays exactly where you placed it.
The Distilled Water Trick
If you use tap water, you will notice tiny bubbles forming on the petals and the glass walls within an hour. This is due to dissolved gases in the water. For a crystal-clear, high-definition look, always use Distilled Water. It is a small investment of about $1.20 per gallon that makes your centerpiece look like it was styled for a professional photoshoot. It eliminates the ‘cloudy’ look and keeps the focus on the vibrant colors of your flowers.
Step-by-Step Assembly: Building Your Liquid Masterpiece

Now that your materials are prepped, it is time for the assembly. This process is rhythmic and satisfying. Follow these steps to ensure your centerpieces are consistent across all 15 or 20 tables of your reception.
- Clean the Vessel: Use a lint-free microfiber cloth and a bit of rubbing alcohol to wipe the inside and outside of the glass. Any fingerprint will be magnified once the water is added.
- Position the Anchor: Place your weighted flower into the bottom of the dry vase. Ensure it is centered or artistically leaning against the side.
- Add Decorative Fill: Carefully pour in clear glass gems or polished river stones around the base of the stem. This hides your weights and adds a rugged, elegant texture to the bottom.
- The Slow Pour: Tilt the vase slightly and pour the distilled water down the inner wall. Do not pour directly onto the flower, as the force can dislodge your petals or anchor. Fill to about 2 inches from the rim.
- The Floating Light: Gently place the tealight candle on the surface of the water. Ensure the wick stays dry. For a 5-hour burn time, standard wax tealights are perfect; for longer events, consider high-quality LED waterproof submersibles at the base for extra glow.
Mantra for the Budget Bride: Precision is free. Taking the extra 30 seconds to clean the glass and pour slowly adds more value than a $50 floral upgrade ever could.
Styling and Customization: From Rustic to Modern Glam
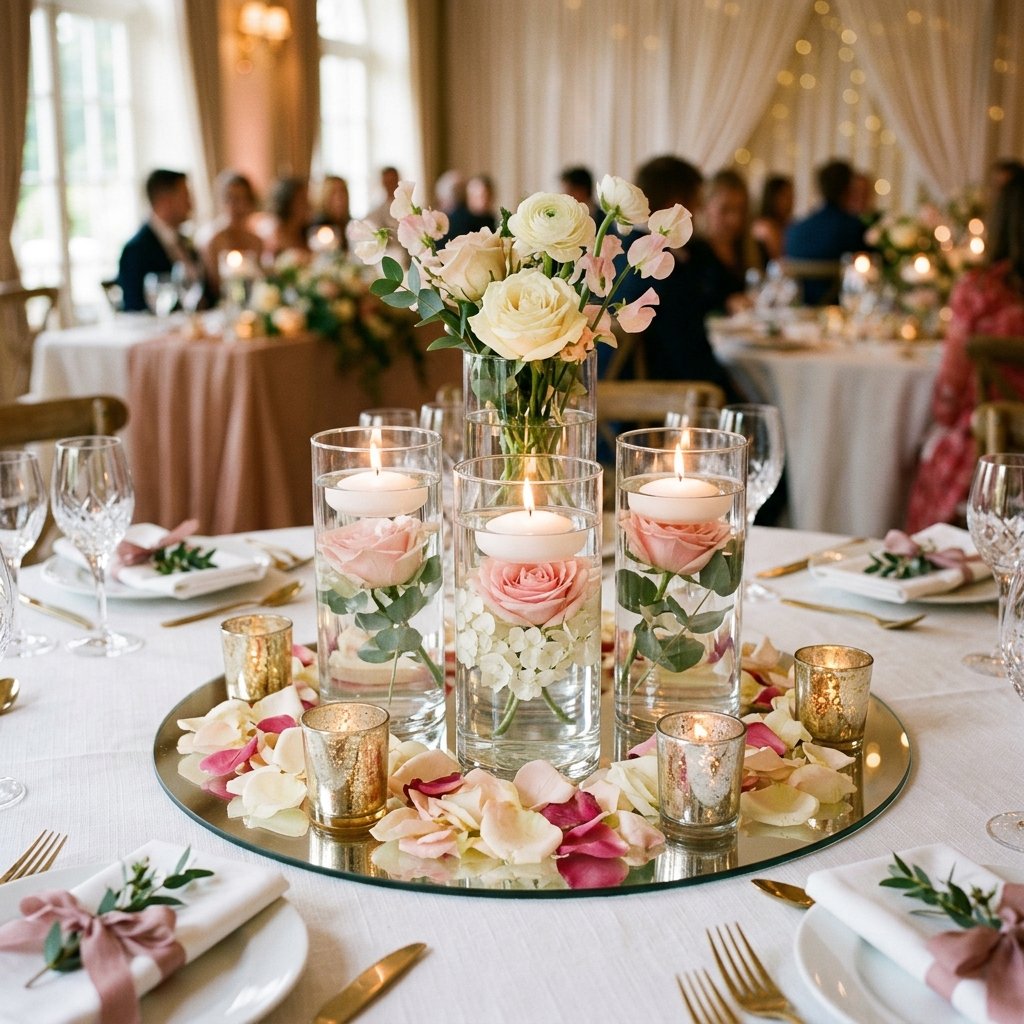
The beauty of the floating flower centerpiece is its versatility. You can adapt this ‘recipe’ to fit any wedding theme. If you are going for a Masculine-Elegant or Rugged vibe, consider adding elements like submerged rosemary sprigs, sliced citrus, or even small pieces of driftwood. For a Modern Glam wedding, a mirror tray placed underneath the vases will double the light and create an expensive, expansive feel.
Table Styling Ratios
| Theme | Floral Choice | Base Element | Accent Color |
|---|---|---|---|
| Rustic/Barn | Baby’s Breath / Greenery | Wood Slice | Burlap / Twine |
| Classic Elegance | White Orchids / Roses | Mirror Plate | Silver / Gold Flakes |
| Tropical/Summer | Hibiscus / Monstera | Sand / Shells | Turquoise Accents |
| Industrial Loft | Craspedia (Billy Balls) | Concrete Coaster | Copper Wire |
Don’t be afraid to experiment with color-tinted water. A single drop of food coloring can transform the water into a soft blush or a deep navy, though clear water remains the gold standard for timeless sophistication. If you are using real flowers, remember that some varieties (like red roses) may ‘bleed’ dye into the water over several hours. Test one vase 24 hours before the big day to ensure your water stays clear.
Logistics and Safety: Transporting Your Vision

The biggest challenge with water-based centerpieces is the logistics. You cannot easily transport 20 vases filled with water without a disaster. The clever DIYer plans for the ‘last mile.’ Transport your vases dry with the flowers already anchored inside. Use sturdy plastic bins with cardboard dividers (the kind used for moving glassware) to keep them safe.
Safety Note: Always ensure the tealight is centered so the flame does not directly heat the glass rim, which could cause cracking. If your venue prohibits open flames, high-quality flickering LED floating candles are a 100% safe and equally beautiful alternative.
The Venue Setup Hack
Bring several clean 2-gallon watering cans to the venue. Once the vases are placed on the tables, use the watering cans to fill them in situ. This prevents spills on the linens and saves your back from carrying heavy, water-filled glass. Assign this task to a ‘handy’ groomsman or a reliable friend; it takes about 20 minutes to fill an entire room if you have a tactical plan in place.
Conclusion
The Triumph of the Resourceful Maker
By the time the sun sets and the candles are lit, your reception space will be transformed into a glowing, ethereal sanctuary. Your guests will marvel at the sophistication of the floating blooms, never guessing that you sourced the components with the precision of a budget-savvy pro. You’ve successfully navigated the ‘wedding tax’ by applying a bit of crafty expertise and rugged practicality. These centerpieces aren’t just decor; they are a testament to your creativity and your refusal to overspend on beauty. You’ve saved hundreds, if not thousands, of dollars—money that can now be spent on your honeymoon or your first home. So, take a bow, enjoy the flickering glow, and prepare for the inevitable question: ‘Where did you hire your decorator?’ You can smile, take a sip of champagne, and proudly say, ‘I made these.’

Makenzie is the founder and lead writer at MoneyHackTips.com — a personal finance blog dedicated to delivering street-smart financial wisdom for real people on real budgets. With 300+ published articles covering everything from debt management to investing fundamentals, Makenzie’s mission is to make every dollar work harder. When not writing about money hacks, Makenzie is testing frugal living strategies, optimizing side hustles, and helping readers build financial freedom from scratch.