
The Rugged Solution to Winter’s Bite
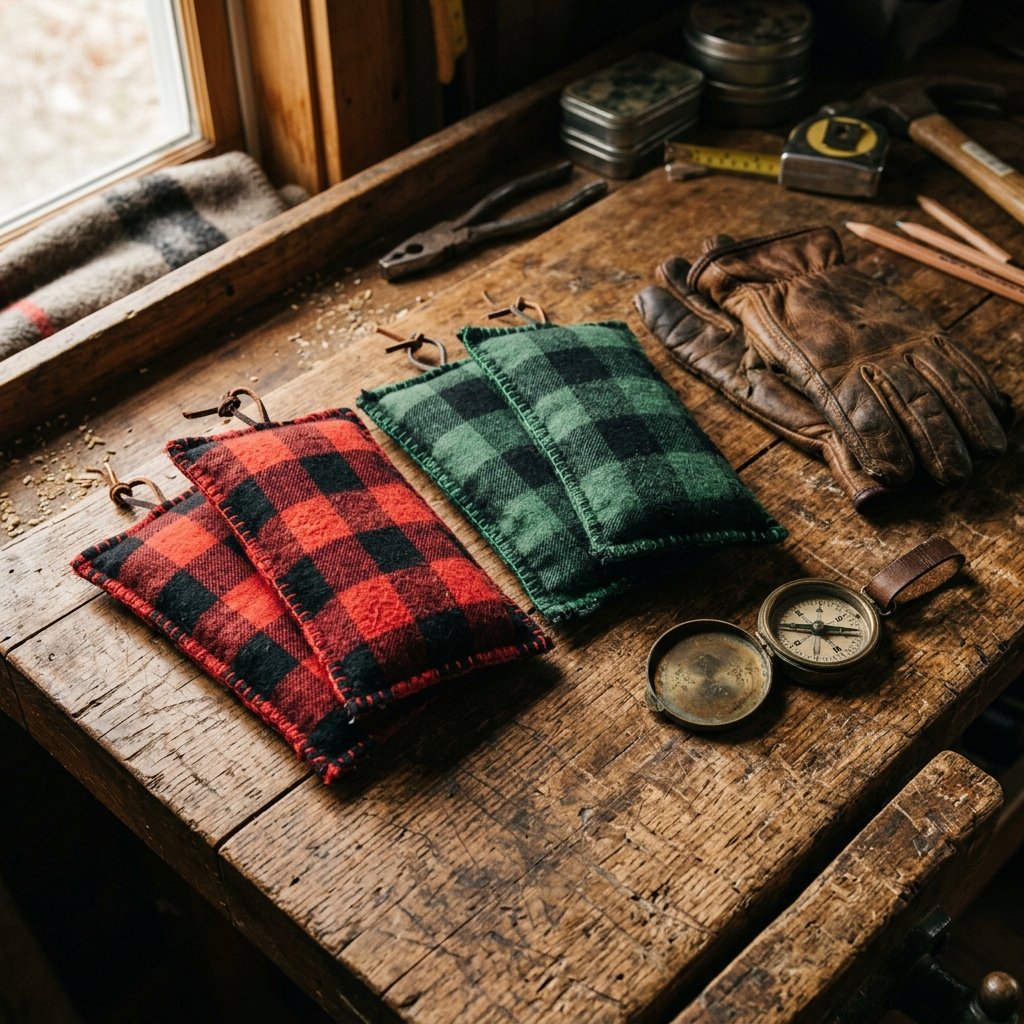
There is nothing quite like the stillness of a frost-covered forest at dawn, but let’s be honest: numb fingers can ruin a morning hunt or a scenic hike faster than a sudden downpour. For the frugal DIYer, the solution isn’t found in a plastic packet of disposable chemicals from a big-box store. Instead, it lies in the scrap bin. By upcycling old flannel shirts or utilizing fabric remnants, you can create a professional-grade, reusable heat source that fits perfectly in a coat pocket. This project is the epitome of the ‘trash-to-treasure’ philosophy, combining masculine elegance with practical utility. Whether you are crafting these for yourself or as a thoughtful, handmade gift for the outdoorsman in your life, these hand warmers are budget-savvy, incredibly durable, and 100% customizable.
The Master Material List: Scrappy and Sustainable
Sourcing Your Gear
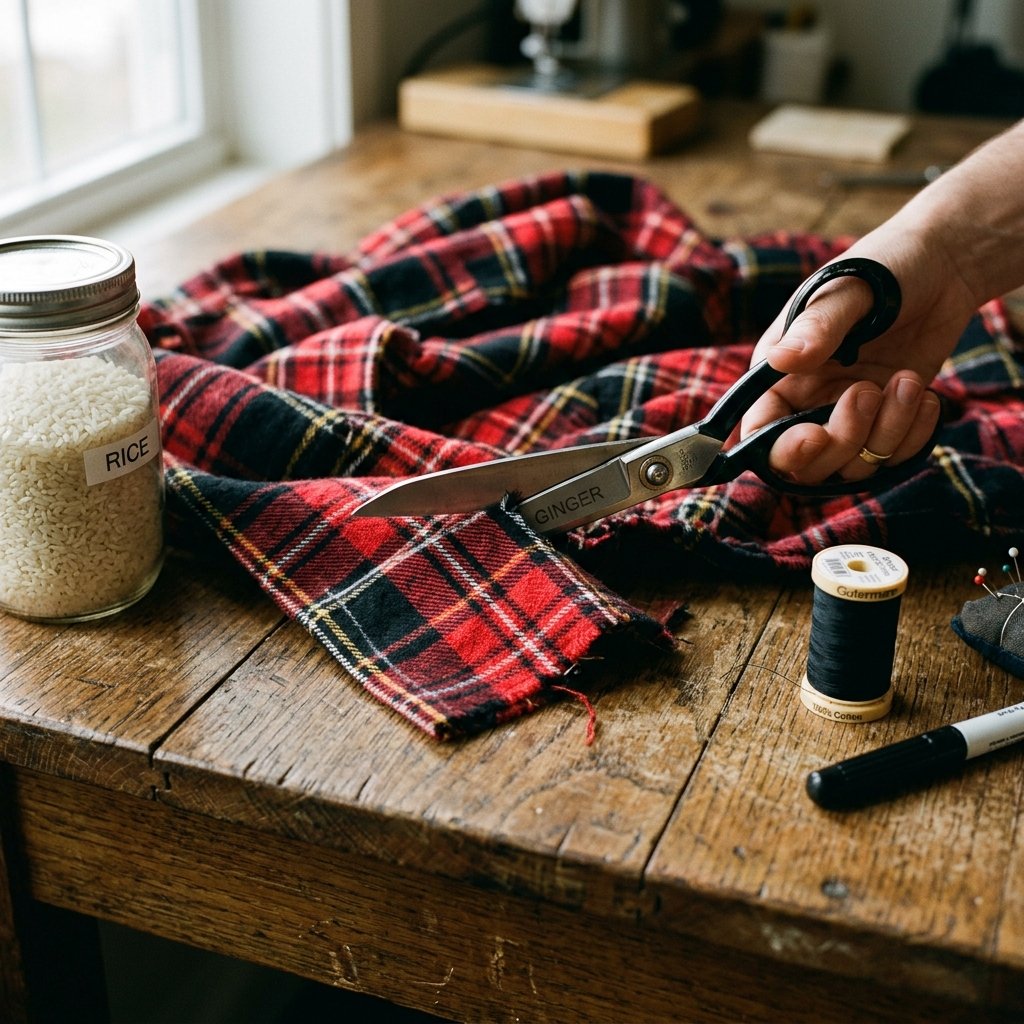
The beauty of this project is that you likely already have the materials gathering dust in your closet or pantry. For the exterior, 100% cotton flannel is the gold standard. It is soft against the skin but rugged enough to withstand repeated heating. Avoid synthetic blends like polyester, as they can melt or off-gas when microwaved. For the filler, we look to the pantry for dense, heat-retaining grains.
| Material | Source | Estimated Cost |
|---|---|---|
| 100% Cotton Flannel | Upcycled Shirt / Scraps | $0.00 |
| Uncooked White Rice | Pantry / Bulk Aisle | $0.50 |
| Heavy Duty Thread | Sewing Kit | $0.05 |
| Dried Herbs (Optional) | Garden / Spice Rack | $0.10 |
| Total Project Cost | Resourceful DIY | Under $1.00 |
Frugal Guru Tip: If you don’t have an old flannel shirt, check the ‘clearance’ bin at local fabric stores or visit a thrift shop on half-price day. One XL flannel shirt can produce up to 12 pairs of hand warmers!
Choosing Your Thermal Core: Rice vs. Corn vs. Seed
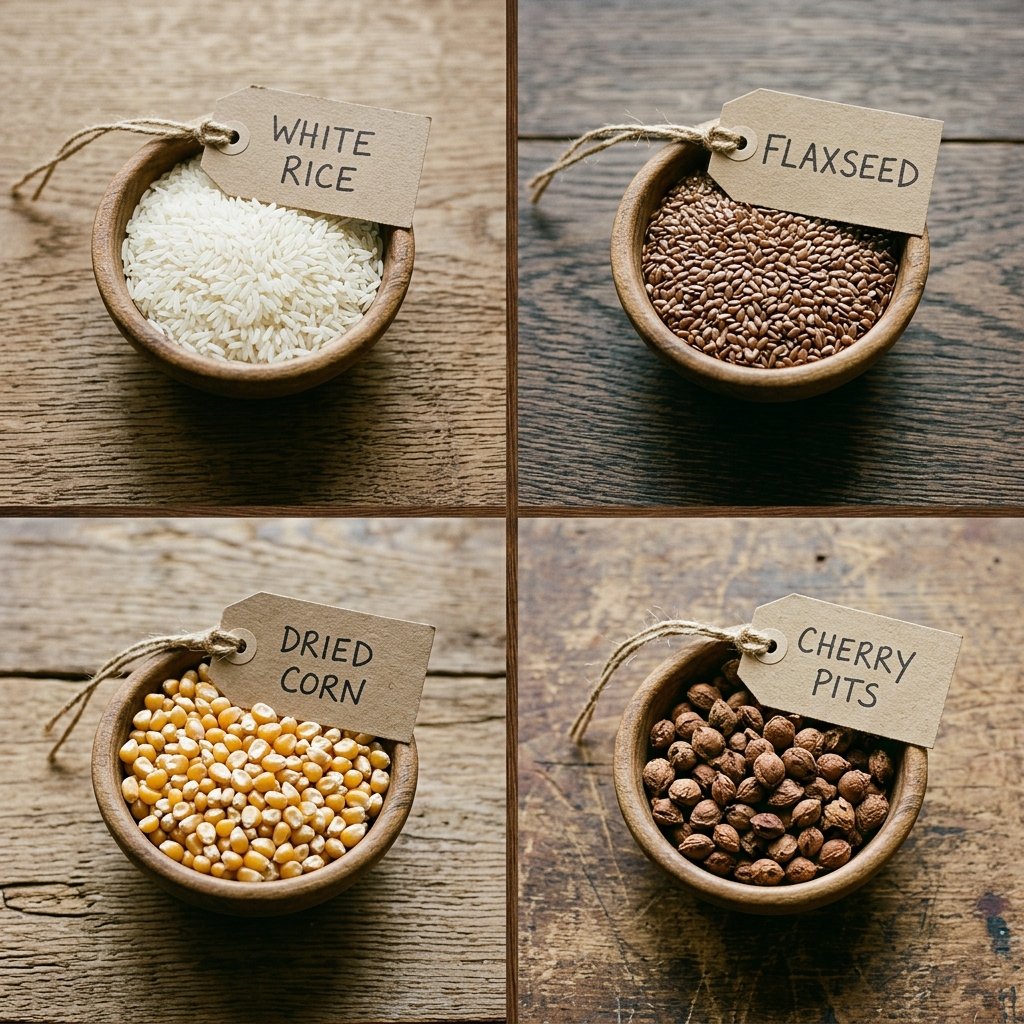
The Science of Heat Retention
Not all fillers are created equal. Depending on the intended use—whether it’s a quick walk to the deer stand or a long afternoon of ice fishing—you may want to vary your internal ‘battery.’ Here is how the most common frugal fillers stack up:
- White Rice: The most accessible option. It heats quickly and holds warmth for about 20-30 minutes.
- Whole Feed Corn: (Not popcorn!) Provides a moist, heavy heat that lasts longer than rice, often up to 45 minutes.
- Flaxseed: Contains natural oils that hold heat exceptionally well and provide a more ‘fluid’ feel to the warmer, though it is slightly more expensive.
- Cherry Pits: The ultimate professional choice. They are lightweight and hold heat the longest, but require cleaning and drying first.
For the outdoorsman who appreciates a rugged scent, consider mixing in a tablespoon of dried cedar shavings or pine needles. When heated, these will release a subtle, masculine aroma that mimics the great outdoors.
The Step-by-Step Blueprint: Hand-Sewn Durability
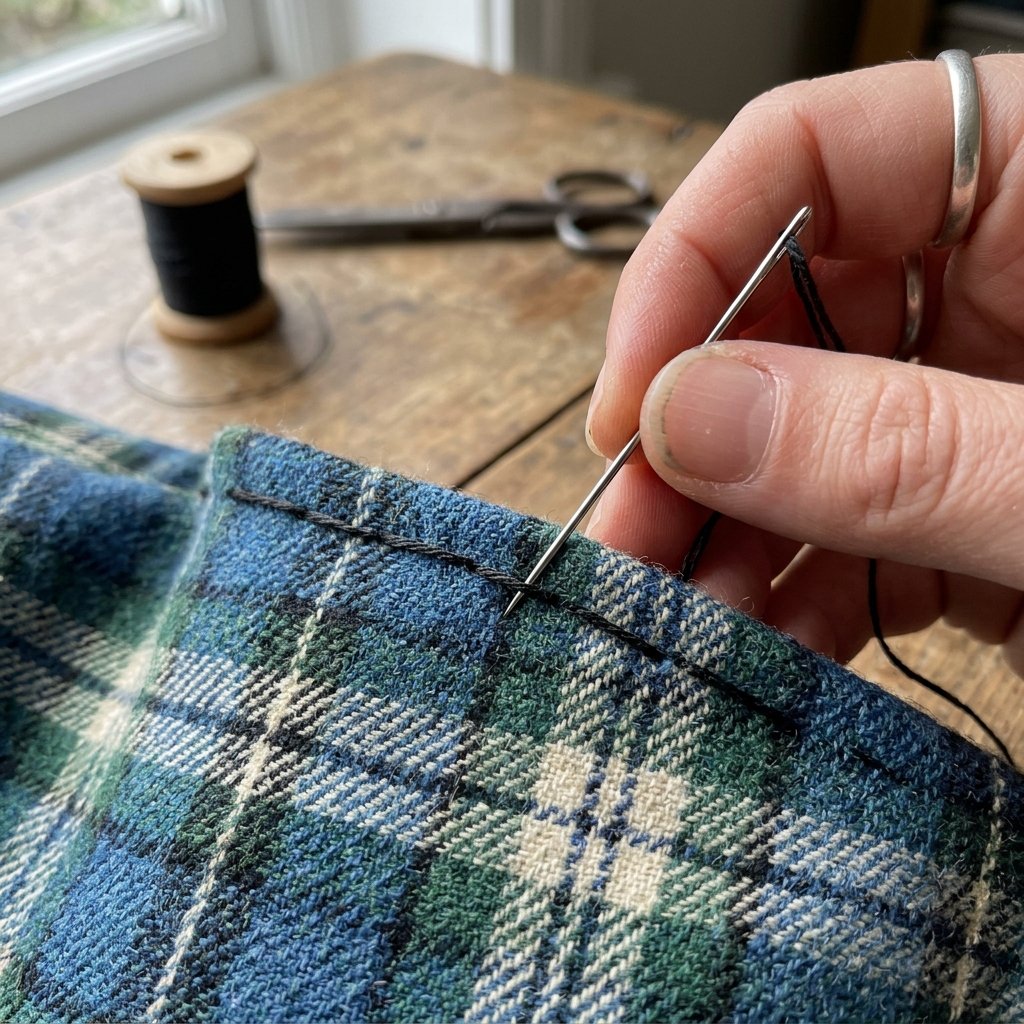
Crafting the Perfect Pocket Heater
You don’t need a sewing machine to achieve a professional finish. In fact, hand-sewing these allows for a reinforced ‘survival’ stitch that ensures no rice leaks out in the field. Follow these steps for a pair of 4×4 inch warmers:
- Measure and Cut: Cut four squares of flannel, each measuring 4.5 x 4.5 inches. This allows for a 1/4 inch seam allowance on all sides.
- Face-to-Face Alignment: Place two squares together with the ‘right’ sides (the pretty pattern) facing each other.
- The Lockdown Stitch: Using a backstitch for maximum strength, sew around three sides and four corners. Leave a 1-inch gap in the middle of the fourth side.
- The Great Flip: Turn the pouch right-side out through the gap. Use a blunt pencil or chopstick to push the corners out until they are crisp.
- The Fill: Use a funnel (or a rolled piece of paper) to fill the pouch 3/4 full with your chosen grain. Do not overfill, or it will be too stiff to fit comfortably in a glove.
- The Final Seal: Fold the raw edges of the gap inward and use a ladder stitch (invisible stitch) to close the opening securely.
The Backstitch Mantra: ‘Pull tight, step back, push through.’ This stitch creates a continuous line of thread that is significantly stronger than a standard running stitch, essential for items that will be tossed into rugged gear bags.
Safety Protocols and Field Deployment
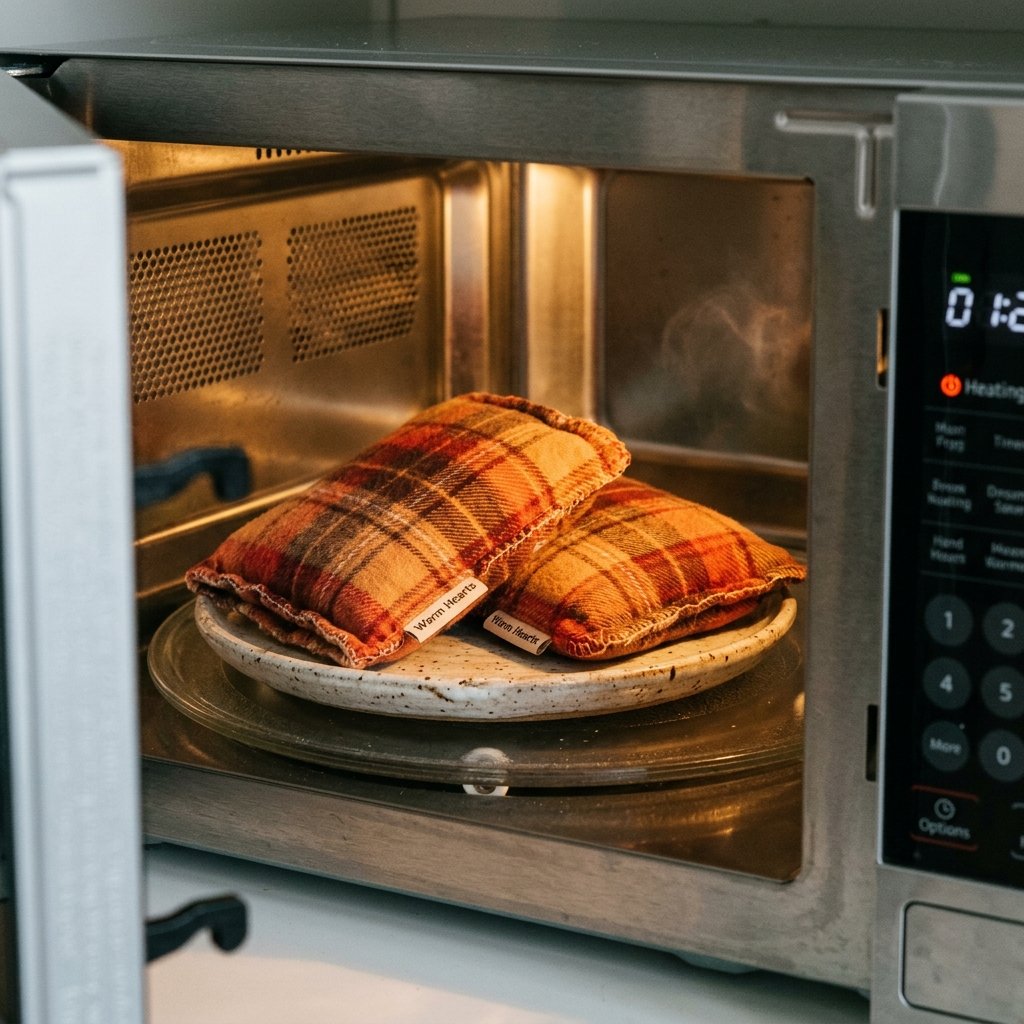
How to Use Your New Gear
Proper heating is essential to prevent scorching the fabric or the filler. Because every microwave varies in power, start with a baseline test. Place your hand warmers on a clean plate and heat for 30 seconds. Feel them, shake the grains around to distribute the heat, and add 15-second increments until they reach the desired temperature.
| Heating Time | Intensity | Best For |
|---|---|---|
| 30 Seconds | Mild | Inside gloves for active hiking |
| 60 Seconds | Medium | Coat pockets during stationary hunting |
| 90 Seconds | Maximum | Pre-warming boots or sleeping bags |
Safety Warning: Never leave the microwave unattended while heating. If you smell anything toasted or ‘nutty,’ stop immediately. Always ensure your flannel is 100% cotton; synthetic threads or fabrics can spark or melt.
The Presentation: Gifting for the Modern Woodsman
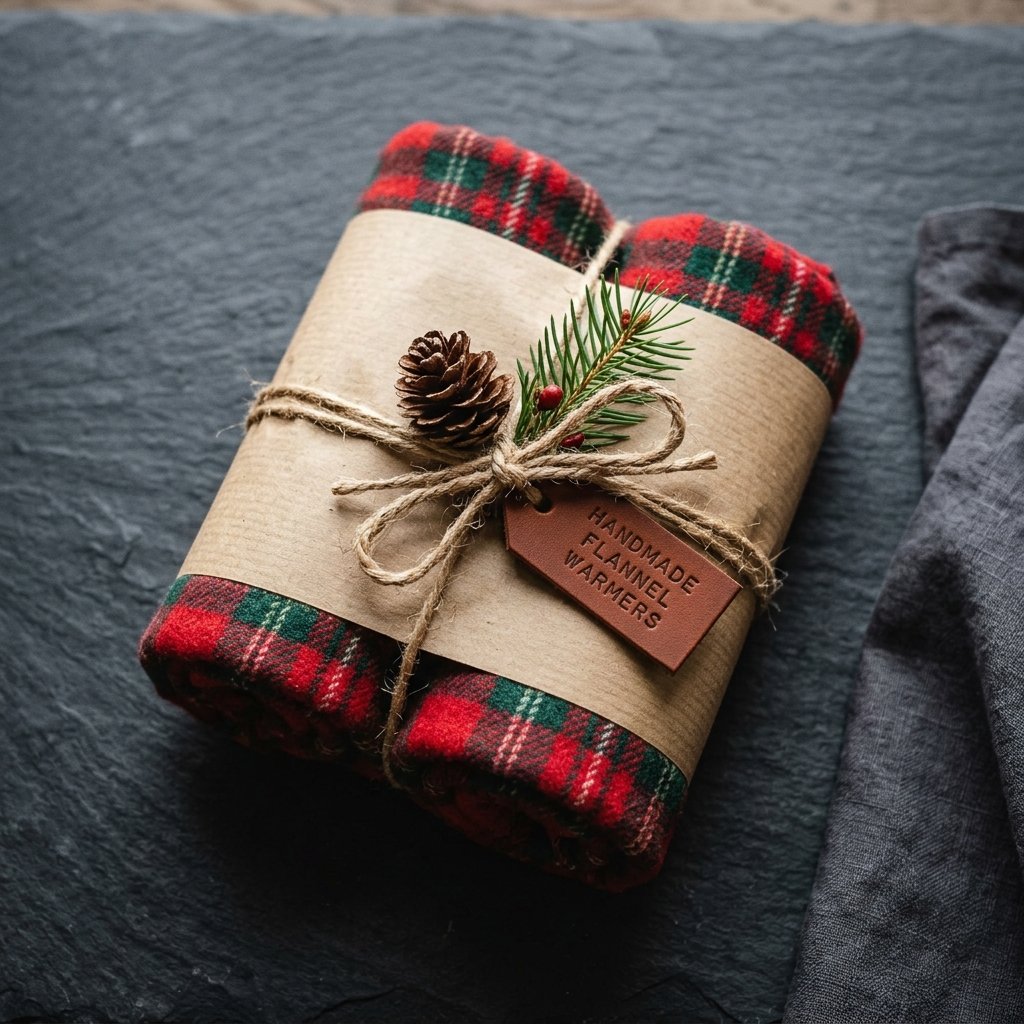
Elevating the ‘Handmade’ Aesthetic
If you are giving these as a gift, the packaging should match the rugged quality of the craft. Avoid shiny wrapping paper. Instead, lean into the masculine-elegant aesthetic by using natural materials. Wrap a pair of warmers in brown butcher paper and tie them with jute twine. Attach a small sprig of dried evergreen or a piece of leather scrap with the recipient’s initials stamped into it.
Include a small ‘Field Guide’ card with the following instructions:
- Heat: Microwave for 45-60 seconds.
- Reheat: Can be reused indefinitely.
- Clean: Spot clean only with a damp cloth; do not submerge in water (the rice will turn to mush!).
- Storage: Keep in a dry place when not in season.
Conclusion
A Warm Finish to a Frugal Project
By taking a few scraps of old flannel and a handful of rice, you’ve created a piece of gear that is as practical as it is thoughtful. These DIY hand warmers prove that you don’t need a massive budget to provide comfort and utility to the outdoorsmen in your life. You’ve saved money, reduced waste by upcycling, and crafted something with your own two hands that will stand up to the coldest winter mornings. So, the next time you’re about to toss out a worn-out shirt, remember: that’s not trash—it’s the ultimate cozy gift waiting to be made. Stay warm out there, and keep crafting resourcefully!

Makenzie is the founder and lead writer at MoneyHackTips.com — a personal finance blog dedicated to delivering street-smart financial wisdom for real people on real budgets. With 300+ published articles covering everything from debt management to investing fundamentals, Makenzie’s mission is to make every dollar work harder. When not writing about money hacks, Makenzie is testing frugal living strategies, optimizing side hustles, and helping readers build financial freedom from scratch.