
The Quest for the Perfect, Practical Groomsmen Gift
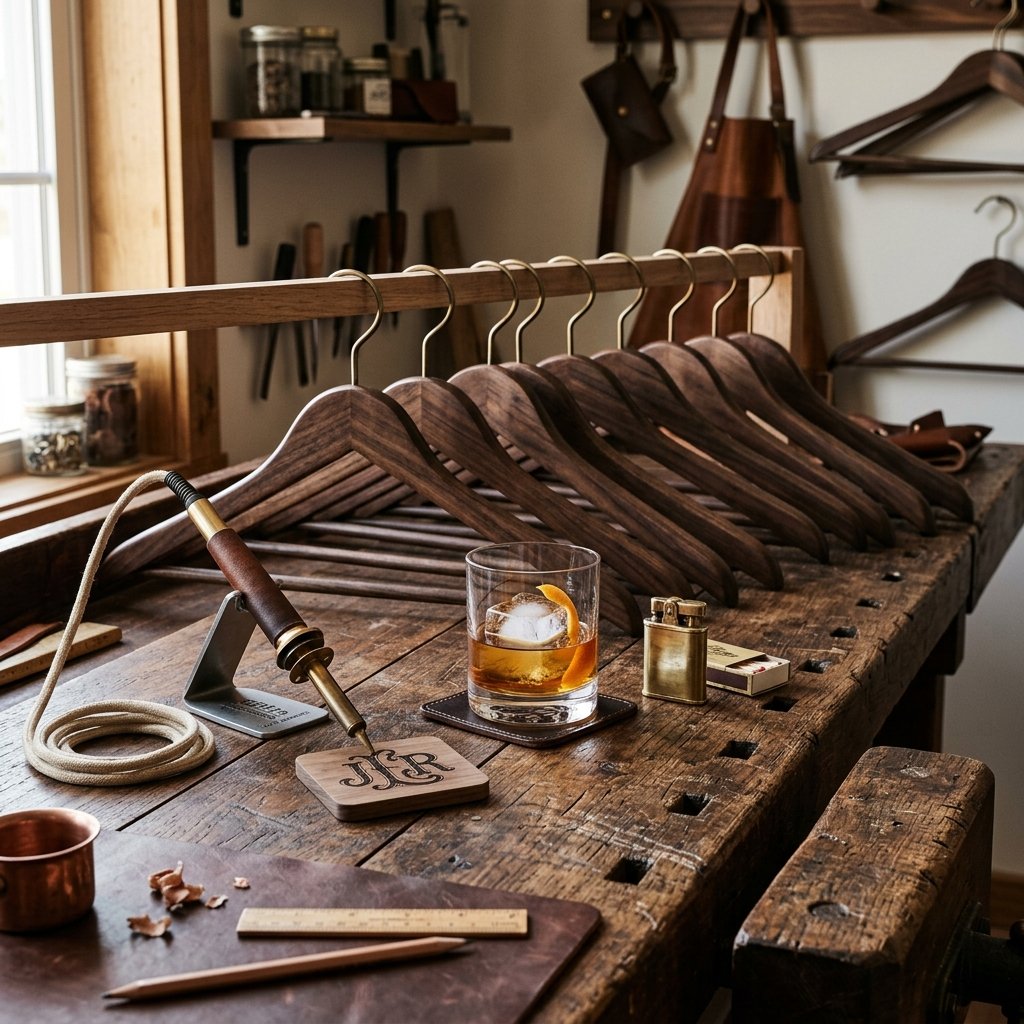
Let’s be honest: most groomsmen gifts end up in a junk drawer or, worse, the trash. You want to honor your brothers-in-arms with something that reflects the gravity of the occasion without nuking your honeymoon fund. Enter the Personalized Wooden Hanger. It’s rugged, it’s functional, and it ensures that on the morning of your wedding, the whole crew looks sharp for those ‘getting ready’ photos. This isn’t just a hanger; it’s a piece of hardware for their finest threads. By taking a basic wooden blank and applying a bit of sweat equity, you’re creating a keepsake that screams ‘sophistication’ for less than the price of a craft six-pack. We’re going to dive into how to source, sand, stain, and personalize these bad boys like a seasoned pro.
The Strategic Budget: Why DIY Wins the Day
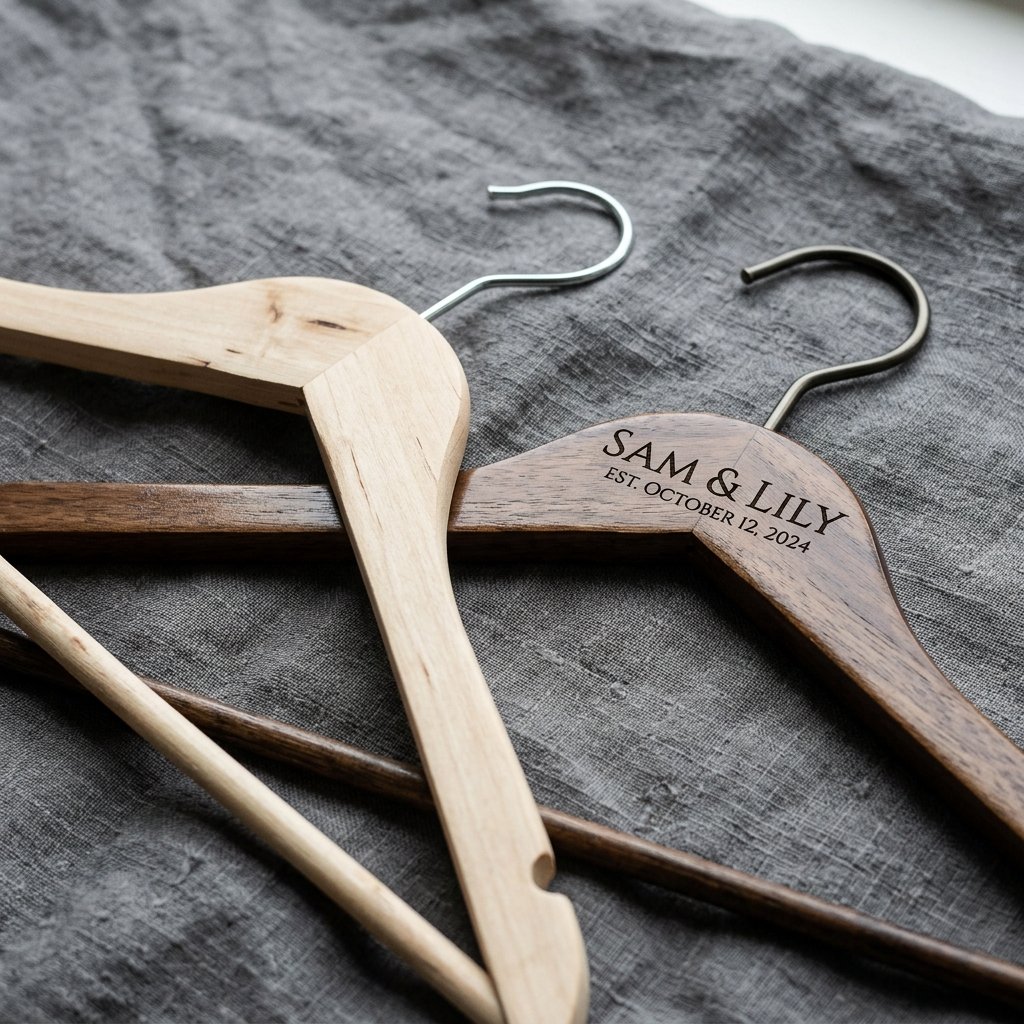
When you look at high-end wedding boutiques, a single personalized hanger can run you anywhere from $25 to $45. For a wedding party of six, that’s nearly $300 just to hold up some suits. By going the DIY route, we can slash that cost by over 80%. We’re talking about high-quality, heavy-duty lotus wood or maple hangers that look like they belong in a bespoke tailor’s shop in London. Here is how the numbers stack up when you choose to be resourceful.
| Item/Service | Store-Bought (Boutique) | DIY Resourceful Method |
|---|---|---|
| 6 Premium Wooden Hangers | $180.00 | $12.00 (IKEA/Amazon) |
| Personalization (Names/Dates) | Included in Price | $5.00 (Stencils/Vinyl) |
| Custom Wood Finish/Stain | N/A | $4.00 (DIY Coffee Stain) |
| Total Cost for 6 Gifts | $180.00 – $270.00 | $21.00 |
By saving nearly $160, you’ve just paid for the groomsmen’s morning-of breakfast or a solid bottle of celebratory whiskey. That’s what we call a clever win.
Sourcing and Prepping: The Foundations of Quality
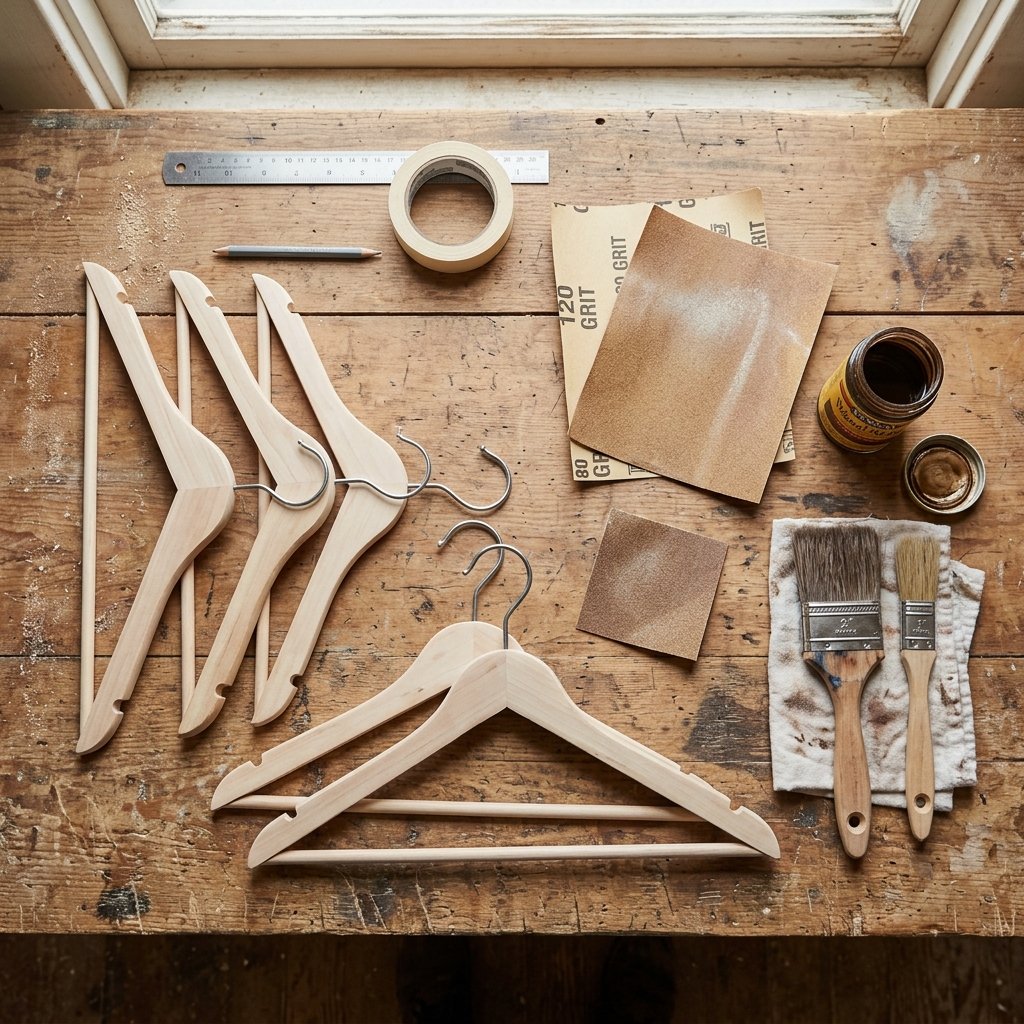
You can’t build a skyscraper on a swamp, and you can’t make a luxury gift out of flimsy plastic. We’re looking for solid wood hangers with a wide shoulder flare if possible, but even the standard flat wooden hangers from big-box retailers work wonders once treated properly. Look for hangers with a non-slip pant bar—your groomsmen will appreciate the utility for their slacks.
The Prep Phase
Before any ink or heat touches the wood, you must prep the surface. Most cheap wooden hangers come with a thin, waxy lacquer. If you don’t remove this, your stain will be blotchy and your personalization won’t stick. Use a 120-grit sandpaper followed by a 220-grit for a finish that feels like silk.
Mantra: A gift for a man should feel as good as it looks. Smooth wood is the hallmark of craftsmanship.
Personalization Method 1: The Wood-Burned Heirloom
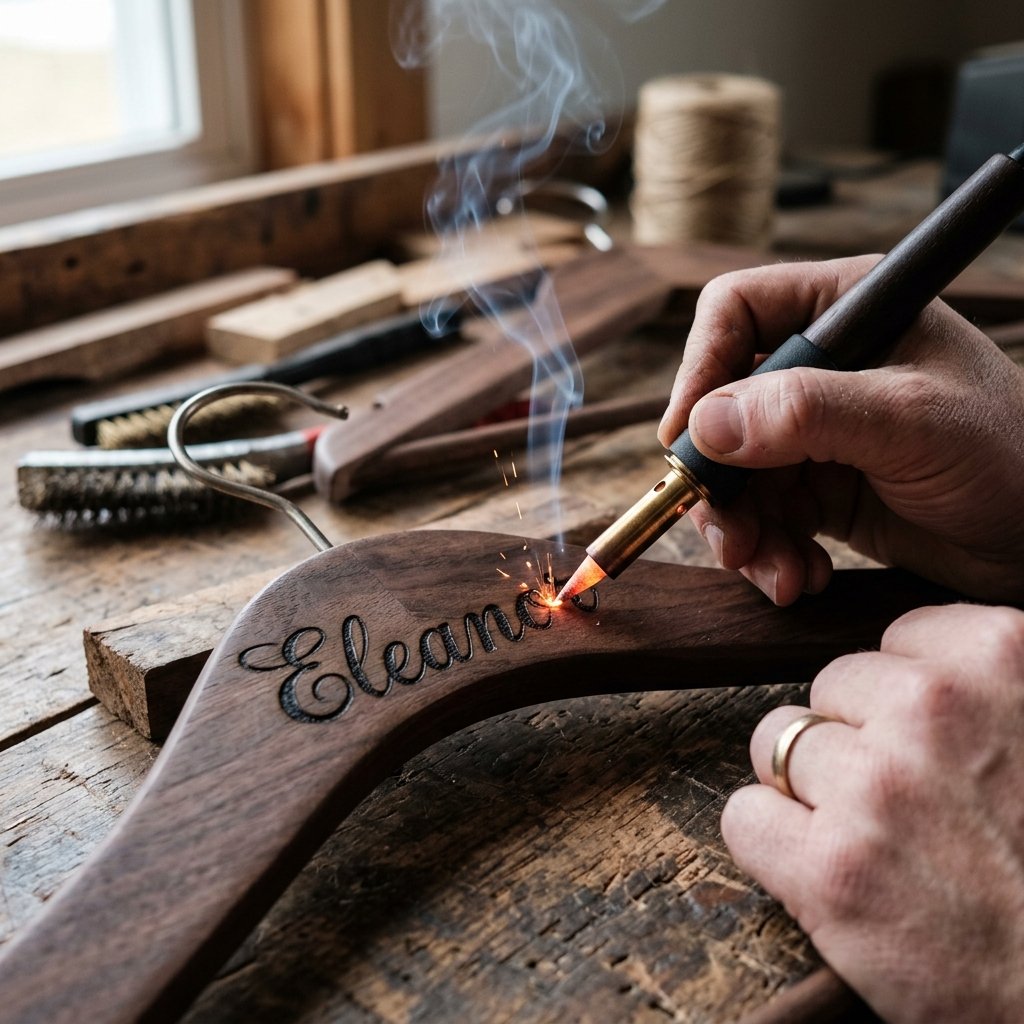
For the most rugged and permanent look, wood burning (pyrography) is the gold standard. It creates a deep, scorched engraving that will never fade or peel. It requires a steady hand, but the results are incredibly masculine and elegant. If you’re a beginner, don’t sweat it—practice on the back of the hanger first.
- Trace Your Design: Print the names in a bold, classic font. Use carbon paper to trace the letters onto the center of the hanger.
- Heat Your Tool: Let your wood-burning pen heat for at least 5 minutes.
- The Outline: Use a pointed tip to lightly outline the letters. Don’t press too hard; let the heat do the work.
- The Fill: Switch to a shading tip to fill in the letters for a bold, burnt-tobacco look.
Safety Note: Wood-burning tools get extremely hot (up to 900°F). Always use the safety stand and work in a well-ventilated area to avoid inhaling smoke.
Personalization Method 2: The Sophisticated Stencil
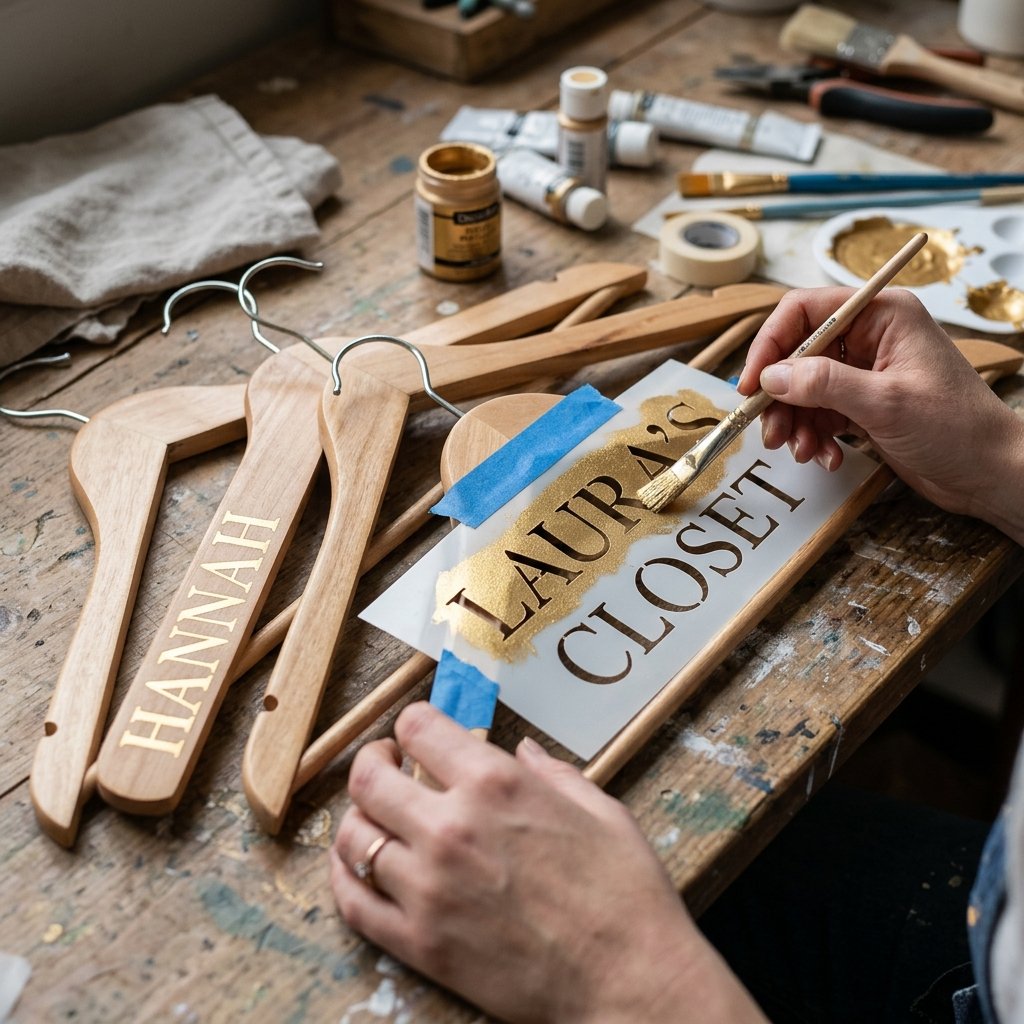
If you aren’t confident in your freehand burning skills, the stencil-and-paint method offers a crisp, professional look that mimics high-end screen printing. Use a matte black or metallic gold acrylic paint for a contrast that pops against the wood grain.
- Placement: Center the stencil on the ‘neck’ of the hanger or across the shoulder blade.
- The Dry Brush Technique: This is the secret. Dip your brush in paint, then wipe most of it off on a paper towel. Dab the stencil lightly. This prevents paint from bleeding under the edges.
- Seal It: Once dry, a quick coat of clear polyurethane will protect the lettering for decades.
The ‘Secret Sauce’ Finish: DIY Espresso Stain
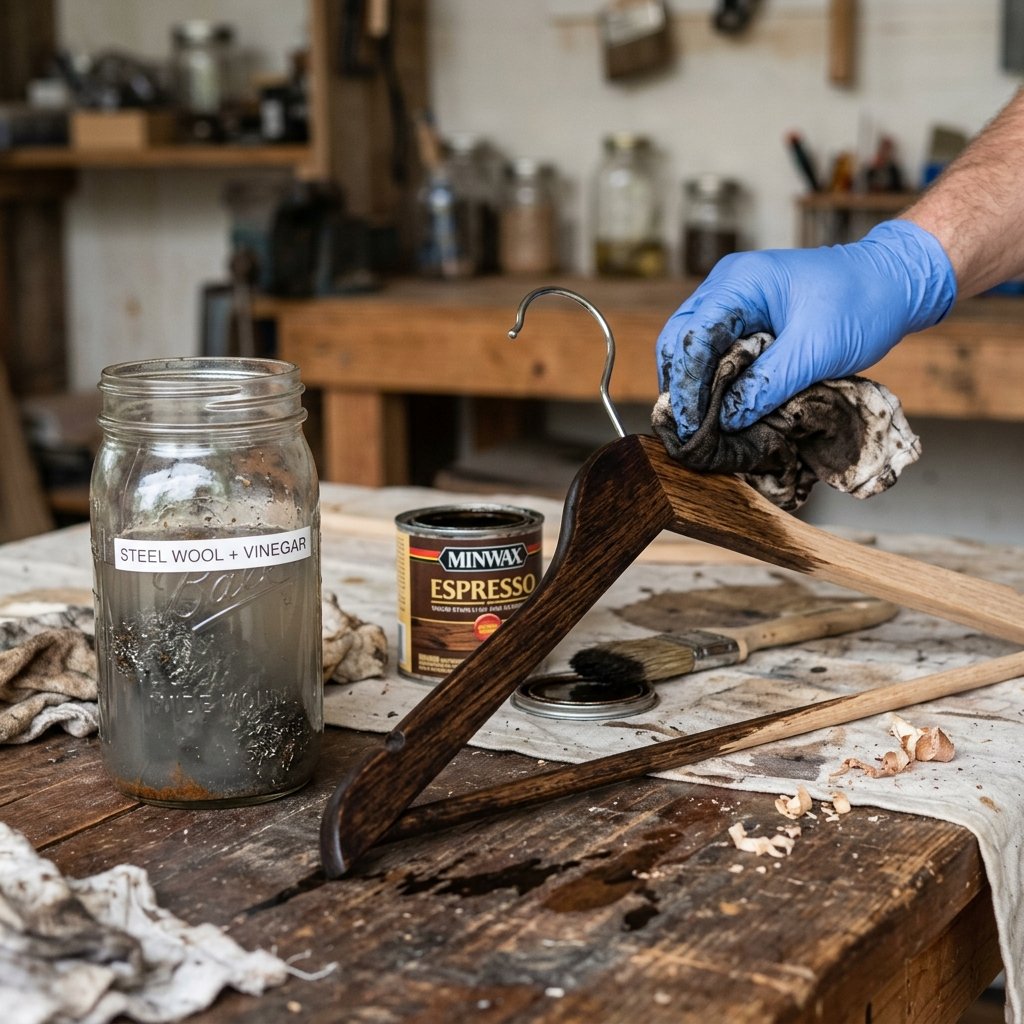
To give your hangers that ‘Old World’ library vibe, you need a deep, rich stain. You don’t need to buy a gallon of chemical-heavy commercial stain. You can make a 100% natural, budget-friendly version using items from your pantry.
| Ingredient | Measurement | Purpose |
|---|---|---|
| Steel Wool (Grade 0000) | 1 Pad | Reacts with tannins for a weathered look |
| White Vinegar | 2 Cups | The base solvent |
| Instant Coffee/Black Tea | 1/4 Cup | Adds deep brown pigments |
| Glass Jar | 1 Large | For steeping the mixture |
Let the steel wool sit in the vinegar for 24 hours. Dissolve the coffee in a tiny bit of hot water and add it to the mix. Wipe this onto your sanded hangers. The transformation from ‘cheap pine’ to ‘expensive mahogany’ is nearly instantaneous and costs pennies.
Conclusion
A Gift That Stands the Test of Time
By the time you’ve finished staining and personalizing these hangers, you’ll have a set of gifts that are as functional as they are sentimental. Your groomsmen will use these every time they hang up their suits, a constant reminder of the day they stood by your side. You’ve proven that style doesn’t require a massive budget—just a bit of resourcefulness and a few hours in the workshop. Pack these in a simple kraft paper box with a sprig of cedar for a presentation that is rugged, practical, and undeniably elegant. Cheers to a wedding that looks like a million bucks on a DIY budget!

Makenzie is the founder and lead writer at MoneyHackTips.com — a personal finance blog dedicated to delivering street-smart financial wisdom for real people on real budgets. With 300+ published articles covering everything from debt management to investing fundamentals, Makenzie’s mission is to make every dollar work harder. When not writing about money hacks, Makenzie is testing frugal living strategies, optimizing side hustles, and helping readers build financial freedom from scratch.