

The Soul of the Stream in Your Hands
Fly fishing is more than a sport; it is an art form. From the delicate cast to the intricate tying of a woolly bugger, every element is steeped in tradition. However, if you have ever stepped into a high-end outdoor outfitter, you know that this tradition comes with a hefty price tag. A handcrafted wooden fly box can easily retail for $60 to $150. But for the resourceful DIYer, this is not a barrier—it is a challenge. By using reclaimed wood, scrap pieces from your workshop, or even cedar shingle offcuts, you can create a rugged, masculine-elegant fly box that looks like an heirloom and performs like a pro. This guide will walk you through the process of building a custom fly box for under $10, proving that the best gifts are built, not bought.
Sourcing Your Timber: The Art of the Scrap Pile

Choosing the Right Wood for the Water
When you are building for an angler, you must consider the environment. This box will be near water, subjected to humidity, and potentially dropped in a stream. You want wood that is naturally rot-resistant and lightweight. Cedar is the gold standard for budget builders because it is easy to find in scrap piles and smells incredible. Walnut offers a deep, rich elegance, while Oak provides unmatched durability. If you are truly being budget-savvy, look for old cigar boxes or cedar fence slats that can be planed down to a 1/4-inch thickness.
| Wood Type | Pros | Estimated Cost (Scrap) |
|---|---|---|
| Aromatic Red Cedar | Rot-resistant, lightweight, smells great | $0.00 (Scrap) |
| Black Walnut | Beautiful grain, high-end look | $2.00 (Offcut) |
| Reclaimed Pine | Very easy to work with, rustic | $0.00 (Pallet) |
| Bamboo (Cutting Board) | Extremely water-resistant, eco-friendly | $1.25 (Dollar Store) |
The secret to a professional look is the thickness. Aim for 1/4 inch (6mm) walls. Anything thicker feels clunky; anything thinner risks warping when wet.
Precision Cutting: The Anatomy of a Fly Box
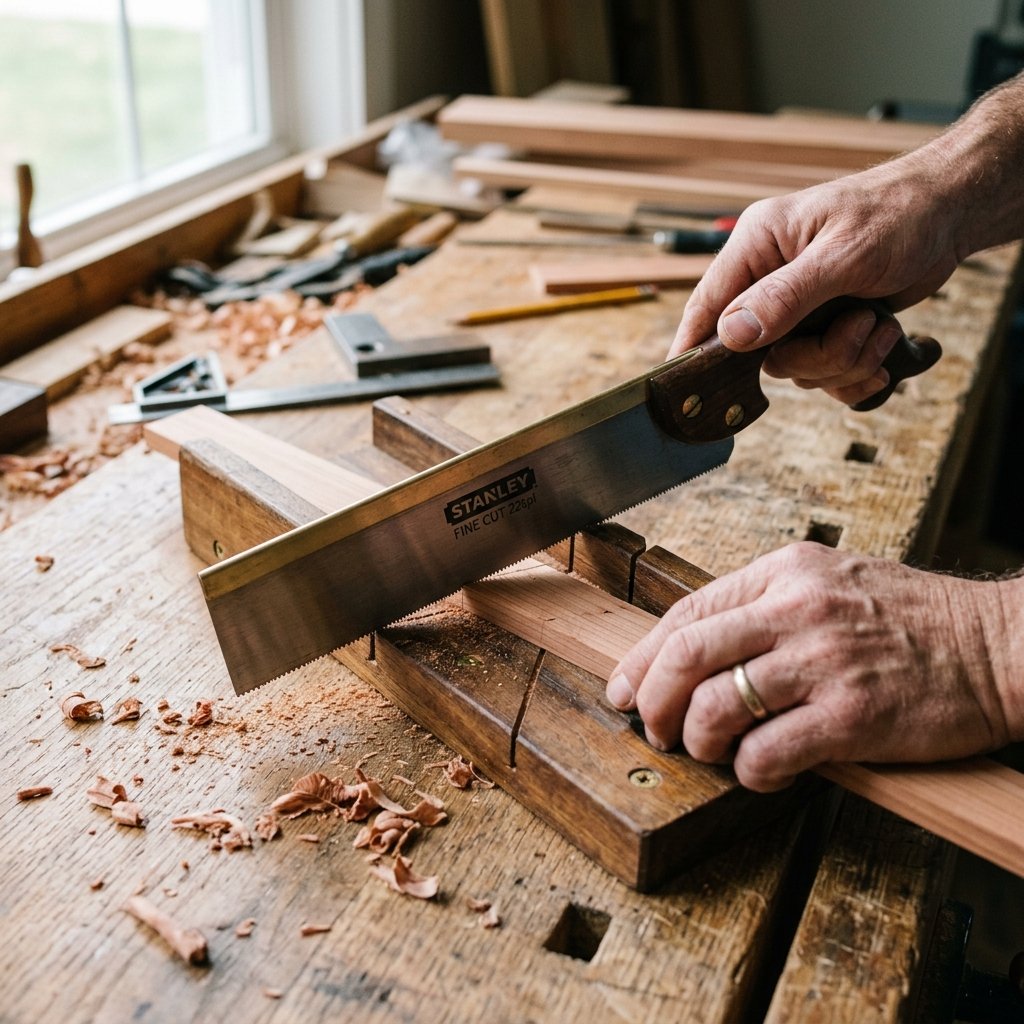
Dimensions and Component Breakdown
A standard pocket-sized fly box should fit comfortably in a vest pocket. We are aiming for a finished dimension of 5.5 inches by 3.5 inches. You will need to cut two identical halves that will be joined by hinges. Precision is key here; if your cuts are off by even 1/16th of an inch, the box won’t snap shut properly.
- Top and Bottom Panels: Two pieces at 5.5″ x 3.5″.
- Long Side Walls: Four pieces at 5.5″ x 0.75″.
- Short End Walls: Four pieces at 3.0″ x 0.75″ (Adjusted for the thickness of your side walls).
Using a miter box or a table saw, cut your pieces carefully. If you are using the ‘butt joint’ method (the simplest for beginners), ensure your ends are perfectly square. For a more advanced, ‘masculine-elegant’ look, try 45-degree mitered corners. Once cut, sand every surface with 120-grit sandpaper, moving up to 220-grit for a buttery smooth finish.
Assembly: Joinery and Hardware Magic
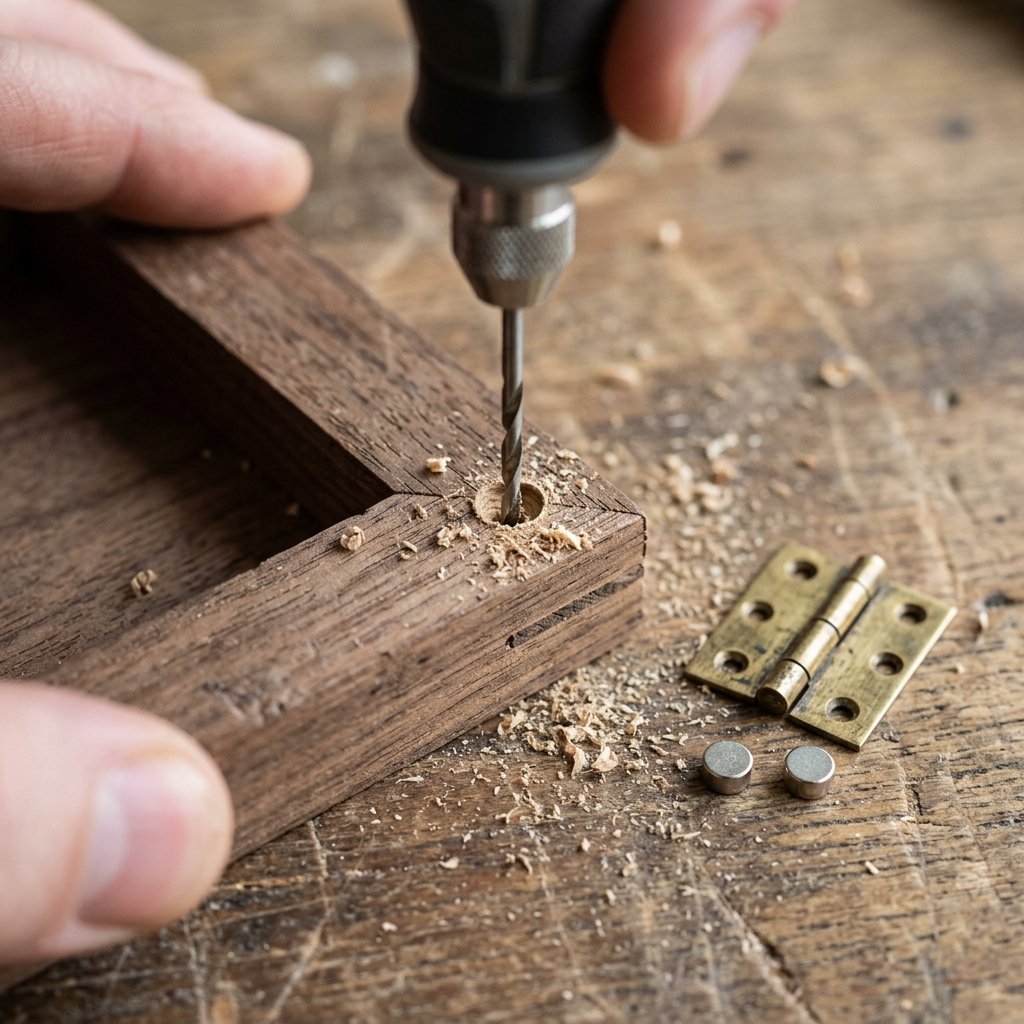
Building the Frame
We aren’t just gluing wood; we are engineering a vessel. Use a high-quality waterproof wood glue (like Titebond III). Apply a thin bead to your joints and clamp them firmly. Pro-Tip: Use blue painter’s tape as a ‘clamp’ for these small pieces to keep them aligned without crushing the delicate wood.
The Hardware: Hinges and Magnets
To give this box that high-end ‘click,’ we are eschewing traditional latches for Neodymium magnets. These are tiny but incredibly strong. You will need:
- Two Small Brass Hinges: 1/2 inch or 3/4 inch width.
- Four 3mm x 2mm Neodymium Magnets: Two for the lid, two for the base.
- Small Brass Screws: Usually included with the hinges.
| Assembly Step | Tool Needed | Time Estimate |
|---|---|---|
| Gluing Frames | Wood Glue & Tape | 15 Minutes |
| Sanding Flush | 220-Grit Sandpaper | 10 Minutes |
| Hinge Mortising | Small Chisel/Utility Knife | 20 Minutes |
| Magnet Insetting | Drill & 3mm Bit | 10 Minutes |
When installing magnets, double-check the polarity! There is nothing more frustrating than a box lid that tries to hover away from the base because the magnets are pushing instead of pulling.
The Interior: Foam vs. Magnetic Bed
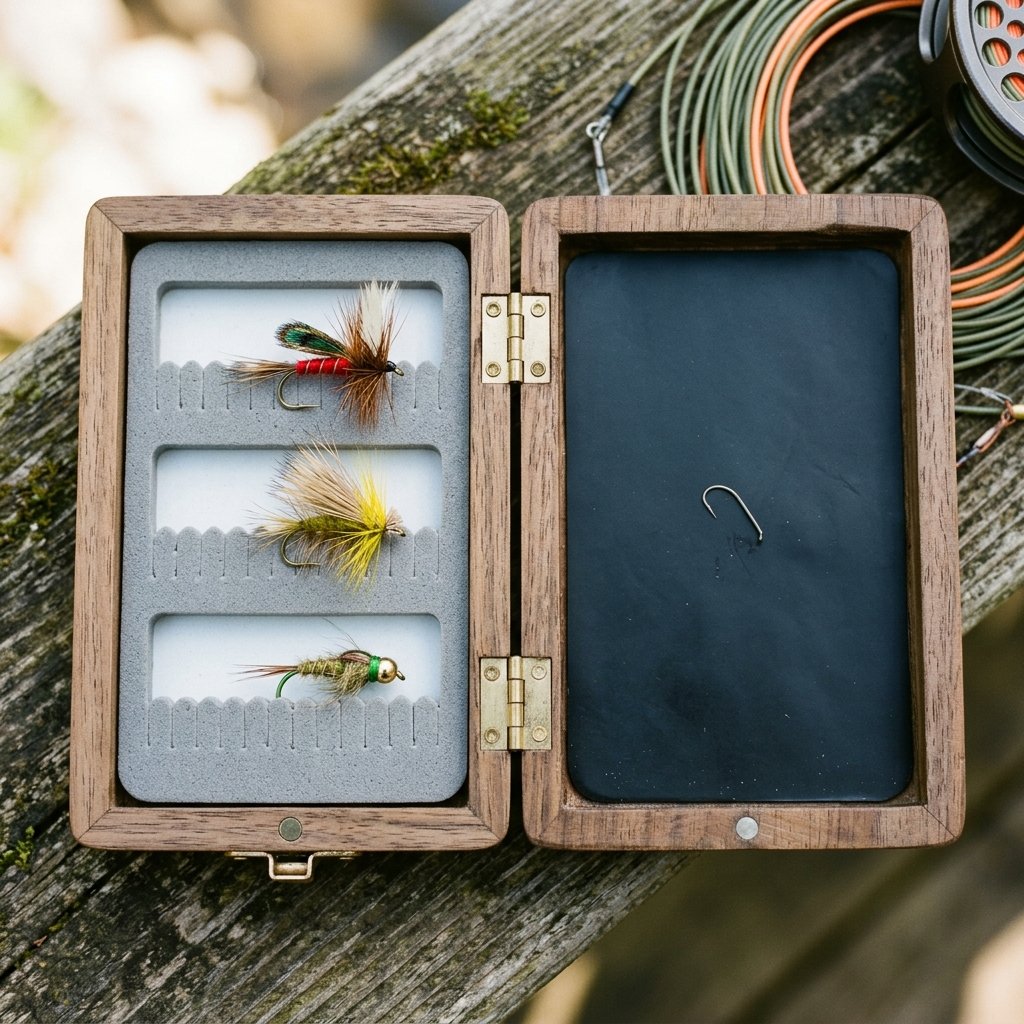
Customizing the Fly Storage
The inside of the box is where the utility happens. Anglers need a way to secure their flies so they don’t blow away in the wind. You have two primary budget-friendly options:
- Slotted Ripple Foam: You can buy a sheet of high-density EVA foam (or even a thick yoga mat scrap) and cut slits into it every 1/4 inch using a craft knife. This holds the hooks of the flies securely.
- Magnetic Sheet: For small ‘midge’ flies, a magnetic bottom is superior. You can use adhesive magnetic venting material or sheets found at craft stores for $1.00.
Cut your foam or magnetic sheet to be 1/8 inch smaller than the interior dimensions of your box. Secure it using a thin layer of contact cement or heavy-duty double-sided tape. If you want to be extra crafty, use cork sheeting for a vintage, traditional look that ages beautifully.
The Fisherman’s Finish: Weatherproofing
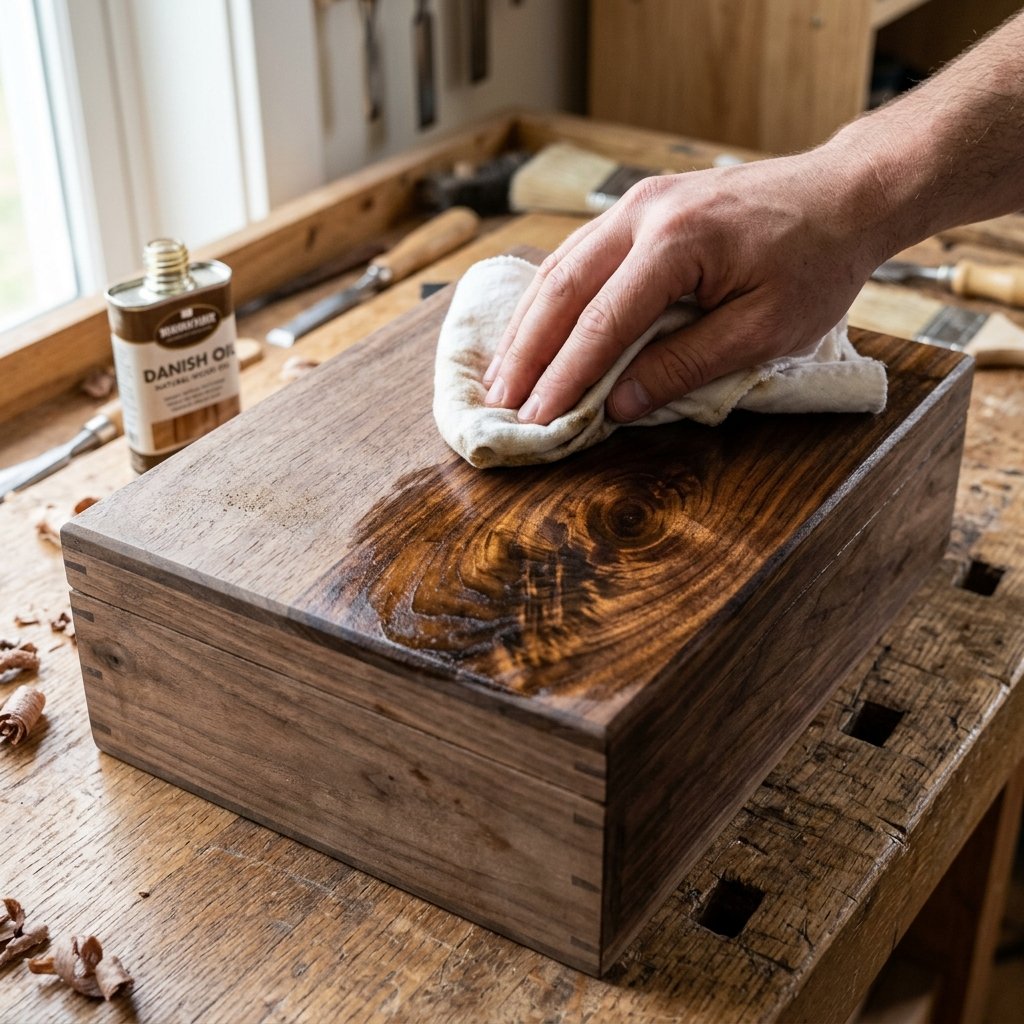
Sealing Against the Elements
Since this box will live in a damp environment, the finish isn’t just for looks—it’s armor. Avoid thick, plastic-looking polyurethanes. Instead, go for a rugged, hand-rubbed oil finish. A mixture of Boiled Linseed Oil and Beeswax (often called ‘Board Butter’) is perfect. It penetrates the wood, highlights the grain, and provides a natural water barrier.
- Apply a generous coat of oil with a lint-free rag.
- Let it sit for 15 minutes.
- Wipe off the excess.
- Repeat 3 times over 24 hours.
- Once dry, buff with a clean cloth to achieve a soft, masculine-elegant sheen.
Safety Note: When using Boiled Linseed Oil, always lay your rags flat to dry outdoors. Rags bunched up in a pile can spontaneously combust. Safety first, crafters!
Budget Breakdown: DIY vs. Store Bought
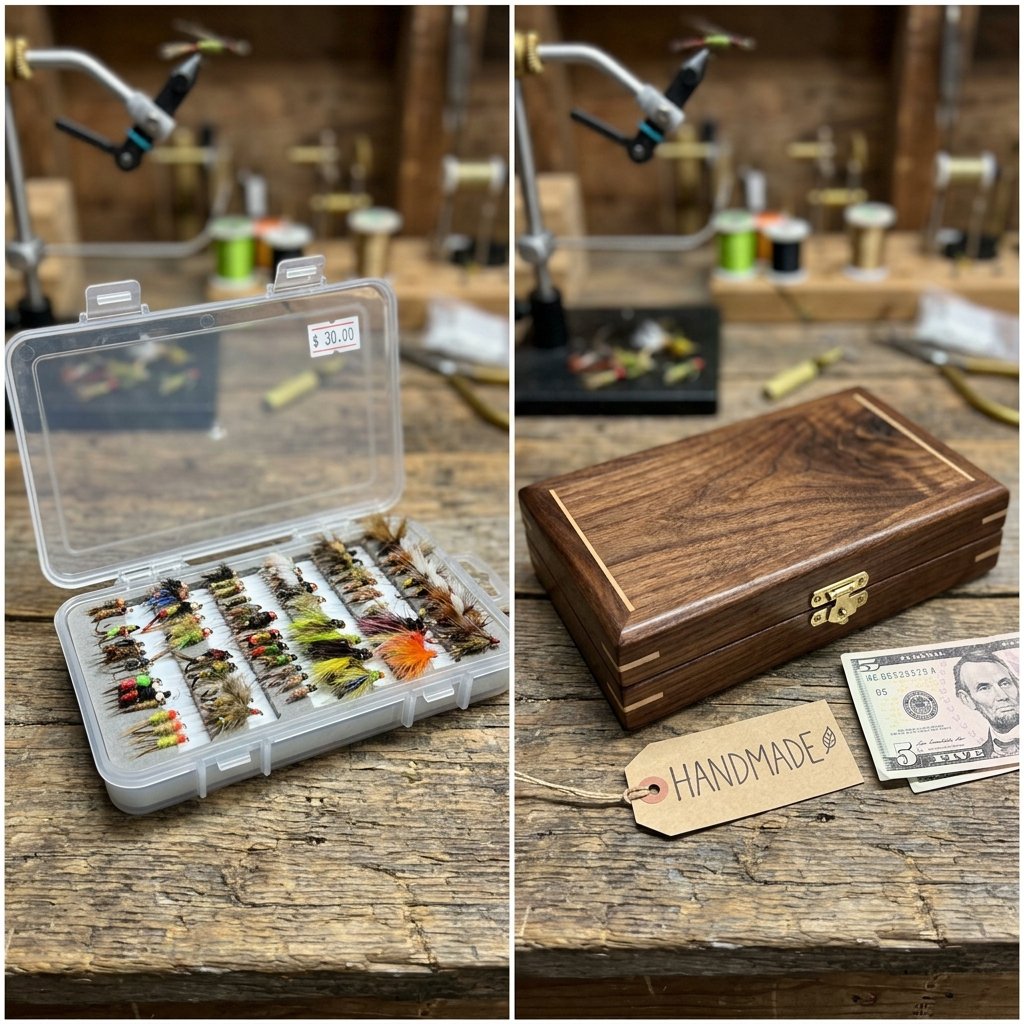
The Frugal Win
Let’s look at the numbers. By being resourceful and using scraps, you are creating a gift that carries more sentimental value than anything from a big-box retailer, while keeping your wallet full.
| Item | Store Bought (High End) | DIY Budget (Scrap-Based) |
|---|---|---|
| Wooden Box Body | $45.00 | $0.00 (Scrap) |
| Brass Hinges | Included | $2.50 |
| Magnets | Included | $1.50 |
| EVA Foam Insert | $12.00 | $1.00 |
| Finish/Oil | Included | $0.50 (Pennies per use) |
| Total Cost | $57.00+ | $5.50 |
By choosing the DIY route, you are saving over 90% while gaining the ability to laser-etch a name, add a custom date, or choose a specific wood that matches the angler’s favorite rod handle.
Conclusion
A Legacy in Every Cast
Building a DIY wooden fly box is more than just a weekend project; it is an exercise in resourcefulness and craftsmanship. You’ve taken simple scraps of wood and transformed them into a functional piece of art that will accompany an angler on countless adventures. Whether it’s a Father’s Day gift, a birthday surprise for a handy spouse, or a treat for yourself, this box represents the clever, budget-savvy spirit of the maker community. So, head to your scrap pile, find that perfect piece of cedar, and start crafting. The river is calling, and now, you have the perfect vessel to carry your flies into the fray. Happy crafting, and tight lines!

Makenzie is the founder and lead writer at MoneyHackTips.com — a personal finance blog dedicated to delivering street-smart financial wisdom for real people on real budgets. With 300+ published articles covering everything from debt management to investing fundamentals, Makenzie’s mission is to make every dollar work harder. When not writing about money hacks, Makenzie is testing frugal living strategies, optimizing side hustles, and helping readers build financial freedom from scratch.