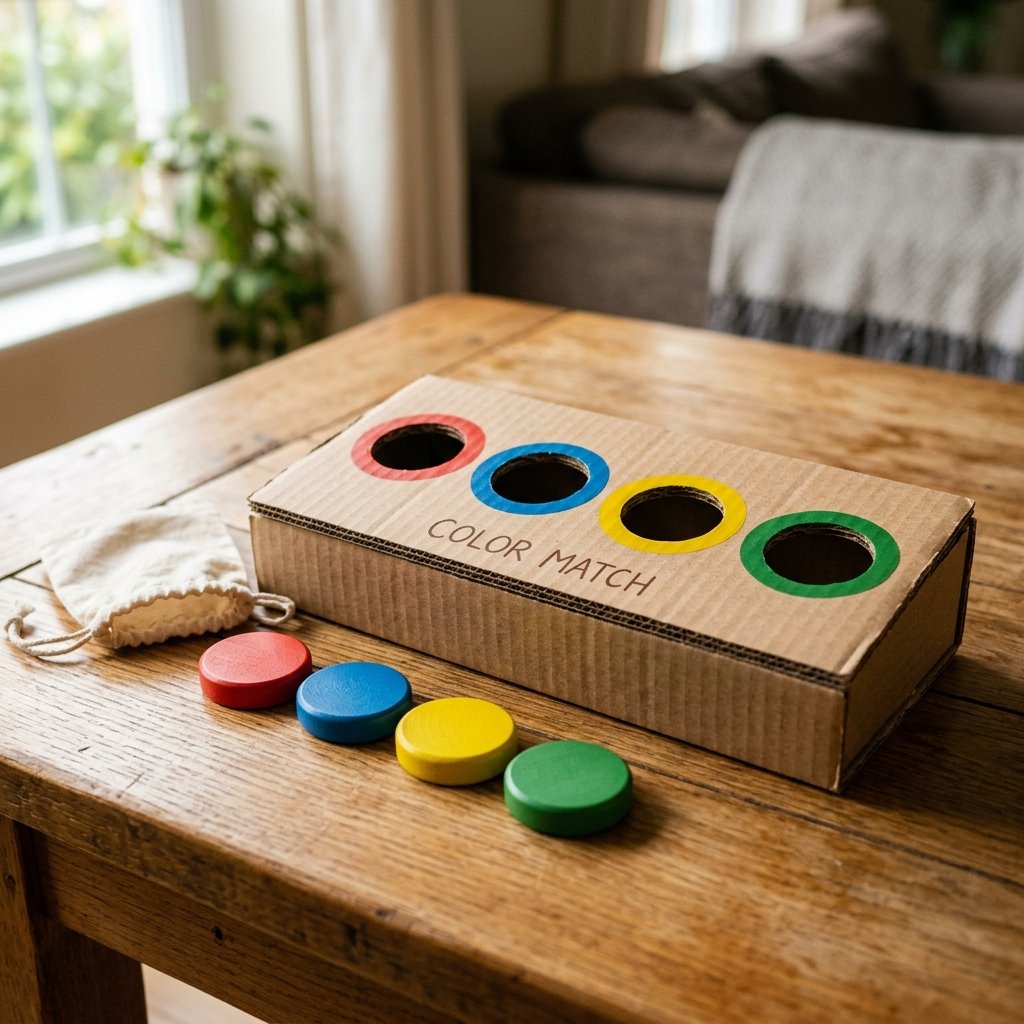

The ‘Toy Tax’ is Real—But You Don’t Have to Pay It
In an era where ‘educational’ plastic toys can set you back $40 to $60, the savvy, resourceful parent knows that the best learning tools aren’t found in a big-box store aisle—they’re found in the recycling bin. We’ve all seen it: the toddler who ignores the expensive electronic gadget to play with the box it came in. It’s time to lean into that instinct. This DIY Cardboard Color Matching Toy isn’t just a way to save 100% of your budget; it’s a rugged, practical, and highly effective tool for developing fine motor skills and cognitive recognition. By upcycling what others call ‘trash,’ you are demonstrating a masterclass in creative engineering for your children. Let’s stop spending and start building.
Scavenging the ‘Raw Materials’: The Art of the Zero-Dollar Hunt
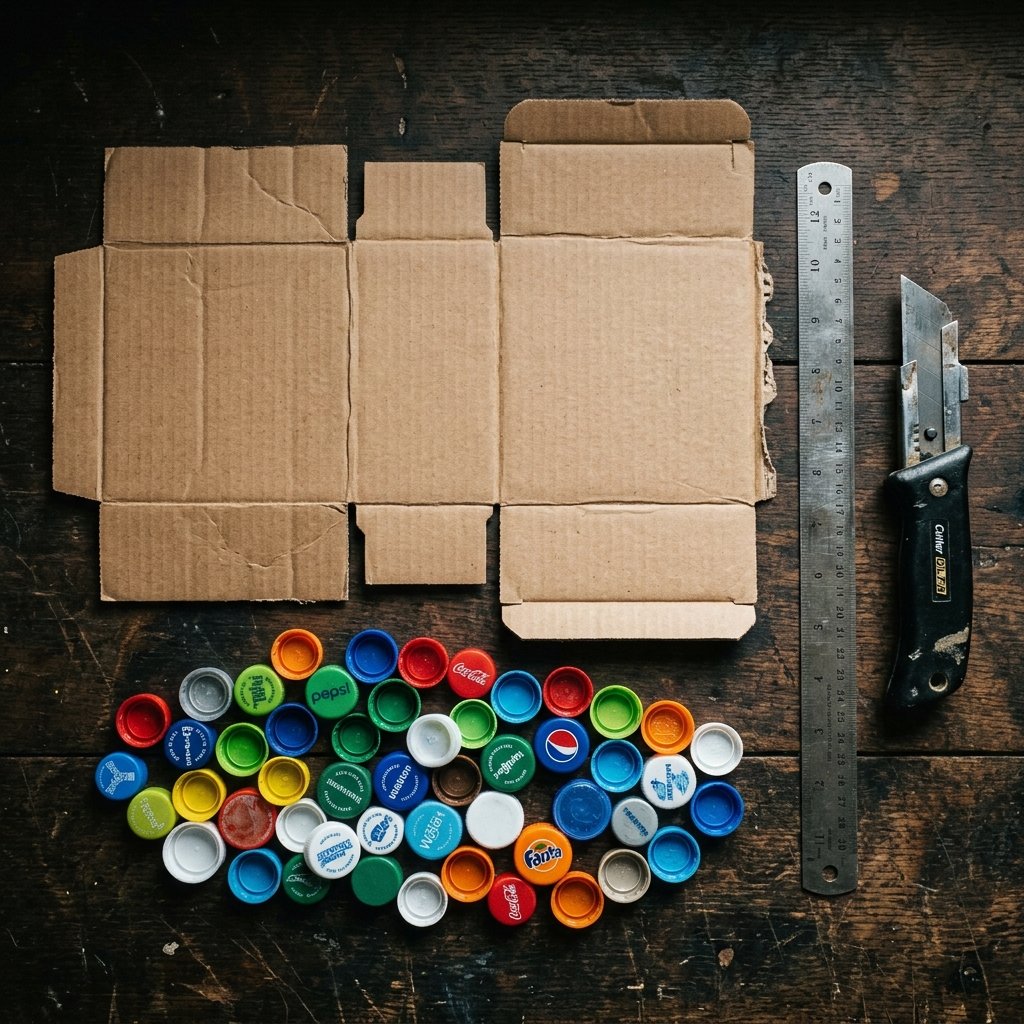
To build a toy that lasts, you need to select the right grade of ‘raw’ materials. Not all cardboard is created equal. For a project that will withstand the enthusiastic grip of a three-year-old, you want double-walled corrugated cardboard. This is the heavy-duty stuff usually reserved for shipping appliances or furniture. It provides the structural integrity needed for a ‘masculine-elegant’ finish that looks intentional, not messy.
The Ultimate Scavenger List
- The Chassis: One medium-sized shipping box (clean and dry).
- The Tokens: 12-20 plastic bottle caps (milk jugs, soda bottles, or juice containers).
- The Pigment: Leftover acrylic paint, permanent markers, or even colorful scraps of construction paper from previous projects.
- The Tools: A sharp utility knife (precision is key here), a ruler, and a hot glue gun (the handyman’s best friend).
| Material | Store-Bought Equivalent Cost | Your Cost |
|---|---|---|
| Heavy Duty Base | $15.00 (Plastic Base) | $0.00 |
| Color Tokens | $12.00 (Wooden Pegs) | $0.00 |
| Educational Guide | $5.00 (Instruction Booklet) | Priceless |
| Total | $32.00 | $0.00 |
Budget Mantra: A resourceful crafter sees a shipping container not as waste, but as a blank canvas of structural potential.
Engineering the Build: Step-by-Step Construction
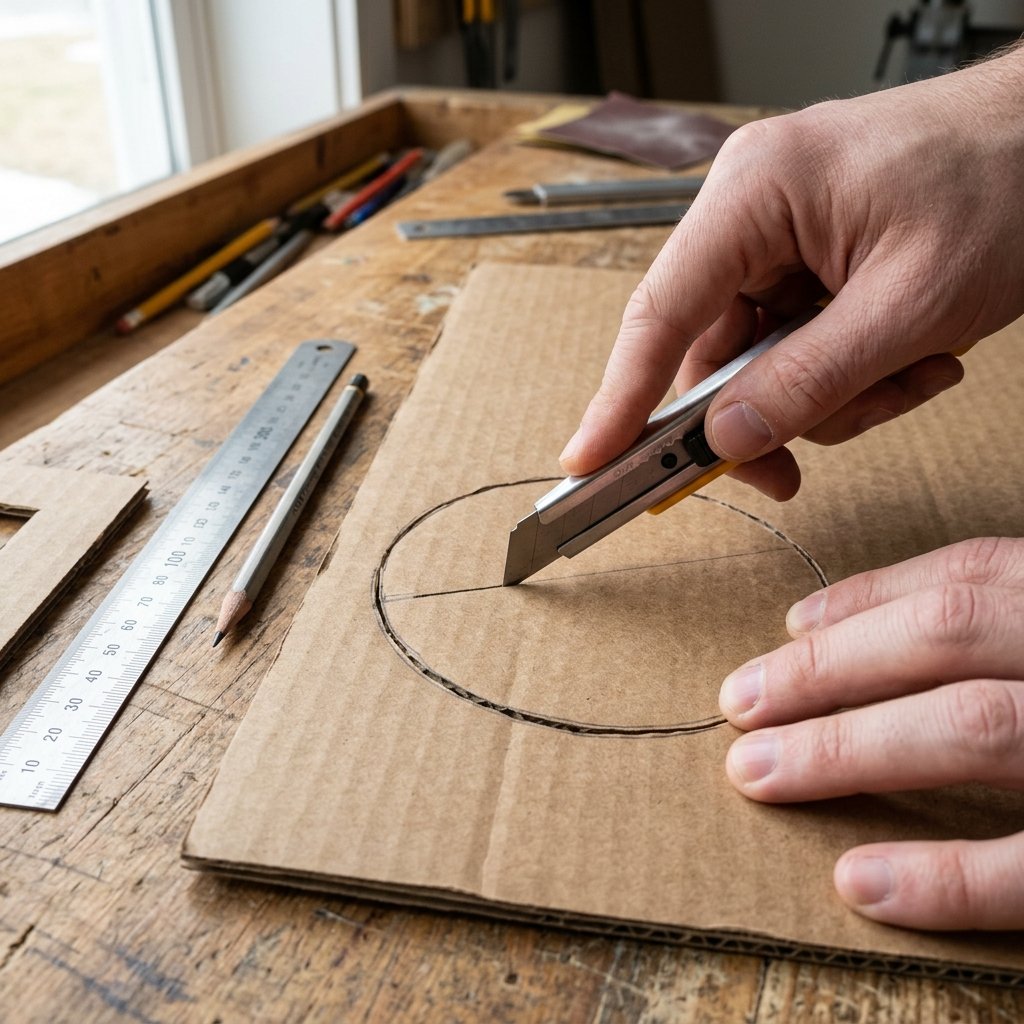
Precision is what separates a ‘trash toy’ from a ‘designer DIY.’ We aren’t just cutting holes; we are engineering a tactile experience. Follow these steps to ensure a professional-grade result.
The Assembly Process
- Leveling the Base: Cut a rectangular piece of cardboard roughly 10×12 inches. This will be your main console. If your cardboard is thin, glue two sheets together to create a reinforced slab.
- Mapping the Grid: Using your ruler, mark four equidistant points. These will be the ‘ports’ for your color tokens. Use a bottle cap as a template to trace the circles.
- The Precision Cut: Using a sharp utility knife, cut out the circles. Safety Note: Always cut away from your body and keep fingers clear of the blade path. Ensure the holes are slightly larger than the bottle caps for a smooth ‘drop’ action.
- Color Coding: Paint or mark the rim of each hole with a specific color (Red, Blue, Green, Yellow). For a sleek look, use a matte finish.
- Token Preparation: Match your bottle caps to the hole colors. If you don’t have colored caps, glue a small circle of colored cardboard to the top of a white cap.
Pro-Tip: For a ‘high-end’ feel, sand the edges of your cardboard with a fine-grit sandpaper (220 grit) to remove any burrs from the utility knife. It gives the toy a smooth, manufactured finish.
The Science of Play: Why This Toy Wins

As a crafty expert, you know that play is a child’s work. This toy targets three critical developmental areas without the overstimulation of lights and sounds. By stripping away the batteries, you force the brain to engage more deeply with the physical world.
Developmental Milestones Targeted
- Fine Motor Precision: The ‘pincer grasp’ required to pick up and place a bottle cap into a specific slot is foundational for future writing skills.
- Visual Discrimination: Identifying that a ‘navy blue’ cap belongs in the ‘royal blue’ hole builds the neural pathways for categorization and logic.
- Problem Solving: If a cap doesn’t fit or is the wrong color, the child must self-correct—a vital ‘rugged’ life skill.
| Feature | Battery-Powered Toy | DIY Cardboard Toy |
|---|---|---|
| Attention Span | Passive (Watching) | Active (Doing) |
| Durability | Fragile Electronics | Easy to Repair/Mend |
| Cost | High ($20+) | Zero ($0) |
| Sustainability | Plastic Waste | 100% Recyclable |
Advanced Upcycling: Making It ‘Rugged’ and Long-Lasting

A common critique of cardboard is its lifespan. However, with a few ‘handy dad’ tricks, you can make this toy virtually indestructible. We want this to survive the ‘toddler gauntlet.’
Reinforcement Techniques
- The Lamination Hack: Cover the top surface of your cardboard with clear packing tape. This creates a wipeable, water-resistant barrier against spills and sticky fingers.
- Structural Ribbing: If the base feels flimsy, glue ‘ribs’ (thin strips of cardboard standing on their edge) to the underside. This is the same principle used in bridge engineering.
- The Gravity Feed: Angle the base by gluing a smaller cardboard block to the back. This makes it easier for a seated child to reach all the holes and creates a more ergonomic ‘console’ feel.
Maintenance Mantra: If it breaks, we don’t throw it away; we mend it. A dab of hot glue and a new scrap of cardboard is all it takes to put this toy back in commission.
Conclusion
The Ultimate Victory for the Frugal Parent
Creating this DIY Cardboard Color Matching Toy is more than just a craft project; it’s a statement. It proves that with a bit of clever resourcefulness and a handy spirit, you can provide your child with world-class educational tools for absolutely zero dollars. You’ve saved money, kept waste out of the landfill, and built something with your own two hands that will foster hours of focused, meaningful play. So, the next time that ‘Prime’ box arrives on your doorstep, don’t see it as trash. See it as the next great adventure in your child’s development. Happy building!

Makenzie is the founder and lead writer at MoneyHackTips.com — a personal finance blog dedicated to delivering street-smart financial wisdom for real people on real budgets. With 300+ published articles covering everything from debt management to investing fundamentals, Makenzie’s mission is to make every dollar work harder. When not writing about money hacks, Makenzie is testing frugal living strategies, optimizing side hustles, and helping readers build financial freedom from scratch.