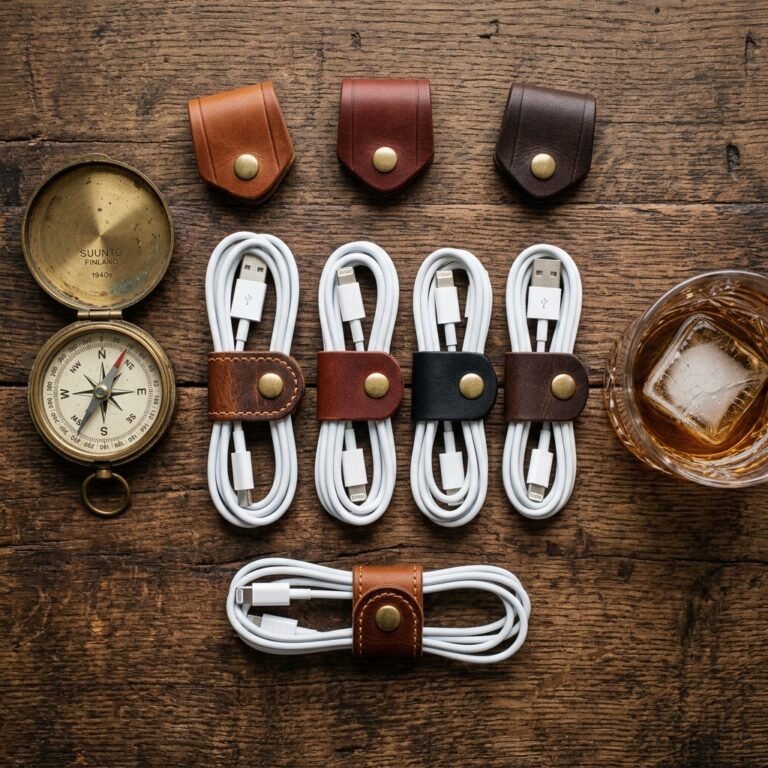
Let us address the elephant in the room: finding the perfect winter gift for the men in our lives is notoriously difficult. Whether you are shopping for a rugged outdoorsman, a sharp-dressed city commuter, or a dad whose standard answer to “What do you want?” is “Nothing, I’m good,” the struggle is universally real. Store-bought gifts often lack that personal touch, and high-end men’s accessories come with eye-watering price tags that can easily shatter a holiday budget. But what if I told you that you could create a handsome, boutique-quality winter accessory in under 15 minutes for less than the cost of a fancy latte?
Welcome to the magic of the No-Sew DIY Flannel Scarf. This resourceful, clever, and budget-savvy project is the ultimate trash-to-treasure victory for frugal DIYers and crafty gift-givers alike. By utilizing basic fabric manipulation—specifically, a strategic fraying technique—you can bypass the sewing machine entirely. There is no need to thread bobbins, measure seam allowances, or worry about crooked stitches. Armed with nothing more than a sharp pair of scissors, a ruler, and a beautiful cut of flannel, you can craft a practical, masculine-elegant gift that he will actually want to wear.
“The best handmade gifts are the ones that seamlessly blend rugged utility with thoughtful craftsmanship. A perfectly frayed flannel scarf does exactly that—it keeps him warm while keeping your budget intact.”
In this comprehensive guide, we are going to dive deep into the anatomy of the perfect no-sew scarf. We will cover everything from sourcing the highest quality, budget-friendly fabrics (hello, thrift store upcycling!) to mastering the pull-thread fraying technique that guarantees a perfectly straight, professional edge. We will even explore how to elevate your creation with custom, no-sew leather stamped tags that scream “artisanal craftsmanship.” Grab your fabric shears, clear off your kitchen table, and let us get crafty!
The Art of Selecting the Perfect Flannel: Thrifting & Fabric Store Hacks
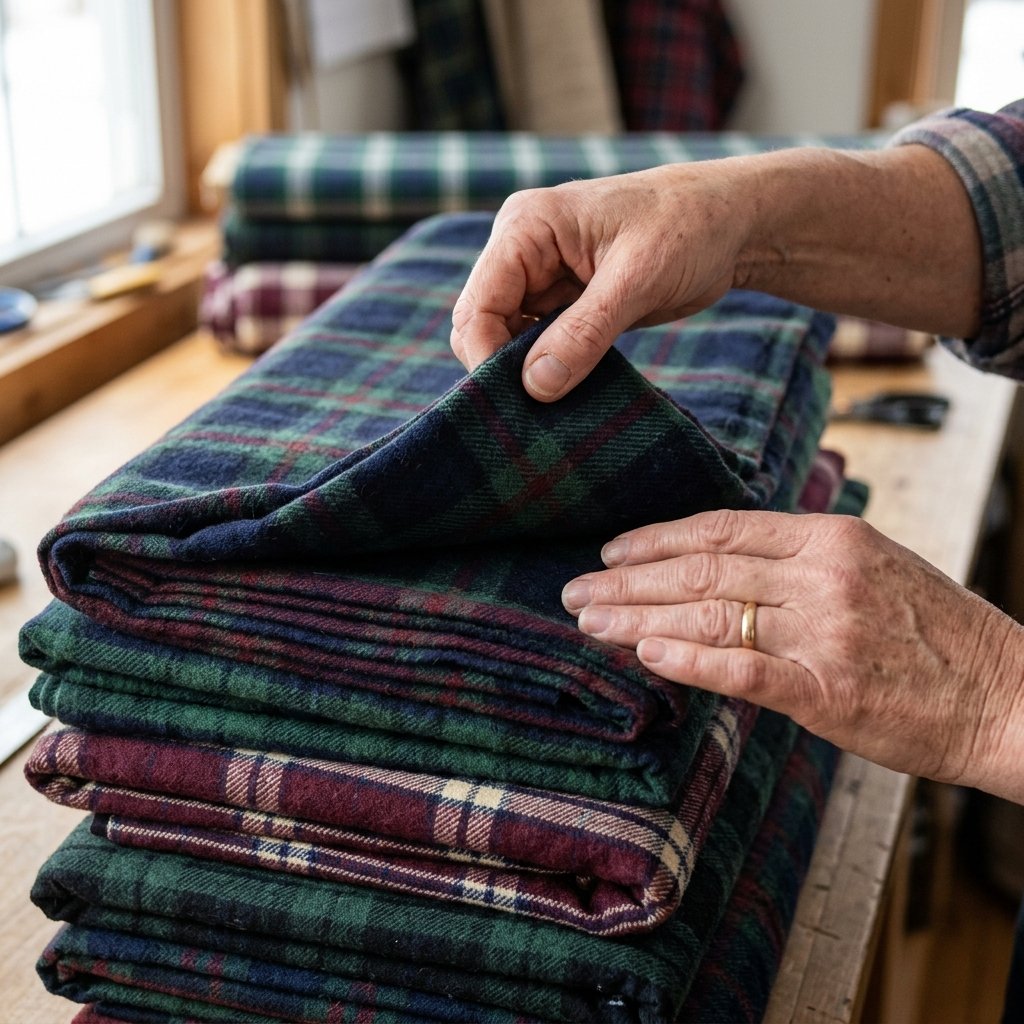
The secret to a luxurious-feeling scarf lies entirely in the fabric selection. Because this is a no-sew project, the material you choose is the star of the show. You want a fabric that is soft against the neck, heavy enough to provide genuine winter warmth, and woven in a way that allows for clean, easy fraying. While you can absolutely head to your local big-box craft store and purchase yardage off the bolt, a true budget-savvy upcycler knows that the best treasures are often found elsewhere.
Thrift Store Upcycling: The Frugal Goldmine
If you want to keep this project as close to 100% free as possible, your first stop should be your local thrift store or even your own closet. Look to the men’s section for XXL or XXXL flannel button-down shirts. A massive, high-quality, 100% cotton flannel shirt can often be snagged for $3 to $5. By carefully cutting out the large back panel of the shirt, you can harvest enough continuous fabric for a standard-length scarf. When thrifting, run your hands over the fabric. If it feels scratchy or stiff, leave it on the rack. You are hunting for that buttery, worn-in softness that only comes from dozens of cycles through a washing machine.
Buying Off the Bolt: What to Look For
If you prefer to buy new fabric, head to the “shirting” or “apparel” section of your local fabric store. Here are the golden rules for buying flannel for a no-sew scarf:
- Look for 100% Cotton Yarn-Dyed Flannel: Avoid printed flannels where the pattern is only stamped on one side. Yarn-dyed flannel means the threads themselves were dyed before weaving, ensuring the plaid pattern looks identical on both the front and the back. This is crucial for a scarf, which will twist and show both sides when worn.
- Check the Weave: Before purchasing, look closely at the cut edge of the bolt. You want a fabric with a distinct, straight “warp” and “weft” (the vertical and horizontal threads). A loose, even weave is much easier to fray than a tightly woven, synthetic blend.
- Buy the Right Amount: For a standard men’s scarf, you will need exactly 2 yards of fabric. Since most standard flannel comes in a 42-inch to 44-inch width, 2 yards will actually yield enough material to make three scarves! Talk about a budget-friendly bulk gift.
The Budget Breakdown: DIY vs. High-End Retail
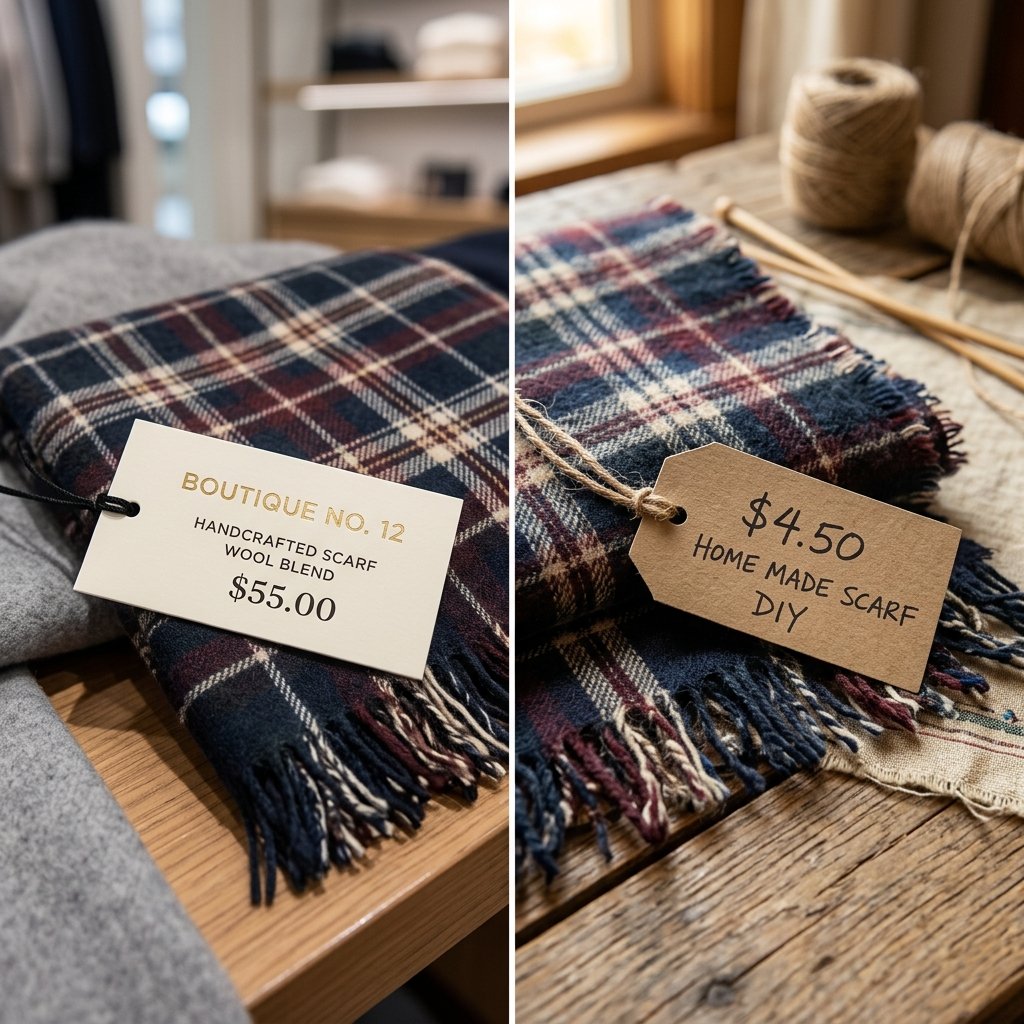
To truly appreciate the genius of this crafty endeavor, we need to look at the numbers. High-end outdoor retailers and boutique menswear shops routinely sell simple, frayed-edge flannel scarves for anywhere from $40 to $85. They market them as “rustic,” “artisanal,” and “heritage” pieces. But when you break down the materials, you are essentially paying a massive markup for a rectangle of cotton with pulled threads. Let us compare the cost of buying retail versus our resourceful DIY approach.
| Expense Category | Store-Bought (Boutique) | DIY (Fabric Store) | DIY (Upcycled Thrift) |
|---|---|---|---|
| Fabric / Base Item | $55.00 (Average retail) | $12.00 (2 yards on sale) | $4.00 (XXL Thrifted Shirt) |
| Labor / Time Cost | $0.00 (Instant purchase) | 15 minutes | 20 minutes (includes deconstruction) |
| Leather Detailing | Included | $1.50 (Scrap leather piece) | $0.00 (Upcycled from old belt) |
| Total Estimated Cost | $55.00+ | $13.50 (Yields 3 scarves!) | $4.00 (Yields 1 scarf) |
| Cost Per Scarf | $55.00 | $4.50 | $4.00 |
As the table illustrates, by purchasing 2 yards of fabric on sale, your cost drops to a staggering $4.50 per scarf. This makes it an incredibly savvy option for groomsmen gifts, Father’s Day, or knocking out holiday presents for all the uncles, brothers, and grandpas on your list without draining your bank account.
The Step-by-Step No-Sew Fraying Technique

Now comes the fun part: the actual crafting. This method requires zero sewing skills, but it does require a bit of patience and attention to detail. The goal is to create a purposeful, clean fringe that looks intentional, rather than a ragged edge that looks like it survived a lawnmower accident. Here is your masterclass in the pull-thread technique.
“The secret to a perfect no-sew edge is trusting the weave of the fabric. Let the vertical threads guide your scissors, and the horizontal threads will practically remove themselves.”
Step 1: Measure and Cut Your Width
- Lay your 2 yards of flannel completely flat on a large table or clean floor.
- Decide on your width. A classic masculine scarf width is between 12 inches and 14 inches. If you are using standard 42-inch wide fabric, you can cut the 2-yard length into three equal 14-inch strips.
- To get a perfectly straight cut, make a small 1-inch snip at the 14-inch mark on the edge of the fabric.
- Grab a single thread at the snip and gently pull it out of the fabric across the entire 2-yard length. This will leave a faint, perfectly straight line in the weave. Cut along this line.
Step 2: Snip the Ends for Fraying
- Focus on the short ends of your scarf (the ends that will hang down his chest).
- Decide how long you want your fringe. A rugged, handsome look usually calls for a 1-inch to 1.5-inch fringe.
- Using a ruler, make a small snip into the fabric at your desired fringe length. Do this on both ends of the scarf.
Step 3: The Pull-Thread Magic
- Starting at the cut edge, begin isolating the horizontal threads (the threads running parallel to the cut edge).
- Using your fingers or a dull tapestry needle, gently pull the first horizontal thread completely out of the fabric.
- Continue pulling threads one by one. As you remove the horizontal threads, the vertical threads will remain, creating a beautiful, natural fringe.
- Stop pulling threads once you reach the depth of the snip you made in Step 2. You now have a perfectly straight, intentionally frayed edge!
- Repeat this process on the opposite end of the scarf.
Safety/Crafting Note: If you are working with a very tightly woven flannel, pulling threads can sometimes irritate your fingertips. Keep a pair of tweezers handy to grip stubborn threads and save your hands from fatigue.
Rugged Customizations: Adding Faux Leather Stamped Tags
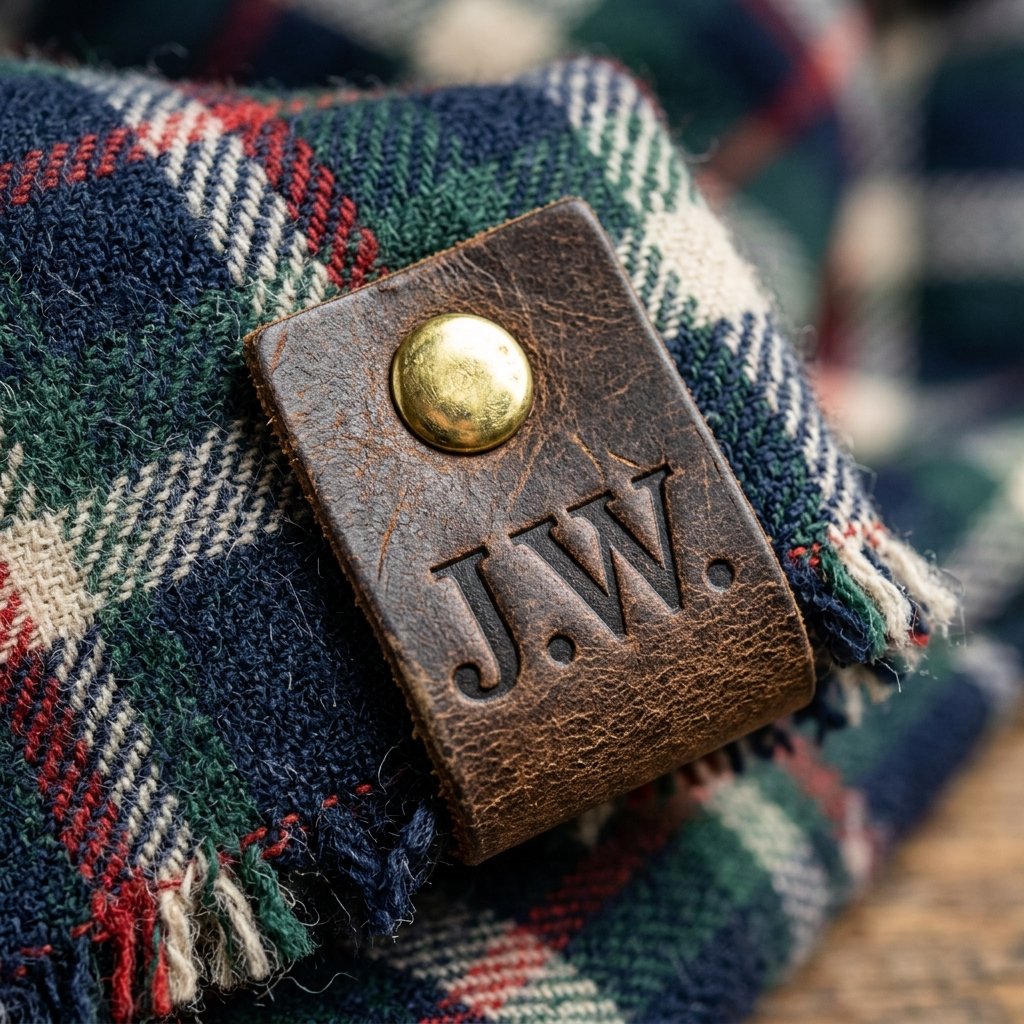
A simple frayed scarf is lovely, but as a frugal DIY expert, you know that the magic is in the details. To take this scarf from “homemade” to “high-end artisan,” we are going to add a custom, no-sew leather tag. This adds a touch of rugged masculinity and personalization that elevates the entire gift.
Materials Needed for the Leather Tag:
- A small scrap of real or faux leather (upcycle an old belt, a thrifted purse, or buy a scrap bag from a craft store for under $5).
- Heavy-duty fabric glue (like Fabric-Tac) OR double-cap metal rivets with a setting tool.
- Metal alphabet leather stamps and a mallet (optional, for personalizing).
- A rotary cutter or sharp scissors.
How to Attach the Tag (No-Sew Method):
- Cut the Tag: Cut a small rectangle of leather, approximately 1 inch wide by 2.5 inches long. You can fold this in half over the edge of the scarf, or leave it flat to attach to the front face of the fabric.
- Personalize (Optional): If you have metal stamps, lightly dampen the leather with a sponge and use a mallet to stamp his initials, the year, or a rugged word like “EXPLORE” or “WILD” into the leather.
- The Glue Method: Apply a thin, even layer of heavy-duty fabric glue to the back of the leather tag. Press it firmly onto the bottom corner of the scarf, just above the fringe. Place a heavy book over it and let it dry for 24 hours.
- The Rivet Method (For a Hardware Look): Fold the leather tag over the side edge of the scarf. Use a leather punch to create a hole through both layers of leather and the fabric sandwiched between them. Push a double-cap rivet through the hole, place the cap on the other side, and tap it securely with a hammer and rivet setter.
This tiny addition takes less than 5 minutes but adds immense perceived value to the gift. It looks incredibly professional and sturdy.
The Presentation: How to Fold, Tie, and Gift Like a Pro
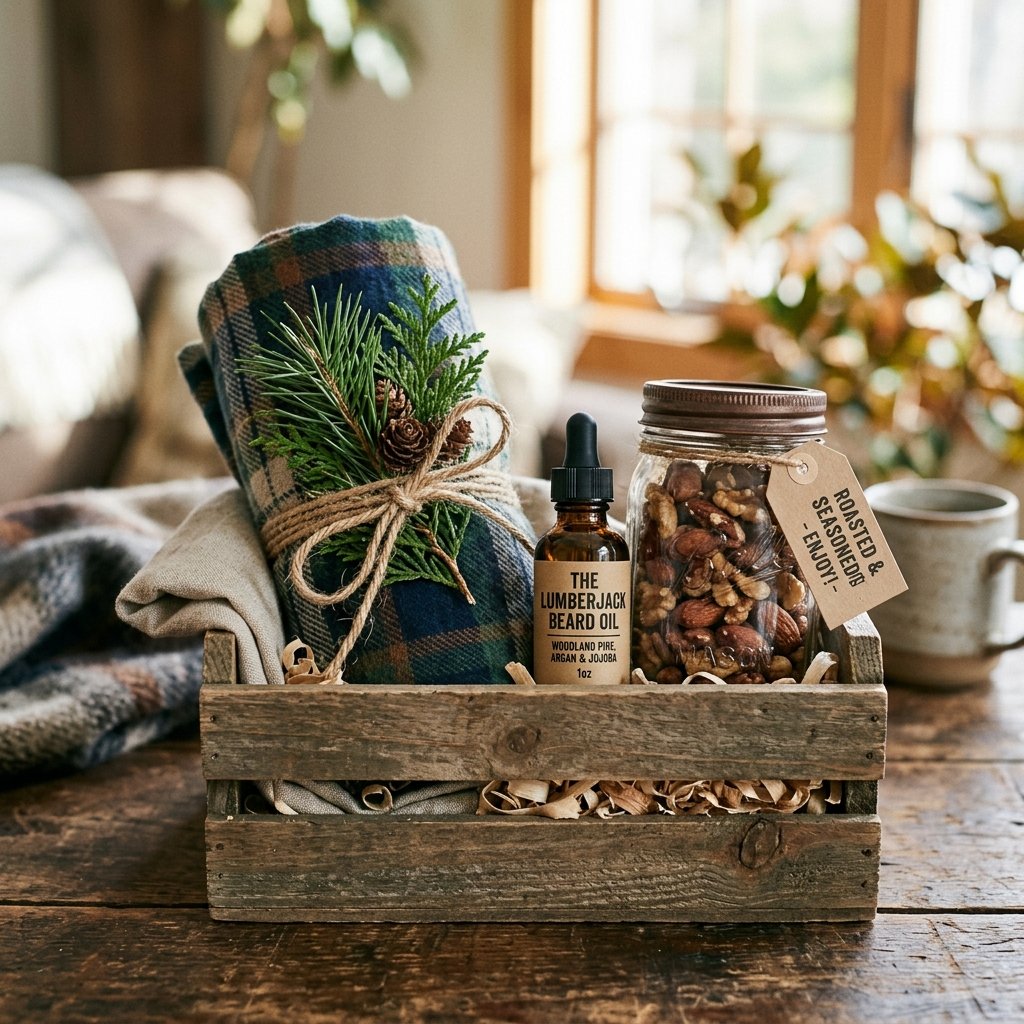
A resourceful crafter knows that presentation is half the gift. Handing over a loose piece of fabric in a plastic grocery bag completely undermines the artisanal vibe we have worked so hard to cultivate. To truly impress the handy dads, budget brides gifting groomsmen, or your significant other, you need to style the scarf impeccably.
The Roll and Tie Method
Instead of folding the scarf flat like a department store sweater, roll it tightly into a cylinder. This prevents hard creases and showcases the frayed edge beautifully. Once rolled, wrap a piece of thick, rustic jute twine or a strip of scrap leather around the center and tie it in a simple knot. Tuck a sprig of fresh pine, rosemary, or a cinnamon stick under the twine for a sensory, masculine unboxing experience.
Building a “Winter Survival” Gift Basket
If you have extra budget and want to create a larger, cohesive gift, pair your no-sew scarf with other homemade, rugged self-care items. Because you saved so much money on the scarf (costing only $4.50!), you can easily afford to build an entire themed basket for under $20.
| Gift Basket Item | DIY Approach | Estimated Cost |
|---|---|---|
| The Warmth | No-Sew Flannel Scarf | $4.50 |
| The Grooming | DIY Cedarwood Beard Oil (Carrier oil + essential oils) | $3.00 per bottle |
| The Skincare | Homemade Coffee & Brown Sugar Hand Scrub (for working hands) | $1.50 per jar |
| The Treat | A small mason jar of homemade spicy beef jerky or roasted nuts | $5.00 |
| Total Basket Cost | A complete luxury gift set | $14.00 |
Present these items in a thrifted wooden crate or a dark-colored basket padded with kraft paper crinkles. It is a wildly impressive, thoughtful, and deeply practical gift that any man would be thrilled to receive.
Care, Maintenance, and Fray-Prevention Secrets

One of the most common questions frugal DIYers have about no-sew projects is: “Will it fall apart in the wash?” It is a valid concern. When you intentionally fray the edge of a woven fabric, you are removing the structural integrity of that edge. If tossed haphazardly into a heavy-duty washing cycle, the scarf could continue to unravel until it is nothing but a tangled mess of threads.
However, as crafty experts, we have a few clever tricks up our sleeves to ensure this gift lasts for many winters to come.
The Invisible Glue Line Trick
If you want to absolutely guarantee that the fraying stops exactly where you want it to, use a product called Fray Check or a very fine line of clear, washable fabric glue.
- Lay the frayed edge of the scarf flat.
- Locate the very last horizontal thread that is still woven into the fabric (right where the fringe begins).
- Run an ultra-thin, barely-there line of Fray Check along this thread across the entire width of the scarf.
- Let it dry completely. It will dry clear and slightly stiff, locking the remaining threads in place so they cannot unravel further.
Washing Instructions for the Recipient
When you gift the scarf, include a small, handwritten care tag. This adds another layer of boutique authenticity and ensures he knows how to treat his new favorite accessory. Use a quote block or a simple list format on your tag:
“Handmade with care. To keep this scarf looking sharp and rugged: Machine wash on the gentle/delicate cycle using cold water. Do not wash with heavy items like jeans or towels with zippers that could snag the fringe. Lay flat to dry, or tumble dry on the lowest heat setting. If the fringe gets tangled, simply comb it out gently with your fingers.”
By taking these simple preventative measures, your 15-minute, budget-savvy creation transforms into a durable, long-lasting staple of his winter wardrobe.
Conclusion
Creating a beautiful, functional, and deeply appreciated gift for the men in your life does not require a maxed-out credit card or a degree in advanced tailoring. By embracing the clever, resourceful spirit of the frugal DIYer, you can transform a simple cut of flannel into a rugged, high-end accessory that rivals anything found in a boutique window.
The No-Sew DIY Flannel Scarf is a testament to the fact that the best gifts are made with intention, not just purchased with cash. Whether you are upcycling a beloved old shirt from the thrift store or capitalizing on a fabric store sale to make matching scarves for the whole family, this project proves that a little creativity goes a very long way. So, roll up your sleeves, grab those fabric shears, and start pulling those threads. You are just 15 minutes away from crafting the easiest, coziest, and most budget-savvy gift he will receive this winter. Happy crafting!

Makenzie is the founder and lead writer at MoneyHackTips.com — a personal finance blog dedicated to delivering street-smart financial wisdom for real people on real budgets. With 300+ published articles covering everything from debt management to investing fundamentals, Makenzie’s mission is to make every dollar work harder. When not writing about money hacks, Makenzie is testing frugal living strategies, optimizing side hustles, and helping readers build financial freedom from scratch.