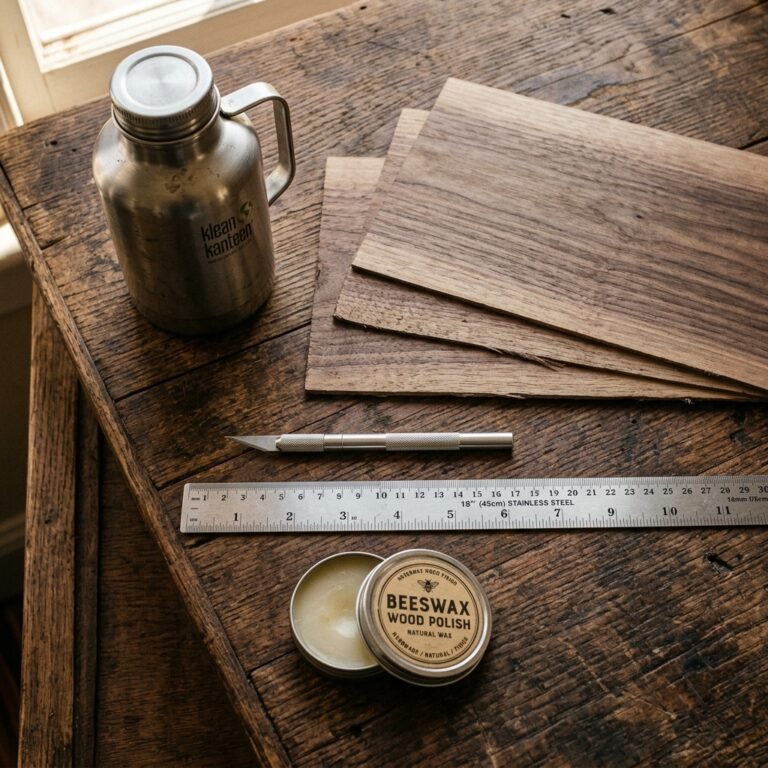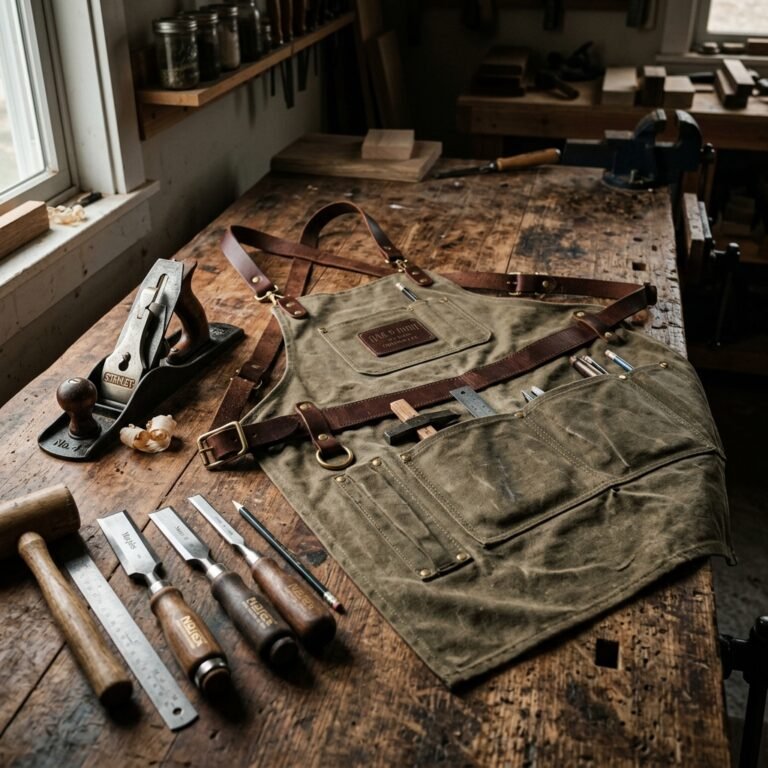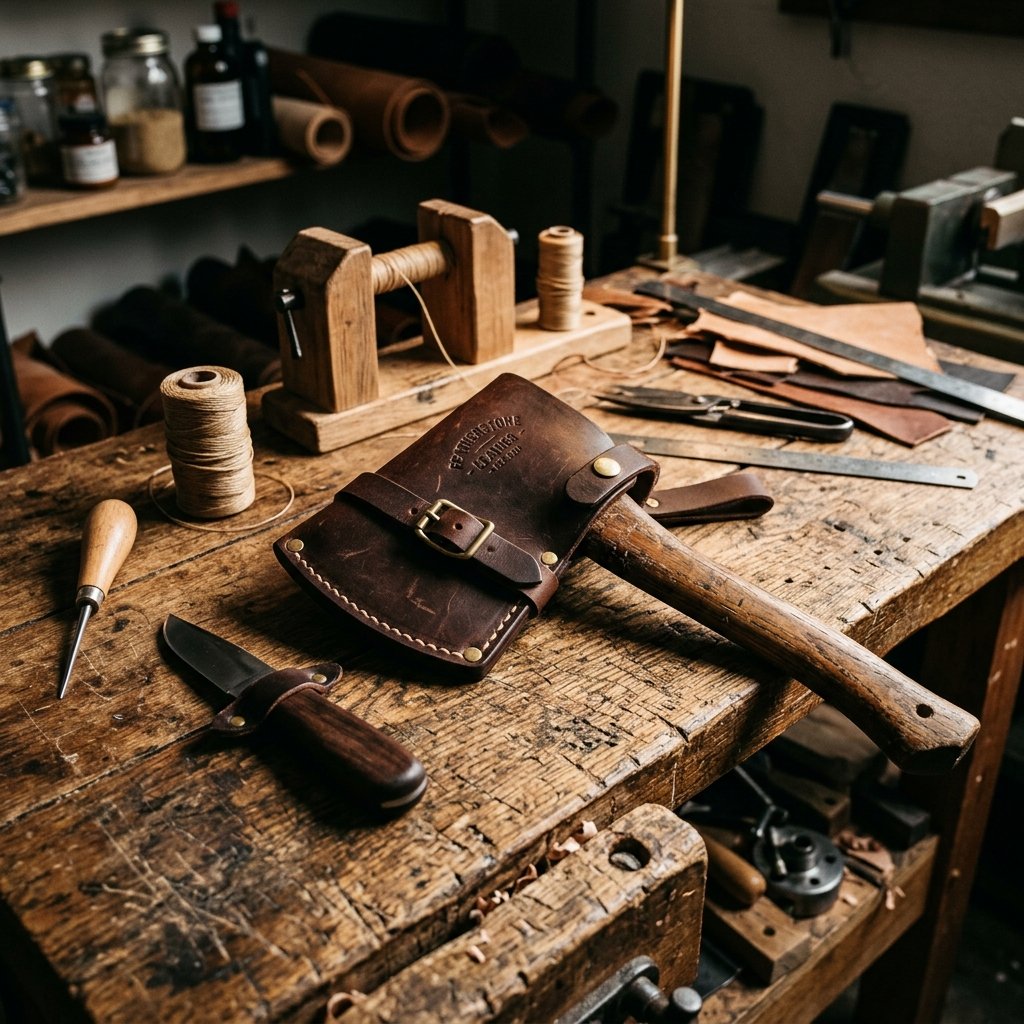

There is something undeniably magnetic about the combination of forged steel, weathered wood, and rich, oiled leather. If you are searching for the ultimate thoughtful, rugged gift for the outdoorsman, camper, or handy dad in your life, look no further. You might think that crafting a custom, heirloom-quality leather ax sheath requires a professional workshop, expensive specialized tools, and years of apprenticeship. I am here to tell you, as your resident frugal DIY guru, that you can create a jaw-dropping, perfectly fitted leather sheath right on your kitchen table for a fraction of the retail cost.
Nothing says ‘I appreciate you’ quite like a handmade piece of gear that is designed to protect his favorite tool. Whether he wields a vintage hatchet for splitting campfire kindling or a heavy-duty felling ax for clearing brush, an unprotected blade is both a hazard and a tragedy waiting to happen. Store-bought sheaths are often flimsy, poorly fitted, or exorbitantly expensive. By taking the DIY route, you are not just saving money; you are pouring your time, love, and crafty ingenuity into a functional piece of art that will develop a gorgeous patina and tell a story for decades to come.
The Frugal Crafter’s Mantra: We do not sacrifice quality for cost. We substitute expensive convenience with resourcefulness, elbow grease, and clever upcycling!
In this comprehensive masterclass, we will walk through the entire process of making a custom leather ax mask. We will cover how to source high-quality thick leather on a shoestring budget, how to draft a foolproof custom template using materials from your recycling bin, and how to master the legendary ‘saddle stitch’ for indestructible seams. Roll up your sleeves, grab a cup of strong coffee, and let’s turn some humble raw materials into a rugged masterpiece.
Sourcing Materials: The Budget-Savvy Leatherworker’s Secret
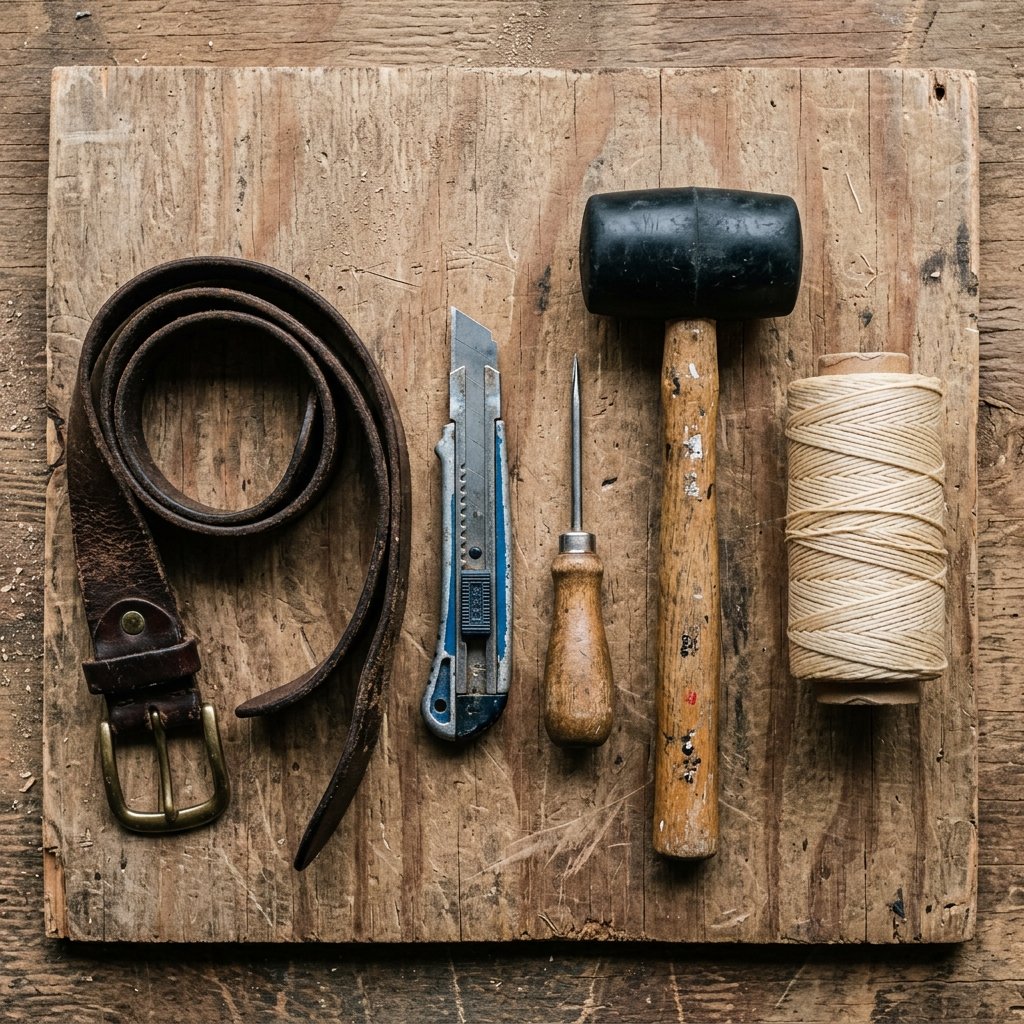
Before we make a single cut, we need to gather our materials. Traditional leatherworking can seem like an expensive hobby to break into, with specialty stores selling massive, costly hides. But for a project of this size, we only need a small amount of heavy-duty material. This is where our resourceful upcycling skills shine.
Where to Find Cheap, High-Quality Leather
For an ax sheath, you need Vegetable-Tanned (Veg-Tan) Leather that is relatively thick (around 7 to 9 oz weight). Veg-tan leather is crucial because it can be molded, stamped, and hardened, unlike the soft, floppy chrome-tanned leather used for jackets or upholstery. Here are the best frugal sources:
- Thrift Store Belts and Tack: Head to your local thrift shop and look for the largest, thickest men’s leather belts you can find. Often, a $2 belt yields enough premium leather for a hatchet sheath. Old equestrian tack or broken saddles are also goldmines.
- Leather Scrap Bins: Craft stores like Tandy Leather or local cobblers often sell ‘scrap bags’ or remnants by the pound. You can easily find a perfectly sized piece for under $10.
- Upcycled Welder’s Aprons or Tool Pouches: Garage sales are fantastic for finding old, heavy-duty leather work gear that can be disassembled and repurposed.
The Frugal Tool Kit
You do not need a $500 tool kit to start. Here is a comparison of what you might see recommended versus our budget-savvy DIY alternatives.
| Professional Leather Tool | Our Clever DIY Alternative | Estimated Savings |
|---|---|---|
| Leather Groover & Edge Beveler | A steady hand with a sharp utility knife & sandpaper | $35 |
| Diamond Stitching Chisels | A standard nail or a cheap awl and a hammer | $25 |
| Specialty Leather Mallet | A standard rubber mallet or a block of scrap wood | $20 |
| Professional Stitching Pony | Two heavy books or a simple C-clamp on a table edge | $40 |
| Store-Bought Ax Sheath | Our Custom DIY Leather Masterpiece | $45 – $85 |
Safety First: Working with thick leather requires sharp blades and significant pressure. Always use a fresh, sharp utility blade. A dull blade requires more force, which leads to slipping and severe injuries. Always cut away from your body and use a self-healing cutting mat or a piece of scrap plywood to protect your surfaces.
Measure Twice, Cut Once: Creating the Perfect Custom Template
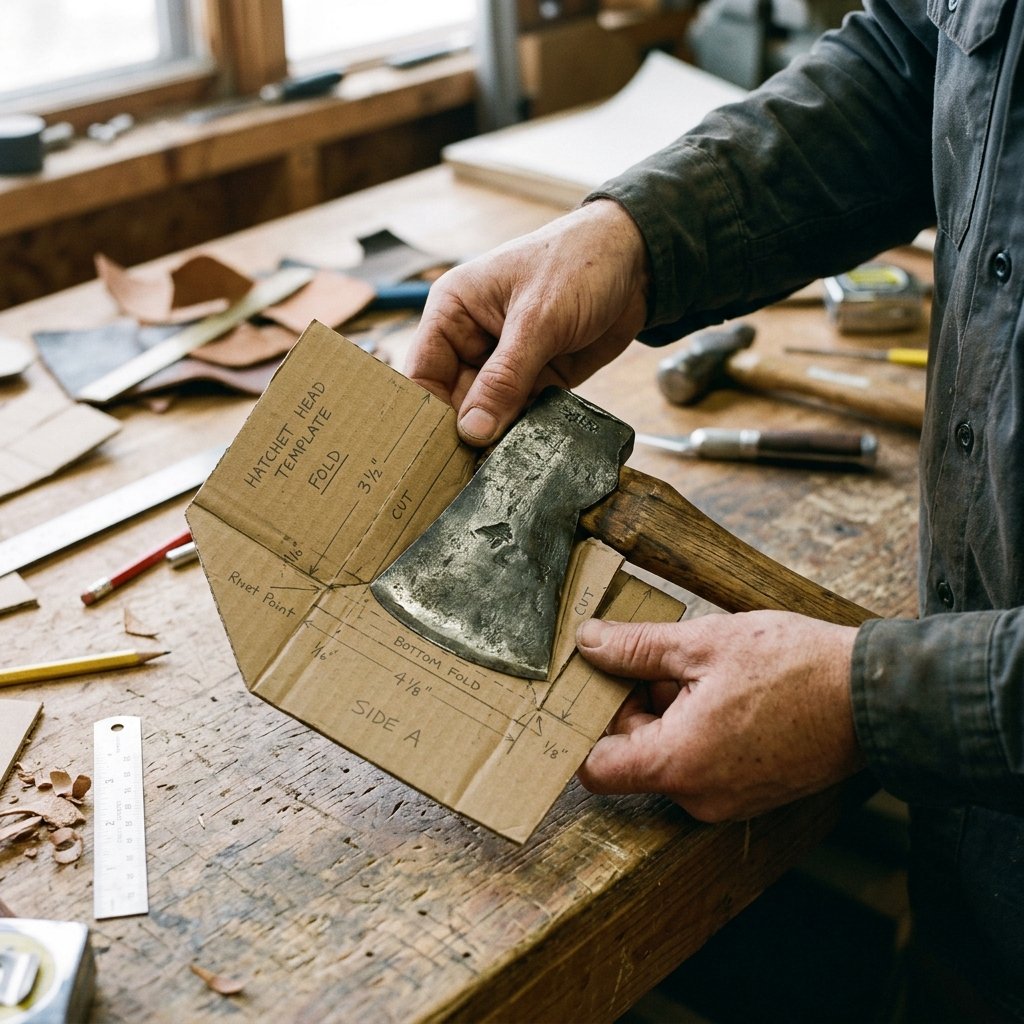
The secret to a high-end, tailored look is a perfect fit. Since every ax head is forged slightly differently, a one-size-fits-all template simply will not do. We are going to craft a bespoke template using nothing but a piece of scrap cardboard from your recycling bin, a pencil, and some scissors.
Step-by-Step Templating
- Trace the Blade: Lay your cardboard flat. Place the ax head down so the sharp edge is resting horizontally. Trace the entire outline of the ax head, rolling it slightly to capture the curvature of the blade.
- Add the Seam Allowance: Remove the ax. Draw a second line exactly 1/2 inch outside the line you just traced along the curved blade edge. This extra space accommodates the thickness of the leather, the welt, and the stitching.
- Draft the Fold: Decide which side the sheath will fold over (usually the top flat edge of the ax). Mirror your shape over this fold line so you have a symmetrical, clamshell-like pattern.
- Design the Retention Strap: Draw a strap extending from the back edge of your template. It needs to be long enough to wrap around the back of the ax head (the poll) and snap onto the front of the sheath. Make it at least 3/4 inch wide for durability.
- Test the Fit: Cut out your cardboard template. Fold it around the ax head and tape it shut. This is your 3D mockup. If it feels too tight, adjust your template now. It is 100% free to cut a new piece of cardboard, but cutting leather wrong will cost you!
Once your cardboard mockup fits the ax like a tailored suit, carefully untape it and lay it flat. You now have your master pattern.
Cutting and Prepping the Leather: The Craftsman’s Foundation
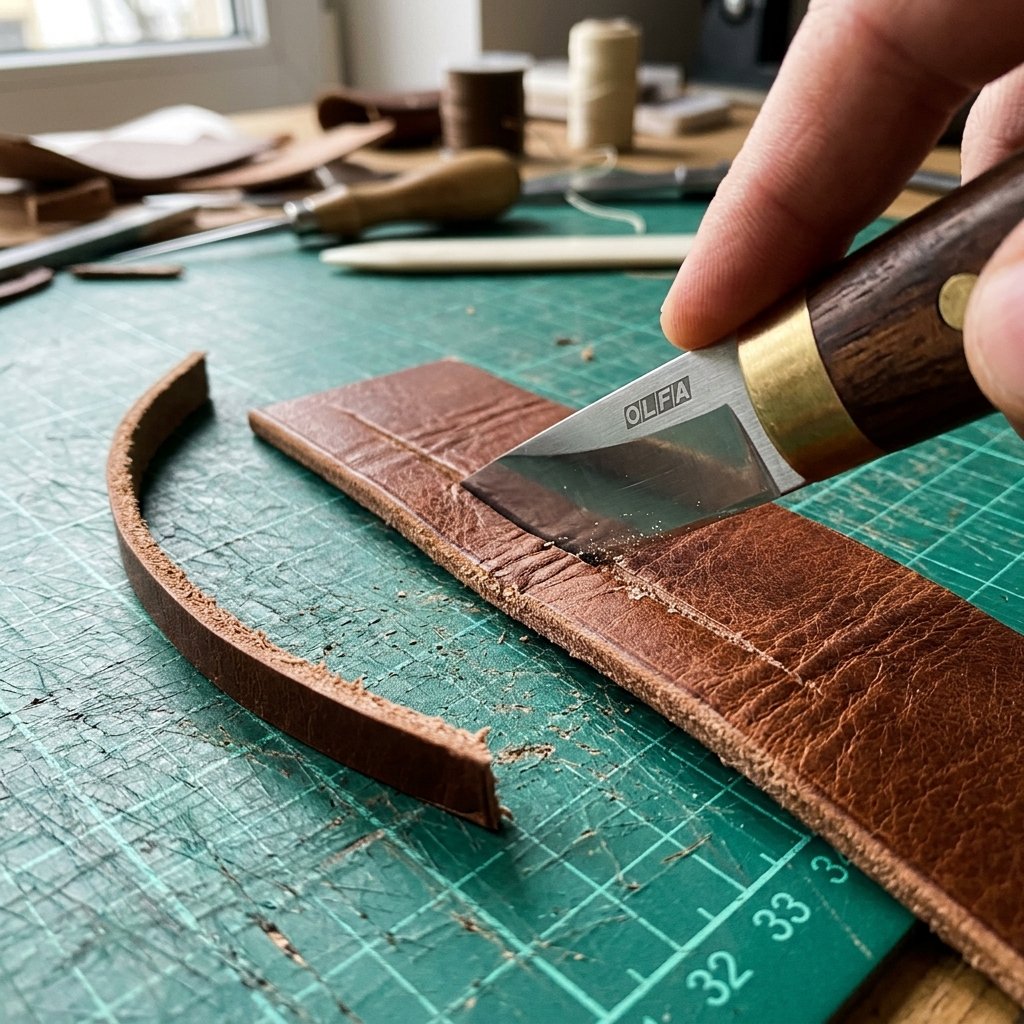
With your template perfected, it is time to transfer it to your leather. This stage requires patience. Rushing the cut is the fastest way to ruin your material.
Transferring and Cutting
Lay your veg-tan leather flat, smooth side (grain side) up. Place your cardboard template on top and weigh it down with something heavy. Using a scratch awl, a nail, or even a ballpoint pen (if you are careful to keep it on the very edge), trace the template onto the leather.
When cutting thick leather, do not try to slice all the way through in one pass. Use a heavy-duty utility knife with a brand-new blade. Make a light first pass to score the line. Follow that groove with a second pass, applying slightly more pressure. By the third or fourth pass, you will cleanly sever the leather. This technique ensures a perfectly vertical edge and prevents the blade from wandering.
The Crucial Component: The Welt
Listen closely, crafters, because this is the difference between a sheath that lasts fifty years and one that fails in a week. You MUST include a welt. A welt is a third, narrow strip of leather sandwiched between the two main halves of the sheath, right where the sharp blade rests.
Without a welt, the ax blade will eventually slice right through your stitching. To make the welt, trace the curved blade edge of your template onto a scrap piece of leather. Cut a strip that is exactly 1/2 inch wide following that curve. This creates a protective bumper for the blade to rest against.
Prepping the Edges
Before we assemble, we need to prep the edges. If you have a budget edge beveler, run it along the rough corners to round them off. If not, take a piece of fine-grit sandpaper (around 220 grit) and gently sand the sharp 90-degree corners of the leather edges until they are slightly rounded. This gives the piece a finished, professional look and prevents the edges from mushrooming over time.
The Secret to Indestructible Seams: Mastering the Saddle Stitch
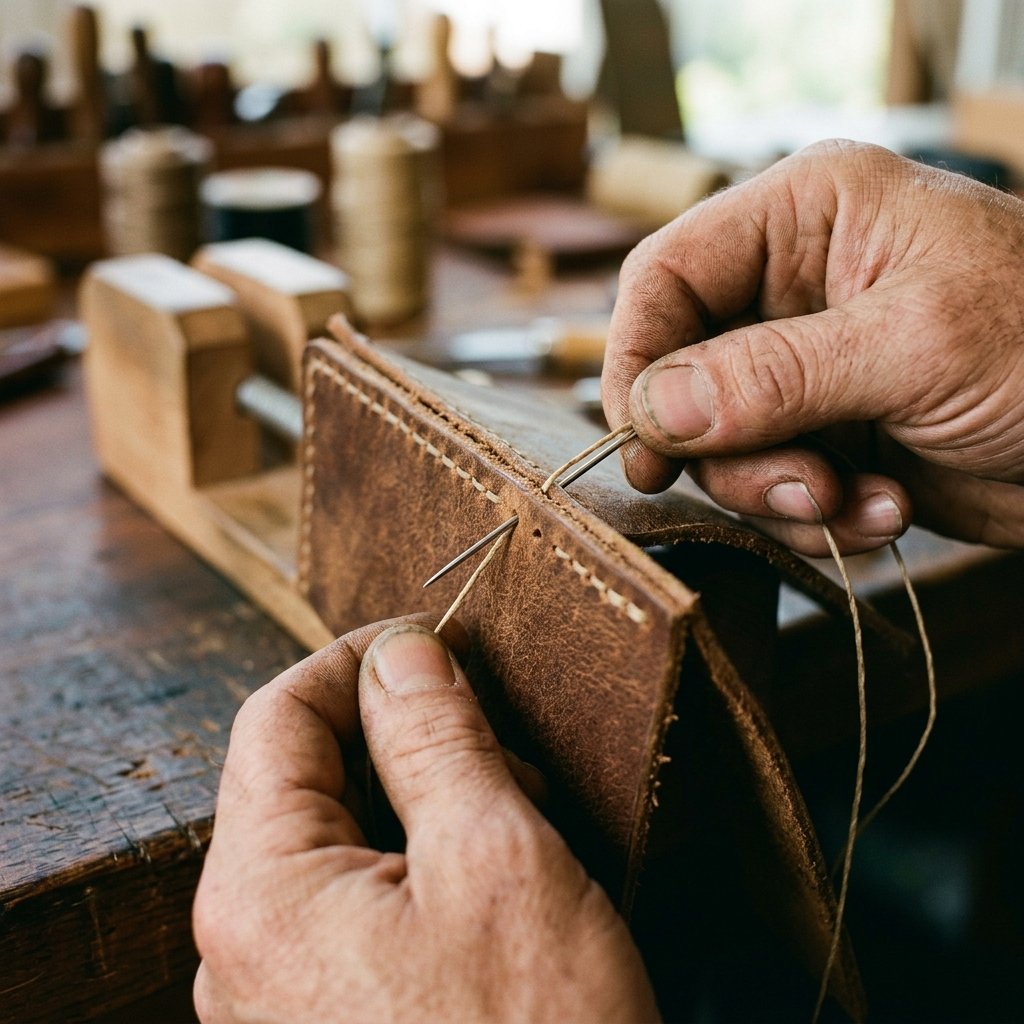
Forget the sewing machine. For heavy-duty outdoor gear, we rely on the legendary hand-sewn Saddle Stitch. Unlike a machine lockstitch, where if one thread breaks the whole seam unravels, a saddle stitch uses two needles passing through the same hole from opposite directions. If one thread snaps, the other holds the seam tight. It is rugged, masculine, and incredibly satisfying to execute.
Gluing and Punching Holes
- Assemble the Sandwich: Apply a thin layer of leather contact cement (or even standard super glue in a pinch) to the inner edges of the sheath. Sandwich the welt between the two halves. Clamp it firmly with binder clips or heavy books and let it dry for 20 minutes.
- Mark the Stitch Line: Take a compass or a ruler and lightly score a line exactly 1/4 inch in from the glued edge. This is your stitching guide.
- Punch the Holes: Place the sheath on a scrap block of wood. Using your awl (or a nail) and your hammer, punch holes along your stitch line, spacing them exactly 1/4 inch apart. Keep the awl perfectly straight so the holes line up neatly on the back side.
The Saddle Stitch Technique
Cut a piece of heavy-duty waxed thread (waxed nylon or artificial sinew works best) that is roughly four times the length of your seam. Thread a blunt leather needle onto each end of the thread.
The Perfect Stitch: Push the first needle through the first hole and pull the thread until you have equal lengths on both sides. Take the left needle, push it through the second hole. Take the right needle, push it through the SAME second hole, being careful not to pierce the other thread. Pull both ends tight simultaneously. Repeat this rhythmic process all the way down the seam.
When you reach the end of the seam, stitch backward for two or three holes to lock the thread in place. Snip the excess thread close to the leather and carefully melt the tiny remaining tails with a lighter. Press the melted wax flat to seal the knot permanently.
Hardware, Finishing Touches, and Heirloom Conditioning
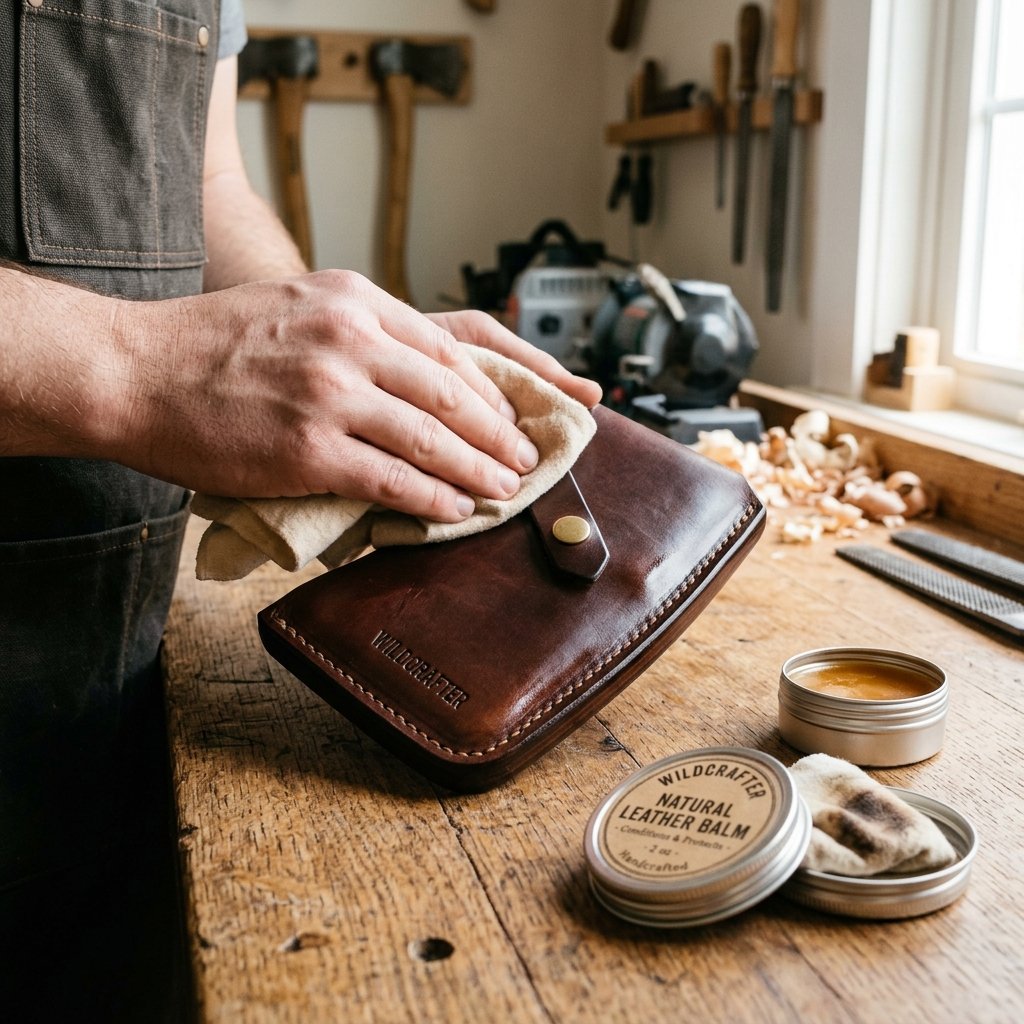
You have built the structure; now it is time to add the hardware and the finishing touches that transform this from a raw craft project into a sophisticated, high-end gift.
Setting the Snap Fastener
Your retention strap needs a way to secure itself. Heavy-duty line 24 snaps are perfect for this and cost pennies per piece. Fold the strap over the ax head to find the perfect tension. Mark where the snap should go on both the strap and the main body of the sheath. Punch a hole at both marks.
Using a basic snap-setting kit (which usually comes with the snaps), hammer the male piece into the body of the sheath and the female piece into the strap. Give it a test click. That satisfying ‘snap’ means your ax is secure!
Burnishing the Edges
Right now, the edges of your sheath probably look fuzzy and raw. Burnishing is the magical process of using friction to melt the leather fibers together, creating a smooth, glassy, professional edge.
You do not need expensive gum tragacanth. Simply dab a little tap water onto the raw edge with your finger. Take a scrap of heavy canvas (like old jeans or a canvas tote bag) or a wooden slicker, and rub the edge vigorously back and forth. The heat from the friction will naturally polish the edge. Spend about 5 minutes doing this, and the transformation will blow your mind.
Conditioning the Leather
To make this sheath truly weather-resistant and ready for the rugged outdoors, it needs to be oiled. This process also deepens the color, bringing out a rich, dark patina.
| Conditioner Type | Pros | Cons |
|---|---|---|
| 100% Neatsfoot Oil | Deeply penetrates, dramatically darkens leather, highly water-resistant. | Can make leather slightly too soft if over-applied. |
| Beeswax & Olive Oil (DIY Blend) | 100% natural, cheap, provides a great hard protective shell. | Requires melting and mixing; takes longer to absorb. |
| Store-Bought Mink Oil | Easy to find, great waterproofing. | Often contains synthetic additives or silicone. |
Apply your chosen conditioner with a soft rag, working it into the grain in circular motions. Pay special attention to the burnished edges and the welt. Let it soak in overnight, then buff off any excess the next morning with a clean cloth.
Conclusion
And there you have it—a custom, rugged, handcrafted leather ax sheath made entirely from scratch on a frugal budget. By utilizing upcycled materials, clever household tool substitutions, and the timeless art of hand-stitching, you have created something far superior to mass-produced, big-box store alternatives.
When you hand this gift to the outdoorsman in your life, you are not just giving them a piece of protective gear. You are handing them a piece of functional art infused with your time, your effort, and your resourceful spirit. As he takes it on camping trips, chops firewood in the snow, and clears trails in the summer, the leather will absorb the elements. It will scratch, darken, and develop a completely unique patina that tells the story of his adventures—and your incredible craftsmanship.
Stay crafty, stay frugal, and never underestimate what you can build with your own two hands. Now, go grab that vintage hatchet and start templating!

Makenzie is the founder and lead writer at MoneyHackTips.com — a personal finance blog dedicated to delivering street-smart financial wisdom for real people on real budgets. With 300+ published articles covering everything from debt management to investing fundamentals, Makenzie’s mission is to make every dollar work harder. When not writing about money hacks, Makenzie is testing frugal living strategies, optimizing side hustles, and helping readers build financial freedom from scratch.