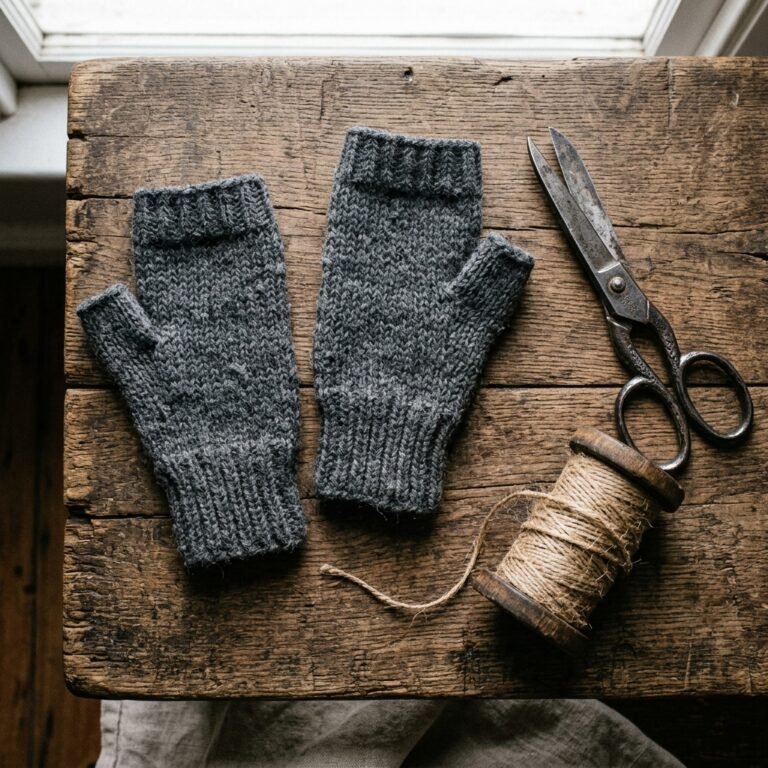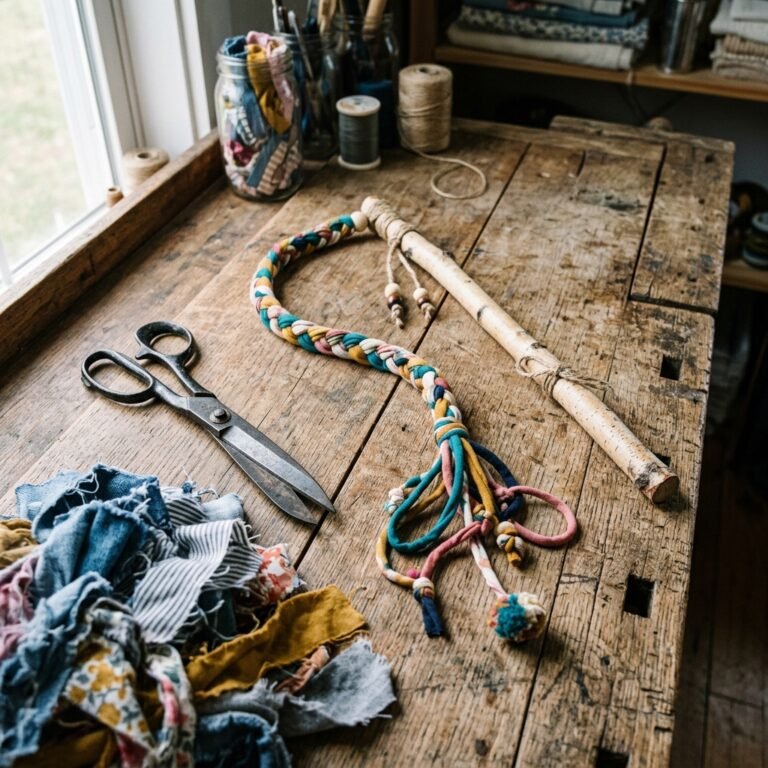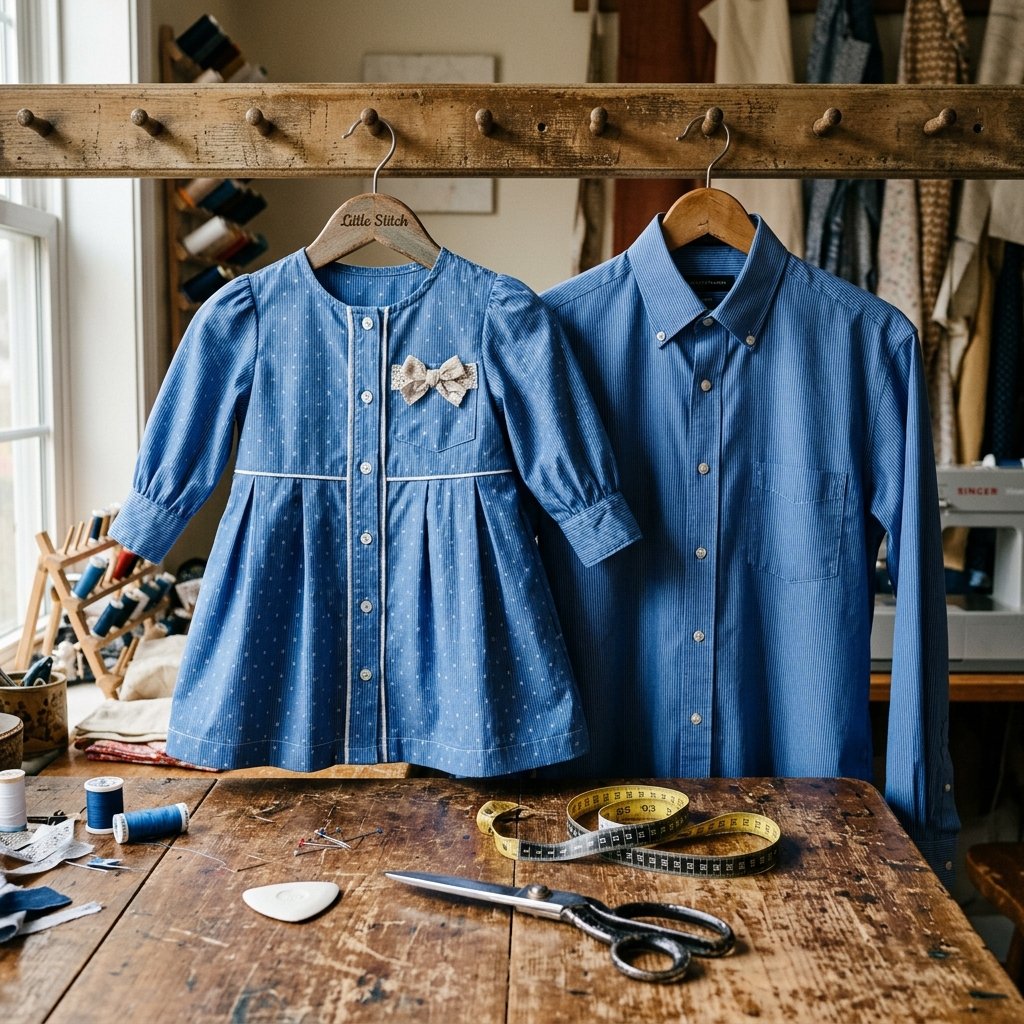

If you are a frugal DIYer, a handy parent, or just someone who appreciates the rugged art of turning trash into absolute treasure, you have likely stared into a closet and sighed at the pile of men’s button-down shirts waiting for the donation bin. You know the ones: the collar is slightly frayed, there is an unexplainable grease stain on one elbow, or perhaps it simply shrunk in the wash. But before you toss those rugged flannels, crisp oxfords, and elegant linen blends into the rag bag, stop! Those shirts are sitting on a goldmine of high-quality, pre-finished fabric. Today, we are diving deep into the ultimate budget-savvy crafting secret: turning his old button-downs into the absolute cutest DIY toddler dresses you have ever seen. This is not just about saving money, although keeping $40 to $60 in your pocket instead of buying a boutique dress is a massive win. This is about resourceful creativity. By utilizing the existing button placket and the professionally finished bottom hem of a man’s shirt, you are skipping the hardest parts of dressmaking. You are working smarter, not harder. Whether you are a master tailor or a crafty beginner who barely knows how to thread a bobbin, this step-by-step guide will empower you to create a beautiful, heirloom-quality garment for 100% free. Grab your fabric scissors, channel your inner upcycling genius, and let us transform that forgotten menswear into a masterpiece of miniature fashion.
The Magic of Upcycling: Why Dad’s Old Shirts Make the Best Toddler Dresses
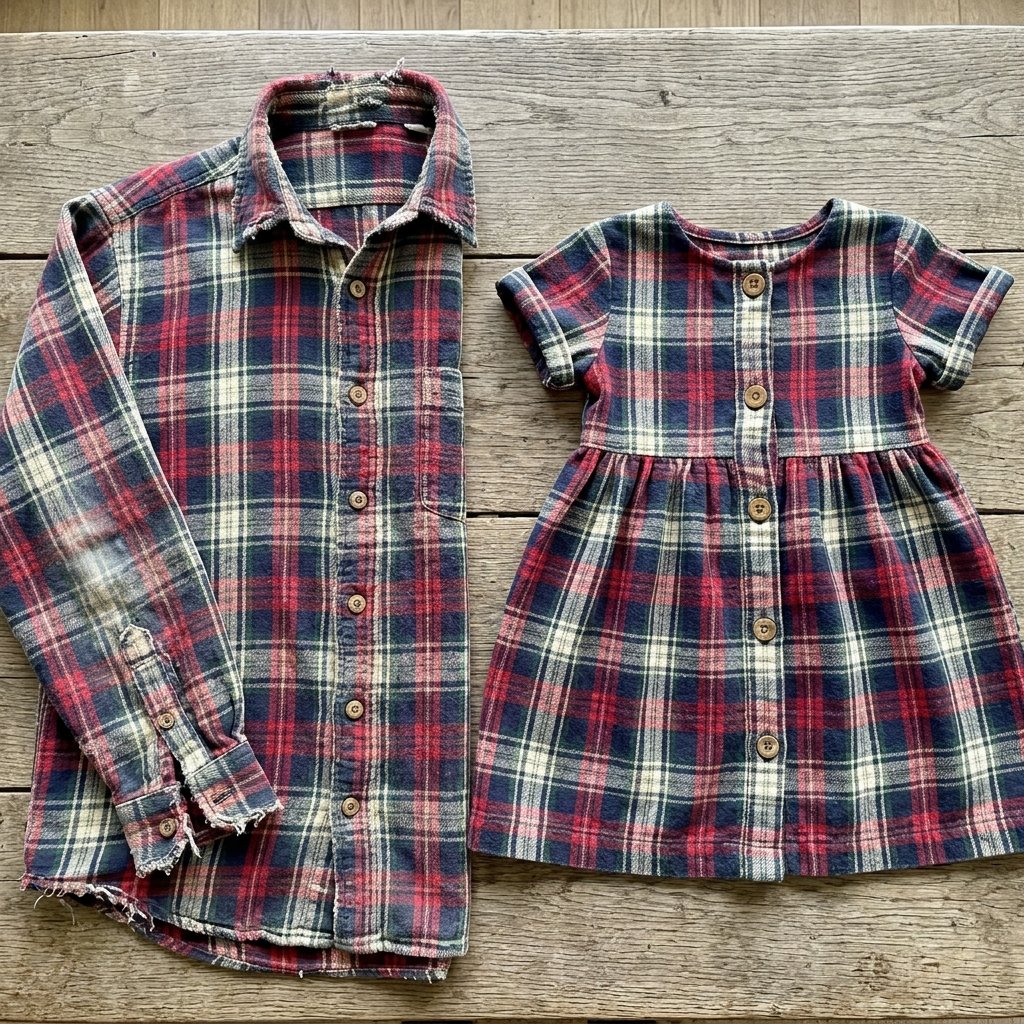
There is a profound, almost masculine-elegant satisfaction in taking something worn and giving it a completely new, practical life. Men’s dress shirts are typically constructed from incredibly durable, high-quality woven cotton, breathable linen, or cozy, rugged flannel. These fabrics are designed to withstand years of heavy wear, dry cleaning, and ironing. When you repurpose them for toddler clothing, you are gifting your little one a garment made from superior textiles that would cost a premium at a fabric store. Furthermore, the brilliant engineering of upcycling a button-down shirt lies in the built-in shortcuts. The button placket (the strip down the front with the buttons and buttonholes) becomes the ready-made back or front closure of your toddler dress. The finely stitched bottom hem of the shirt becomes the finished hem of the dress. You are essentially letting the original tailor do half the work for you.
Comparing the Costs: Boutique vs. Resourceful DIY
Let us look at the raw numbers. When you are a budget-savvy parent, every dollar counts. Buying custom or boutique upcycled clothing can drain your wallet faster than a toddler can spill juice. Here is a breakdown of why this project is the ultimate frugal win.
| Feature / Expense | Store-Bought Boutique Dress | DIY Upcycled Men’s Shirt Dress |
|---|---|---|
| Fabric Quality | Often thin cotton blends | Premium Oxford cotton, linen, or flannel |
| Cost of Materials | $35 – $65 | $0.00 (Upcycled from closet) |
| Time Investment | 30 minutes (Shopping/Shipping) | 60 – 90 minutes (Crafting joy) |
| Environmental Impact | Fast fashion waste | Zero-waste, eco-friendly upcycling |
| Sentimental Value | None | Priceless (Made from Dad’s favorite shirt) |
As you can see, the savings are undeniable. For an investment of roughly an hour of your time, you are producing a garment that rivals high-end children’s boutiques while keeping textiles out of the landfill.
Sourcing and Prepping Your Materials Like a Master Tailor
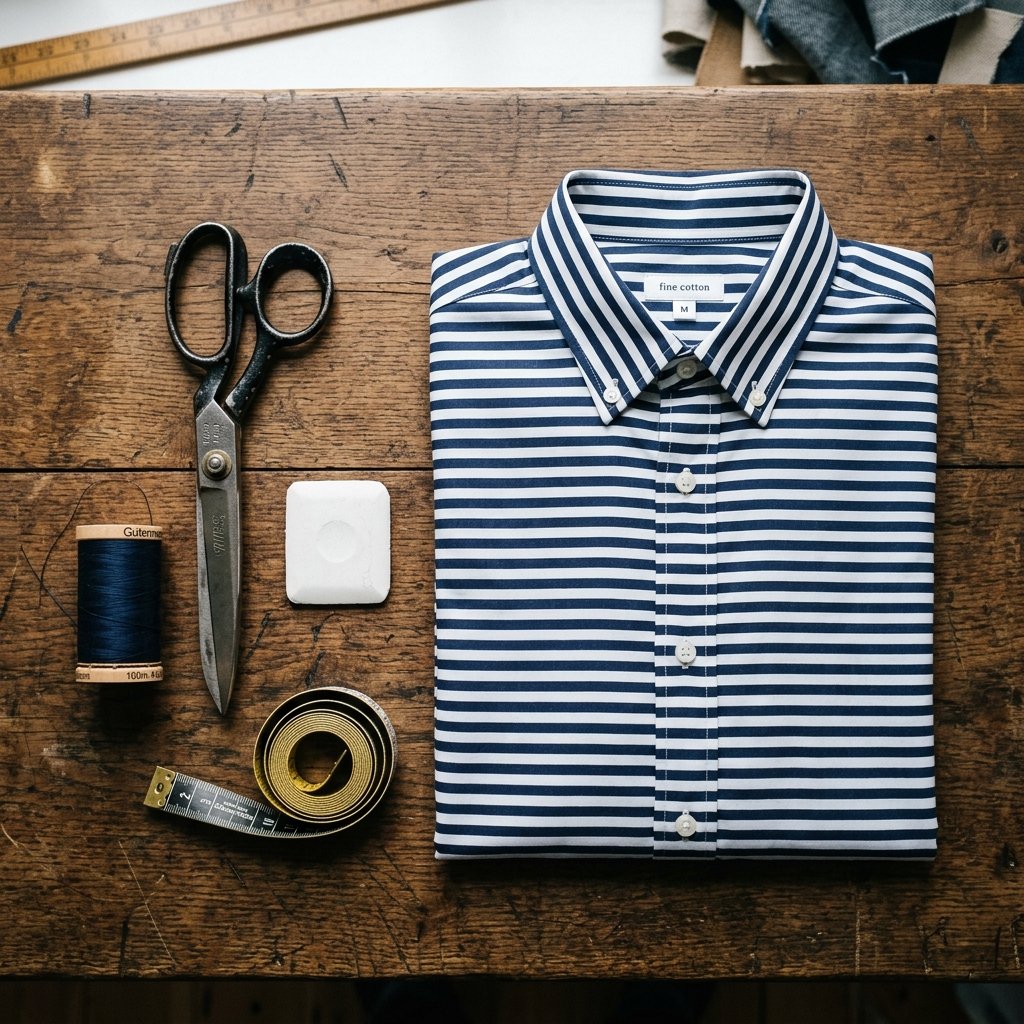
Every great craftsman knows that preparation is the foundation of a successful project. You cannot just grab any shirt out of the hamper and start hacking away with kitchen scissors. You need the right tools, the right canvas, and the right approach. First, hunt for the perfect shirt. You want a men’s size Medium, Large, or Extra-Large. The larger the shirt, the more fabric yield you get, which is crucial if you are making a dress for a toddler older than 2T. Look for shirts where the front chest and lower back are free of major stains or tears. Frayed collars and worn-out elbows are perfectly fine because we will be cutting those away completely.
Essential Tools for the Frugal Dressmaker
- One Men’s Button-Down Shirt: Washed and thoroughly ironed.
- Fabric Scissors: Do not use your paper scissors! Sharp shears ensure clean cuts.
- An Existing Toddler Dress: To use as a foolproof, zero-cost pattern template.
- Tailor’s Chalk or a Washable Marker: For tracing your lines.
- Sewing Machine & Thread: A basic straight stitch is all you need.
- Elastic: About 1/4 inch wide, for gathering the neckline or sleeves (optional but recommended).
- Pins or Sewing Clips: To hold your masterpiece together before sewing.
Safety & Crafting Disclaimer: When working with sewing machines, rotary cutters, or sharp fabric shears, always ensure your workspace is well-lit and free of distractions. Keep sharp tools and small items like pins out of reach of curious toddlers who might be
The Blueprint: Cutting Your Pattern with Resourceful Precision
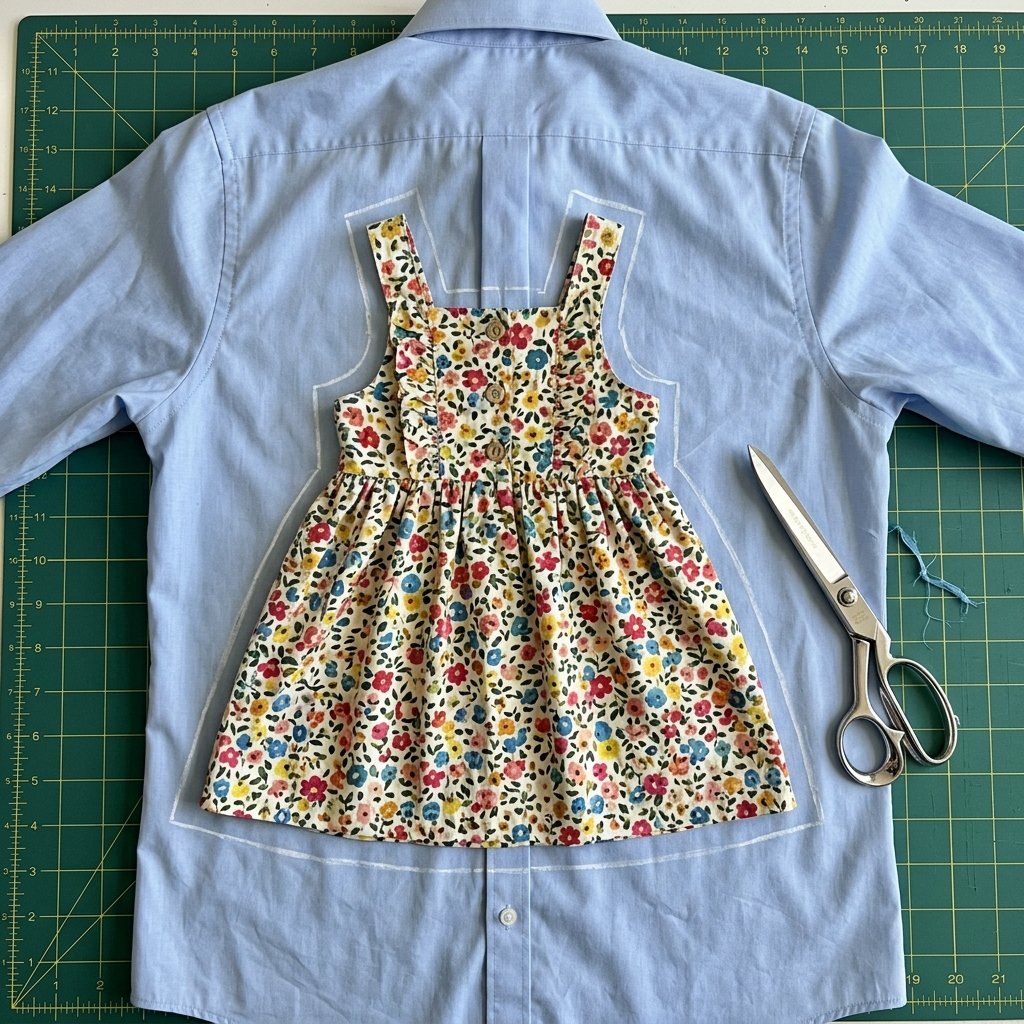
This is where your crafty-expert skills truly shine. We are going to bypass complicated paper patterns and use the easiest, most practical method available: cloning a dress that already fits your child perfectly. This technique guarantees a great fit and saves you the $15 you would have spent on a commercial sewing pattern.
Step-by-Step Cutting Instructions
- Button It Up and Lay It Flat: Button the men’s shirt completely. Lay it perfectly flat on your cutting surface, smoothing out any wrinkles. The buttons should be facing up and running straight down the center.
- Position Your Template: Take the existing toddler dress (your template) and fold it in half lengthwise. Lay it over the center of the men’s shirt. Here is the clever trick: align the bottom hem of the toddler dress with the bottom hem of the men’s shirt. This preserves the professionally finished hem!
- Trace with Seam Allowance: Using your tailor’s chalk, trace around the toddler dress. You must leave a 1/2 inch gap between the dress and your chalk line to account for the seam allowance. When you reach the armholes and neckline, trace them exactly as they are on the template.
- The Cut: Pin the front and back layers of the men’s shirt together so they do not shift. Carefully cut along your chalk lines, cutting through both the front and back of the shirt simultaneously. You will cut right through the collar and shoulders, discarding the top yoke of the shirt.
- Salvage the Sleeves: Do not throw away the sleeves! Cut them open so they lay flat. You can use this extra fabric to cut out matching pockets, a waist sash, or even cute little ruffled cap sleeves for the dress.
By executing this resourceful cutting strategy, you have just created a perfectly sized front and back bodice, complete with a working button closure down the center and a fully finished bottom hem. It is a brilliant, budget-savvy maneuver that feels incredibly rewarding.
Sewing It Together: A Frugal Crafter’s Assembly Guide
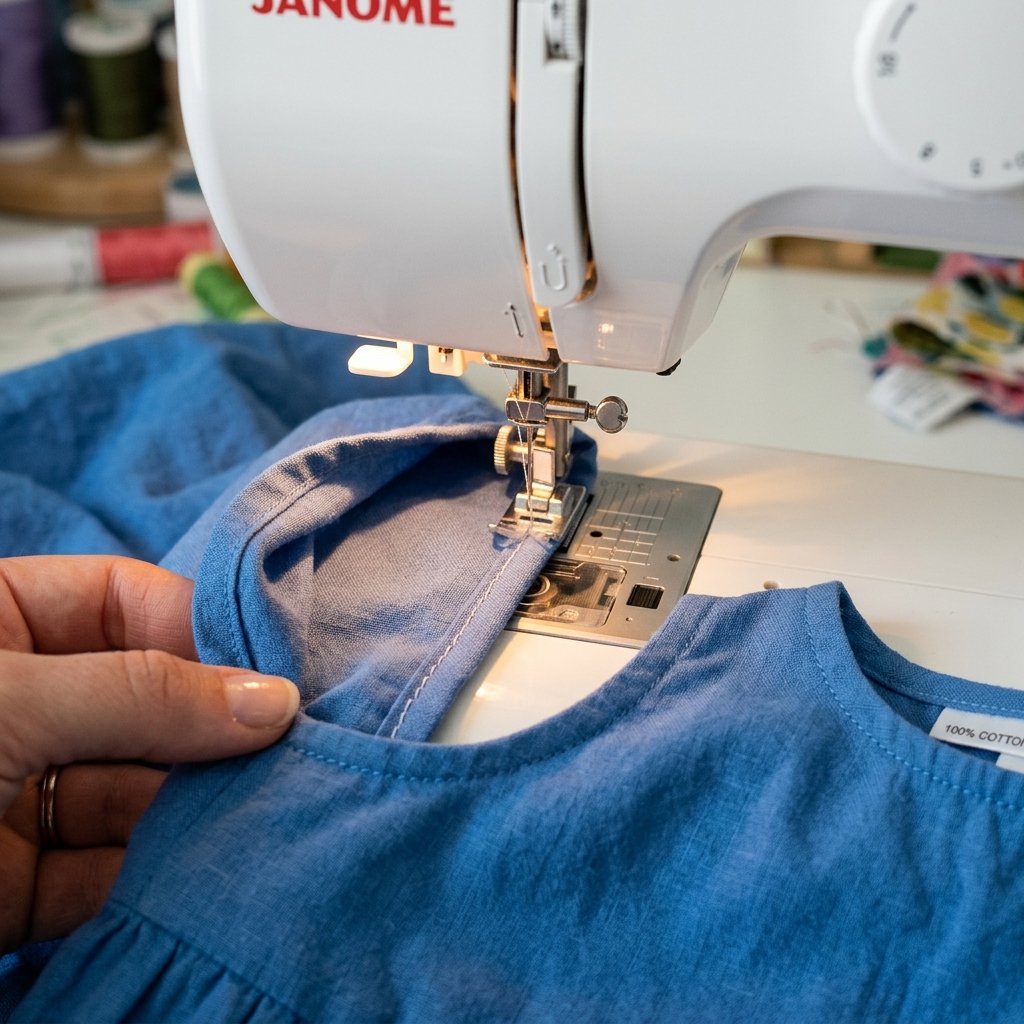
Now that your pieces are cut, it is time to assemble the dress. Do not be intimidated if you are not a master tailor; this process is straightforward, practical, and highly forgiving. We are going to use basic stitches to create a ruggedly durable yet elegant little garment.
Step 1: Sewing the Side Seams
Take your front piece (the one with the buttons) and your back piece. Unbutton the front piece so you have two halves. Now, place the front pieces and the back piece with their right sides together (the sides of the fabric you want visible on the outside). Pin along the left and right side seams. Take this to your sewing machine and sew a straight stitch down both sides with a 1/2 inch seam allowance. To prevent the fabric from fraying over time, finish these raw edges with a zigzag stitch or pinking shears.
Step 2: Finishing the Armholes
Because we want this dress to look boutique-quality, we cannot leave raw edges at the armholes. Fold the edge of the armhole fabric over by 1/4 inch, press it with a hot iron, and then fold it over another 1/4 inch to hide the raw edge completely. Pin it securely and sew a straight stitch close to the folded edge. This creates a beautifully clean, professional finish.
Step 3: Creating the Elastic Neckline
The neckline is where this dress gets its adorable, gathered look. Fold the top raw edge of the neckline down by 1/4 inch and iron it. Then, fold it down again by 3/4 inch and iron it flat. Sew along the lower folded edge, but leave a 1-inch opening near the back. This creates a casing (a little fabric tunnel). Take a piece of 1/4 inch elastic (measure it against your toddler’s chest/shoulders for the right length, usually about 18 to 20 inches). Attach a safety pin to one end of the elastic and thread it all the way through the casing. Once the elastic comes out the other side, sew the two ends of the elastic together securely. Finally, sew the 1-inch opening closed.
Pro Frugal Tip: If you do not have elastic on hand, do not rush to the store! You can use a sturdy shoelace or a ribbon salvaged from gift wrapping to create a drawstring neckline instead. Resourcefulness is your best tool!
The Finishing Touches: Adding Masculine-Elegant and Crafty Details
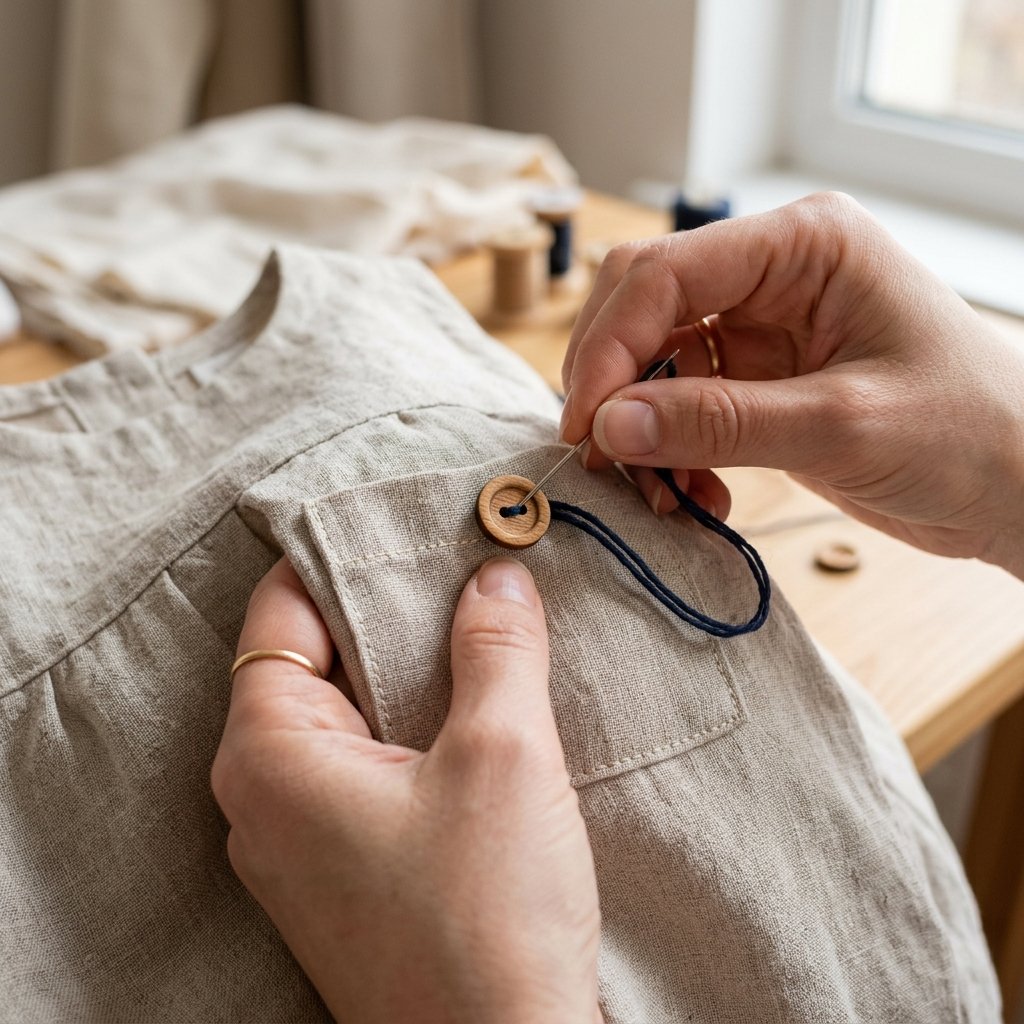
The basic structure of your upcycled dress is complete, but the magic lies in the details. This is where you elevate the garment from a simple sewing project to a custom, high-end piece of clothing. Since we saved so much time by utilizing the shirt’s original hem and buttons, we can afford to spend 10 to 15 minutes adding some delightful embellishments.
Utilizing the Leftover Scraps
Remember those sleeves we set aside? It is time to put them to work. Frugal DIYers waste nothing. Here are a few clever ways to use the remaining fabric:
- Patch Pockets: Cut two small squares from the leftover sleeve fabric. Fold the edges under, iron them flat, and topstitch them onto the front of the dress. Toddlers love pockets for storing rocks, dandelions, and small toys. It adds a practical, rugged charm to the dress.
- A Waist Sash: Cut long, straight strips from the sleeves. Sew them together to create a long ribbon. You can attach this to the side seams of the dress to tie a beautiful bow in the back, giving the dress a more fitted, elegant silhouette.
- Contrast Collar: If you are feeling particularly adventurous, you can use fabric from a completely different scrap project (perhaps an old bandana or a piece of contrasting floral fabric) to create a Peter Pan collar.
Take a moment to inspect the original buttons. Are they plain white plastic? If you want to add a rustic, masculine-elegant touch, consider swapping them out for wooden buttons or vintage brass buttons salvaged from another worn-out garment. It is a zero-cost upgrade that drastically changes the aesthetic of the dress. Press the entire dress one final time with a hot iron and plenty of steam. A well-pressed garment always looks exponentially more expensive and professionally made.
Conclusion
Congratulations, my frugal friend! You have successfully executed a masterclass in upcycling. By looking past the frayed collar of an old button-down shirt, you have unlocked the potential to create a stunning, custom-fit toddler dress that costs absolutely nothing but a little bit of your time. This project is the epitome of resourceful creativity—it reduces waste, saves serious money, and results in a garment infused with love and practical ingenuity. The next time you are cleaning out a closet, do not just see old clothes; see the raw materials for your next great DIY adventure. Keep those fabric shears sharp, trust in your crafty instincts, and never underestimate the power of a good upcycling hack. Happy sewing, and enjoy watching your little one twirl in their brand new, trash-to-treasure masterpiece!

Makenzie is the founder and lead writer at MoneyHackTips.com — a personal finance blog dedicated to delivering street-smart financial wisdom for real people on real budgets. With 300+ published articles covering everything from debt management to investing fundamentals, Makenzie’s mission is to make every dollar work harder. When not writing about money hacks, Makenzie is testing frugal living strategies, optimizing side hustles, and helping readers build financial freedom from scratch.