
The Ultimate Parenting Hack: Turning Trash into Treasure
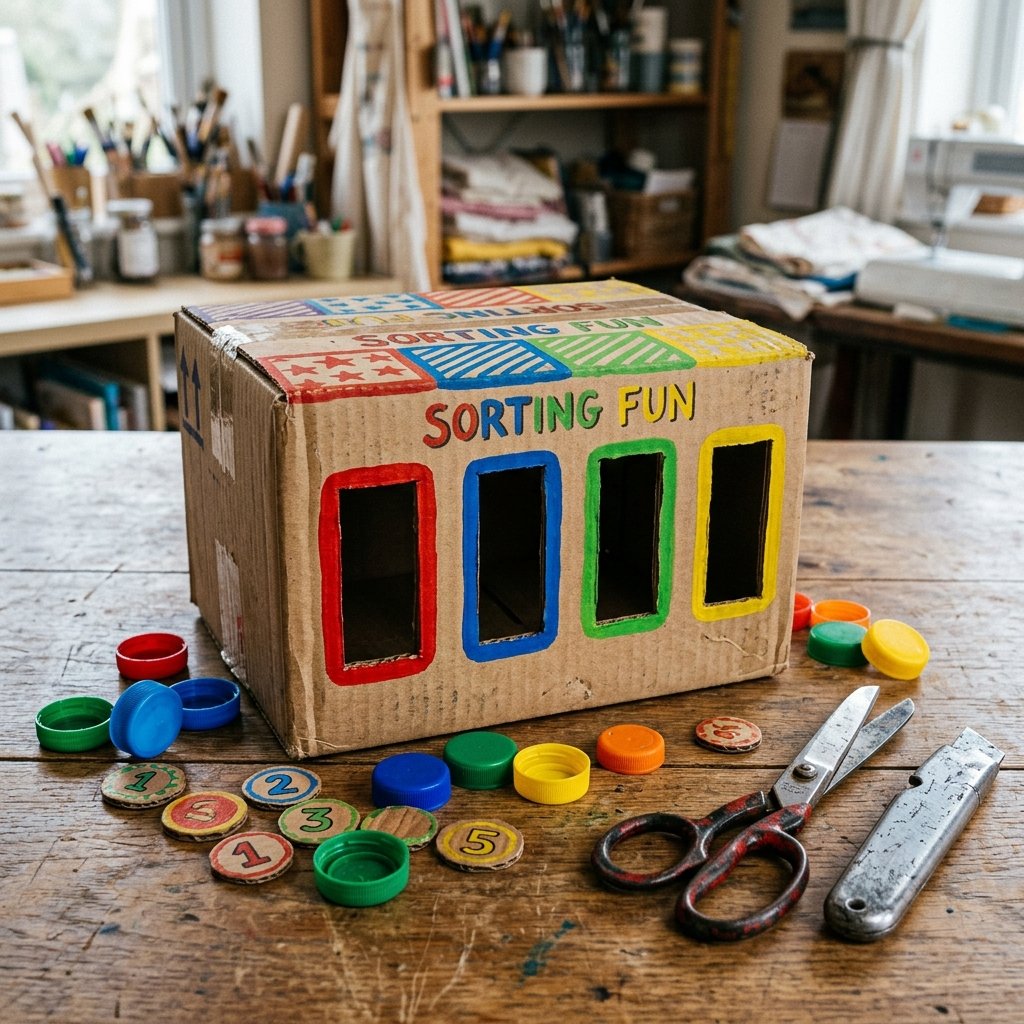
If there is one universal truth of parenting, it is this: you can spend a small fortune on a high-tech, flashing, singing, battery-guzzling educational toy, and your toddler will ultimately spend more time playing with the cardboard box it came in. As resourceful parents and frugal DIYers, it is time we lean into that reality. Why fight the magnetic allure of corrugated cardboard when we can harness it? Welcome to the ultimate crafty-expert guide on building a DIY Cardboard Color Sorting Box. This is not just a craft; it is a tactical parenting maneuver. By upcycling materials from your recycling bin, you are about to create an engaging, skill-building powerhouse that costs absolutely $0.00 and takes less than 30 minutes to construct.
This rugged, practical project hits the sweet spot of budget-savvy living and intentional parenting. We are going to take a standard shipping box, apply some clever engineering, and transform it into a Montessori-inspired educational tool. Color sorting boxes are phenomenal for developing a toddler’s fine motor skills, hand-eye coordination, and cognitive color recognition. But instead of shelling out $30 or more for a wooden or plastic version that will eventually gather dust, we are building a durable, custom-made version. When it gets crushed by an enthusiastic toddler, you simply toss it in the recycling and build another one. Roll up your sleeves, grab your trusty utility knife, and let us turn that pile of Amazon deliveries into hours of independent, focused playtime for your little one.
The Economics of Upcycling: Why Cardboard Beats Store-Bought Plastic
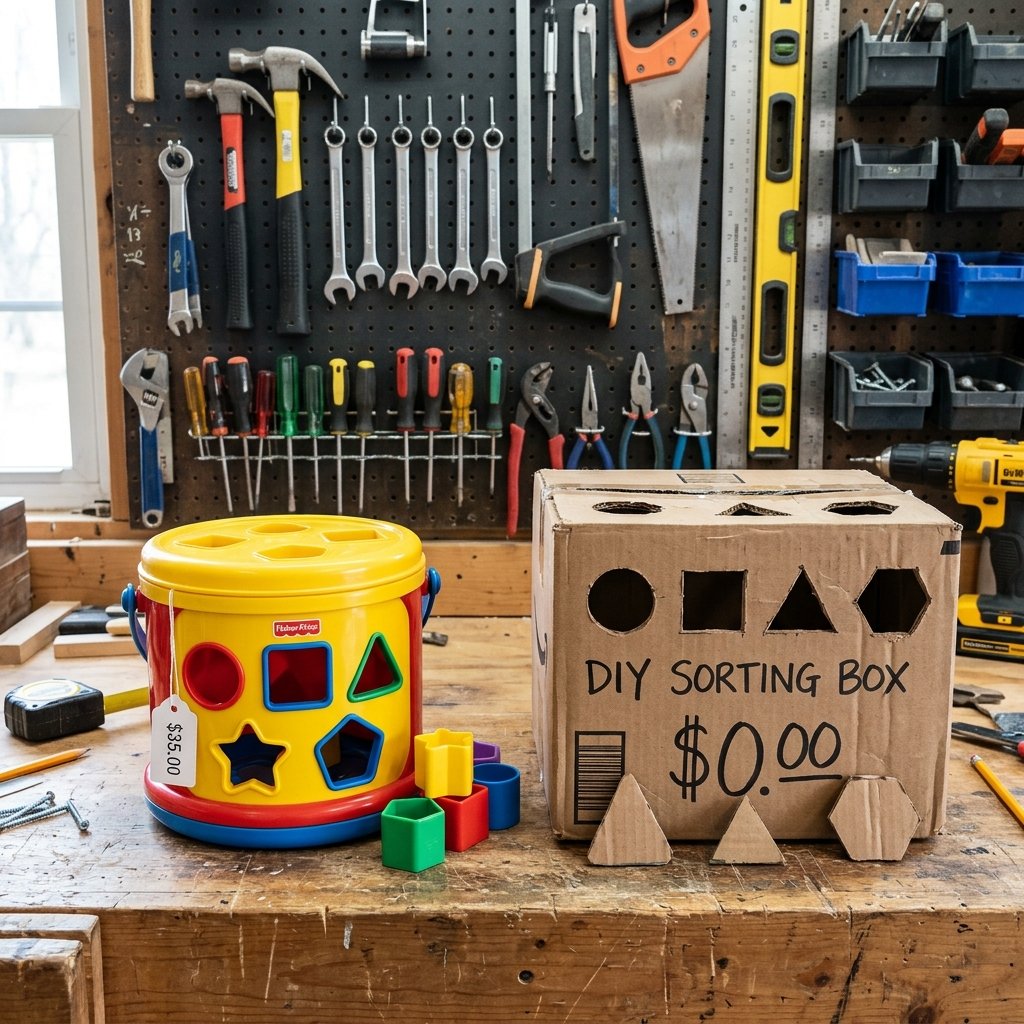
Before we dive into the construction phase, let us talk about the real value of this project. In a world that constantly markets expensive solutions for child development, choosing to build your own toys is an act of clever rebellion. Store-bought sorting toys are often made of single-use plastics or expensive, heavy woods. They take up permanent space in your home and drain your wallet. Cardboard, on the other hand, is the ultimate resourceful medium. It is lightweight, infinitely customizable, environmentally friendly, and best of all, 100% free.
When you craft a toy with your own hands, you are not just saving money; you are modeling resourcefulness for your child. You are showing them that we can create value from what others discard. Let us break down the tangible benefits of choosing the DIY route for this specific educational toy.
| Feature | Store-Bought Plastic Sorter | DIY Cardboard Sorter |
|---|---|---|
| Average Cost | $25 – $40 | $0.00 (100% Free) |
| Durability | High, but prone to cracking if dropped | Sturdy, and easily repairable with packing tape |
| Eco-Friendly | No (Often non-recyclable plastics) | Yes (Upcycled and fully biodegradable) |
| Customizability | Fixed design and colors | Infinite modifications as your child grows |
| Storage | Permanent clutter | Can be flattened or recycled when outgrown |
As the table illustrates, the budget-savvy choice is clear. The financial savings alone make this project worth your time, but the true victory is the look of pride on your toddler’s face when they master a toy that you built specifically for them.
Gathering Your Arsenal: Tools and Scraps You Already Have
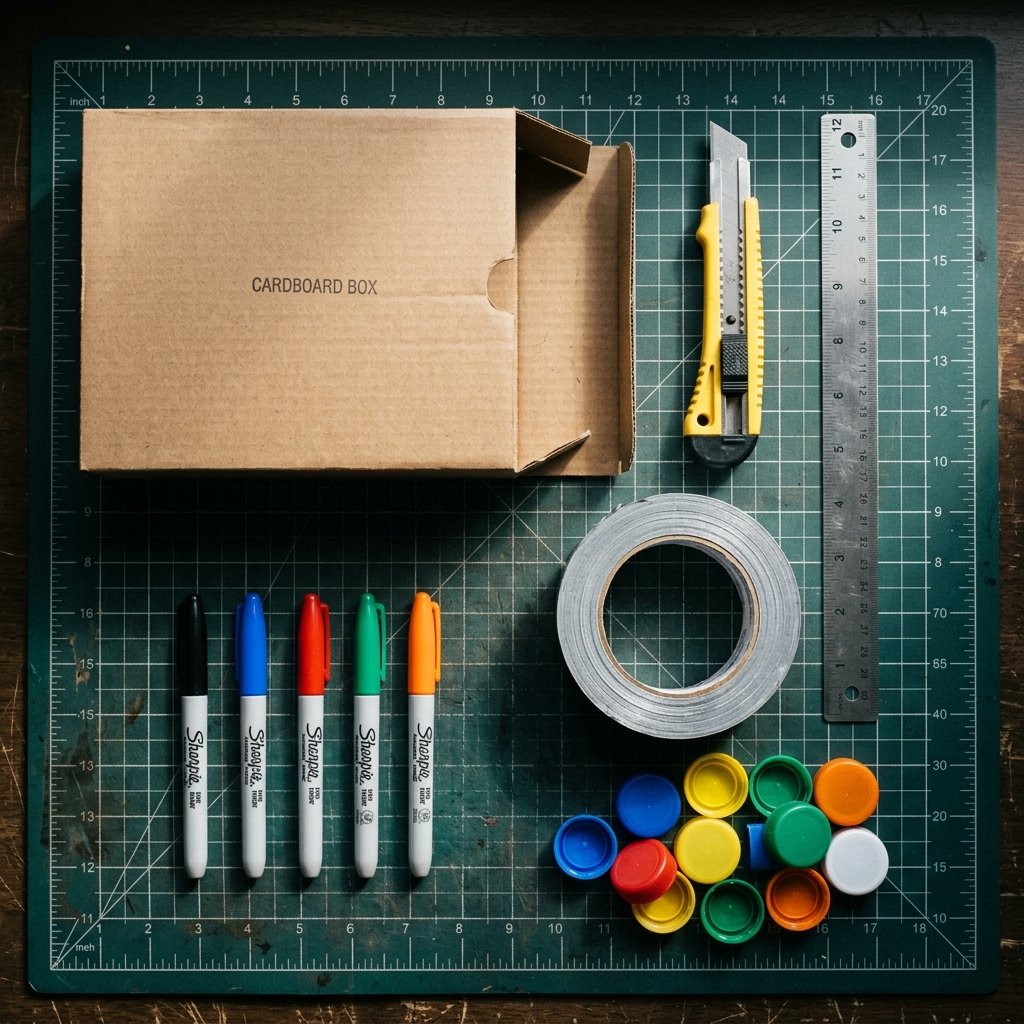
Every great craftsman knows that a project is only as good as the preparation behind it. Fortunately, the materials list for this color sorting box requires absolutely zero trips to the craft store. We are shopping directly from the recycling bin and your household junk drawer. The goal here is rugged practicality: use what you have, make it work, and make it sturdy.
The Master Materials List:
- One Medium-Sized Cardboard Box: A standard shoebox or a small to medium shipping box is perfect. You want something with a relatively flat top surface. Double-corrugated cardboard offers excellent durability if you have a heavy-handed toddler.
- A Sharp Utility Knife or Craft Scalpel: Precision is key here. A dull blade will tear the cardboard and leave jagged edges.
- Thick Packing Tape or Duct Tape: For reinforcing the internal structure and sealing the box shut.
- Coloring Mediums: Broad-tip permanent markers, acrylic paint, or scraps of colored construction paper. You will need at least four distinct colors (e.g., Red, Blue, Green, Yellow).
- A Ruler or Straight Edge: For measuring your slots.
- Sorting Tokens: This is where you get creative. You can use upcycled milk jug caps, baby food pouch caps, large buttons, or simply cut circles out of scrap cardboard and color them to match.
If you are using scrap cardboard for the tokens, ensure you cut them large enough so they do not pose a choking hazard. The general rule of thumb is that any item given to a toddler should be larger than a standard toilet paper tube opening.
Blueprint for Fun: Prepping and Cutting the Cardboard Base
Now that your arsenal is assembled, it is time to engineer the box. The structural integrity of this toy relies on a well-sealed base. If the box is flimsy, your toddler will crush it within the first 10 minutes of playtime. Start by taking your packing tape or duct tape and securely taping the bottom flaps of the box. If the cardboard feels weak, do not hesitate to reinforce the interior walls with extra panels of scrap cardboard glued or taped into place. We are building a tank of a toy here.
Step-by-Step Cutting Instructions:
- Seal the Box: Tape the top of the box completely shut. You want a solid, taut surface to work on.
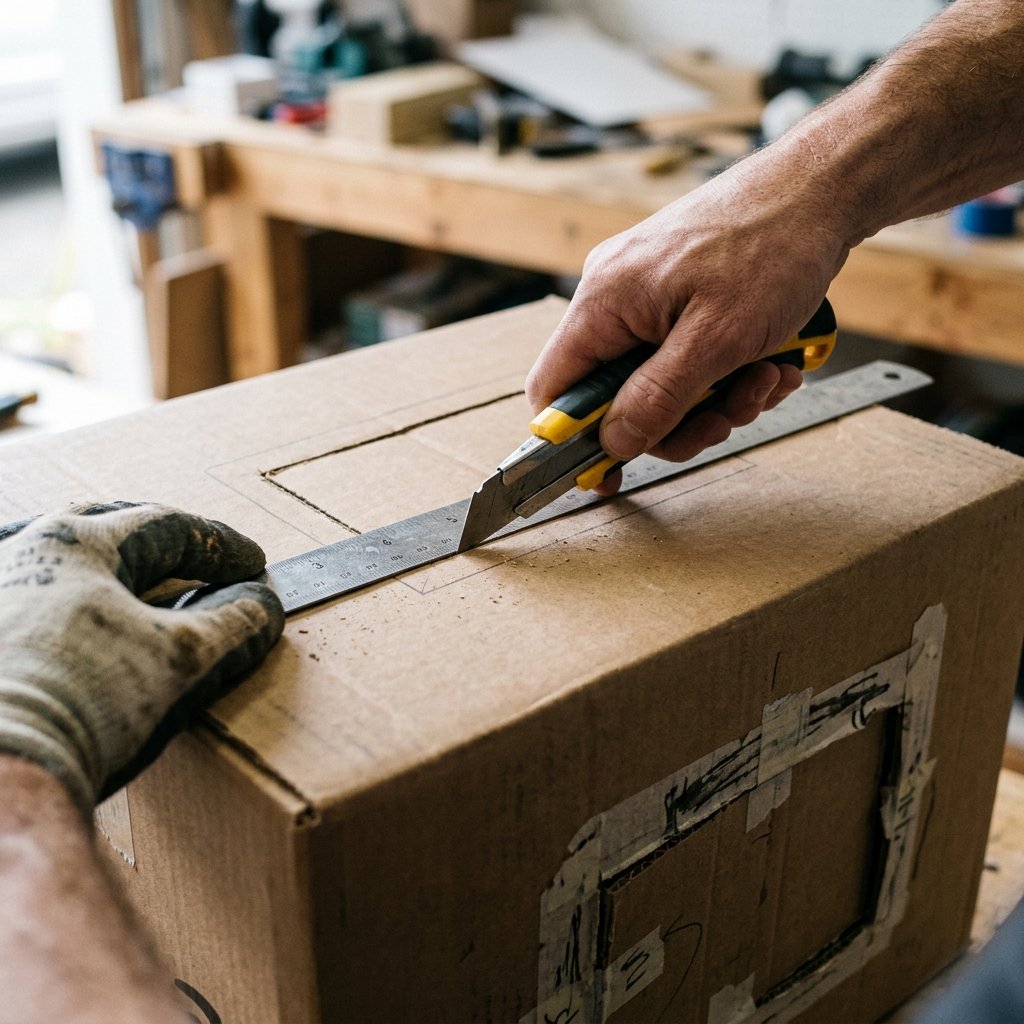
- Map the Slots: Using your ruler and a pencil, draw four evenly spaced rectangles on the top of the box. The size of these slots depends entirely on the sorting tokens you chose. If you are using milk jug caps, measure the cap and make the slot just slightly wider and thicker so the cap can drop through with a satisfying ‘plop’.
- Execute the Cuts: Take your sharp utility knife and carefully score the lines you drew. Do not try to cut all the way through on the first pass. Make several shallow passes until the blade cleanly pierces the cardboard.
- Create a Retrieval Door: Your toddler will need a way to get the tokens back out once they are sorted. On the bottom edge of one of the side panels, cut a large semi-circle or rectangular flap. Leave the top edge of this shape uncut so it acts as a hinge.
Safety First, Maker: Always use a fresh, sharp blade. A dull blade requires more force, which leads to slips. Cut away from your body, keep your non-cutting hand clear of the blade path, and ensure your little helpers are observing from a safe distance while the heavy-duty slicing happens.
Once your cuts are made, run your finger along the edges of the slots. If they feel overly rough or fibrous, you can use a small piece of fine-grit sandpaper to smooth them down, or line the inner edges with a thin strip of tape to prevent paper cuts and wear-and-tear.
Adding the Rainbow: Coloring and Coding the Sorting Holes
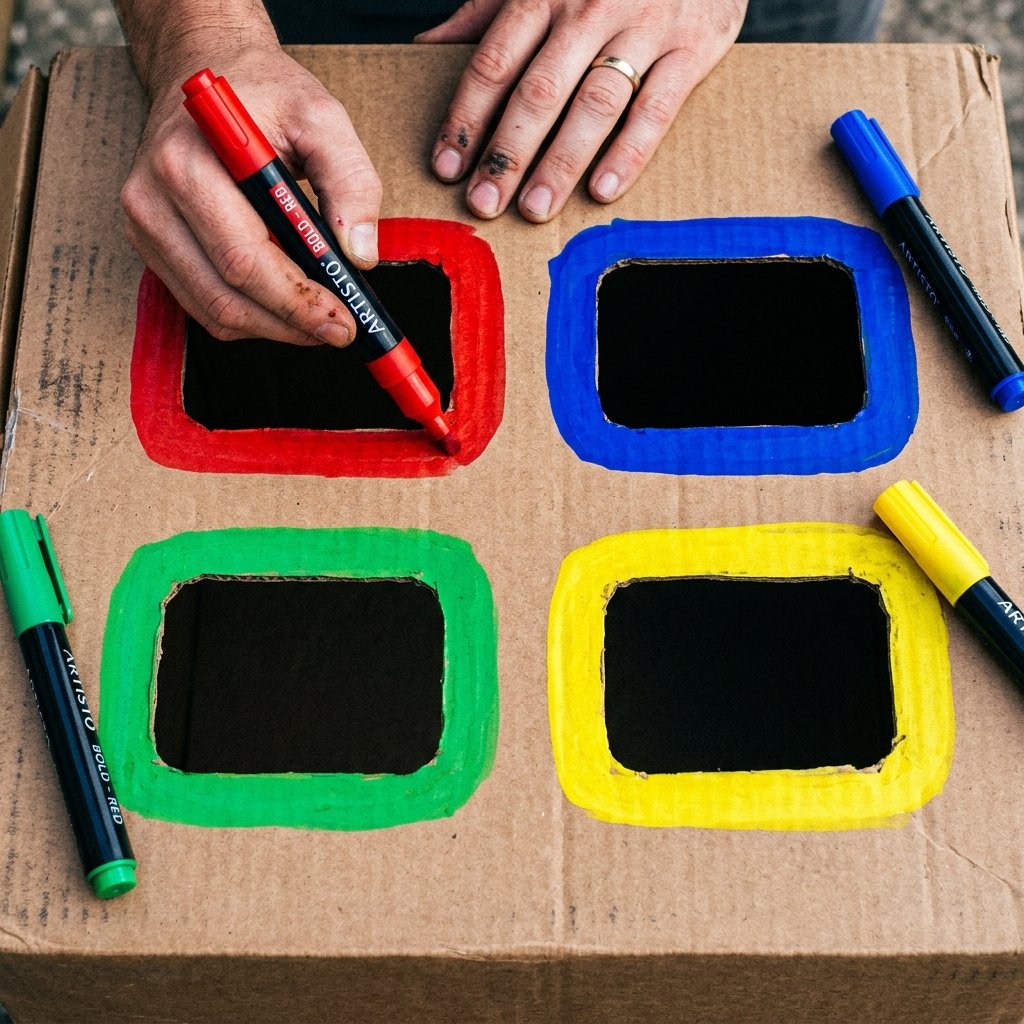
With the physical engineering complete, it is time to add the educational interface: the colors. This is how your toddler will know where to drop their tokens. You want the colors to be bold, highly contrasting, and visually stimulating. If you are a crafty-expert looking for a flawless finish, you might opt to wrap the entire box in neutral kraft paper or contact paper first to hide any shipping labels, but this is entirely optional. A rugged, clearly upcycled look has its own masculine-elegant charm.
Techniques for Applying Color:
- The Marker Method: The fastest and most budget-savvy option. Take thick permanent markers and draw a thick, vibrant border around each slot. To make it even clearer, color the entire quadrant of the box top surrounding that specific slot.
- The Construction Paper Hack: If your markers are running dry, dig into your craft scraps. Cut large squares of colored construction paper, cut a slot in the middle of each square to align with your box slots, and glue them down securely using a glue stick or spray adhesive.
- The Paint Approach: For a truly high-end look, use acrylic craft paint. Paint bold, solid blocks of color around each hole. Acrylic dries quickly and adds a slight layer of plasticized durability to the cardboard surface.
Whichever method you choose, ensure the colors are distinct. Stick to the primary and secondary basics: Red, Blue, Green, and Yellow. These are the easiest for developing eyes to distinguish and the most common colors you will find when scavenging for sorting tokens.
Crafting the Sorting Tokens: From Bottle Caps to Cardboard Coins
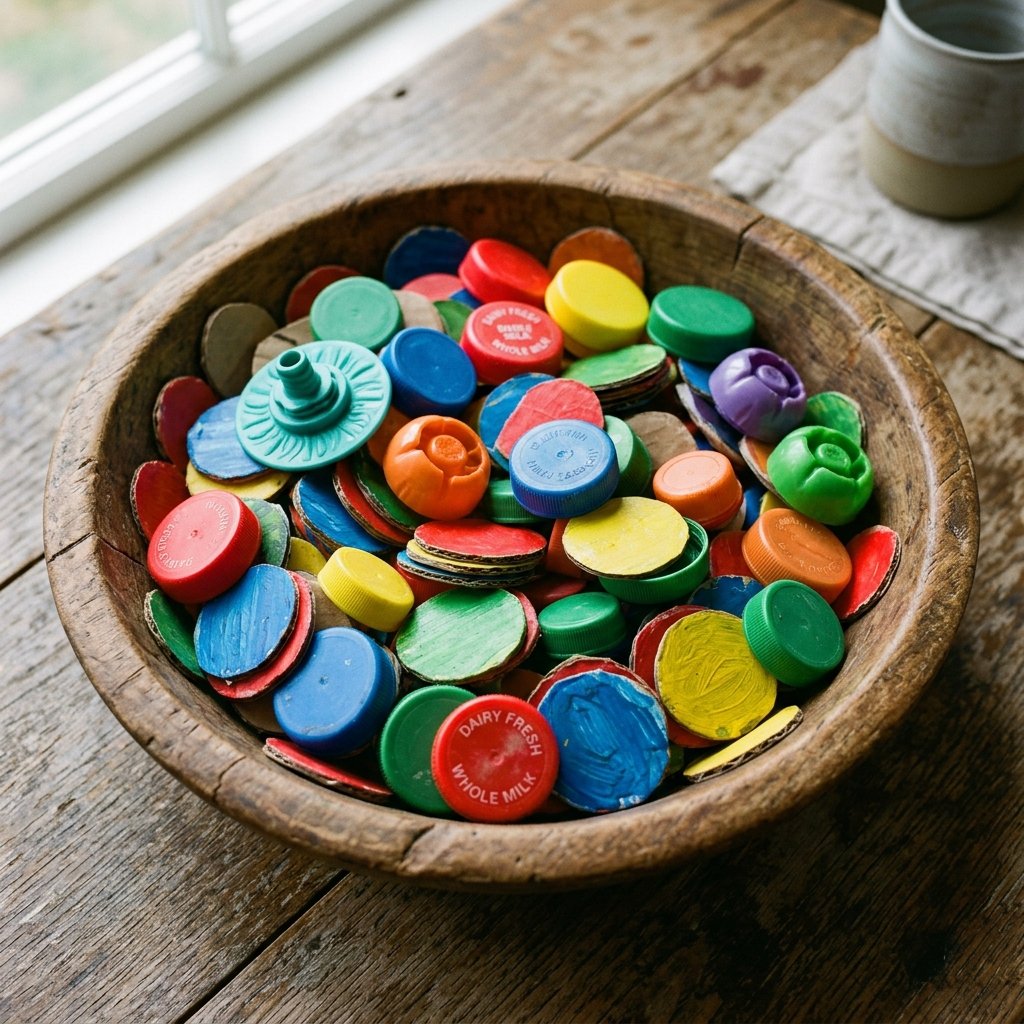
A sorting box is useless without something to sort. This is where your upcycling prowess truly shines. You need to gather or create at least 5 to 10 tokens per color. The weight, texture, and size of these tokens contribute significantly to the sensory experience of the toy. Here are the best frugal options for creating your ammunition.
Upcycled Token Ideas:
- Milk Jug and Juice Caps: These are the gold standard for DIY sorting boxes. They are durable, perfectly sized for little hands, and make a fantastic noise when they hit the bottom of the box. Start saving these weeks in advance. You can paint them, or simply sort them by their natural plastic colors.
- Baby Food Pouch Caps: If you have a toddler, you likely have an endless supply of these. They come in vibrant colors and have an interesting, gear-like texture that kids love to touch.
- DIY Cardboard Coins: If you want to complete the project today and do not have a stash of plastic caps, grab your leftover cardboard scraps. Trace a small cup or jar lid to draw perfect circles. Cut them out, and color both sides to match your sorting slots. Making 20 cardboard coins takes about 15 minutes and costs absolutely nothing.
- Painted Stones or Large Wooden Buttons: If you want to add some satisfying weight to the activity, smooth river stones painted with non-toxic acrylics work beautifully, provided they are large enough to be safe.
The Rule of the Satisfying Drop: Toddlers are motivated by cause and effect. The tokens you choose should be heavy enough to make an audible ‘thud’ or ‘clack’ when they drop into the box. This auditory feedback is a crucial part of the reward system that keeps them engaged for hours.
Playtime Mechanics: How to Introduce the Box to Your Toddler
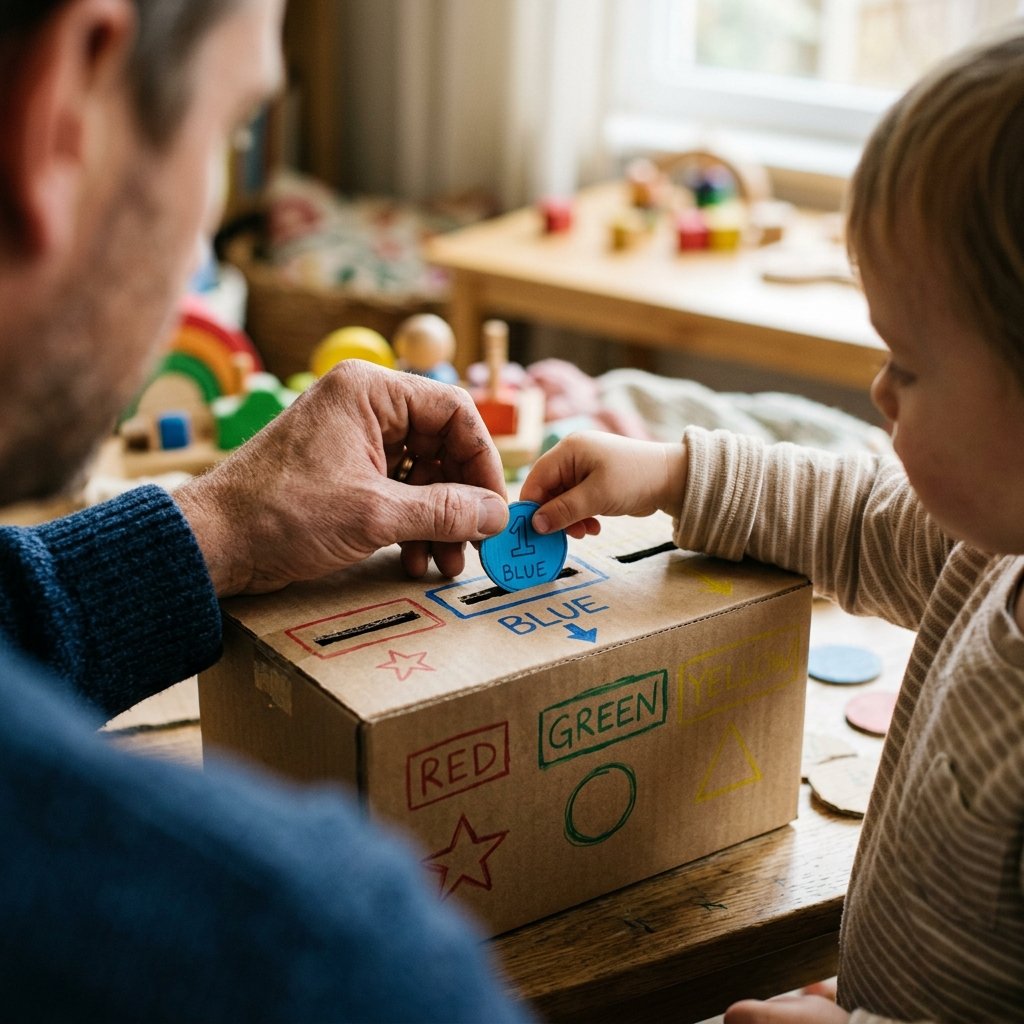
You have built the machine; now it is time to train the operator. Introducing a new educational toy requires a bit of strategy. If you simply hand the box to your toddler, they might just sit on it or try to rip the flaps off. To maximize the fine motor skill development and ensure hours of independent play, you need to guide them through the mechanics of the color sorting box.
Start by sitting on the floor with your child and the box. Place one token of each color in front of them. Point to the red token, say the word “Red” clearly, and then point to the red slot on the box. Slowly demonstrate picking up the token, aligning it with the slot, and pushing it through. Exaggerate your excitement when it drops inside. Next, hand them a token and guide their hand toward the correct slot.
Troubleshooting Common Toddler Tactics:
- The Brute Force Approach: If your toddler tries to jam a token in horizontally instead of vertically, gently guide their wrist to rotate the token. This twisting motion is exactly the fine motor skill we are trying to develop.
- The Wrong Color Drop: When they inevitably drop a blue token into the yellow slot, do not correct them harshly. Simply say, “Whoops, that one went into the yellow hole! Let’s find the blue hole next.” The goal is engagement, not instant perfection.
- The Hoarder: Some kids will just want to hold all the tokens. Encourage them to “feed the hungry box” to initiate the dropping mechanic.
Once they understand the concept, step back. Let them experiment. The beauty of this zero-budget DIY toy is that it fosters independent, focused play. You will be amazed at how a simple cardboard box can buy you 45 minutes of uninterrupted time to drink your coffee or tackle a household project.
Leveling Up: Advanced Modifications for Older Toddlers
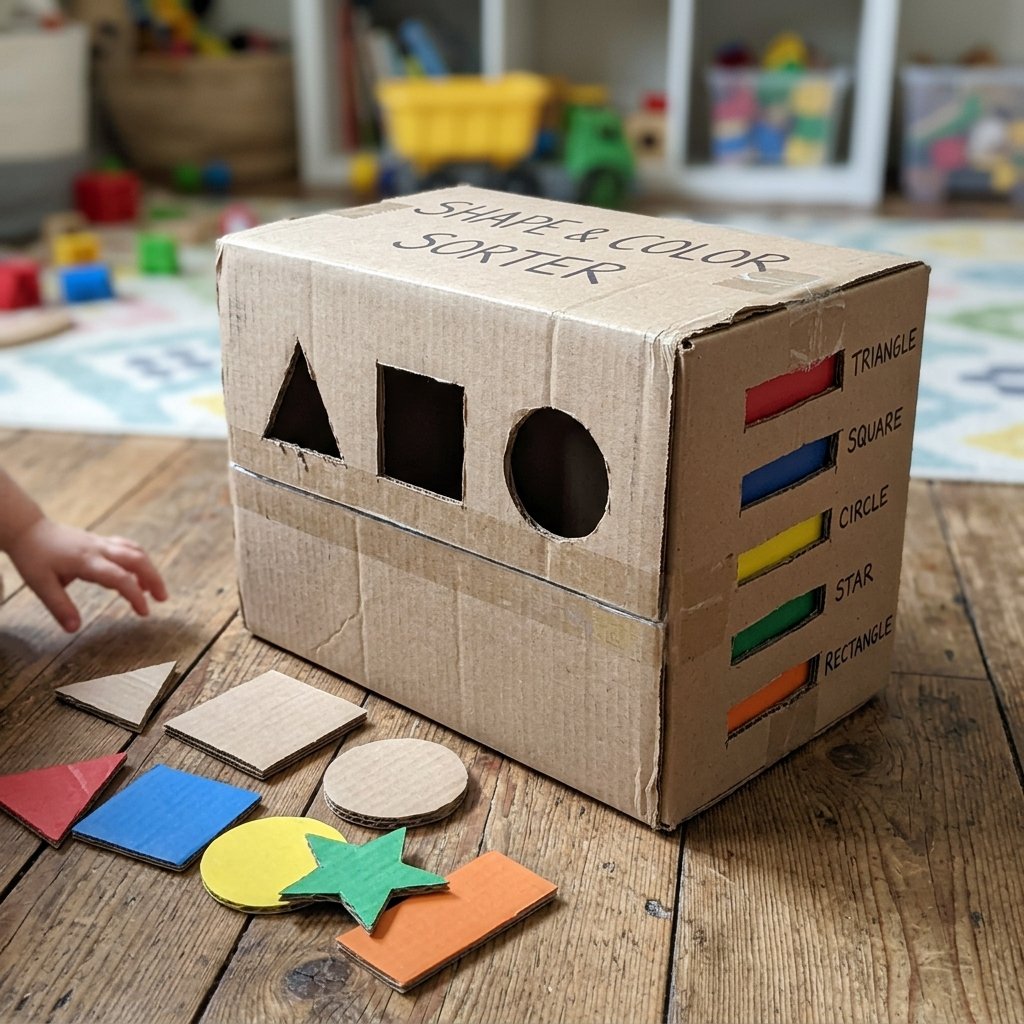
One of the greatest advantages of cardboard engineering is its adaptability. A $30 store-bought toy is static; it does one thing forever. Your resourceful DIY creation can evolve as your child’s cognitive abilities grow. When your toddler masters basic color sorting and starts getting bored, do not throw the box away—upgrade it.
Phase 2 Modifications:
- Shape Sorting: Once colors are mastered, turn the box around to a blank side. Cut different geometric shapes (a circle, a square, a triangle, a star). Create matching cardboard tokens. Now they are sorting by shape, which requires advanced spatial awareness and wrist rotation.
- Number and Counting Drops: Write numbers 1 through 4 next to the original color slots. Ask your toddler to drop exactly “three red tokens” into the red slot. This introduces basic math and following multi-step instructions.
- Texture Matching: Glue different textures to the tokens (a piece of sandpaper, a swatch of velvet, a square of corrugated cardboard) and match them to textured patches next to the slots. This transforms the toy into a sensory integration tool.
By continuously modifying this simple cardboard structure, you extend its lifespan by months, if not years. It is the ultimate testament to frugal, clever parenting: taking what is free, applying a little elbow grease, and creating enduring value.
Conclusion
The Final Verdict: Crafting Memories on a Dime
Building this DIY Cardboard Color Sorting Box is proof that you do not need a massive budget to provide high-quality, developmentally appropriate toys for your children. With just a discarded shipping box, a sharp knife, and a handful of upcycled bottle caps, you have engineered a tool that builds fine motor skills, enhances color recognition, and fosters independent play. You have saved yourself anywhere from $25 to $40, kept plastic out of the landfill, and exercised your own creative problem-solving muscles.
Parenting is expensive, but engaging your child’s mind does not have to be. Embrace the resourceful, crafty-expert within you. Look at your recycling bin not as trash, but as a stockpile of raw materials waiting for a purpose. The next time an oversized box arrives at your doorstep, do not rush to break it down. Look at it, envision the possibilities, and get to building. Your wallet, your sanity, and your toddler will thank you.

Makenzie is the founder and lead writer at MoneyHackTips.com — a personal finance blog dedicated to delivering street-smart financial wisdom for real people on real budgets. With 300+ published articles covering everything from debt management to investing fundamentals, Makenzie’s mission is to make every dollar work harder. When not writing about money hacks, Makenzie is testing frugal living strategies, optimizing side hustles, and helping readers build financial freedom from scratch.