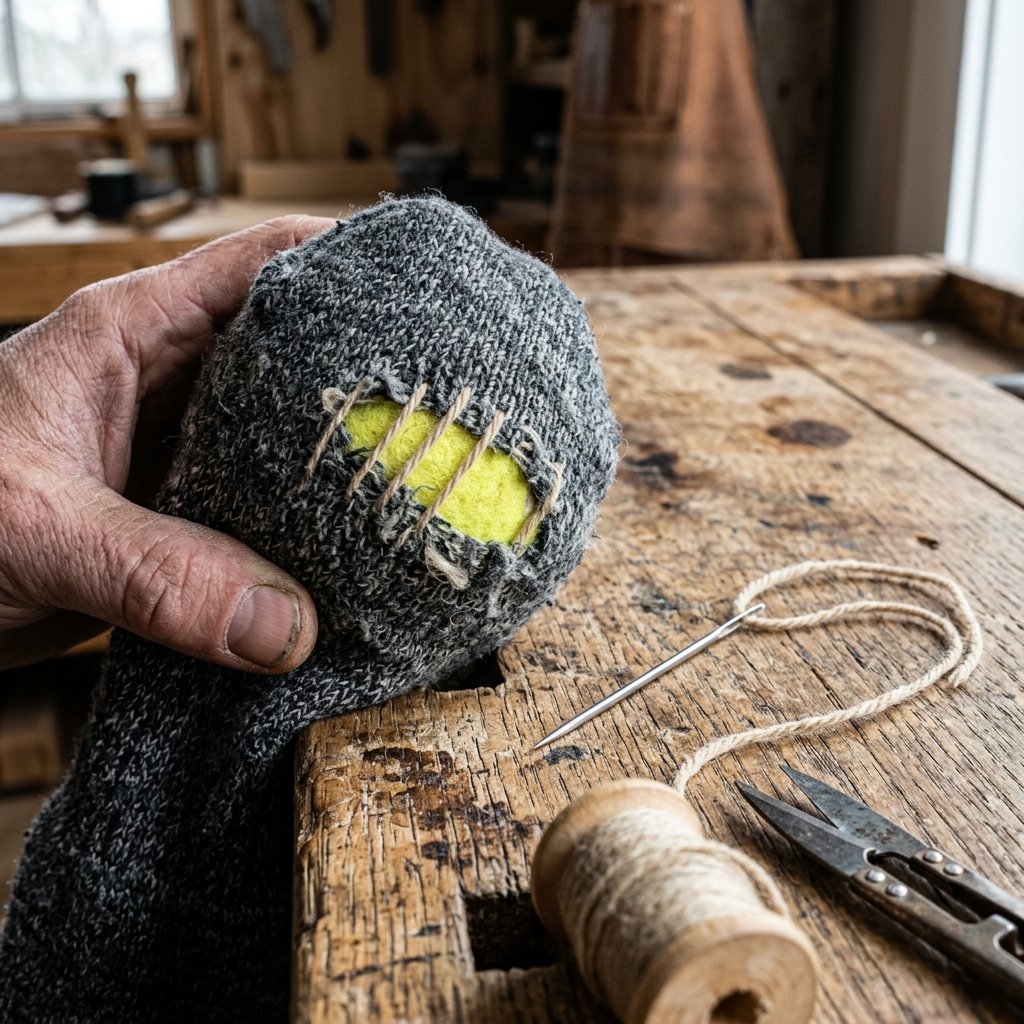

The Rugged Art of the Mend
There is something inherently satisfying about a garment that tells a story. In an era of disposable ‘fast fashion,’ the act of mending is a rebellious, clever, and deeply practical skill. When your favorite pair of heavy wool hiking socks or those comfortable cotton daily-drivers develop a hole, your first instinct shouldn’t be the trash can—it should be your gear bag. But what happens when you don’t own a traditional wooden darning mushroom? You look for the most resourceful tool in your garage: the humble tennis ball.
Darning is essentially a miniature weaving process that replaces lost fabric. It’s a masculine-elegant solution to a common problem, requiring nothing more than a bit of patience, a needle, and the right tension. Using a tennis ball provides the perfect spherical surface and ‘grip’ to keep your fabric taut while you weave your repair. This guide will take you from a raggedy hole to a professional-grade repair that is often stronger than the original knit. Let’s get to work.
The Essential Gear: Materials and Cost Breakdown
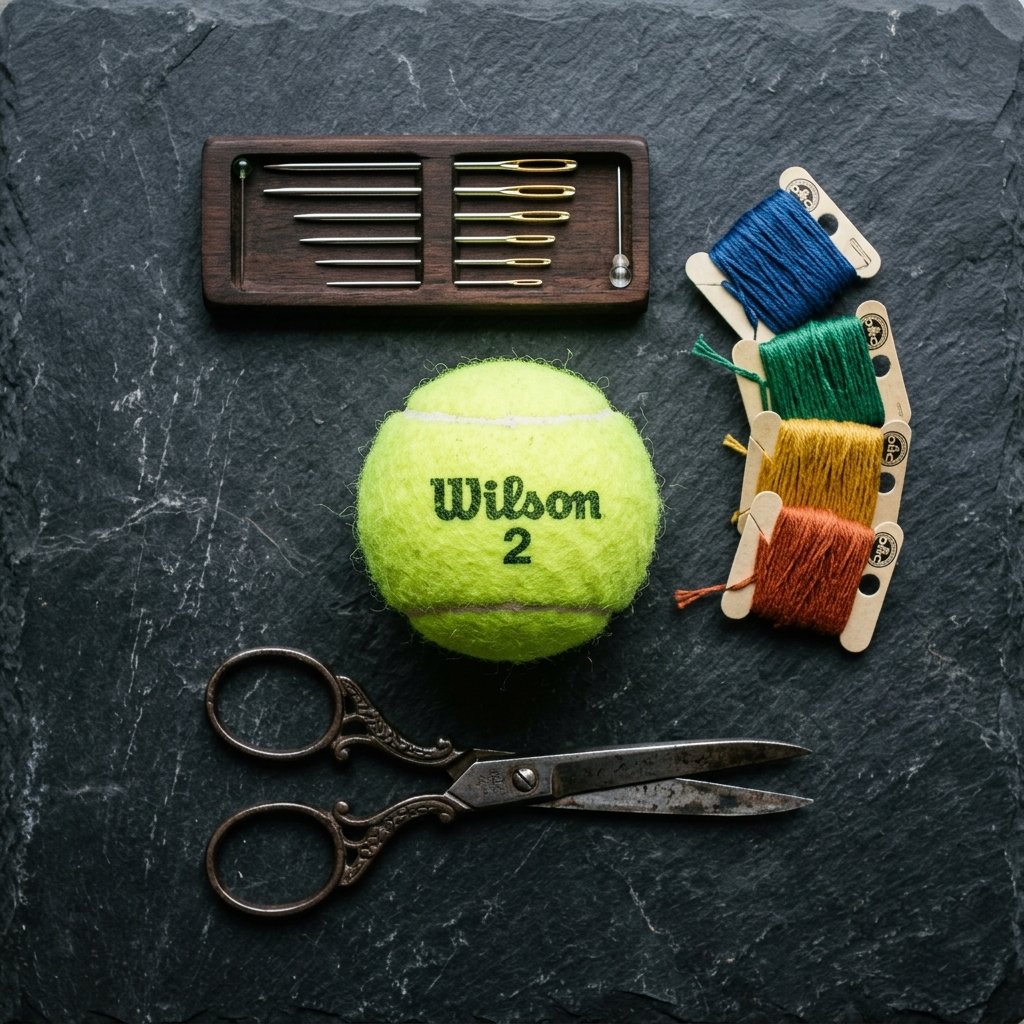
Assembling Your Repair Kit
You don’t need a professional tailor’s studio to achieve high-end results. Most of these items are already rolling around your junk drawer or can be acquired for less than the price of a single cup of coffee. The key is choosing the right thread weight to match your sock’s density. For heavy boot socks, go for embroidery floss or wool yarn; for thinner dress socks, a standard polyester thread or fine cotton will suffice.
| Material | Purpose | Estimated Cost |
|---|---|---|
| Tennis Ball | Provides tension and a curved work surface. | $0.50 – $1.00 (or free from a dog) |
| Darning Needle | Large eye and blunt tip to weave through knit. | $2.00 (for a multi-pack) |
| Darning Thread/Yarn | The ‘filler’ for the hole. Match color or go bold. | $1.50 per skein |
| Small Scissors | For clean snips and trimming tails. | Free (Household item) |
| Rubber Band | Optional: To secure the sock to the ball. | Free (Junk drawer) |
“The goal isn’t just to close the hole; it’s to recreate the structure of the fabric. A tennis ball offers the ideal resistance for a tight, even weave.”
Why the Tennis Ball Reigns Supreme Over the Mushroom
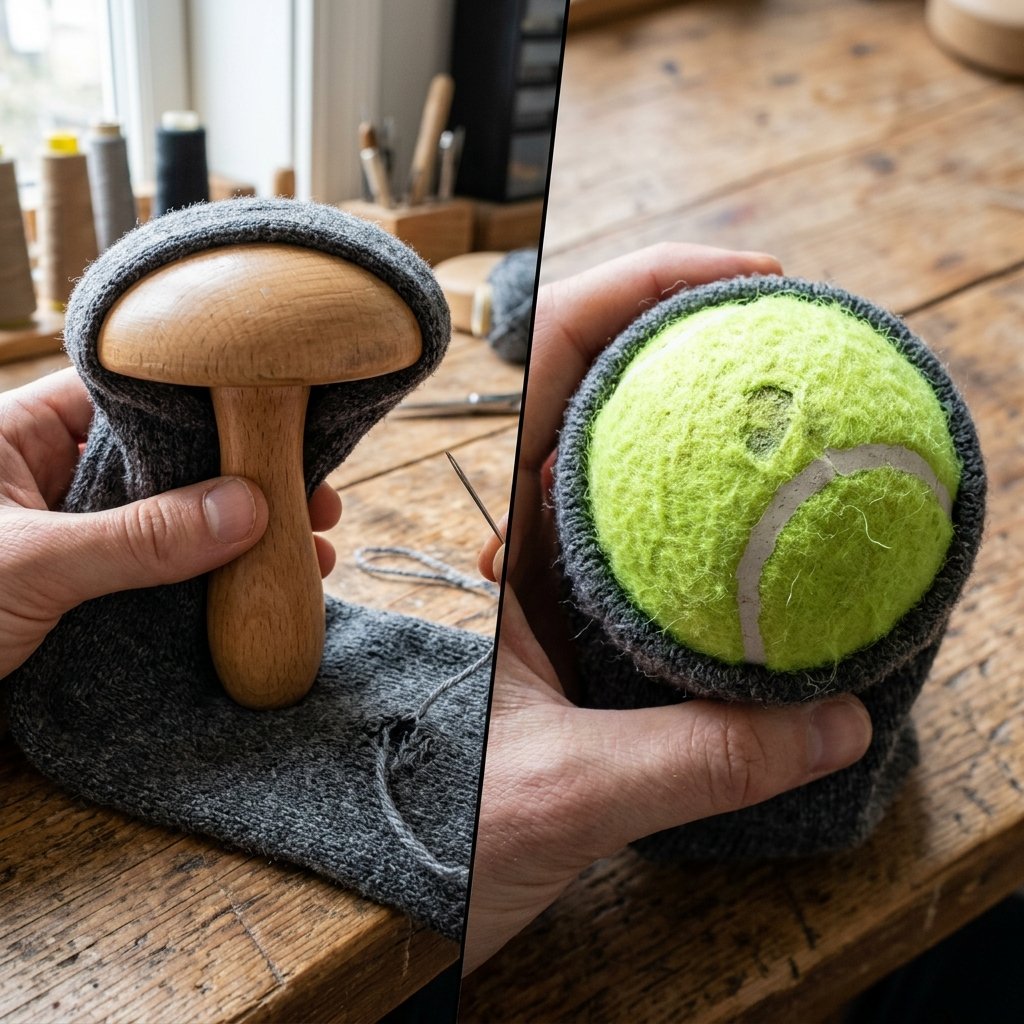
A Clever Hack for the Modern Maker
The traditional darning mushroom is a lovely heirloom tool, but for the budget-savvy DIYer, it’s an unnecessary expense. The tennis ball offers several technical advantages that even professional menders appreciate. Its felted surface provides a natural ‘tooth’ that prevents slippery synthetic socks from sliding around while you work. Furthermore, the size of a standard tennis ball perfectly mimics the curvature of a human heel, ensuring your patch won’t feel bulky or awkward once you put the sock back on.
| Feature | Darning Mushroom | Tennis Ball Hack |
|---|---|---|
| Cost | $15 – $30 | Under $1 |
| Grip | Slippery Wood/Plastic | High-Grip Felt |
| Versatility | Fixed Size | Compressible for tighter spots |
| Availability | Specialty Craft Stores | Everywhere |
When you use a tennis ball, you are practicing the ultimate form of upcycling. You are taking a sporting good that may have lost its ‘bounce’ and giving it a second life as a precision tool for clothing maintenance.
Preparing the Canvas: Setting the Tension
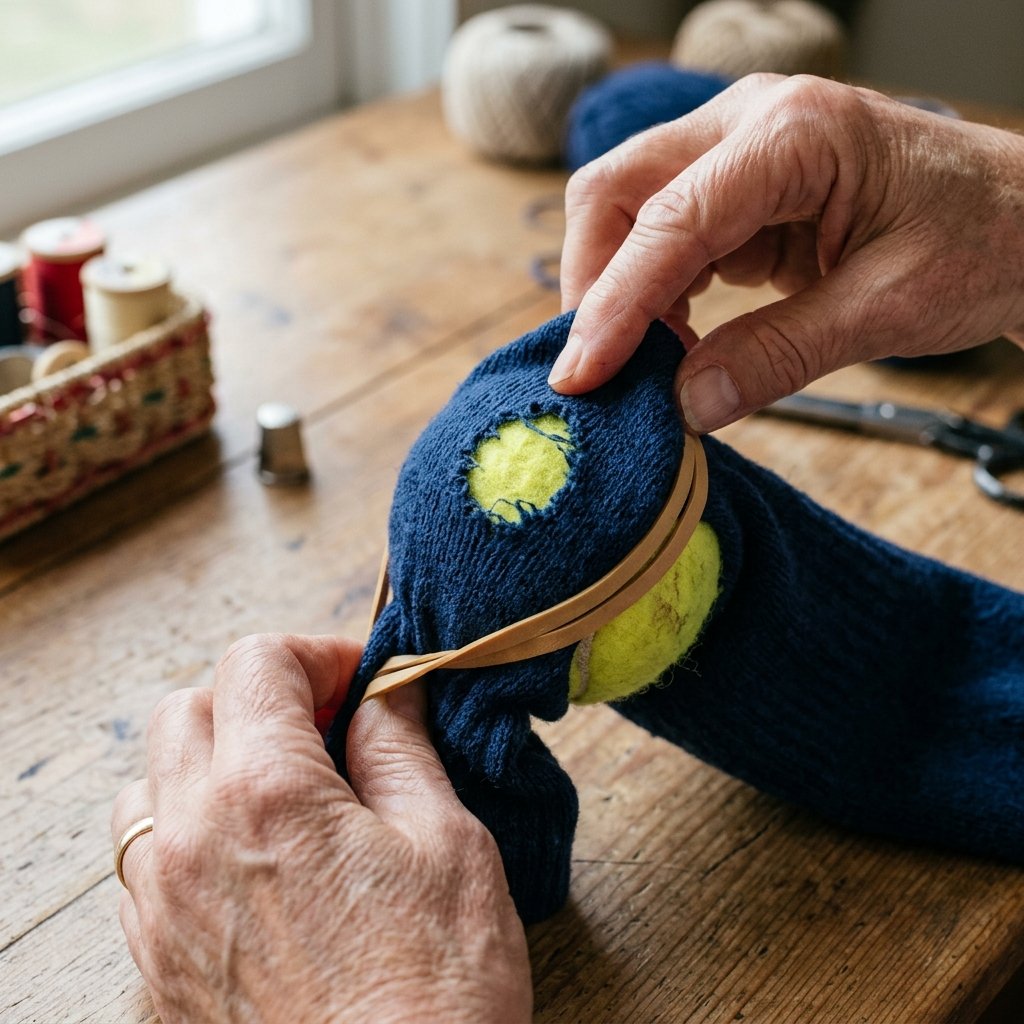
The Foundation of a Pro Repair
Before you take your first stitch, you must prepare the ‘wound.’ If you simply start sewing, you risk puckering the fabric, which leads to uncomfortable rubbing inside your shoe. Follow these steps to ensure a flat, professional finish:
- Step 1: Trim any long, frayed threads from the hole. You want a clean edge, not a fuzzy mess.
- Step 2: Slide the tennis ball inside the sock until the hole is centered over the apex of the ball.
- Step 3: Pull the sock fabric until it is smooth but not over-stretched. If you pull too hard, the hole will expand and your patch will be too large.
- Step 4: If the sock is slippery, wrap a rubber band around the ‘neck’ of the ball (the part inside the sock) to lock the fabric in place.
Safety Note: Always check that your needle is sharp enough to pierce the fabric but not so sharp that you puncture the tennis ball repeatedly, which can dull your needle over time.
The Master’s Stitch: Step-by-Step Weaving
Executing the Warp and Weft
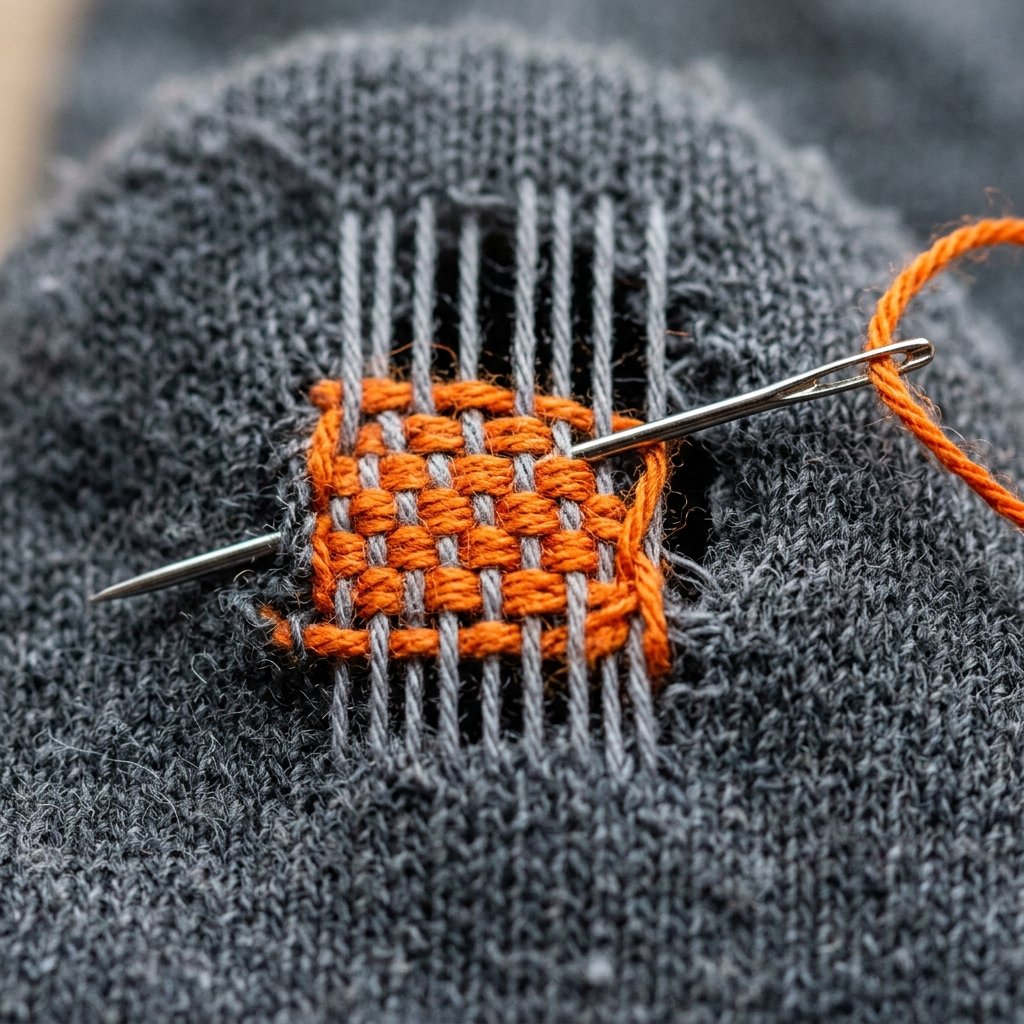
Darning is not about ‘sewing the hole shut.’ It is about building a new piece of fabric. We use a technique called the Woven Darning Stitch. This involves two phases: the vertical threads (the Warp) and the horizontal weaving (the Weft).
- The Running Stitch: Start about 1/2 inch away from the hole. Sew a circle of running stitches around the hole to stabilize the surrounding fabric.
- The Warp: Create a series of vertical parallel lines across the hole. Keep them close together—about 1-2mm apart. Ensure you anchor each line into the healthy fabric on either side of the hole.
- The Weft: Turn your work 90 degrees. Now, weave your needle over and under each of the vertical ‘warp’ threads.
- The Return: On your way back, reverse the pattern. If you went over a thread on the first pass, go under it on the second.
- Packing: Every few rows, use your needle to gently ‘push’ the woven threads together so the patch is dense and gap-free.
By the time you finish, you will have created a sturdy, cross-hatched fabric ‘plug’ that fills the void perfectly. This process takes approximately 15 to 20 minutes but adds years to the life of your socks.
Troubleshooting and Fabric Compatibility Guide

Solving Common Mending Mishaps
Not all holes are created equal. A heel blowout requires a different approach than a small toe snag. Use this guide to determine the best stitch for your specific fabric type and damage level.
| Fabric Type | Problem | Best Stitch/Solution |
|---|---|---|
| Heavy Wool | Large Heel Hole | Woven Darning (Grid Method) |
| Cotton Jersey | Small Snag | Swiss Darning (Duplicate Stitch) |
| Synthetic Blend | Stretched Thinning | Sashiko-style Reinforcement |
| Hand-Knit | Dropped Stitch | Latching + Duplicate Stitch |
Pro Tip: If the area around the hole is very thin (the ‘halo’ effect), extend your darning area further into the strong fabric. This distributes the tension and prevents a new hole from forming immediately at the edge of your repair. Resourceful thinking saves you from having to fix the same sock twice!
The Finishing Touch: Knotting and Maintenance
Securing Your Hard Work
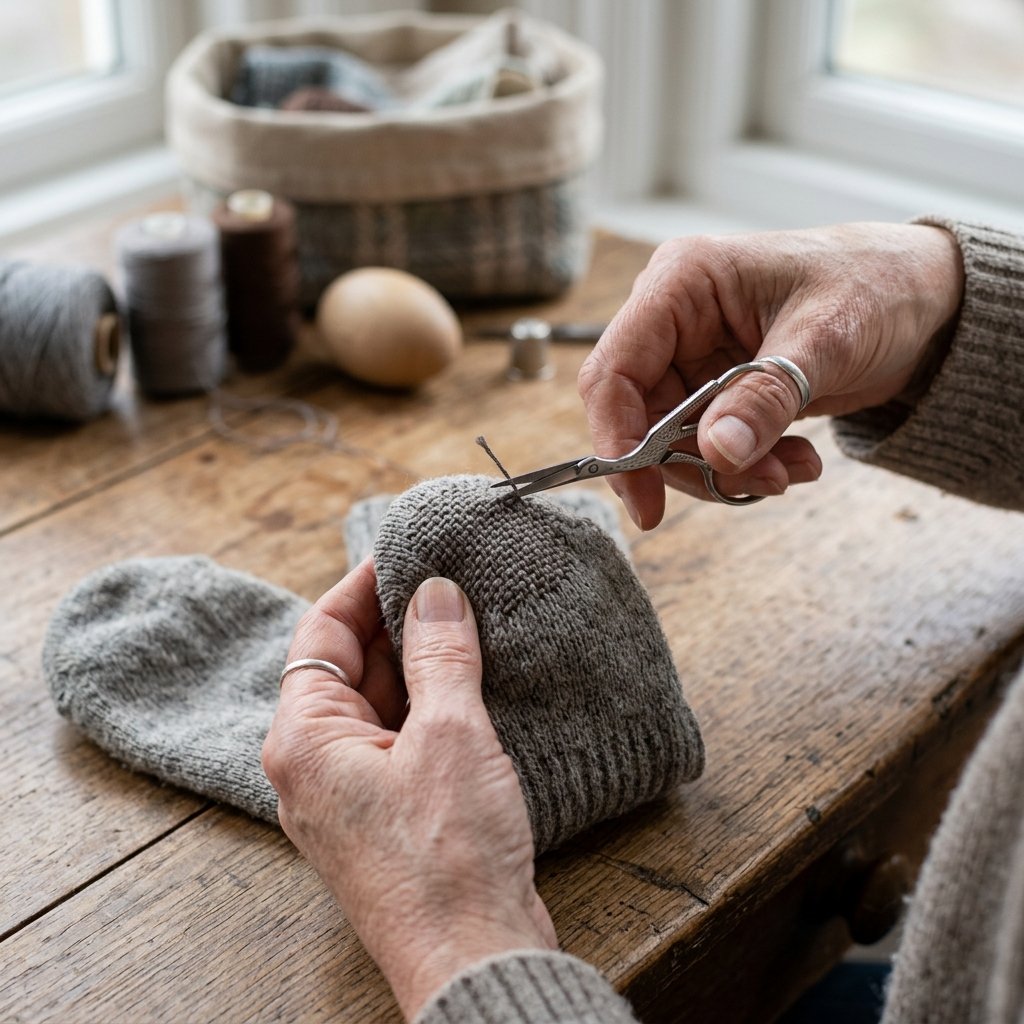
The biggest mistake beginners make is tying a large, bulky knot. In a sock, a knot is a blister waiting to happen. Instead, use the ‘tail weave’ method. When you reach the end of your darning, simply weave the remaining thread back through your new patch for about an inch, then snip it flush. The friction of the weave will hold it in place without any need for a knot.
- Wash with care: Turn mended socks inside out before laundering.
- Inspect early: Catching a ‘thin’ spot before it becomes a hole makes the repair 100% easier.
- Embrace the contrast: Using a contrasting thread color (Visible Mending) turns a repair into a badge of honor.
“A well-mended sock is a sign of a person who values quality over quantity and knows how to maintain their gear for the long haul.”
Conclusion
Step Into Your New Life as a Mending Pro
You’ve done it. You took a piece of equipment destined for the landfill and, with the help of a $0.50 tennis ball and a bit of cleverness, you’ve restored it to full utility. Darning isn’t just about saving money—though saving $15-$25 on a new pair of premium socks is a fantastic perk. It’s about the rugged satisfaction of self-reliance and the creative joy of upcycling.
Next time you see a hole in your gear, don’t see a failure. See an opportunity to practice your craft. Whether you’re a busy parent keeping the kids’ soccer socks in play or a frugal adventurer prepping for the trail, the tennis ball darning method is the ultimate ‘pro’ move in your DIY arsenal. Happy mending!

Makenzie is the founder and lead writer at MoneyHackTips.com — a personal finance blog dedicated to delivering street-smart financial wisdom for real people on real budgets. With 300+ published articles covering everything from debt management to investing fundamentals, Makenzie’s mission is to make every dollar work harder. When not writing about money hacks, Makenzie is testing frugal living strategies, optimizing side hustles, and helping readers build financial freedom from scratch.