The Quest for the Perfect ‘Man-Gift’ Ends Here
Let’s be honest: shopping for the men in our lives is notoriously difficult. Whether it’s for a birthday, Father’s Day, or a ‘just because’ surprise, we often find ourselves wandering the aisles of big-box stores only to settle on another generic multi-tool or a pair of socks. But what if you could build something that bridges the gap between rugged utility and masculine elegance? Enter the Wood and Copper Pipe Desk Organizer. This isn’t just another craft project; it’s a statement piece that looks like it was plucked straight from a high-end boutique in Soho, yet it can be constructed for a fraction of the retail price using simple materials from your local hardware store or even your own scrap pile. This guide is designed for the resourceful DIYer who wants to create a gift that is as functional as it is beautiful. We are talking about a heavy-duty, industrial-grade organizer that manages tech, stationery, and everyday carry (EDC) items with effortless style. By the end of this tutorial, you’ll have mastered the art of cleaning copper, staining wood for a premium finish, and assembling a structural masterpiece that he will actually use every single day.
The Blueprint: Materials and Budget Breakdown
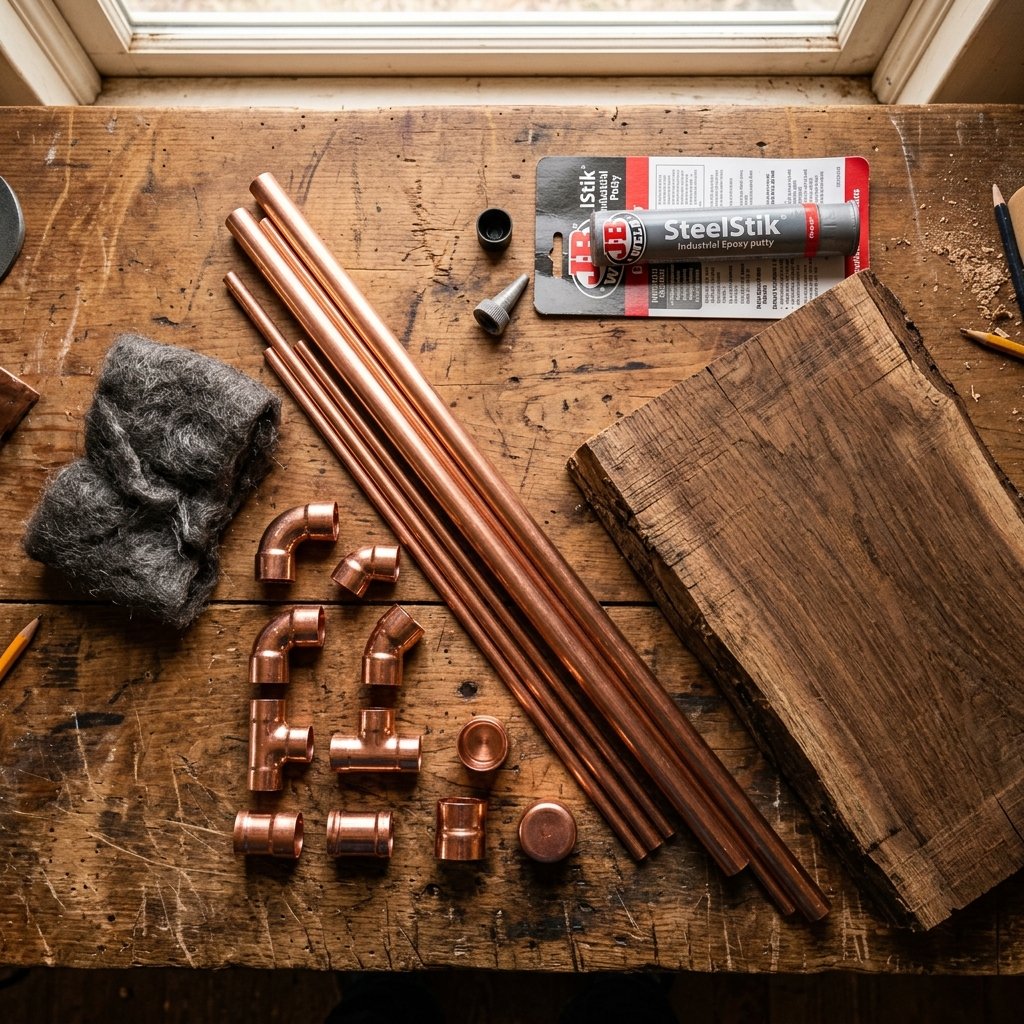
One of the most satisfying aspects of this build is the budget-savvy nature of the materials. Copper pipe is surprisingly affordable when bought in short lengths, and the wood base can often be sourced from ‘off-cut’ bins at lumber yards for $0. Below is a comprehensive look at what you’ll need to gather before you start the assembly process.
| Material Item | Quantity/Size | Estimated Cost |
|---|---|---|
| Copper Pipe (Type M) | 5 feet (1/2″ diameter) | $12.00 |
| Copper 90-Degree Elbows | 4 – 6 pieces | $3.50 |
| Copper T-Fittings | 2 – 4 pieces | $4.00 |
| Hardwood Scrap (Oak/Walnut) | 10″ x 6″ x 1″ | FREE to $5.00 |
| Two-Part Epoxy or Super Glue | 1 small tube | $4.00 |
| Steel Wool (#0000) | 1 pad | $1.00 |
| TOTAL ESTIMATED COST | — | $24.50 – $29.50 |
Compare this to retail versions found on sites like Etsy or at high-end furniture stores, where similar industrial organizers frequently retail for $85 to $150. By doing it yourself, you are saving over 70% while ensuring the quality meets your exact standards. For the wood base, look for woods with a heavy grain like Oak, Ash, or Walnut. These dense woods provide the weight necessary to keep the organizer stable when holding heavier items like tablets or large smartphones.
Phase One: Prepping the Base and Cutting the Pipe
Sizing the Foundation
The secret to a professional-looking piece is the proportion. Your wood base should be approximately 10 inches long and 6 inches wide. This provides enough surface area for a phone dock and a tray for keys or coins. Start by sanding your wood base with 120-grit sandpaper, moving up to 220-grit until the surface is buttery smooth.
Mantra for the Maker: Measure thrice, cut once, and sand until the wood feels like silk. A man’s desk is his sanctuary; every touchpoint should feel premium.
Precision Pipe Cutting
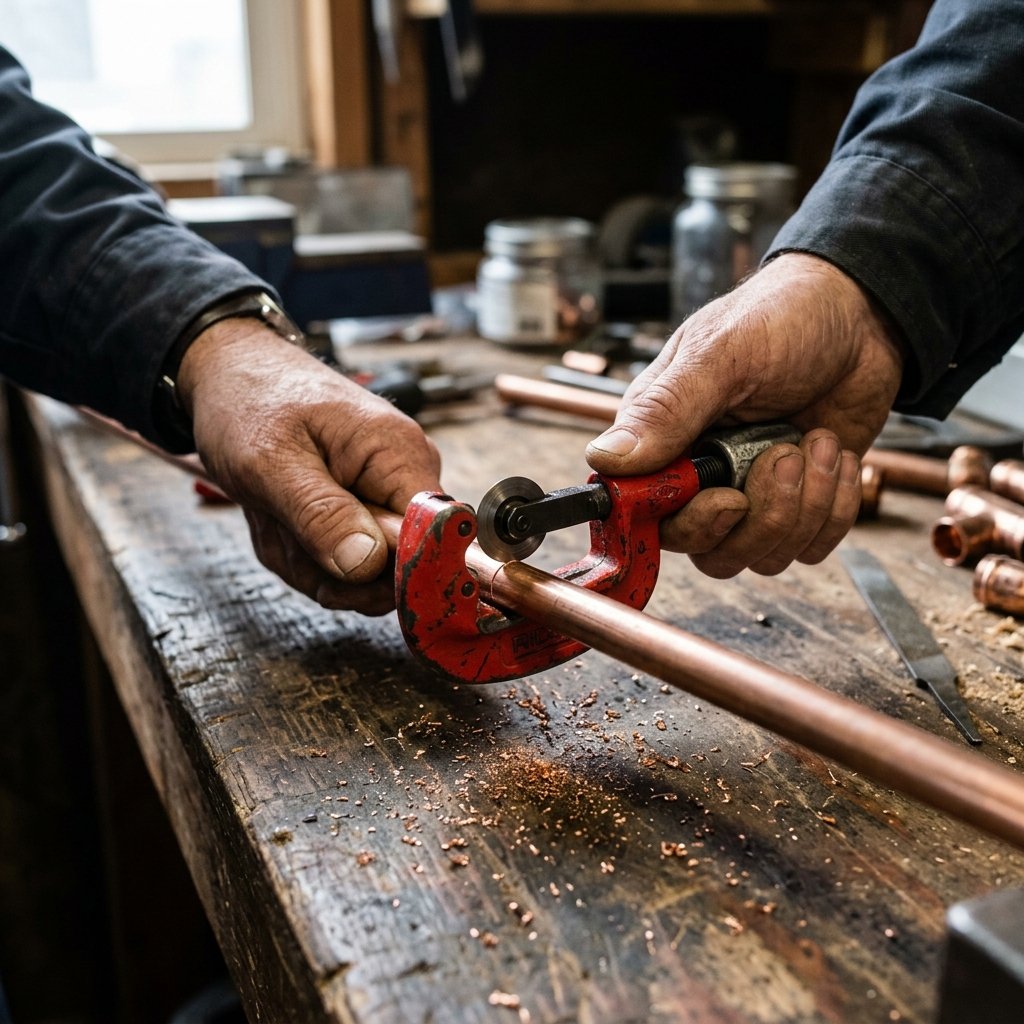
You don’t need a heavy-duty hacksaw for this. A small, inexpensive pipe cutter (often found for under $10) will give you the cleanest, most precise edges. For a standard organizer, you will need the following lengths of 1/2″ copper pipe:
- Two 6-inch pieces for the main support rails.
- Four 2-inch pieces for the vertical risers.
- One 4-inch piece for the horizontal phone rest.
Simply tighten the cutter onto the pipe, rotate it around the circumference, and gradually tighten the knob until the pipe snaps cleanly. This method prevents the crushing or burring that happens with saws, ensuring your fittings slide on perfectly.
Phase Two: The ‘Deep Clean’ and Industrial Polish
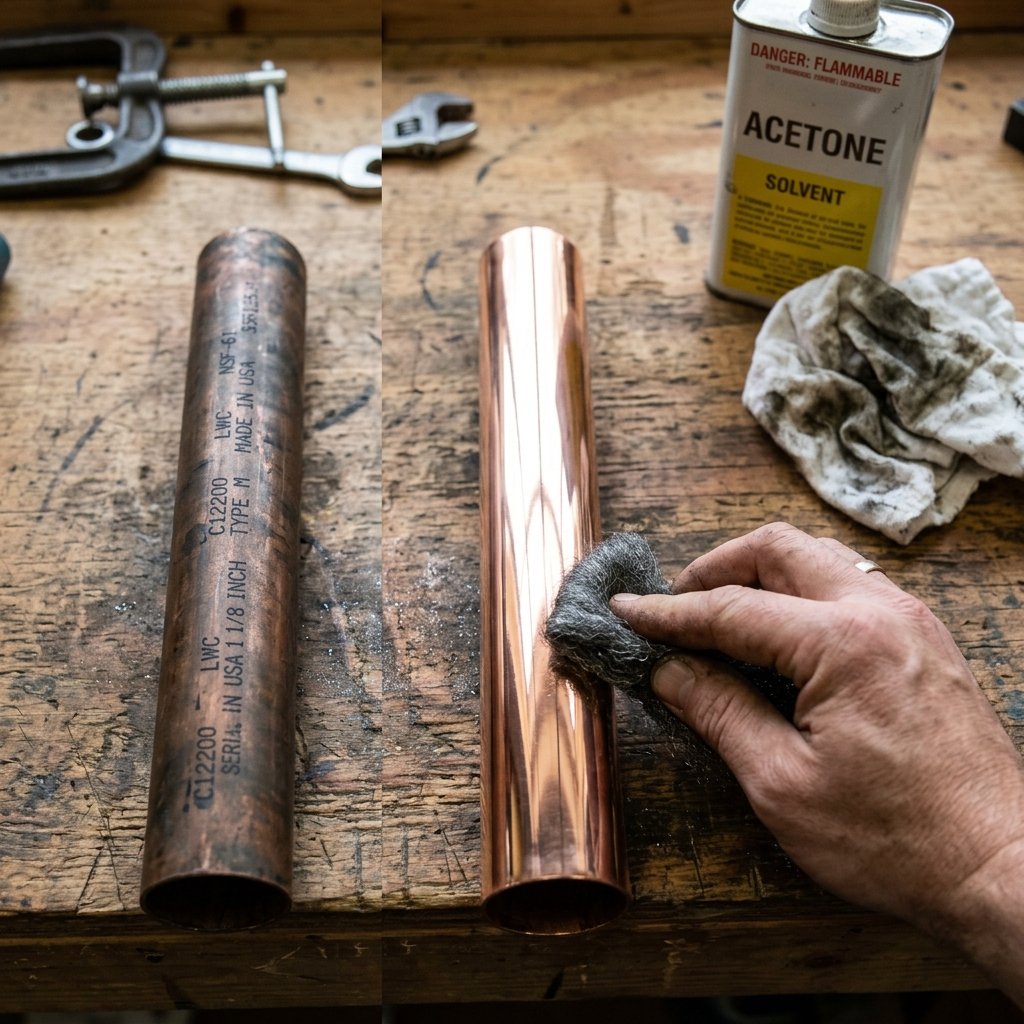
When you buy copper pipe from a hardware store, it is often covered in black ink stamps, greasy residue, and oxidation. To get that boutique-level glow, you must strip it back. This is where your #0000 steel wool comes into play. Scrub each piece of pipe and every fitting vigorously. You will see the dull, brownish metal transform into a bright, rose-gold brilliance in seconds. Pro-Tip: If the ink stamps are stubborn, use a small amount of acetone or nail polish remover on a rag first. Once cleaned, try to handle the pipes by the ends or with gloves to prevent your finger oils from causing premature tarnishing. If you prefer a more rugged, aged look, you can actually soak the copper in a mixture of vinegar and salt for 10 minutes to accelerate the patina process, giving it an antique green-and-brown hue that looks decades old.
Phase Three: Assembly and Structural Bonding
The Dry Fit
Before you reach for the glue, perform a ‘dry fit’ of the entire structure. Connect your 6-inch rails to the T-fittings and elbows to create the frame. Place it on your wood base to visualize where the holes need to be drilled. You want the copper structure to sit slightly recessed into the wood for maximum stability. Mark the four points where the vertical pipes touch the wood.
Drilling and Setting
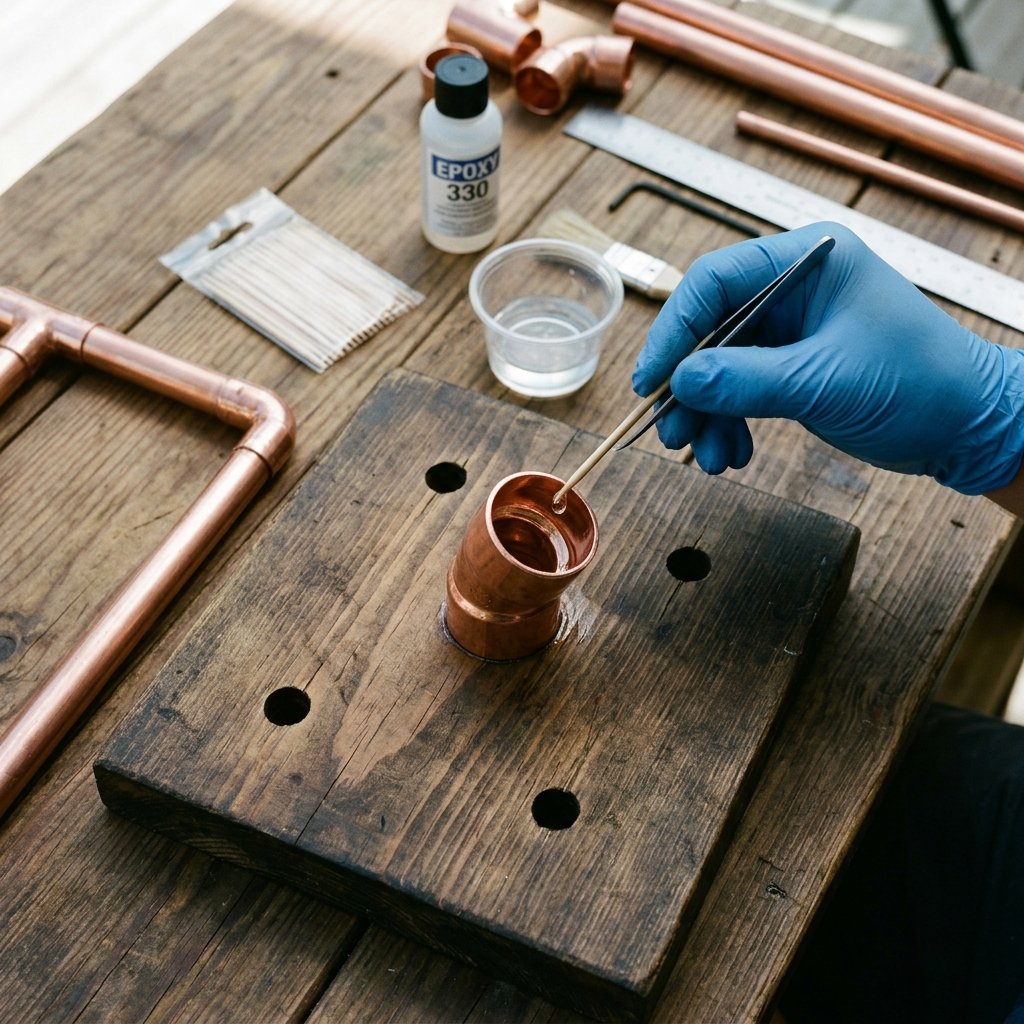
Using a 5/8″ Forstner bit or spade bit, drill holes approximately 1/2 inch deep into the wood. This bit size is slightly larger than the 1/2″ pipe, allowing for a small gap that will be filled with epoxy.
Safety Note: When using power drills and epoxy, ensure you are in a well-ventilated area and wear eye protection. If you are a beginner, clamp the wood base to your table before drilling to prevent ‘spinning.’
The Permanent Bond
Mix your two-part epoxy according to the package directions. Apply a small amount inside each copper fitting and a generous dollop inside the holes in the wood base. Press the structure together firmly. You have about 5 to 10 minutes of working time to ensure everything is perfectly level and square. Use a spirit level if you have one, or simply eyeball it against the edge of the desk to ensure the rails are parallel.
The Final Flourish: Staining and Sealing
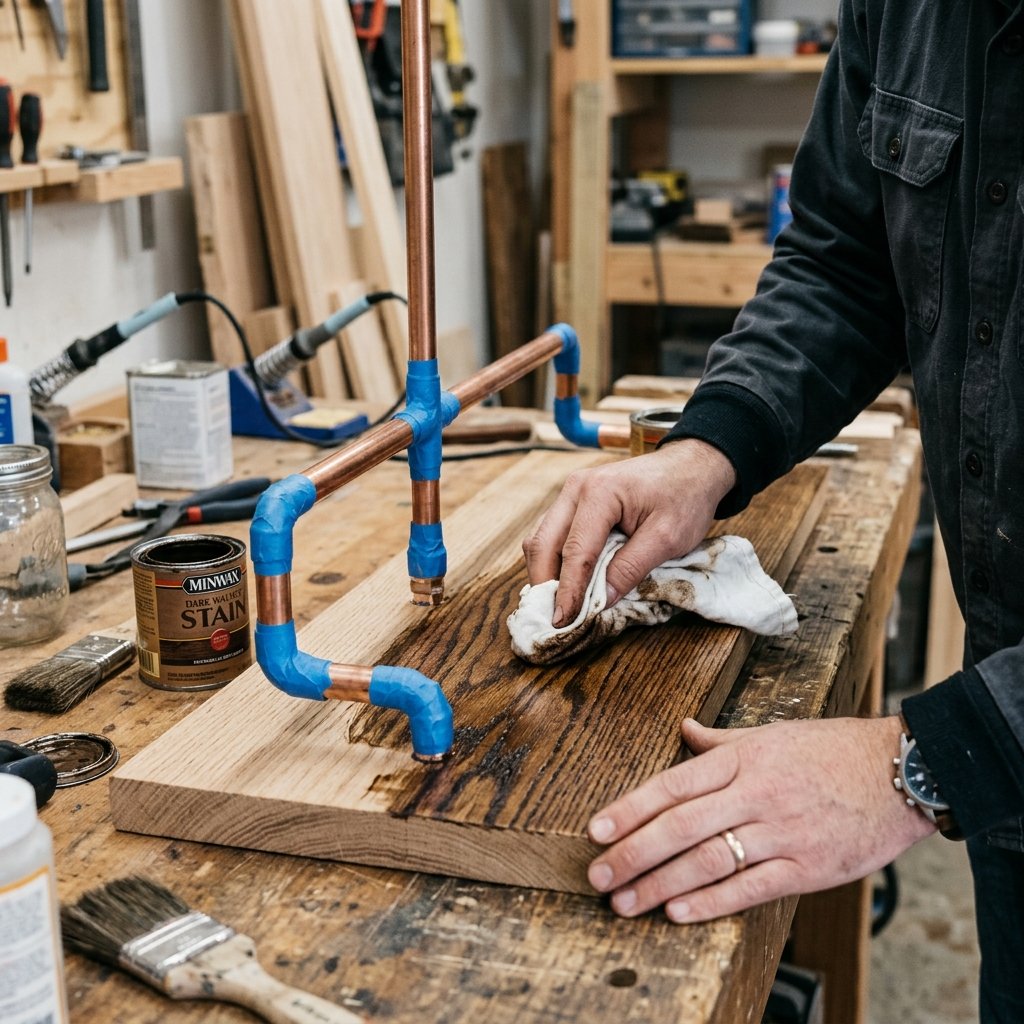
Now that the structure is bonded, it’s time to protect your hard work. For the wood, a dark walnut or espresso stain provides a stunning contrast against the bright copper. Apply the stain with a lint-free rag, let it sit for 3 minutes, and wipe away the excess. This highlights the natural grain patterns and gives the piece a ‘heavy’ masculine feel.
Sealing the Metal
Copper naturally oxidizes over time. If you want to maintain that ‘new penny’ shine forever, spray the copper elements with a clear gloss lacquer. However, many men prefer the way copper ages and develops a unique character over the years. If that’s the case, leave the metal bare and only seal the wood with a matte polyurethane.
Adding ‘The Gentleman’s Touch’
To prevent the organizer from scratching the desk, cut small circles of adhesive-backed felt or cork and apply them to the four corners of the wood base. This small detail elevates the project from ‘homemade’ to ‘professional grade.’
Conclusion
A Gift That Stands the Test of Time
Congratulations! You have just created a bespoke, industrial-grade desk organizer that outshines anything found in a standard retail catalog. By combining the warmth of natural hardwood with the cool, structural integrity of copper, you’ve built a piece that is both a tool and a work of art. This project proves that being frugal and resourceful doesn’t mean sacrificing style; it means having the vision to see the ‘treasure’ in a length of plumbing pipe and a scrap of oak. Whether he uses it to dock his phone, display his favorite watch, or keep his fountain pens in order, he will appreciate the craftsmanship and effort you put into making something specifically for him. Wrap it in simple brown butcher paper with a twine bow to complete the rugged, masculine aesthetic. You didn’t just give him a gift; you gave him a piece of functional history that will sit on his desk for years to come.

Makenzie is the founder and lead writer at MoneyHackTips.com — a personal finance blog dedicated to delivering street-smart financial wisdom for real people on real budgets. With 300+ published articles covering everything from debt management to investing fundamentals, Makenzie’s mission is to make every dollar work harder. When not writing about money hacks, Makenzie is testing frugal living strategies, optimizing side hustles, and helping readers build financial freedom from scratch.